
1. Introduzione
Welcome to the POSEIDON Wireless Rotary Tattoo Machine Kit PTK201 user manual. This document provides essential information for the safe and effective operation of your new tattoo machine kit. Please read it thoroughly before use to ensure proper handling, maintenance, and to understand all features of the device. This kit is designed for both beginners and experienced users.
2. Informazioni importanti sulla sicurezza
Adherence to safety guidelines is crucial when operating tattoo equipment. Failure to follow these instructions may result in injury or damage to the device.
- This product is intended for professional use or under professional supervision.
- Always ensure all components are properly sterilized before use to prevent infection.
- Dispose of used needles and other contaminated materials in appropriate sharps containers.
- Tenere il dispositivo e tutti gli accessori fuori dalla portata dei bambini.
- Do not attempt to disassemble or modify the tattoo machine or battery, as this may void the warranty and pose safety risks.
- Evitare di esporre il dispositivo all'acqua o a umidità eccessiva.
- If you experience any skin reactions or discomfort during use, discontinue immediately and consult a medical professional.
- Use only POSEIDON approved accessories and replacement parts.
3. Contenuto della confezione
The POSEIDON Wireless Rotary Tattoo Machine Kit PTK201 includes the following items:
- 1 x Tattoo Pen
- 1 x Wireless Battery
- 20 x Assorted Tattoo Cartridge Needles (1205RL×5, 1207RL×5, 1209RS×5, 1207RM×5)
- 1 x Self-Cohesive Grip Cover
- 1 x Cavo di ricarica di tipo C
- 40 x Ink Cups
- 2 x Practice Skins (3mm thickened)
- 2 x Transfer Papers
- 10 x 5ml Color Inks
- 1 x 30ml Black Ink
- 1 x paio di guanti
- 1 x Spare RCA Cable

Image: All components included in the POSEIDON Wireless Rotary Tattoo Machine Kit PTK201.
4. Prodotto finitoview
4.1 Tattoo Pen Features
The tattoo pen is constructed from premium aluminum alloy and features an advanced motor for reliable power and quiet operation. It is designed for cordless freedom, eliminating the need for a foot pedal. The pen offers 9 adjustable voltage levels (3-12V) and is compatible with all standard cartridge needles.

Immagine: dettagliata view of the tattoo pen highlighting the Type-C interface, wireless battery connection, strong motor, non-slip handle, and adjustable needle length (2.4-4.2mm).

Image: Specifications of the tattoo pen, including its length (100mm), stroke length (4.2mm), and speed (8000 RPM at 8V).
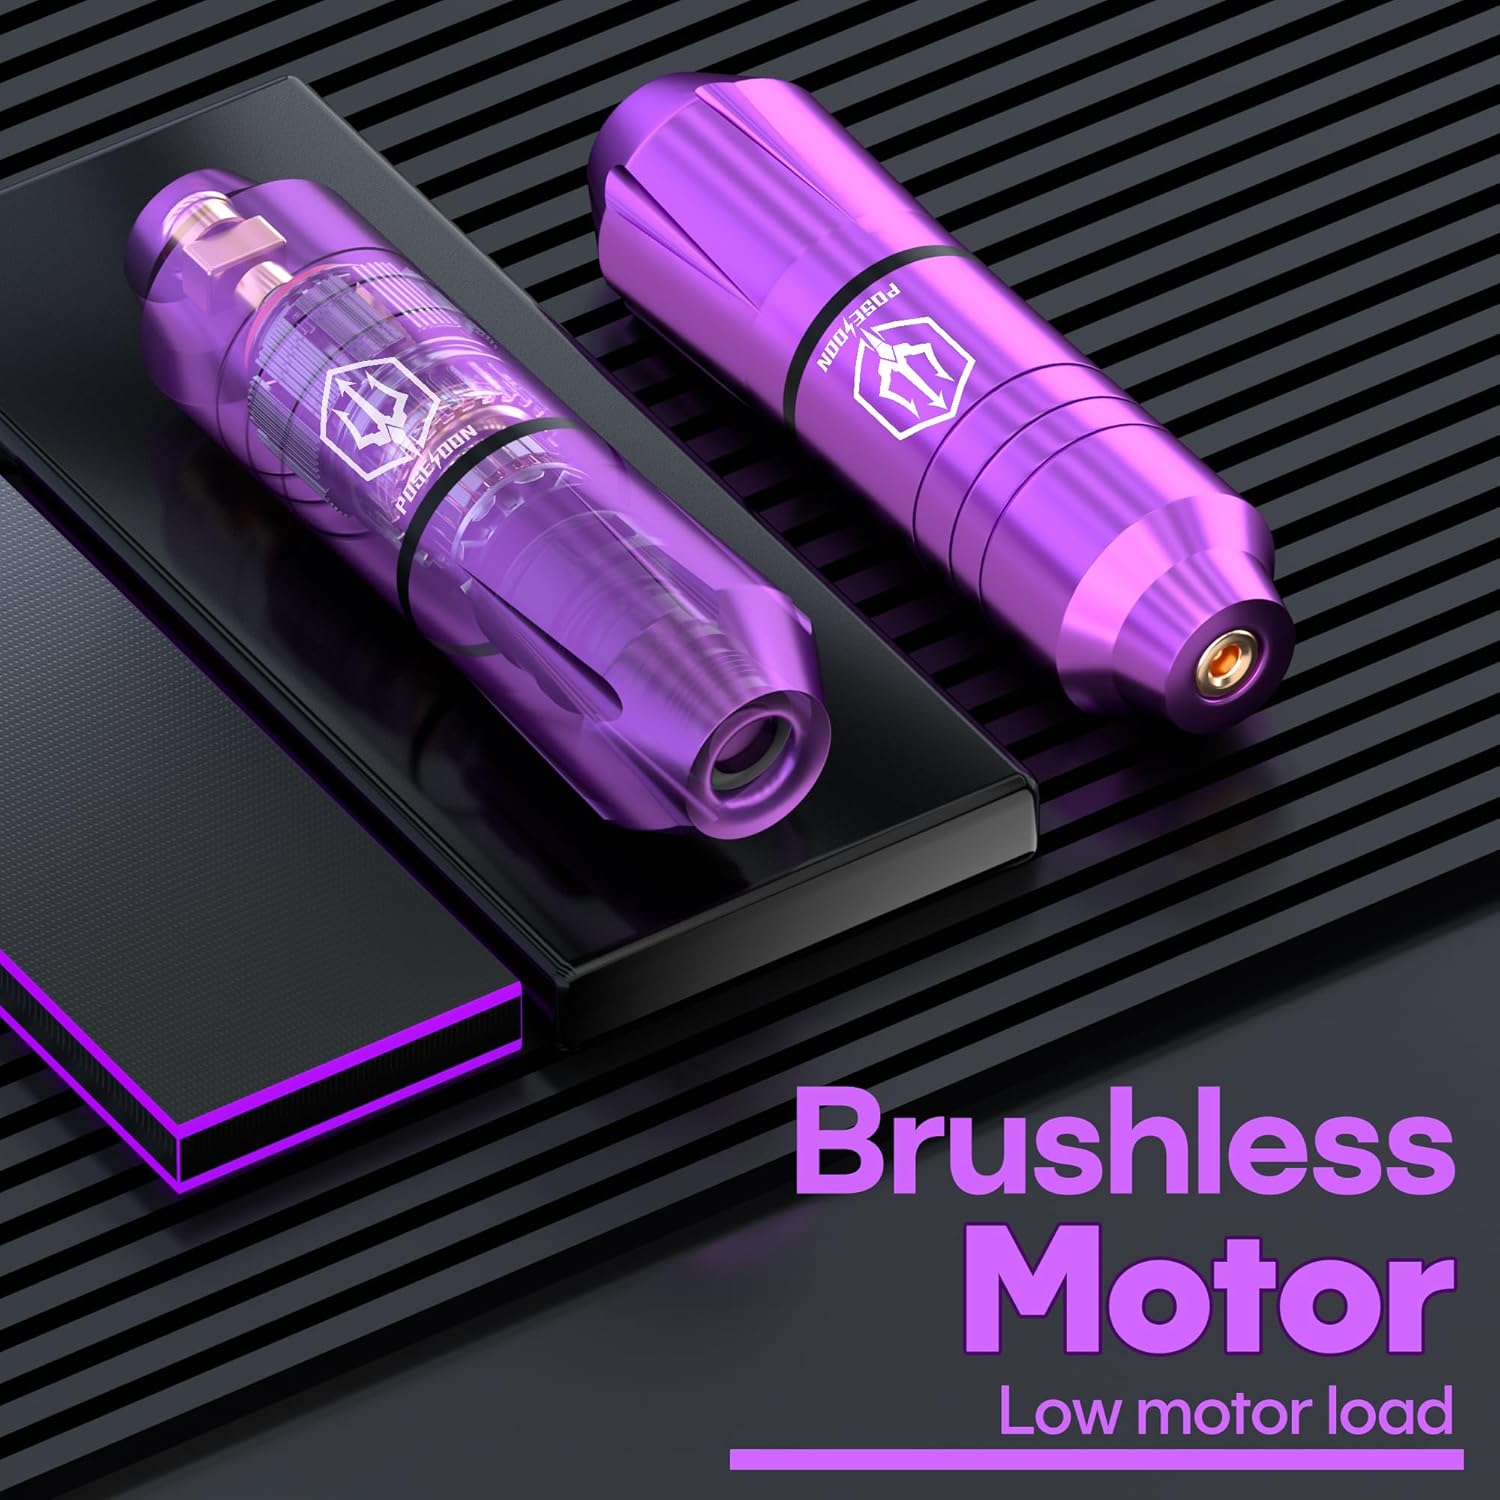
Image: Illustration of the brushless motor technology within the tattoo pen, designed for low motor load.
4.2 Sistema di batterie
The kit includes a 1500mAh rechargeable battery, providing 4-6 hours of working time per charge, depending on the voltage used. The Type-C charging cable ensures fast and convenient recharging.

Image: Display of the wireless tattoo battery, indicating a working time of up to 6 hours, a charging time of 2 hours, and a battery capacity of 1200mAh.
4.3 Cartridge Needles
Each cartridge needle is individually packaged and sterilized with EO gas to ensure safety and hygiene. These needles are designed for smooth operation, efficient color saturation, better ink flow, and faster absorption. The kit includes various configurations: 1205RL×5, 1207RL×5, 1209RS×5, and 1207RM×5.

Immagine: Primo piano view of the high-strength tattoo needles, emphasizing their construction from 316L medical steel.
5. Istruzioni per l'installazione
5.1 Caricamento della batteria
- Connect the Type-C charging cable to the battery's charging port.
- Collegare l'altra estremità del cavo a un adattatore di alimentazione USB compatibile (non incluso).
- The battery display will indicate charging status. Charge until fully charged (approximately 2 hours).
5.2 Attaching the Battery to the Tattoo Pen
- Ensure both the tattoo pen and battery are clean and dry.
- Align the battery connector with the pen's power input.
- Gently push and twist the battery onto the pen until it is securely attached.

Image: The POSEIDON tattoo pen with the wireless battery securely attached, demonstrating its readiness for operation on a practice skin.
5.3 Inserimento di un ago per cartuccia
- Select the desired sterilized cartridge needle.
- Insert the needle cartridge into the front opening of the tattoo pen.
- Twist the cartridge clockwise until it clicks into place, ensuring it is firmly seated.

Immagine: un primo piano view illustrating the correct method for inserting a tattoo needle cartridge into the pen.
6. Istruzioni per l'uso
6.1 Accensione/spegnimento
- To power on, press and hold the power button on the battery for a few seconds until the display illuminates.
- Per spegnere, tenere premuto nuovamente il pulsante di accensione finché il display non si spegne.
6.2 Regolazione del volumetage
- Once powered on, use the '+' and '-' buttons on the battery to adjust the voltage.
- Il display mostrerà il volume attualetage setting (ranging from 3V to 12V).
6.3 Adjusting Needle Length
- Rotate the grip of the tattoo pen clockwise or counter-clockwise to adjust the needle protrusion.
- The adjustable needle length ranges from 2.4mm to 4.2mm.
Image: The tattoo pen illustrating the mechanism for adjusting the needle length by rotating the grip.
6.4 Practice and Use
Before tattooing on skin, it is highly recommended to practice on the provided practice skins to familiarize yourself with the machine's operation, needle depth, and ink application. This will help develop control and precision.
Image: A user demonstrating the application of the tattoo pen on a practice skin, highlighting the practical use of the kit.
7. Manutenzione e cura
7.1 Cleaning the Tattoo Pen
After each use, it is essential to clean the tattoo pen thoroughly. Disconnect the battery and remove the needle cartridge. Wipe down the exterior of the pen with a sterile wipe or a cloth dampened with an approved disinfectant solution. Ensure no liquids enter the motor housing. Do not submerge the pen in water.
7.2 Cura della batteria
To prolong battery life, avoid fully discharging the battery frequently. Charge it regularly, even if not in constant use. Store the battery in a cool, dry place away from direct sunlight and extreme temperatures. If the battery will not be used for an extended period, charge it to about 50% before storage.
7.3 Conservazione
Store the tattoo machine kit and all its components in a clean, dry, and dust-free environment. Keep it in its original packaging or a dedicated storage case to protect it from damage.
8. Risoluzione Dei Problemi
This section addresses common issues you might encounter with your POSEIDON Wireless Rotary Tattoo Machine Kit.
| Problema | Possibile causa | Soluzione |
|---|---|---|
| La macchina non si accende | La batteria è scarica Batteria non collegata correttamente | Caricare completamente la batteria Ensure battery is securely attached to the pen |
| Potere debole o incoerente | Batteria scarica Collegamento allentato | Ricaricare la batteria Check battery and RCA cable connections |
| Needle not moving or stuck | Improperly inserted needle cartridge Damaged needle cartridge | Re-insert the needle cartridge correctly Replace with a new needle cartridge |
| Vibrazione o rumore eccessivi | Componenti sciolti Motore danneggiato | Check all connections and ensure components are tight Contact customer support if motor damage is suspected |
9. Specifiche
Key technical specifications for the POSEIDON Wireless Rotary Tattoo Machine Kit PTK201:
| Caratteristica | Dettaglio |
|---|---|
| Modello | PTK201 |
| Dimensioni del pacco | 8.46 x 7.91 x 3.9 pollici |
| Peso | 1.94 libbre |
| Tipo di batteria | Polimero di litio |
| Capacità della batteria | 1500mAh (approx. 1200mAh stated on image) |
| Volume di lavorotage | 3-12V (9 adjustable levels) |
| Lunghezza del tratto | 4.2mm |
| Regolazione della lunghezza dell'ago | 2.4-4.2mm |
| Produttore | POSEIDONE |
| Codice UPC | 718653422260 |
10. Garanzia e supporto
POSEIDON stands behind the quality of its products. If you are not completely satisfied with your purchase, please contact us for a refund or replacement. Your satisfaction is guaranteed.
For technical support, warranty claims, or any questions regarding your POSEIDON Wireless Rotary Tattoo Machine Kit PTK201, please contact our customer service department through the retailer's platform or visit the official POSEIDON websito per le informazioni di contatto.