
1. Introduzione
This manual provides comprehensive instructions for the installation, operation, and maintenance of your Keenso Digital Tachometer Gauge. This high-accuracy LCD display gauge is designed for various vehicle modifications, including cars, trucks, boats, and generator engines, providing precise engine speed (RPM) and hour readings.
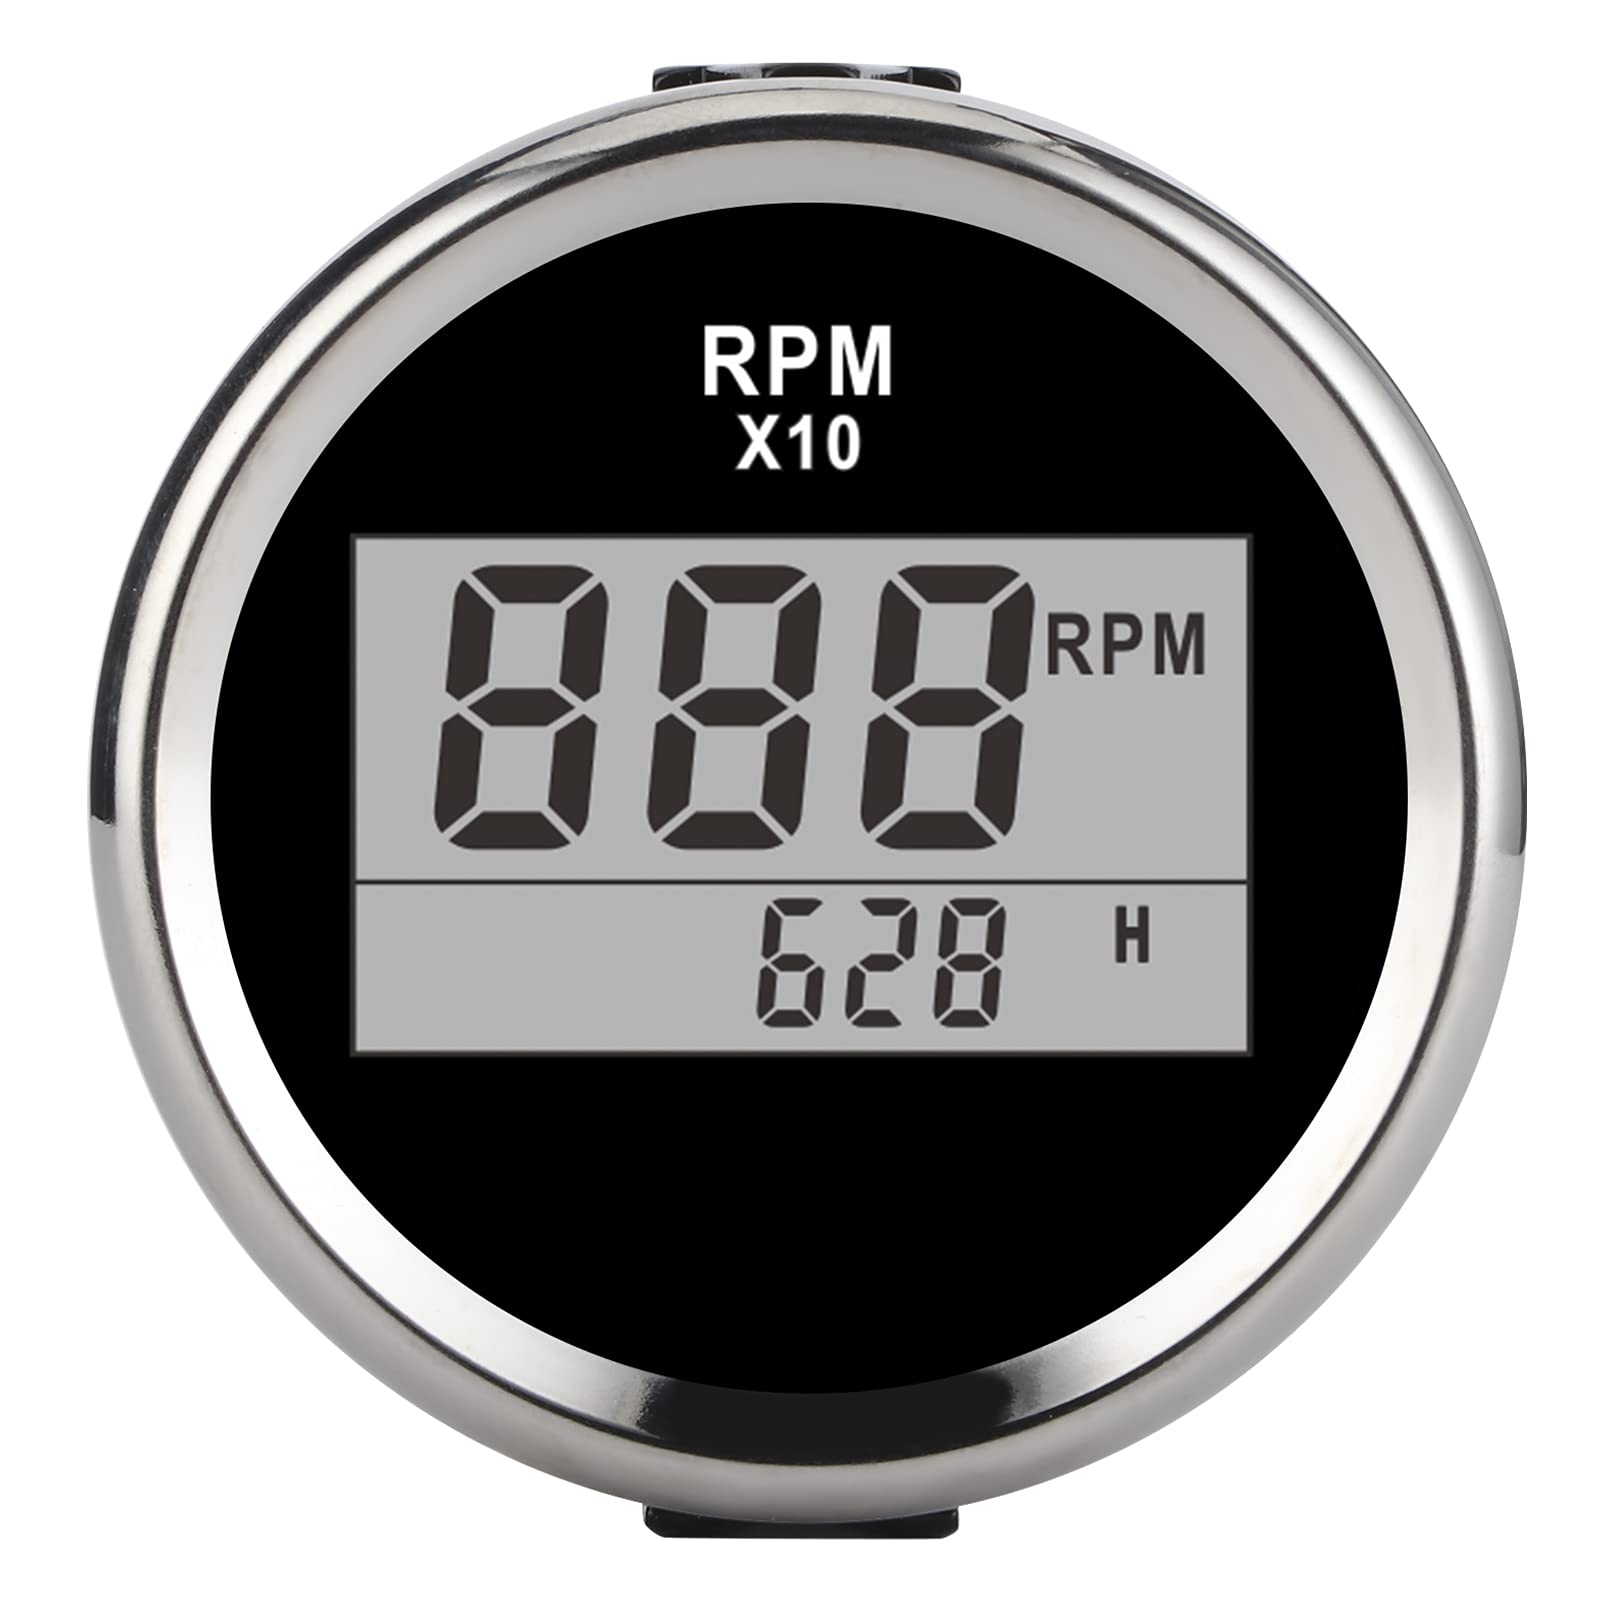
Immagine 1.1: anteriore view of the Keenso Digital Tachometer Gauge, featuring a black dial and silver bezel. The display shows RPM and hour readings.
Contenuto della confezione:
- 1 x 0-9990RPM Tachometer Gauge
- 1 x cavo di collegamento
- 1 x Manuale di istruzioni
2 Caratteristiche
- Alta precisione: Utilizes a stepping motor for precise RPM display and a clear LCD for hour readings.
- Costruzione durevole: Made from stainless steel and plated plastic for long-lasting performance.
- Grado di impermeabilità: IP67 protection class, allowing operation underwater up to 1 meter. Features curved glass with anti-fog function.
- Ampio volumetage Gamma: Designed for ultra-wide working voltage of 9-32V DC, with a maximum tolerance of 36V (for less than 1 minute).
- Basso consumo energetico: Efficient design ensures extended service life.
- Applicazione versatile: Suitable for various stepping gauges and compatible with car, truck, boat, and generator engines.
3. Specifiche
| Specificazione | Valore |
|---|---|
| Tipo di articolo | Misuratore del tachimetro |
| Materiale | Stainless Steel + Plated Plastic |
| Colore retroilluminazione | Rosso |
| Diametro di installazione | Circa 52 mm (2 pollici) |
| Volume di eserciziotage | 9-32V DC |
| Corrente di esercizio | ≤60mA |
| Indicando la gamma | 0-9990 giri/min |
| Segnale di ingresso | Pulse Signal from tacho sensor, engine, alternator, ignition coil, crankshaft sensor, etc. |
| Classe di protezione | IP67 (can work underwater 1m) |
| Peso dell'articolo | 4.3 once |
| Dimensioni del pacco | 3.54 x 2.76 x 2.76 pollici |

Immagine 3.1: anteriore view of the tachometer, illustrating its approximate 52mm (2-inch) installation diameter.
4. Configurazione e installazione
Follow these steps for proper installation of your tachometer gauge. Ensure the vehicle's power is disconnected before beginning installation.
4.1 Montaggio del misuratore
- Choose a suitable location on your dashboard or panel for installation.
- Cut a circular hole with an approximate diameter of 52mm (2 inches) at the chosen location.
- Insert the tachometer gauge into the hole.
- Secure the gauge from the back using the provided mounting bracket and nuts.
4.2 Collegamenti di cablaggio
Refer to the wiring diagram below and the provided connecting cable for correct connections. Incorrect wiring can damage the device or vehicle electrical system.
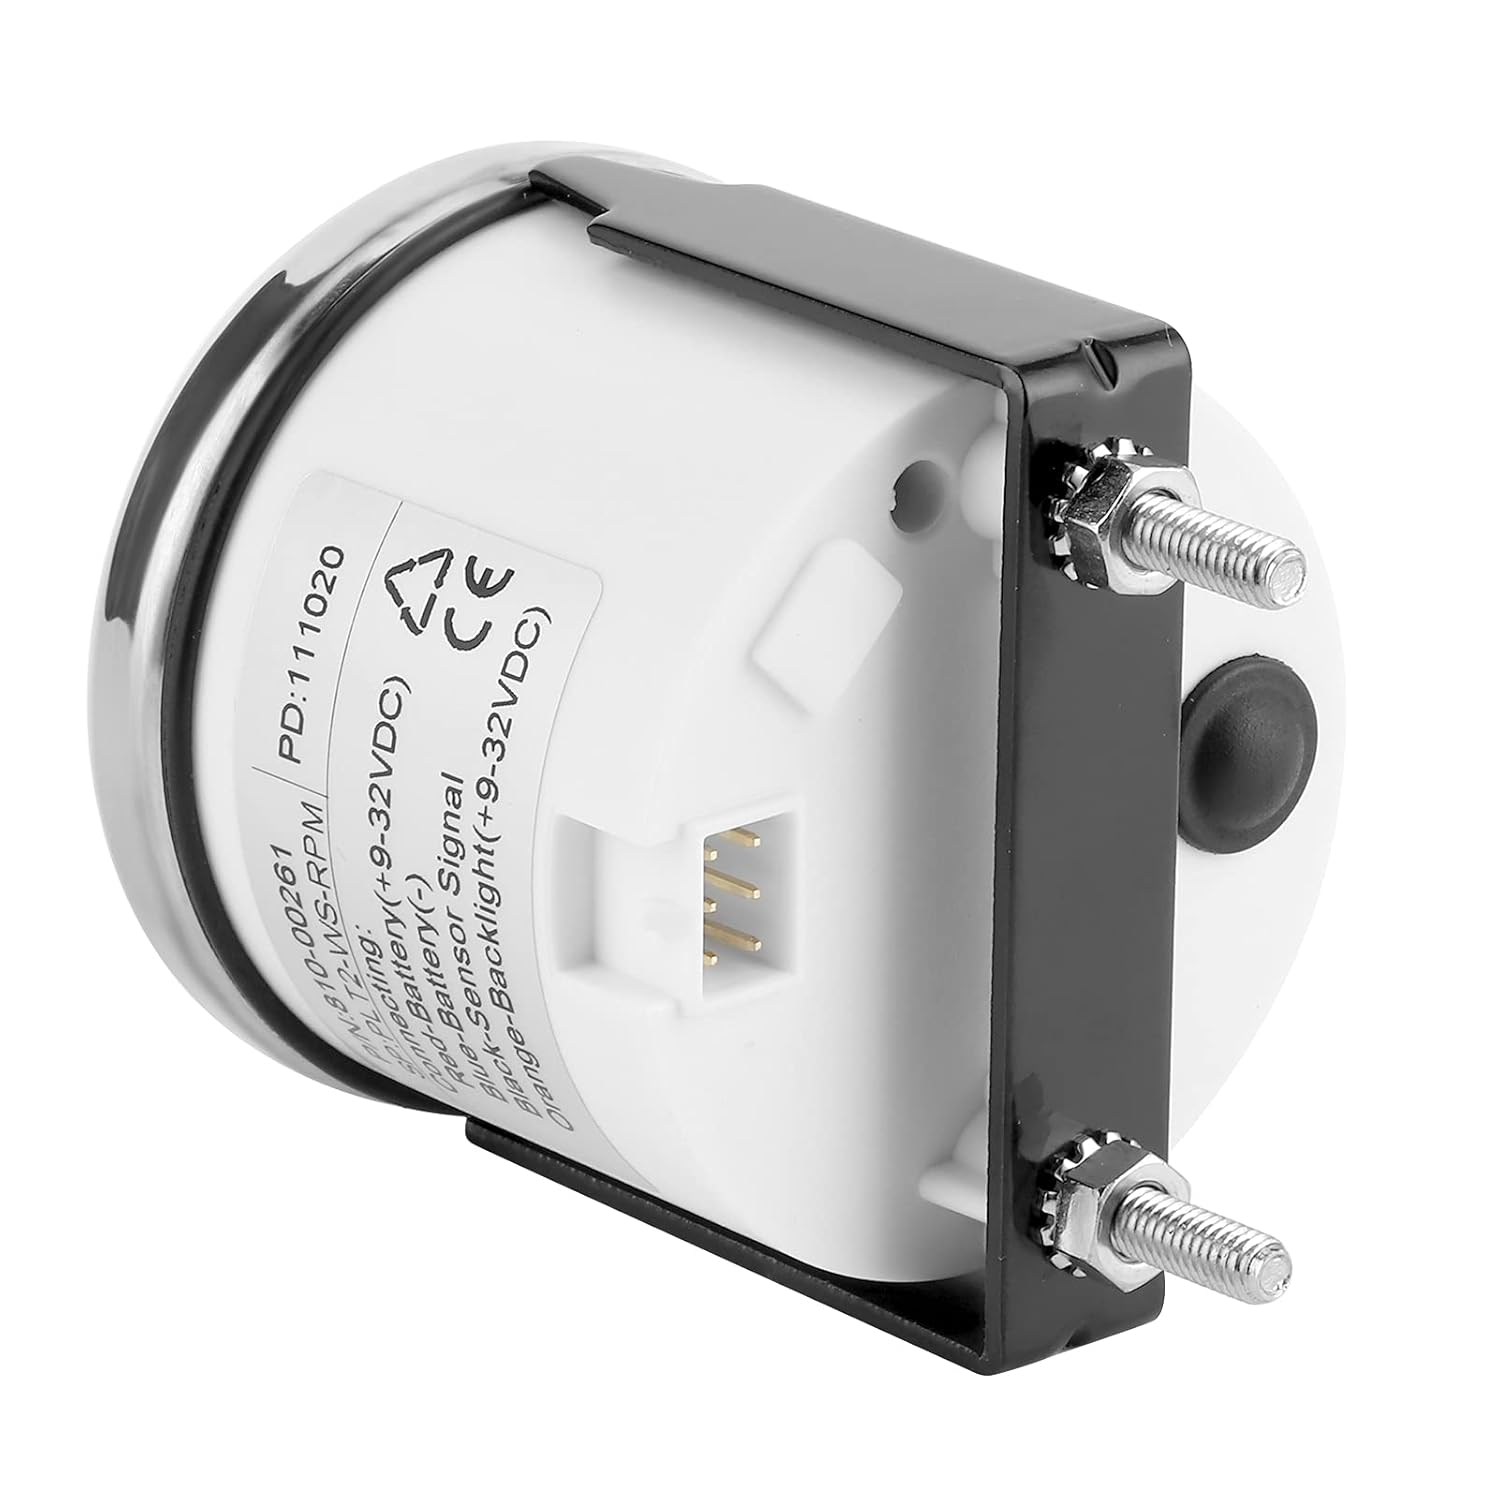
Immagine 4.1: posteriore view of the tachometer, displaying the wiring terminals and connection points.
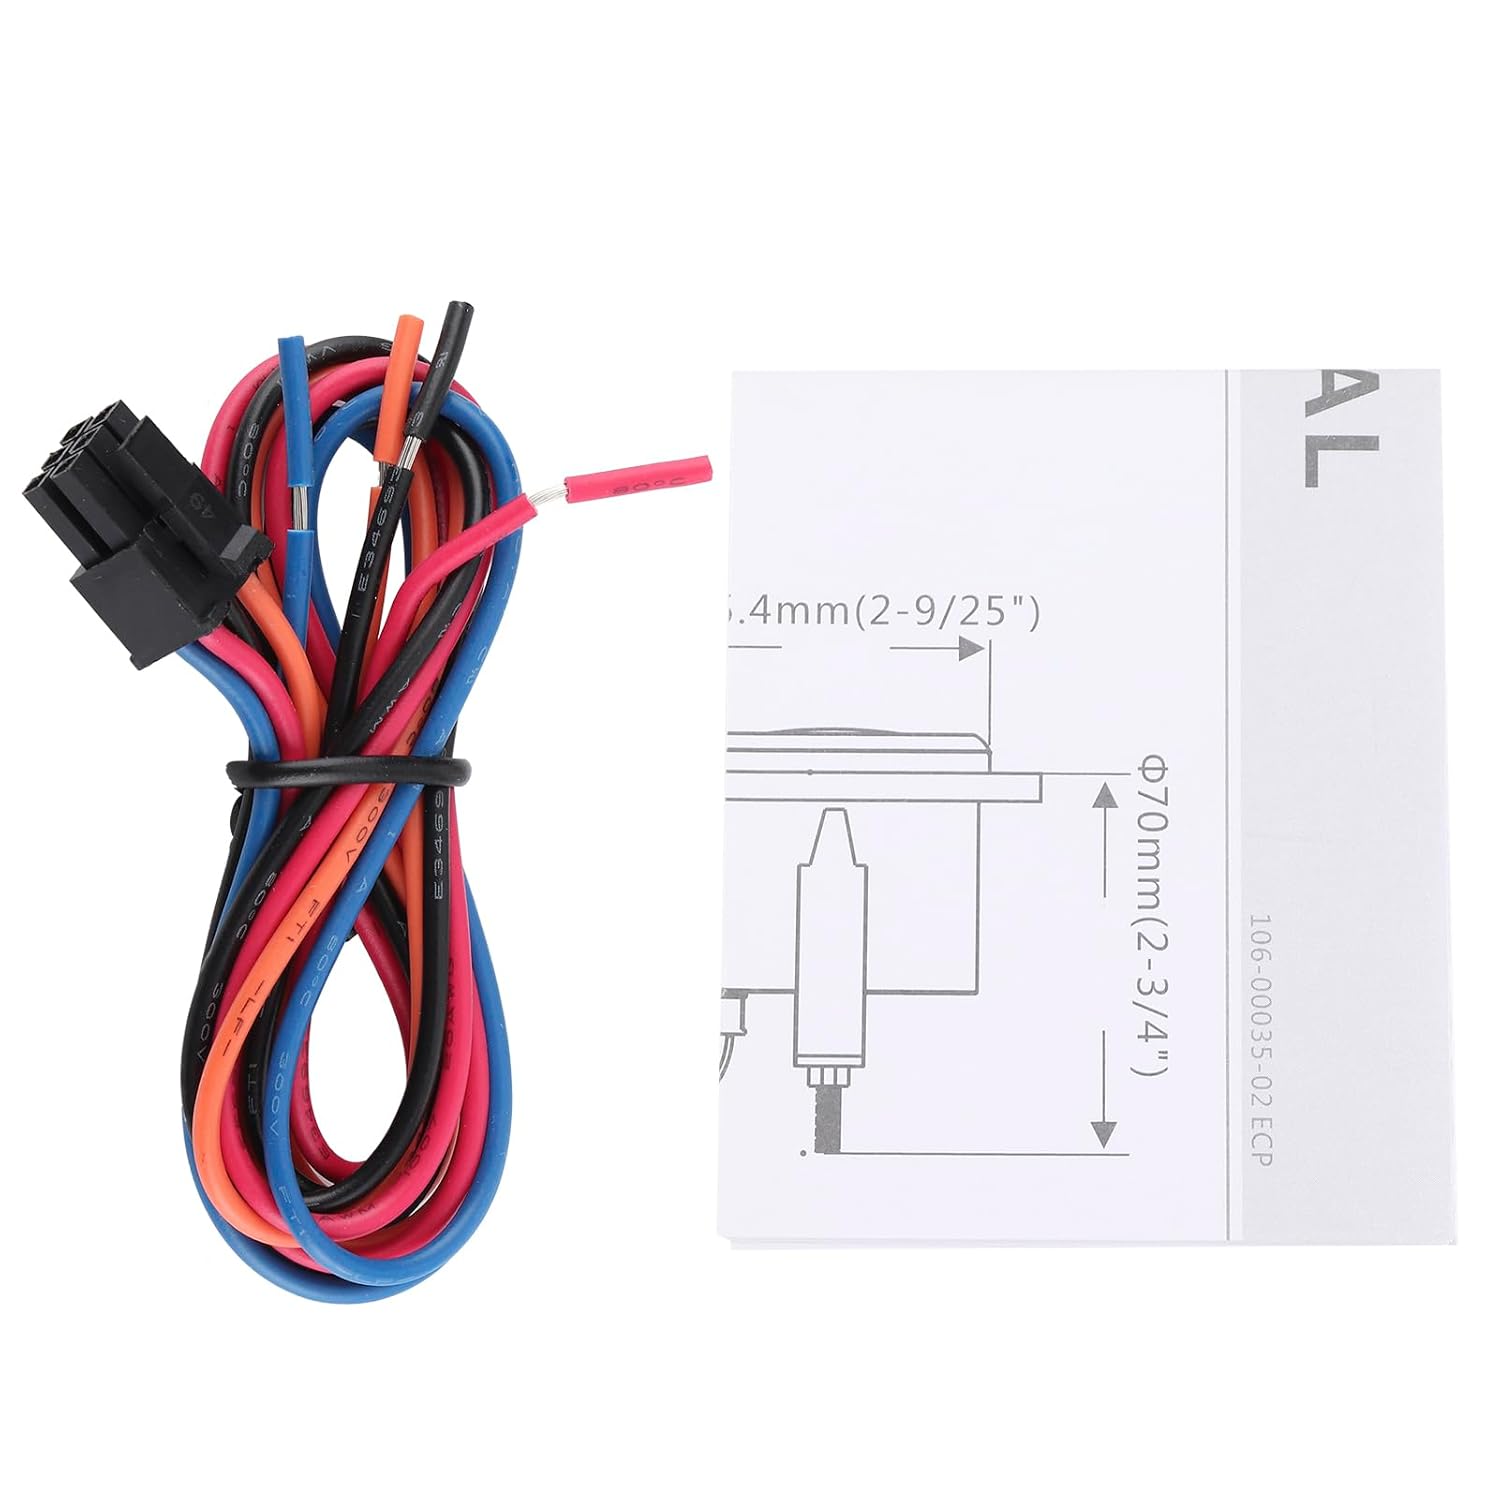
Image 4.2: The included connecting cable harness with color-coded wires for installation.
- Filo rosso: Connect to Battery Positive (+9-32V DC).
- Filo blu: Connect to Battery Negative (-).
- Filo nero: Connect to Signal Input. This receives the pulse signal from your tacho sensor, engine, alternator, ignition coil, or crankshaft sensor.
- Filo arancione/giallo: Connect to Backlight Positive (+9-32V DC). This powers the red backlight.
After all connections are made, ensure they are secure and insulated to prevent short circuits. Reconnect the vehicle's power.
5. Istruzioni per l'uso
The Keenso Digital Tachometer Gauge provides real-time engine RPM and accumulated operating hours on its LCD display.

Immagine 5.1: Primo piano view of the digital display, clearly showing RPM (Revolutions Per Minute) and accumulated operating hours (H).
5.1 Lettura del display
- The large digital numbers indicate the engine's RPM (Revolutions Per Minute), typically displayed as "RPM x10" or similar, meaning the displayed value should be multiplied by 10. The indicating range is 0-9990 RPM.
- The smaller digital numbers, usually accompanied by an "H", display the total accumulated operating hours of the engine.
5.2 Accensione/spegnimento
The gauge will power on automatically when connected to a 9-32V DC power source and will display readings once an engine pulse signal is detected. It powers off when the power source is disconnected.
6. Manutenzione
The Keenso Digital Tachometer Gauge is designed for durability and requires minimal maintenance.
- Pulizia: Pulisci il display e la cornice con un panno morbido eamp cloth. Avoid abrasive cleaners or solvents that could damage the surface or anti-fog coating.
- Resistenza all'acqua: The gauge has an IP67 rating, meaning it is protected against dust and can withstand immersion in water up to 1 meter for 30 minutes. However, prolonged submersion or high-pressure water jets should be avoided.
- Connessioni: Controllare periodicamente i collegamenti elettrici per assicurarsi che siano sicuri e privi di corrosione.
7. Risoluzione Dei Problemi
If you encounter issues with your tachometer gauge, refer to the following common problems and solutions:
- Nessun display/Nessuna alimentazione:
- Check the power connections (Red wire to positive, Blue wire to negative) for proper voltage (9-32V DC) and secure contact.
- Ensure the backlight wire (Orange/Yellow) is correctly connected if the backlight is not illuminating.
- Lettura RPM errata:
- Verify the signal wire (Black) is correctly connected to a reliable pulse signal source (tacho sensor, ignition coil, alternator, crankshaft sensor).
- Ensure the signal source is functioning correctly.
- Check for any loose or corroded connections in the signal line.
- Display Flickering or Intermittent:
- Check all wiring for loose connections or damaged insulation.
- Ensure the power supply is stable and within the 9-32V DC operating range.
If problems persist after attempting these solutions, please contact Keenso customer support for further assistance.
8. Garanzia e supporto
Keenso products are manufactured to high-quality standards. For information regarding warranty coverage, technical support, or service, please refer to the contact information provided with your purchase or visit the official Keenso websito.
When contacting support, please have your product model number (Keenso1ash52fivb-12) and purchase details available.