Introduzione
This manual provides comprehensive instructions for the setup, operation, maintenance, and troubleshooting of your KOORUI GN10 27-inch QHD 240Hz Mini-LED Gaming Monitor. Please read this manual thoroughly before using the product to ensure proper functionality and to prevent damage.
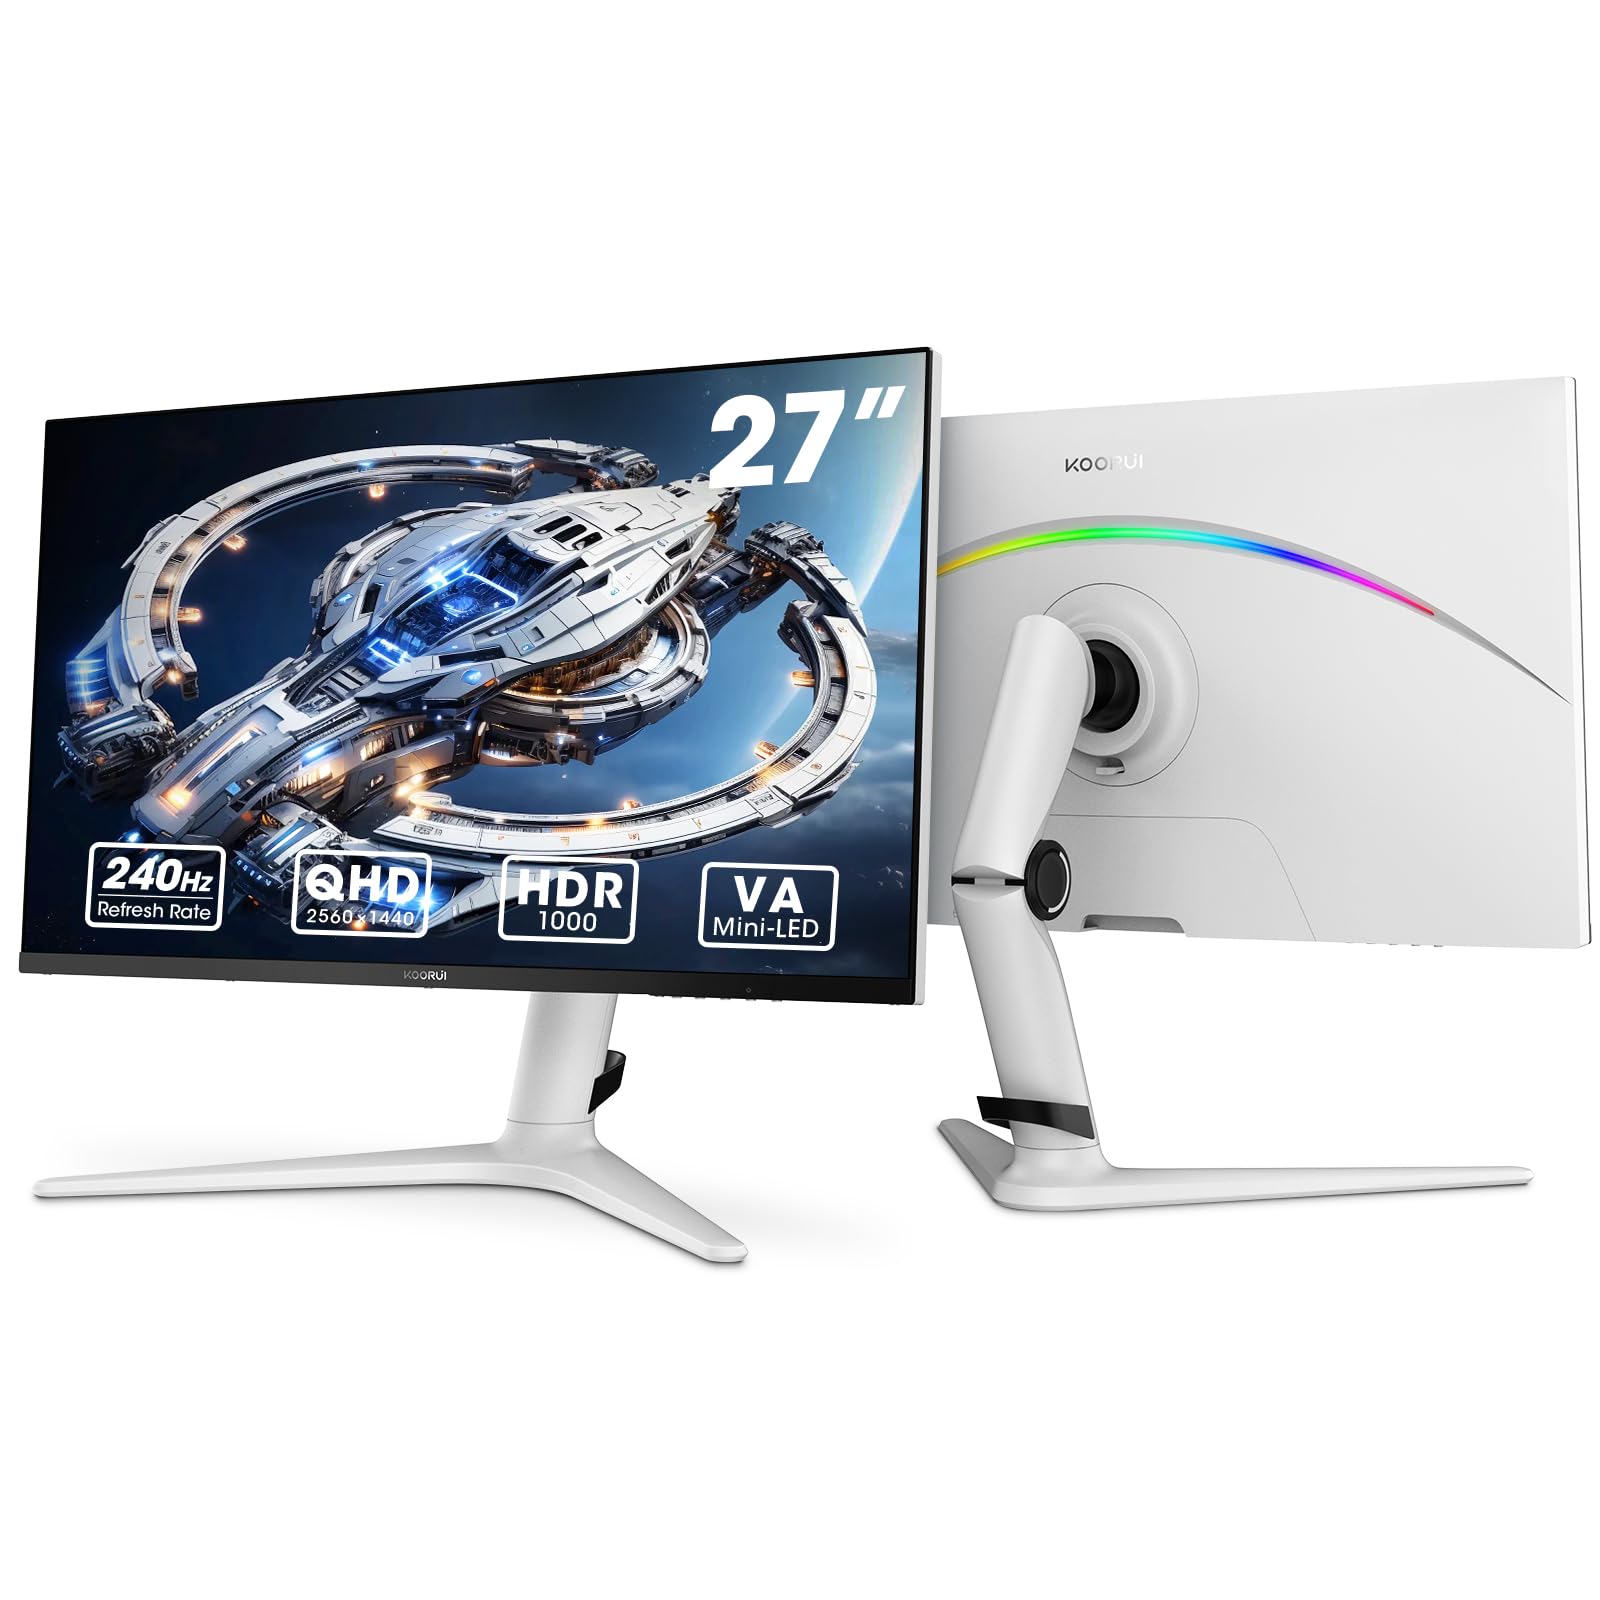
Figure 1: KOORUI GN10 27-inch QHD 240Hz Mini-LED Gaming Monitor.
1. Impostazione
1.1 Disimballaggio e contenuto della confezione
Rimuovere con attenzione tutti i componenti dall'imballaggio. Verificare che siano presenti tutti gli elementi elencati di seguito:
- KOORUI GN10 Monitor
- Supporto per monitor (base e braccio)
- Cavo di alimentazione
- Cavo HDMI (x2)
- Cavo DisplayPort (DP)
- Manuale dell'utente (questo documento)
1.2 Montaggio del supporto
Per montare il supporto del monitor, seguire questi passaggi:
- Attach the stand arm to the monitor panel. Ensure it clicks securely into place or is fastened with screws if provided.
- Connect the stand base to the stand arm. Tighten any screws to secure the base.
- Posizionare il monitor assemblato su una superficie stabile e piana.

Figure 2: Monitor stand showing height, tilt, swivel, and pivot adjustments.
The ergonomic stand allows for height, tilt, swivel, and pivot adjustments to optimize your viewangolo di ing.

Figure 3: Monitor dimensions for placement planning.
1.3 Connessione ai dispositivi
The monitor supports multiple input sources. Connect your computer or gaming console using the provided cables.
- Porta Display (DP): For optimal performance, especially at 240Hz refresh rate and QHD resolution, use the DisplayPort cable.
- HDMI: Two HDMI 2.0 ports are available for connecting other devices such as gaming consoles (PS5, Xbox, Switch) or additional computers.
- Uscita audio: Collegare altoparlanti esterni o cuffie al jack di uscita audio da 3.5 mm.

Figura 4: Posteriore view of the monitor showing available ports (Audio Out, DP 1.4, HDMI 2.0 x2) and VESA mount points.
1.4 Accensione iniziale
- Collegare il cavo di alimentazione al monitor e poi a una presa di corrente.
- Press the power button, usually located on the back or bottom of the monitor, to turn it on.
- The monitor will automatically detect the input source. If not, use the OSD menu to select the correct input.
2. Istruzioni per l'uso
2.1 Menu di visualizzazione su schermo (OSD)
The OSD menu allows you to adjust various monitor settings. Access the OSD menu using the joystick or buttons typically located on the back or bottom of the monitor.
Le opzioni comuni del menu OSD includono:
- Impostazioni immagine: Luminosità, contrasto, nitidezza, gamma.
- Impostazioni colore: Color Temperature, Hue, Saturation, Color Space (sRGB, DCI-P3).
- Selezione input: Passa manualmente tra gli ingressi DisplayPort e HDMI.
- Audio: Controllo del volume per l'uscita audio.
- Caratteristiche di gioco: Adaptive Sync, Response Time (Overdrive), Game Modes.
- Impostazioni OSD: Lingua, Timeout OSD, Trasparenza.
2.2 Impostazioni di visualizzazione
The KOORUI GN10 monitor offers advanced display features for an enhanced visual experience.
- Risoluzione: The native resolution is QHD (2560 x 1440). Ensure your connected device is set to this resolution for optimal clarity.
- Frequenza di aggiornamento: Supports up to 240Hz. Configure your graphics card settings to utilize this high refresh rate for smoother motion.
- Tempo di risposta: Features a 1ms (GtG) response time, reducing motion blur and ghosting in fast-paced content.
- Colore: High Dynamic Range 1000 provides superior contrast and color depth. Enable HDR in your operating system and monitor settings for compatible content.

Figure 5: Visual comparison illustrating the enhanced contrast and detail with HDR 1000 enabled.
Figure 6: Comparison of QHD (2560x1440) and FHD (1920x1080) resolutions, highlighting increased detail with QHD.
2.3 Caratteristiche di gioco
The monitor includes features designed to enhance your gaming experience:
- Adaptive Sync (G-Sync Compatible): Synchronizes the monitor's refresh rate with your GPU's frame rate to eliminate screen tearing and stuttering. Ensure this feature is enabled in both the monitor OSD and your graphics card control panel.
- Game Display Modes: Access specific on-screen overlays via the OSD menu, such as:
- Mirino: Fornisce un mirino sullo schermo per una mira migliore.
- Timer: Displays a countdown timer.
- Contatore FPS: Shows your current frames per second.
- RTS Counter: A specific counter for Real-Time Strategy games.

Figure 7: Illustration of various exclusive game display modes and Adaptive Sync functionality.

Figure 8: Visual representation of smooth gaming experience with 240Hz refresh rate and 1ms response time.
2.4 Illuminazione RGB
The monitor features a crescent RGB light strip on the back. This lighting can be customized through the OSD menu to match your preference or gaming setup.

Figura 9: Posteriore view of the monitor highlighting the customizable RGB light strip.
3. Manutenzione
3.1 Pulizia del monitor
To maintain the monitor's appearance and performance, follow these cleaning guidelines:
- Prima di procedere alla pulizia, spegnere sempre il monitor e scollegare il cavo di alimentazione.
- Utilizzare un panno morbido e privo di lanugine leggermente dampcon acqua o con un detergente per schermi non abrasivo.
- Non spruzzare il detergente direttamente sullo schermo. Applicalo prima sul panno.
- Evitare l'uso di alcol, ammoniaca o detergenti abrasivi, poiché potrebbero danneggiare la superficie dello schermo.
- Pulisci delicatamente lo schermo per rimuovere polvere e macchie.
- Pulisci il monitor casing con un panno morbido e asciutto.
3.2 Cura generale
- Evitare di posizionare oggetti pesanti sul monitor o sui suoi cavi.
- Non esporre il monitor alla luce solare diretta, a calore eccessivo o a freddo estremo.
- Keep the monitor away from liquids and high humidity environments.
- Assicurare un'adeguata ventilazione attorno al monitor per evitare il surriscaldamento.
4. Risoluzione Dei Problemi
Se riscontri problemi con il monitor, fai riferimento ai seguenti problemi comuni e alle relative soluzioni:
| Problema | Possibile causa | Soluzione |
|---|---|---|
| Nessuna immagine sullo schermo |
|
|
| Immagine tremolante o distorta |
|
|
| Nessun suono dall'uscita audio |
|
|
| Sincronizzazione adattiva non funzionante |
|
|
Se il problema persiste dopo aver provato queste soluzioni, contattare l'assistenza clienti.
5. Specifiche
| Caratteristica | Dettaglio |
|---|---|
| Marca | KOORUI |
| Numero di modello | GN10 |
| Dimensioni dello schermo | 27 pollici |
| Risoluzione | QHD Wide 1440p (2560 x 1440) |
| Proporzioni | 16:9 |
| Superficie dello schermo | Opaco |
| Rapporto di contrasto | 20,000,000:1 |
| Frequenza di aggiornamento | Frequenza 240 Hz |
| Tecnologia di visualizzazione | Mini LED |
| Viewangolo di ing | 178 gradi |
| Luminosità | 350 Candela |
| Gamma di colori | Colore: 100% sRGB, 95% DCI-P3 |
| Tempo di risposta | 1 millisecondo (GtG) |
| Porte HDMI | 2 (HDMI2.0) |
| Porta Display | 1 (DP 1.4) |
| Uscita audio | SÌ |
| Sincronizzazione adattiva | Compatibile con G-Sync |
| Caratteristiche aggiuntive | Flicker-Free, Frameless, Height Adjustable, Tilt Adjustable, Swivel Adjustable, Rotatable |
| Colore | Bianco/Grigio |
| Tipo di montaggio | Desk Mount, VESA 75x75mm compatible |
6. Garanzia e supporto
6.1 Informazioni sulla garanzia
The KOORUI GN10 monitor comes with a Garanzia limitata di 3 anno. The display screen is backed for 1 year, and other accessories for 3 years. A 12-month replacement service is also provided for eligible issues.
This warranty covers manufacturing defects and malfunctions under normal use. It does not cover damage caused by misuse, accidents, unauthorized modifications, or external factors.
6.2 Assistenza clienti
For technical assistance, warranty claims, or inquiries regarding missing accessories, please contact KOORUI customer support. Have your product model (GN10) and purchase information ready when contacting support.
Contact information can typically be found on the KOORUI official websito o tramite i canali di supporto del tuo rivenditore.
7. Dimostrazione video del prodotto
Video 1: Video ufficiale del prodotto mostratoasing the KOORUI GN10 Gaming Monitor's features and design.