
1. Introduzione
Thank you for choosing the Seesii 12000PSI Electric Grease Gun. This cordless, battery-powered tool is designed for efficient and effortless greasing of heavy-duty equipment, vehicles, and machinery. Featuring a powerful brushless motor, 3-speed control, and a high-pressure output of up to 12,000 PSI, it simplifies lubrication tasks. Please read this manual thoroughly before operation to ensure safe and effective use.

Figure 1: Electric Grease Gun vs. Manual Greasing
2. Cosa c'è nella scatola
Carefully unpack all components and ensure everything listed below is present and undamaged. If any items are missing or damaged, please contact customer support.
- 1x Cordless Electric Grease Gun
- 2x 2000 mAh Batteries
- 1x Caricabatteria
- 1x Standard Coupler
- 1x Quick Release Coupler
- 1x Sharp Type Nozzle
- 1x 90° Coupler Adapter
- 1x 39.4" Flexible Hose
- 1x tubo di prolunga
- 1x tracolla
- 1x Manuale utente (questo documento)
- 1x Custodia di stoccaggio
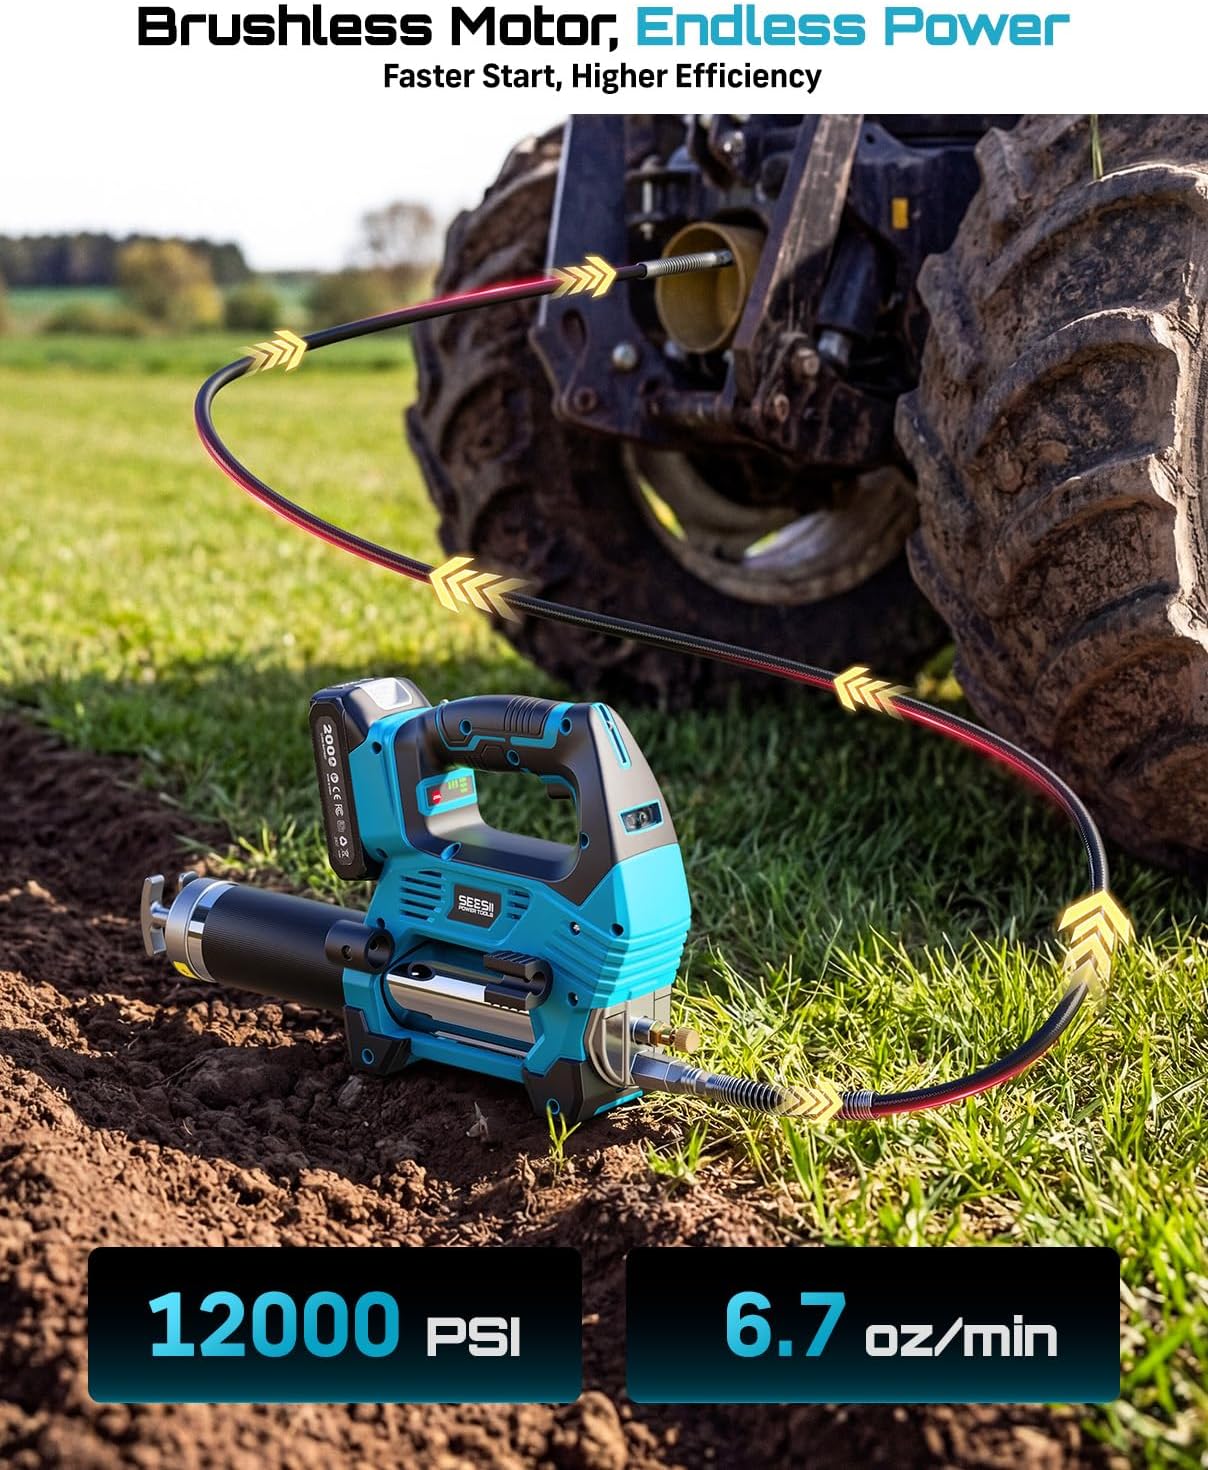
Figura 2: Contenuto completo del kit
3. Informazioni sulla sicurezza
AVVERTENZA: Leggere attentamente tutte le avvertenze e le istruzioni di sicurezza prima di utilizzare questo prodotto. La mancata osservanza delle avvertenze e delle istruzioni può causare scosse elettriche, incendi e/o lesioni gravi.
- Indossare sempre dispositivi di protezione individuale adeguati, tra cui occhiali di sicurezza, guanti e protezioni acustiche.
- Mantenere l'area di lavoro pulita e ben illuminata. Le aree disordinate o buie favoriscono gli incidenti.
- Non utilizzare utensili elettrici in atmosfere esplosive, ad esempio in presenza di liquidi, gas o polveri infiammabili.
- Tenere lontani bambini e astanti mentre si utilizza un elettroutensile. Le distrazioni possono causare la perdita del controllo.
- Evitare l'avvio accidentale. Assicurarsi che l'interruttore sia in posizione di spegnimento prima di inserire la batteria, sollevare o trasportare l'utensile.
- Do not force the grease gun. Use the correct tool for your application.
- Scollegare la batteria dall'utensile prima di effettuare qualsiasi regolazione, cambiare accessori o riporre gli utensili elettrici.
- Conservare gli elettroutensili inutilizzati fuori dalla portata dei bambini e non consentire a persone che non hanno familiarità con l'elettroutensile o con le presenti istruzioni di utilizzarlo.
- Mantenere gli utensili elettrici. Verificare il disallineamento o il bloccaggio delle parti mobili, la rottura delle parti e qualsiasi altra condizione che possa influire sul funzionamento dell'utensile elettrico.
- Utilizzare l'utensile elettrico, gli accessori e le punte dell'utensile in conformità con queste istruzioni, tenendo conto delle condizioni di lavoro e del lavoro da eseguire.
4. Impostazione
4.1 Installazione e ricarica della batteria
- Ensure the grease gun is switched off.
- Align the battery pack with the battery port on the grease gun handle.
- Inserire la batteria nella porta finché non scatta in posizione.
- Per rimuoverla, premere il pulsante di rilascio della batteria e farla scorrere fuori.
- To charge, connect the charger to a power outlet and then to the battery. The indicator light on the charger will show charging status.

Figure 3: Battery Installation and Charging
4.2 Loading Grease (Cartridge or Bulk)
The grease gun supports both 14 oz grease cartridges and bulk grease loading.
Caricamento della cartuccia:
- Svitare la canna dalla testa della pistola per grasso.
- Tirare completamente indietro l'asta dello stantuffo e bloccarla in posizione.
- Rimuovere entrambe le estremità della cartuccia di grasso.
- Inserire la cartuccia nella canna.
- Reattach the barrel to the grease gun head.
- Rilasciare l'asta dello stantuffo.
Bulk Loading:
- Svitare la canna dalla testa della pistola per grasso.
- Tirare completamente indietro l'asta dello stantuffo e bloccarla in posizione.
- Using a spatula or similar tool, carefully fill the barrel with bulk grease (max capacity: 14 oz).
- Reattach the barrel to the grease gun head.
- Rilasciare l'asta dello stantuffo.

Figure 4: Grease Loading Options
Video 1: How to correctly operate the T-plunger for grease loading and priming.
4.3 Attaching Hose and Couplers
- Screw the flexible hose onto the grease gun outlet. Ensure it is tightened securely to prevent leaks.
- Select the appropriate coupler (Standard, Quick Release, or Sharp Type Nozzle) for your application.
- Attach the chosen coupler to the end of the flexible hose. For hard-to-reach areas, the 90° Coupler Adapter can be used in conjunction with any of the couplers.

Figure 5: Available Grease Couplers

Figure 6: 90-Degree Coupler Adapter for Tight Spaces
5. Istruzioni per l'uso
5.1 Accensione e controllo della velocità
- Assicurarsi che la batteria installata sia carica.
- Press the power button to turn on the grease gun.
- Use the 3-speed control button to select the desired grease flow rate:
- Low Speed (5 oz/min): For precision work or applications requiring less pressure.
- Medium Speed (7 oz/min): For general maintenance on standard equipment.
- High Speed (9 oz/min): For heavy-duty applications, clearing clogged fittings, or faster grease delivery.

Figure 7: 3-Speed Control for Precise Greasing
5.2 Greasing Procedura
- Clean the grease fitting before attaching the coupler to prevent contamination.
- Attach the chosen coupler firmly to the grease fitting.
- Press the trigger to begin greasing. The LED work light will illuminate the area.
- For continuous operation, press and lock the trigger. This allows for hands-free greasing and reduces hand fatigue.
- Monitor the grease flow and stop when the desired amount of grease has been applied or when fresh grease appears.
- Release the trigger (or unlock if in continuous mode) and detach the coupler from the fitting.

Figure 8: Hands-Free Greasing with Shoulder Strap
Video 2: Demonstration of the Seesii 12000PSI Electric Grease Gun in operation.
5.3 Lampada da lavoro a LED
The integrated LED work light automatically activates when the trigger is pressed, providing illumination for dark or tight spaces, improving accuracy and visibility during greasing.
6. Manutenzione
Regular maintenance ensures the longevity and optimal performance of your Seesii Electric Grease Gun.
- Pulizia: After each use, wipe down the grease gun with a clean cloth to remove any excess grease or dirt. Do not use harsh chemicals or solvents.
- Hose and Coupler Inspection: Regularly inspect the flexible hose and couplers for signs of wear, cracks, or damage. Replace any damaged components immediately.
- Cura della batteria: Store batteries in a cool, dry place. Do not expose them to extreme temperatures. Charge batteries fully before long-term storage and recharge every 3-6 months to maintain battery health.
- Magazzinaggio: Store the grease gun and its accessories in the provided storage case in a dry, secure location, away from direct sunlight and extreme temperatures.
7. Risoluzione Dei Problemi
If you encounter issues with your grease gun, refer to the following table for common problems and solutions.
| Problema | Possibile causa | Soluzione |
|---|---|---|
| Nessun flusso di grasso | Empty grease cartridge/barrel Sacca d'aria nella canna Clogged fitting Batteria scarica/morta | Replace cartridge or refill bulk grease Bleed air from the system (refer to video 1) Clean or replace fitting Caricare o sostituire la batteria |
| Bassa pressione | Sacca d'aria nella canna Collegamenti allentati Componenti della pompa usurati | Spurgare l'aria dal sistema Tighten all hose and coupler connections Contatta l'assistenza clienti per ricevere assistenza |
| Grease leaks from connections | Collegamenti allentati O-ring/guarnizioni danneggiati | Stringere i collegamenti Ispezionare e sostituire gli O-ring/guarnizioni |
| La pistola non si accende | Batteria non installata correttamente La batteria è scarica Interruttore difettoso | Reinstallare la batteria in modo sicuro Caricare la batteria Contatta il supporto clienti |
8. Specifiche
| Caratteristica | Dettaglio |
|---|---|
| Marca | Sesii |
| Modello | GR02 Utral |
| Pressione massima | 12,000 bar |
| Portata | Low: 5 oz/min, Medium: 7 oz/min, High: 9 oz/min |
| Tipo di motore | Senza spazzole |
| Tipo di batteria | 2x 2000 mAh (included), compatible with Makita 18V batteries |
| Lunghezza del tubo flessibile | 39.4 pollici (flessibile) |
| Capacità di grasso | 14 oz cartridge or bulk |
| Compatible Grease | NLGI #0-2 type grease |
| Peso | 6.16 libbre (peso dell'articolo) |
| Caratteristiche | LED Work Light, Stable Base, Automatic Pumping Mode, Shoulder Strap |
9. Garanzia e supporto
Seesii products are manufactured to high-quality standards. This product comes with a manufacturer's warranty against defects in materials and workmanship. For specific warranty details, please refer to the warranty card included in your product packaging or visit the official Seesii websito.
For technical support, troubleshooting assistance, or to inquire about replacement parts, please contact Seesii customer service. Our team is available to assist you with any questions or concerns you may have.
Contatto dell'assistenza clienti:
- Refer to your product packaging or the official Seesii websito per le informazioni di contatto più aggiornate.