
1. Introduzione
The NYXI Warrior Wireless Switch Controller is a versatile gaming peripheral designed for enhanced gameplay across multiple platforms. It features advanced technologies such as Hall Effect Joysticks and Triggers for precision and longevity, micro mechanical switch buttons for rapid response, HD Rumble for immersive feedback, and a 6-axis gyroscope for motion sensing. This controller is compatible with Nintendo Switch, Nintendo GameCube (NGC), Wii, and PC.

Image: NYXI Warrior controllers in various colors, highlighting the product line.
2. Contenuto della confezione
- NYXI Warrior Wireless Switch Controller
- Ricevitore wireless USB
- Cavo di ricarica USB-C
- Manuale dell'utente (questo documento)

Image: The NYXI Warrior controller and its wireless receiver.
3. Guida all'installazione
3.1 Ricarica del controller
Before first use, fully charge the controller. Connect the supplied USB-C charging cable to the controller's USB-C port and the other end to a USB power source (e.g., console, PC, or USB wall adapter). The indicator lights on the controller will show charging status and turn off when fully charged. A full charge typically takes approximately 2-3 hours.
3.2 Connessione ai dispositivi
3.2.1 Connessione Nintendo Switch
- Accendi la tua console Nintendo Switch.
- Dal menu HOME, seleziona Controllori, Poi Cambia impugnatura/ordine.
- Premere e tenere premuto il tasto Pulsante di associazione on the top of the NYXI Warrior controller for 3 seconds until the indicator lights begin to flash rapidly.
- Una volta effettuato il collegamento, la spia luminosa corrispondente sul controller rimarrà accesa fissa.
3.2.2 PC/NGC/Wii Connection (via USB Wireless Receiver)
- Insert the USB Wireless Receiver into an available USB port on your PC, NGC, or Wii console.
- Ensure the NYXI Warrior controller is powered on.
- The controller should automatically connect to the receiver. The indicator light on the receiver and controller will become solid once a connection is established.
- For PC, additional driver installation may be required depending on the operating system. Refer to your PC's documentation for USB device setup.

Image: The NYXI Warrior controller connected to a laptop via its USB receiver, demonstrating PC compatibility.

Image: The NYXI Warrior controller with a Nintendo Wii console, illustrating Wii compatibility.
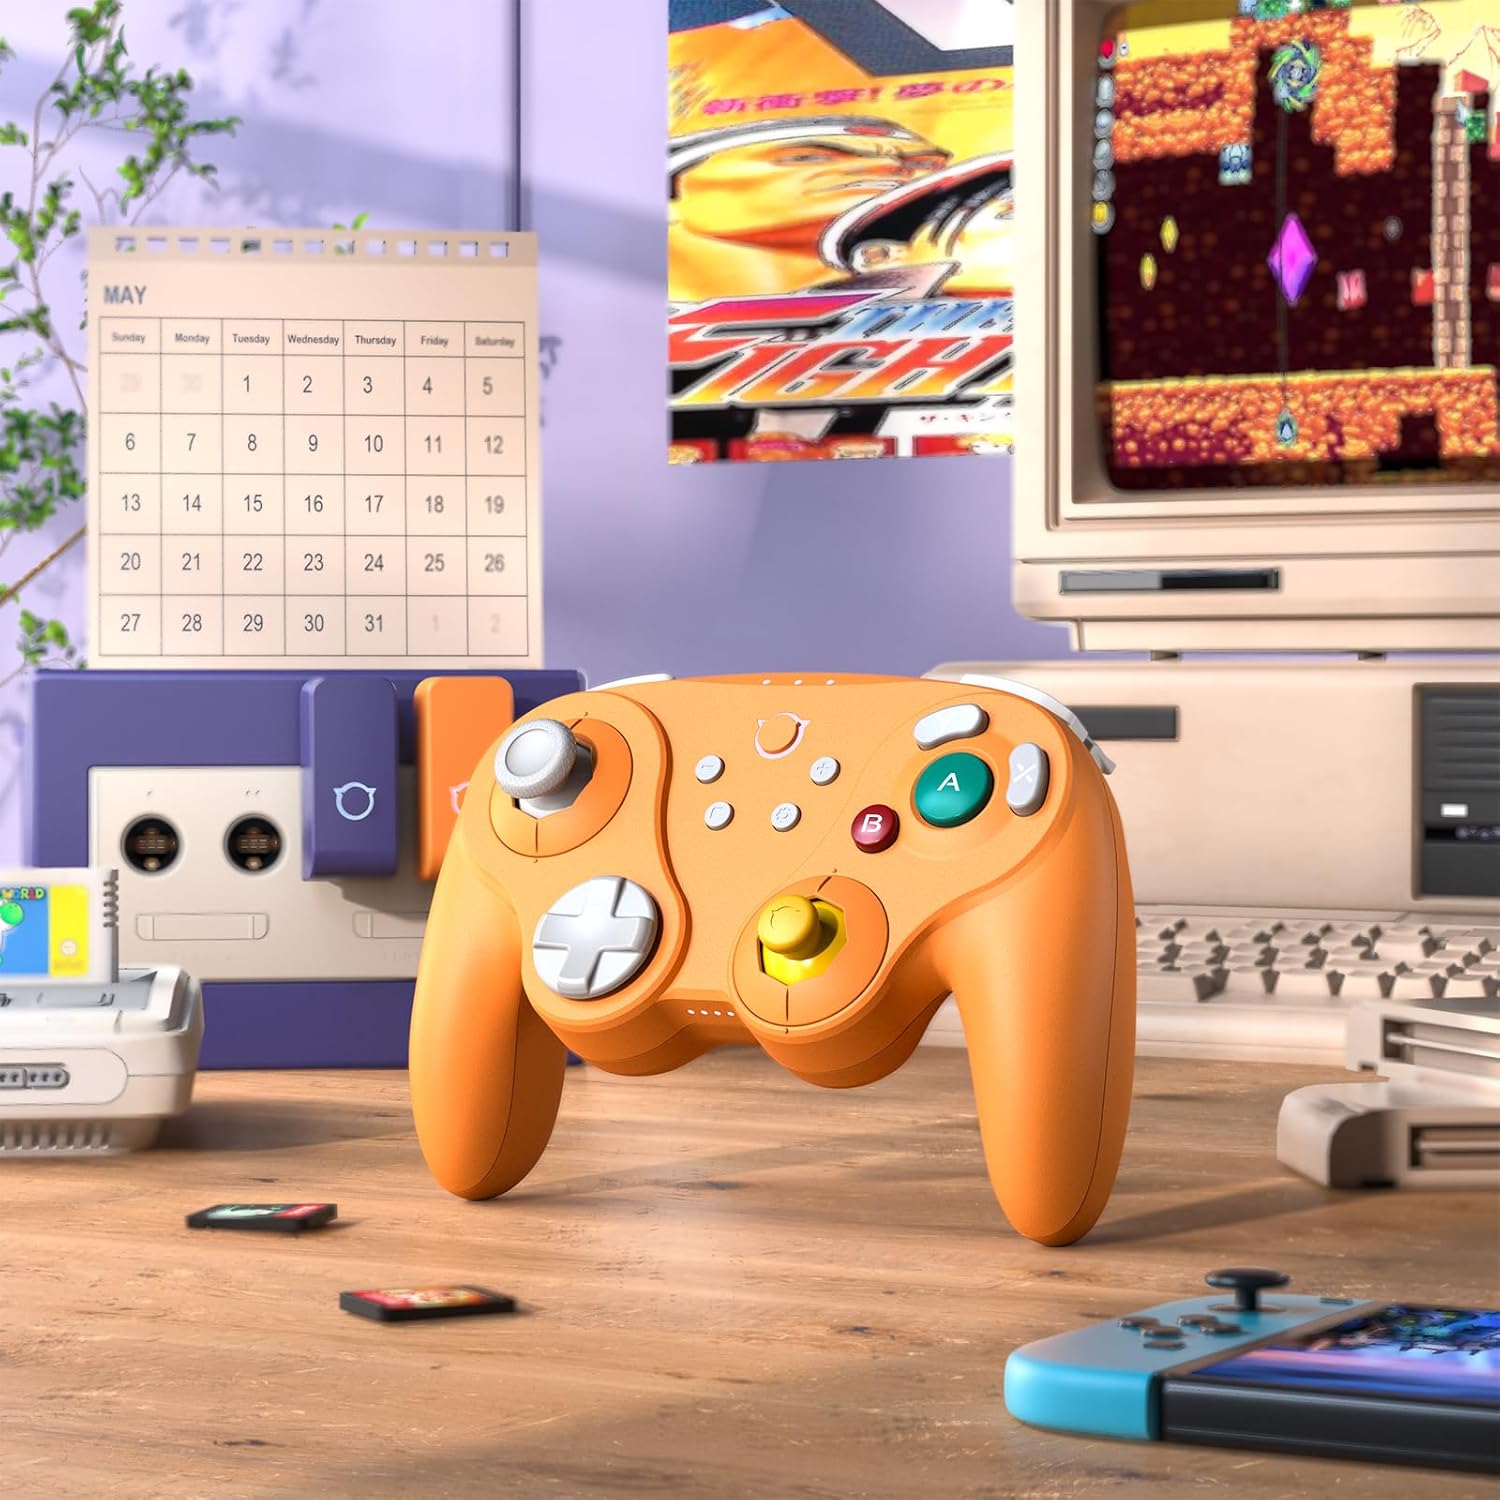
Image: The NYXI Warrior controller with a retro gaming setup, illustrating GameCube compatibility.
4. Istruzioni per l'uso
4.1 Disposizione e funzioni dei pulsanti
The NYXI Warrior controller features a comprehensive button layout for various gaming needs:
- Levetta analogica sinistra: Per il controllo del movimento e della telecamera.
- Tasto direzionale: Input direzionale.
- Levetta analogica destra: Per il controllo della telecamera o per azioni specifiche nel gioco.
- Pulsanti A/B/X/Y: Action buttons with micro mechanical switches for precise and rapid input.
- Pulsanti L/R: Bottoni sulle spalle.
- Trigger ZL/ZR: Hall Effect analog triggers for precise input, adjustable for different gameplay styles.
- +/- Pulsanti: Start/Select or Menu functions.
- Pulsante Home: Ritorna alla schermata iniziale della console.
- Pulsante Screenshot: Cattura schermate.
- Programmable Back Paddles (M1/M2): Located on the underside, these can be assigned to various button functions.

Immagine: Frontale view of the NYXI Warrior controller, illustrating its button layout.

Immagine: Indietro view of the NYXI Warrior controller, highlighting the programmable back paddles.

Immagine: Parte superiore anteriore view of the NYXI Warrior controller, showing triggers and charging port.

Image: Two users playing with NYXI Warrior controllers, demonstrating in-game use.
4.2 Funzionalità avanzate
4.2.1 Joystick e trigger ad effetto Hall
The controller utilizes Hall Effect technology for its joysticks and triggers. This magnetic sensing technology prevents stick drift and ensures precise, long-lasting input. The triggers are also adjustable, allowing users to fine-tune their activation distance based on personal preference or game requirements.

Image: Illustration of the Hall Effect Joystick technology.

Image: Adjustable Hall Sensing Triggers feature.
4.2.2 Micro Mechanical Switch Buttons
The A/B/X/Y buttons and D-pad utilize micro mechanical switches, offering a short travel distance of approximately 0.3mm and a response speed of 0.2ms. This design provides tactile feedback and minimal latency, crucial for competitive gaming.

Image: Microswitches for A/B/X/Y buttons and D-pad.
4.2.3 Giroscopio a 6 assi
The integrated 6-axis gyroscope supports motion sensing, particularly useful for games on the Nintendo Switch that utilize tilt or motion controls.

Image: 6-Axis Gyroscope feature illustration.
4.2.4 HD Rumble
The controller features HD Rumble, providing enhanced vibration feedback that can convey a wider range of sensations, from subtle tremors to powerful impacts, enriching the gaming experience.

Image: HD Rumble feature illustration.
4.2.5 Programmable Back Paddles and Turbo Function
The interchangeable back paddles (M1 and M2) can be programmed to replicate other button inputs, offering additional customization and ergonomic advantages. The controller also supports a turbo function for rapid, repeated button presses. Refer to the specific programming instructions provided with the controller for detailed steps on assigning functions to the back paddles and activating turbo mode.

Image: Interchangeable Back Paddle Design.
5. Manutenzione
- Pulizia: Utilizzare un panno morbido e asciutto per pulire la superficie del controller. Per lo sporco ostinato, leggermente dampLavare il panno con acqua. Evitare l'uso di prodotti chimici aggressivi o materiali abrasivi.
- Magazzinaggio: Conservare il controller in un luogo fresco e asciutto, lontano dalla luce solare diretta e da temperature estreme.
- Cura della batteria: To prolong battery life, avoid fully discharging the controller frequently. If storing for an extended period, charge the battery to approximately 50% every few months.
- Gestione: Evitare di far cadere il controller o di sottoporlo a forti urti, poiché ciò potrebbe danneggiare i componenti interni.
6. Risoluzione Dei Problemi
6.1 Il controller non si connette
- Assicurarsi che il controller sia sufficientemente carico.
- Verify the USB Wireless Receiver is securely plugged into the console/PC.
- For Switch, ensure you are in the "Change Grip/Order" menu.
- Try re-pairing the controller by pressing the pairing button.
- Riavvia la console/PC e il controller.
6.2 Input Lag o pulsanti non reattivi
- Ensure there are no strong wireless interference sources nearby (e.g., Wi-Fi routers, other wireless devices).
- Avvicinatevi alla console/PC.
- Check if the controller's battery is low.
- Perform a controller reset (refer to manufacturer's specific reset procedure if available, typically a small pinhole button).
6.3 Calibrazione del joystick
While Hall Effect joysticks are designed to prevent drift, if you experience any unusual behavior, you may need to recalibrate them through your console's system settings (e.g., Nintendo Switch System Settings > Controllers and Sensors > Calibrate Control Sticks).
7. Specifiche
| Numero di modello | Guerriero |
| ASIN | B0FB9577L9 |
| Dimensioni del pacco | 7.64 x 7.52 x 3.58 pollici |
| Peso dell'articolo | 1.54 libbre |
| Batterie | 1 batteria agli ioni di litio (inclusa) |
| Data prima disponibilità | 24 marzo 2025 |
8. Garanzia e supporto
For information regarding warranty coverage, technical support, or replacement parts, please refer to the official NYXI webo contattare il rivenditore presso il quale è stato acquistato il prodotto. Conservare la prova d'acquisto per eventuali reclami in garanzia.
Official NYXI Store: NYXI Store on Amazon