
1. Introduzione
This manual provides detailed instructions for the installation, operation, and maintenance of your Bewinner Solar Powered 4G LTE WiFi 6 Outdoor Router. This device is designed to provide reliable internet connectivity in outdoor and remote environments, utilizing solar power and a 4G LTE connection. Please read this manual thoroughly before using the product to ensure proper function and safety.
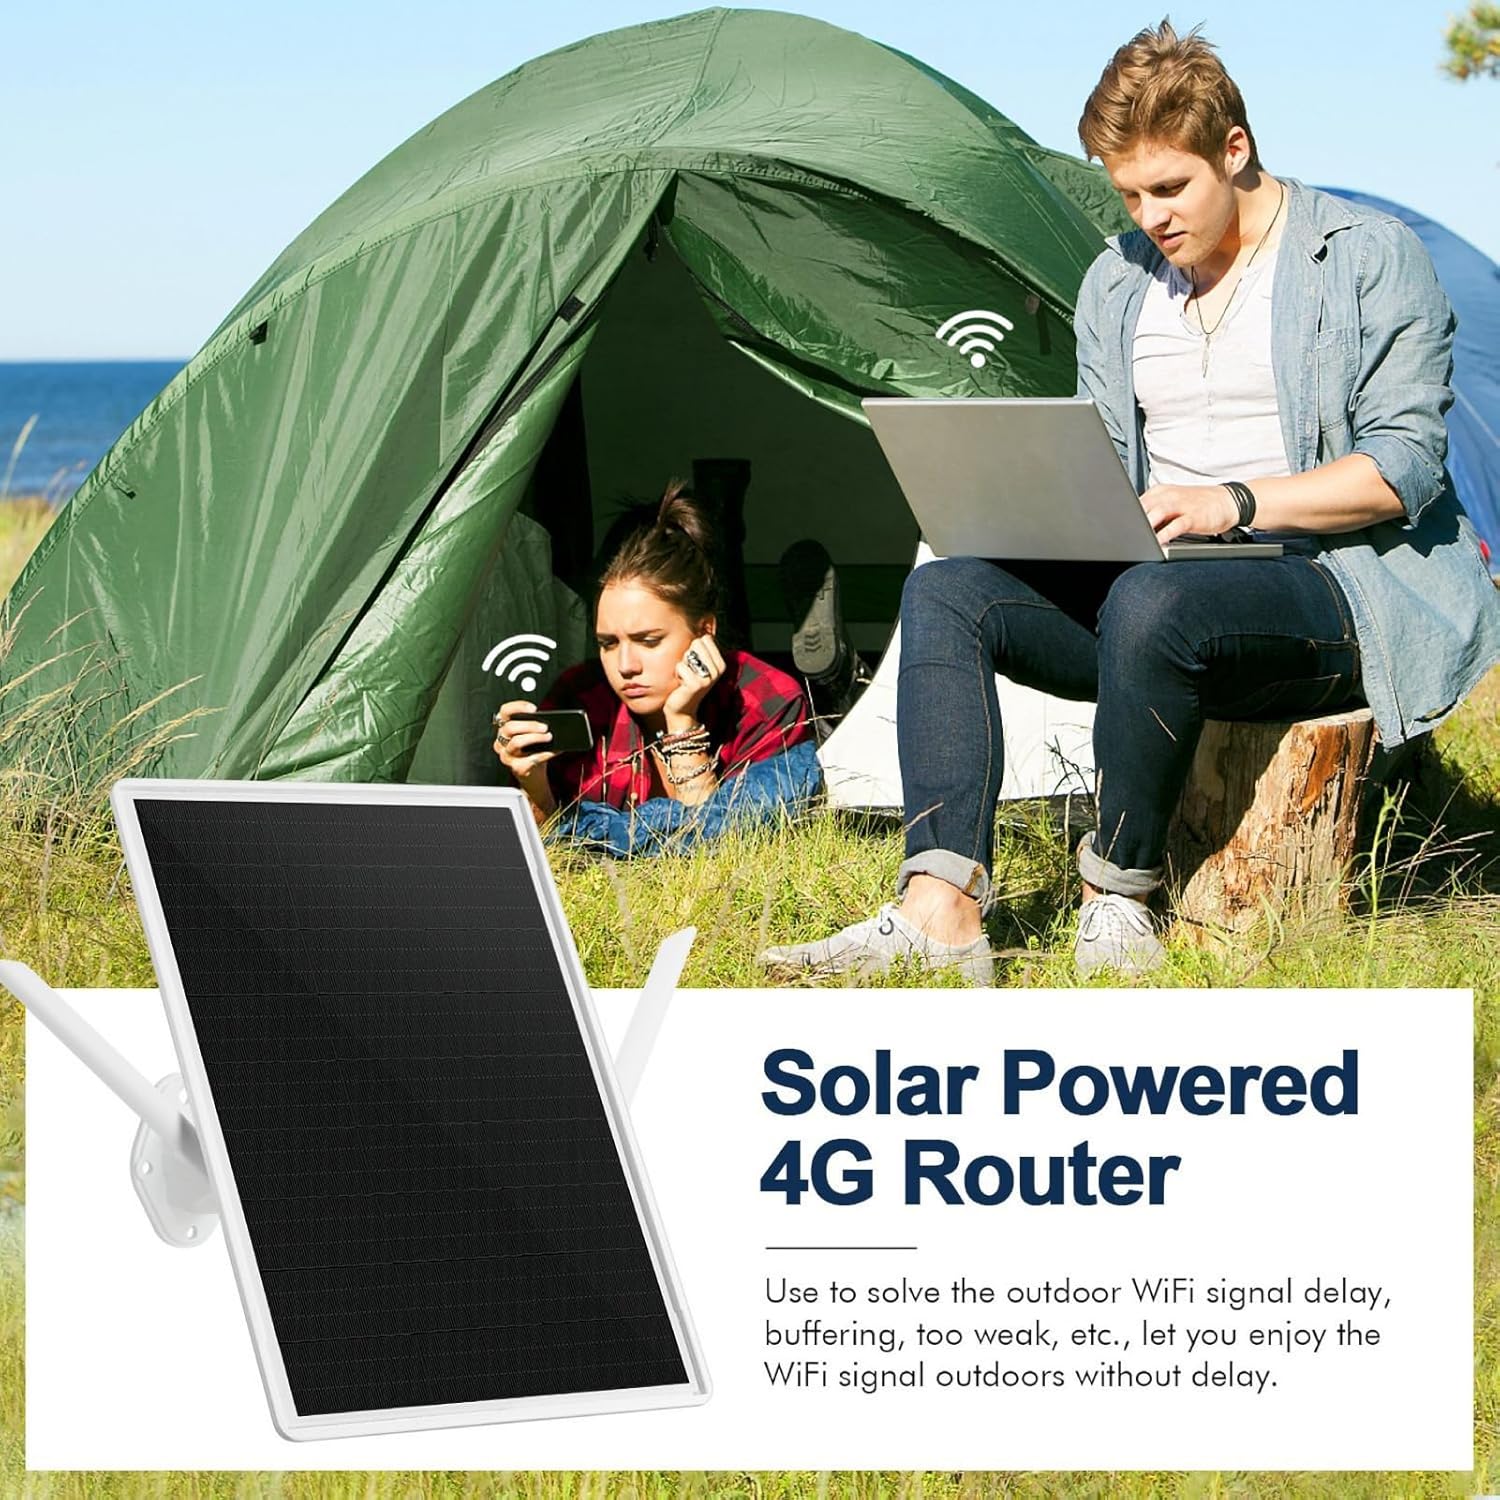
Image 1: The Bewinner Solar Powered 4G Router providing internet access to individuals in an outdoor campimpostazione.
2. Prodotto finitoview
Caratteristiche principali:
- Ricarica solare: Integrated 15W solar panel for continuous power without external cabling.
- Potenza affidabile: Built-in 20000mAh battery provides up to 7 days of operation, even during rainy weather.
- Copertura estesa: WiFi 6 technology extends coverage up to 50 meters (164 feet) with 300 Mbps speed and 2.4G WiFi compatibility.
- Design resistente alle intemperie: IP66-rated enclosure withstands humidity (10% to 90% non-condensing) and extreme temperatures (-40°C to +80°C).
- Outdoor Suitability: Ideale per camping, RV travel, hiking, fishing, and other remote outdoor activities.
Cosa c'è nella scatola:
- Bewinner Solar Powered 4G LTE WiFi 6 Outdoor Router Unit
- Staffa di montaggio e hardware
- Manuale d'uso
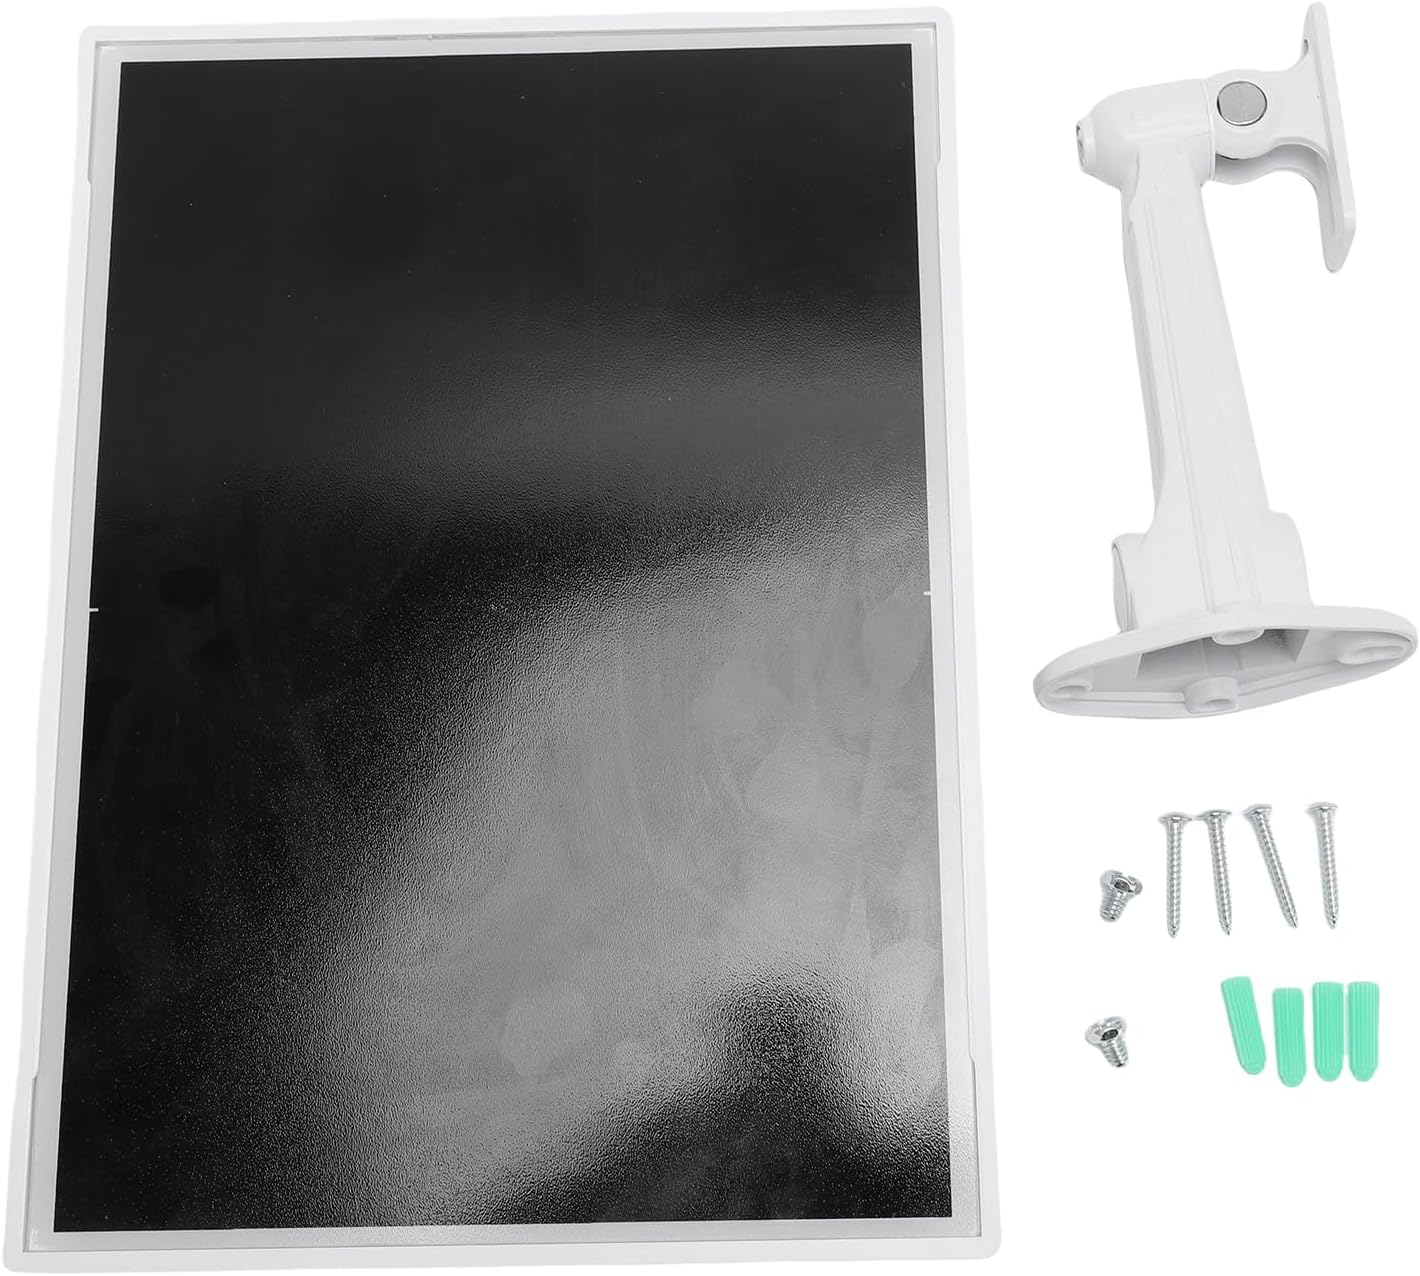
Image 2: The main components included with the router: the solar panel unit and its mounting bracket with screws.

Immagine 3: posteriore view of the router unit, highlighting the external antennas for WiFi and cellular connectivity.
3. Istruzioni per l'installazione
3.1 Installazione della scheda SIM
- Locate the SIM card slot on the router unit. It is usually protected by a rubber cover.
- Carefully open the rubber cover.
- Inserire una scheda SIM 4G LTE standard nello slot con i contatti dorati rivolti verso il basso e l'angolo dentellato allineato correttamente.
- Spingere delicatamente la scheda SIM finché non scatta in posizione.
- Chiudere bene il coperchio in gomma per mantenere il grado di impermeabilità IP66.
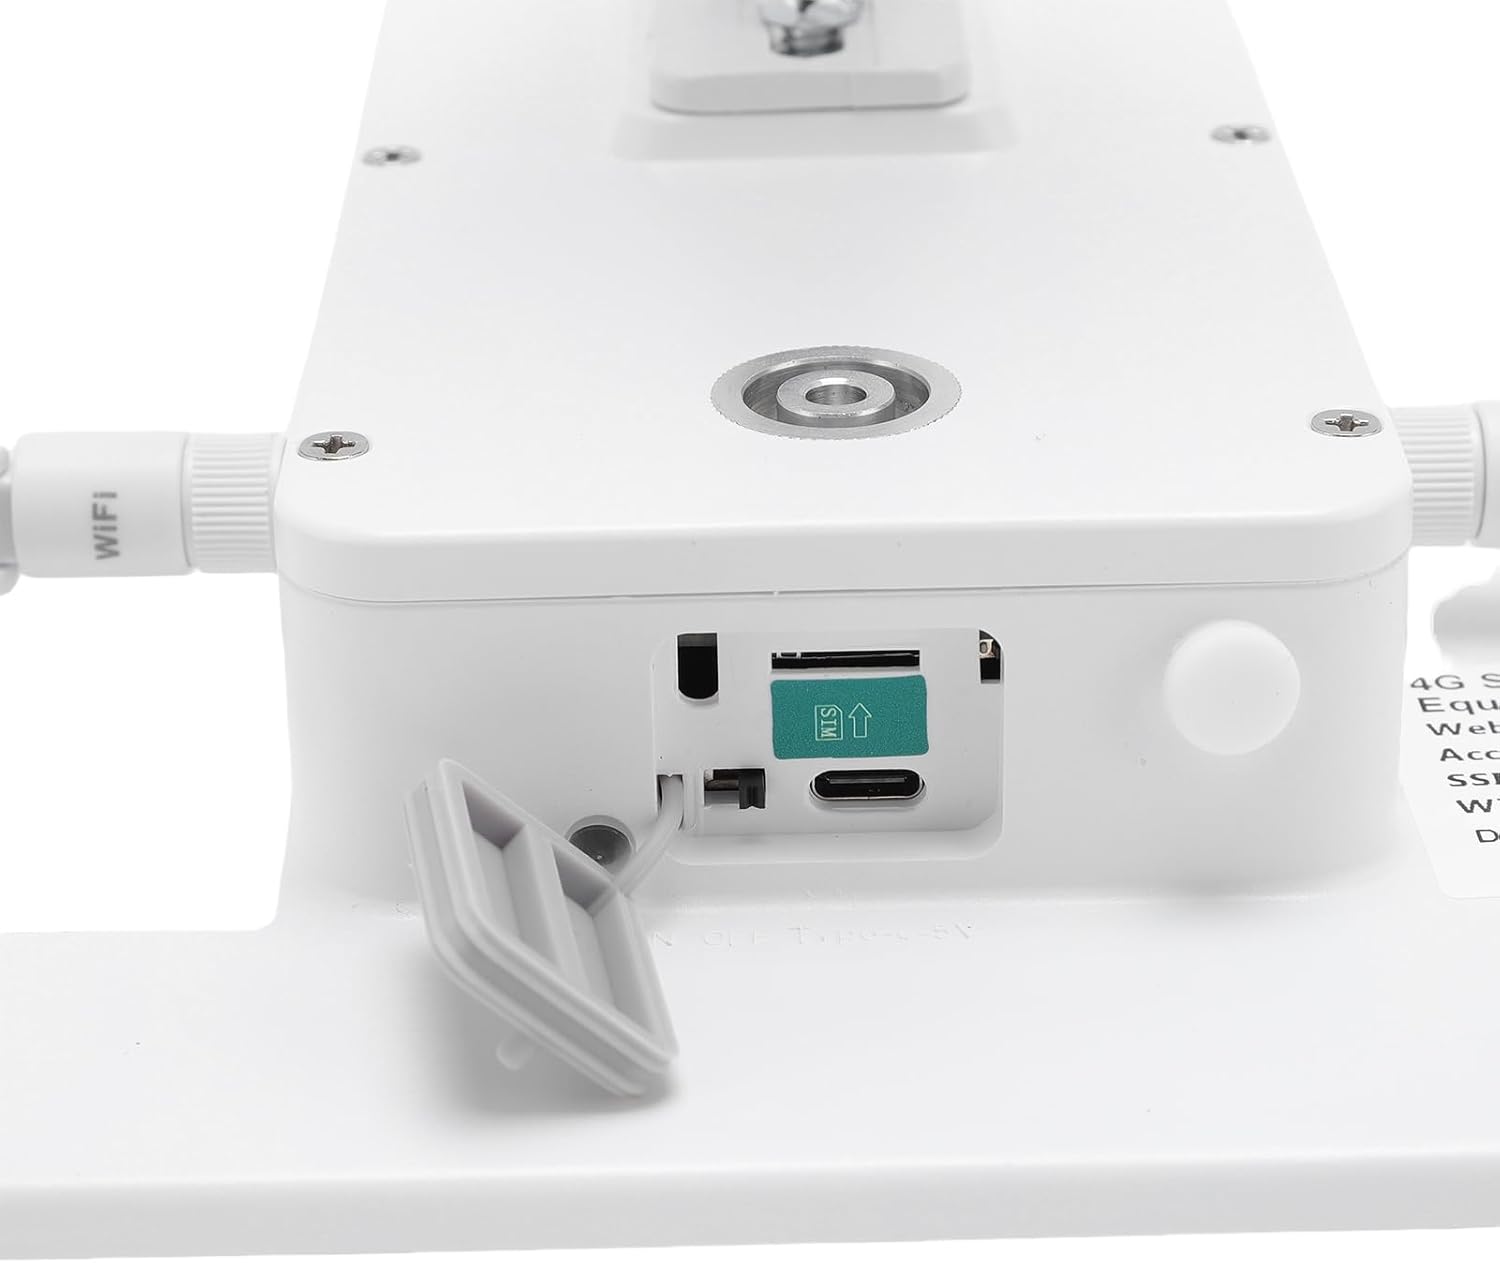
Immagine 4: Dettagliata view of the SIM card slot, showing the correct orientation for insertion.
3.2 Montaggio del router
The router is designed for outdoor installation. Choose a location that receives ample direct sunlight for optimal solar charging and has a clear line of sight for WiFi coverage.
- Attach the mounting bracket to the back of the router unit using the provided screws.
- Secure the bracket to a sturdy surface (e.g., wall, pole, tree) using appropriate mounting hardware. Ensure the solar panel faces the sun.
- Adjust the angle of the solar panel for maximum sun exposure throughout the day.

Image 5: The router unit installed on the exterior of a building, demonstrating a typical outdoor mounting scenario.
3.3 Accensione e connessione iniziale
- Once the SIM card is installed and the unit is mounted, the router will automatically begin charging via its solar panel.
- The device should power on automatically. Look for indicator lights (if present) to confirm operation.
- On your device (smartphone, laptop), search for available WiFi networks.
- Connect to the network name (SSID) provided on the router's label or in the quick start guide.
- Enter the default WiFi password (if any) found on the router's label.
4. Istruzioni per l'uso
4.1 Funzionamento di base
After successful setup, the router will provide a WiFi signal for your devices. Ensure your devices are within the 50-meter coverage range for optimal performance.

Image 6: Illustrates the 50-meter WiFi coverage area, allowing users to stay connected even in open outdoor spaces.
4.2 Optimizing WiFi Performance
- Posizionamento: Position the router in a central location within your desired coverage area, free from obstructions like thick walls or large metal objects.
- Linea di vista: For best results, ensure a clear line of sight between the router and your connected devices.
- Orientamento dell'antenna: If adjustable, orient the external antennas for optimal signal reception.

Image 7: The router ensures a stable WiFi connection for multiple devices, including a laptop and a surveillance camera, in an outdoor home setting.
5. Manutenzione
5.1 Pulizia
Periodically clean the solar panel surface to ensure maximum charging efficiency. Use a soft, damp cloth to wipe away dust, dirt, or debris. Avoid abrasive cleaners or harsh chemicals.
5.2 Considerazioni ambientali
The router is designed to be IP66 weatherproof, protecting it from dust and strong jets of water. It can operate in temperatures ranging from -40°C to +80°C and humidity from 10% to 90% (non-condensing). While robust, avoid submerging the device in water or exposing it to extreme physical impact.

Image 8: The router's robust design allows it to withstand diverse outdoor weather conditions, including sun, rain, snow, and wind.
6. Risoluzione Dei Problemi
Problemi comuni e soluzioni:
- Nessun potere:
- Assicurarsi che il pannello solare riceva luce solare diretta.
- Check if the battery is fully depleted. Allow time for solar charging.
- Nessun segnale 4G:
- Verificare che la scheda SIM sia inserita correttamente e attivata con un piano dati.
- Check your location for 4G network coverage. Move to an area with better signal if possible.
- Ensure the cellular antennas are securely attached and oriented correctly.
- No WiFi Signal / Cannot Connect:
- Confirm the router is powered on.
- Assicurati che il tuo dispositivo si trovi entro un raggio di 50 metri dalla rete Wi-Fi.
- Controlla attentamente il nome della rete Wi-Fi (SSID) e la password.
- Restart the router by temporarily covering the solar panel and then exposing it again, or if there's a power button, use it.
- Bassa velocità di Internet:
- Check your 4G signal strength. Weak cellular signal will result in slow internet.
- Ridurre il numero di dispositivi connessi o le attività che richiedono molta larghezza di banda.
- Ensure there are no obstructions between your device and the router.
7. Specifiche
| Marca | Vincitore |
| Modello | Solar Powered 4G LTE WiFi 6 Outdoor Router |
| Connettività | 4G LTE, WiFi 6 (2.4G) |
| Velocità WiFi | Fino a 300 Mbps |
| Portata WiFi | Fino a 50 metri (164 piedi) |
| Potenza del pannello solare | 15W |
| Capacità della batteria | 20000mAh |
| Battery Life (Rainy Days) | Fino a 7 giorni |
| Grado di impermeabilità | Grado di protezione IP66 |
| Temperatura di esercizio | da -40°C a +80°C |
| Umidità di esercizio | Dal 10% all'90% (senza condensa) |
8. Garanzia e supporto
Informazioni sulla garanzia:
This Bewinner product comes with a manufacturer's warranty of 90 giorni dalla data di acquisto. This warranty covers defects in materials and workmanship under normal use. It does not cover damage caused by misuse, accidents, unauthorized modifications, or improper installation.
Assistenza clienti:
For technical assistance, troubleshooting, or warranty claims, please contact Bewinner customer support through your retailer or the official Bewinner websito. Quando contatti l'assistenza, tieni a portata di mano la ricevuta d'acquisto e le informazioni sul modello del prodotto.