CHEREEKI B0FHHKMP1X
CHEREEKI Digital LED Alarm Clock User Manual
Model: B0FHHKMP1X
Introduzione
Grazie per l'acquistoasing the CHEREEKI Digital LED Alarm Clock. This manual provides detailed instructions for setting up and operating your new alarm clock. Please read it thoroughly before use and keep it for future reference.
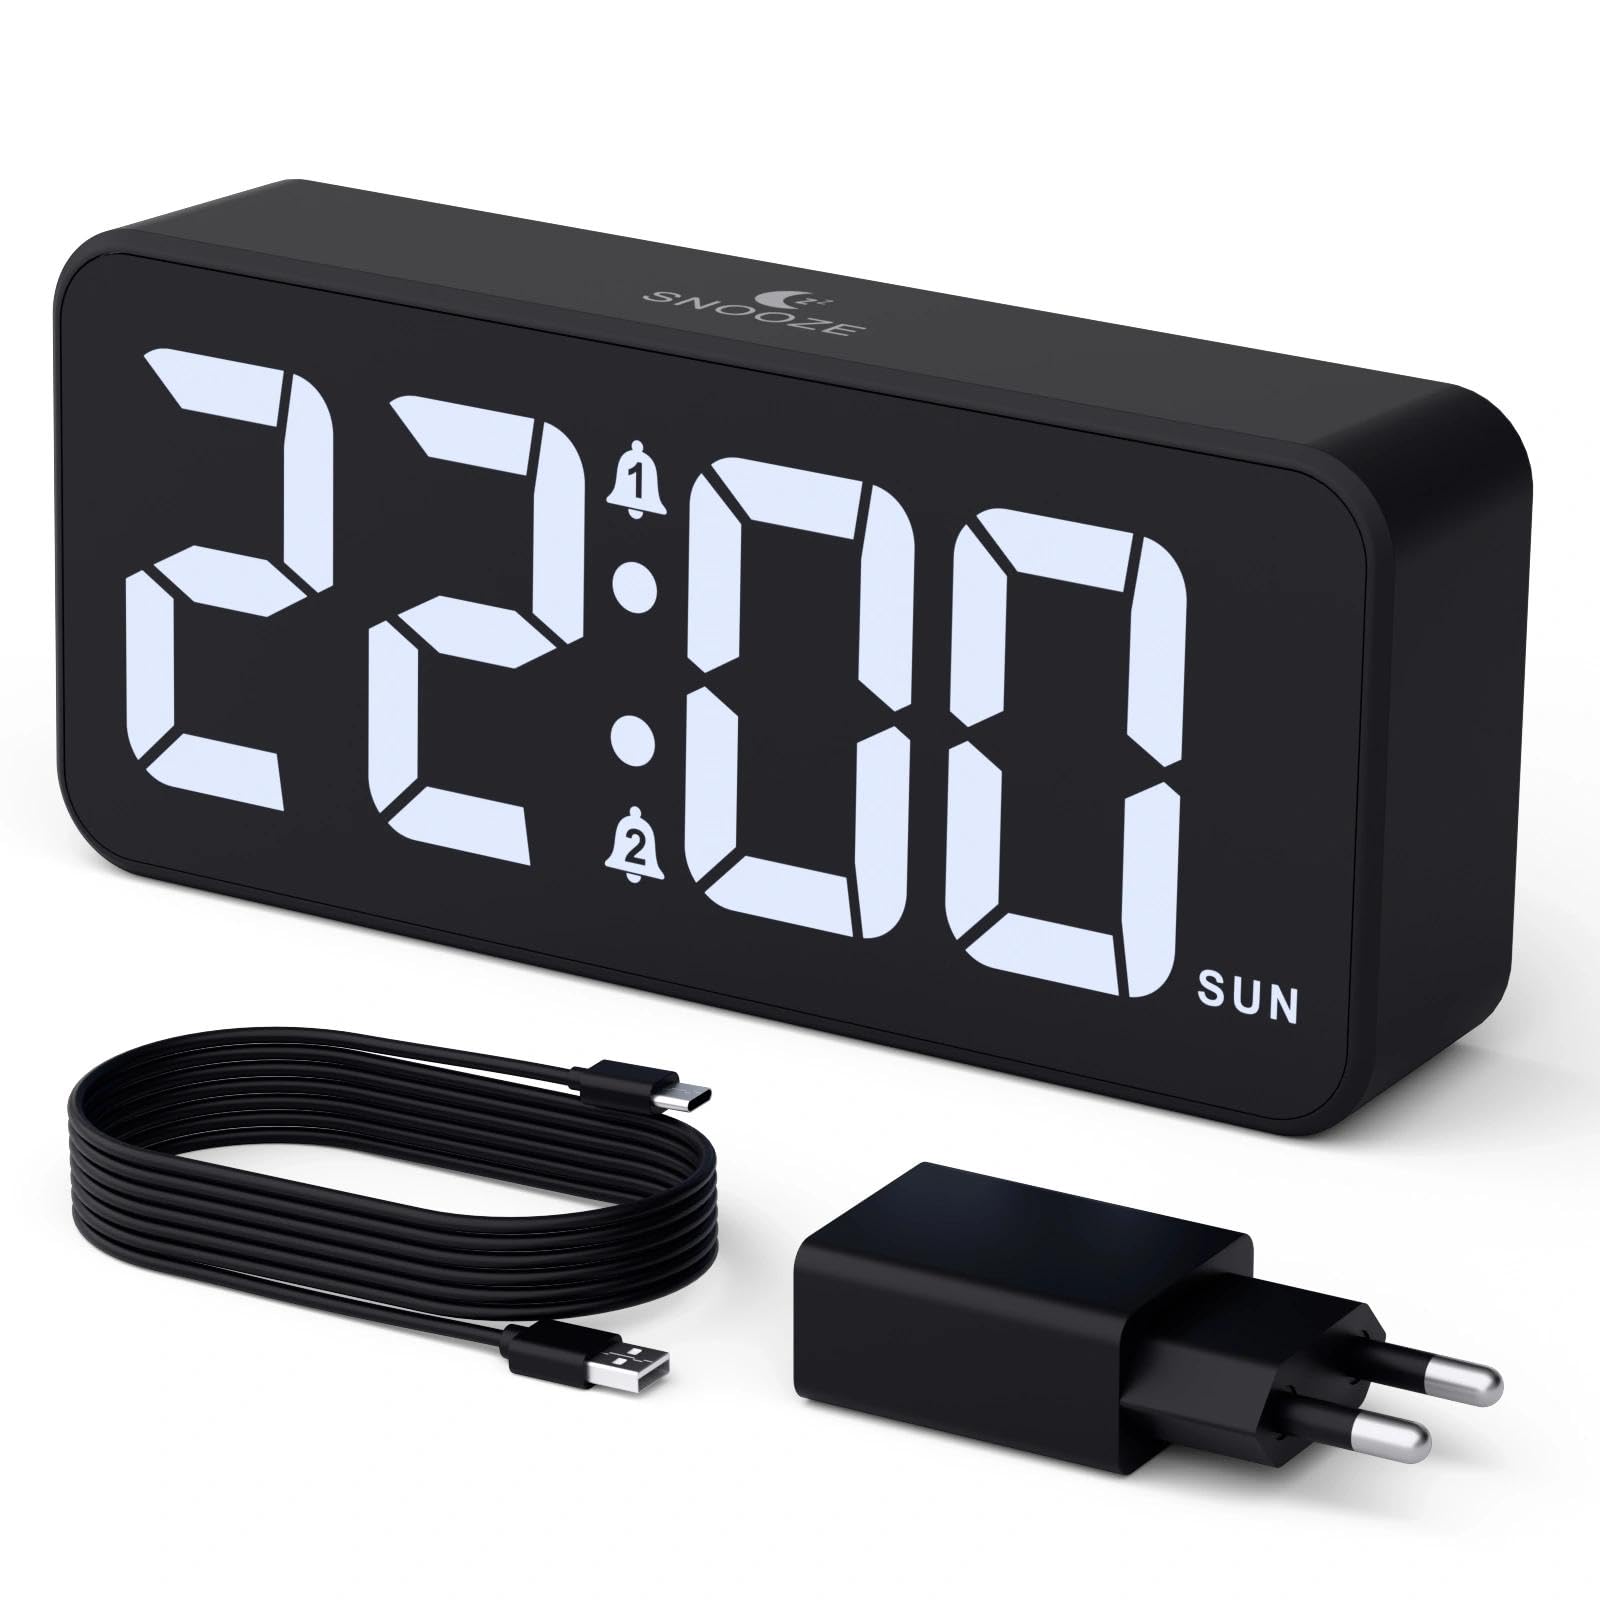
Image: The CHEREEKI Digital LED Alarm Clock, showcasing its large LED display and key features.
Informazioni sulla sicurezza
- Ensure the power adapter and cable are compatible with the device's voltage requirements (5V/1A or 5V/2A).
- Non esporre il dispositivo all'acqua o a umidità eccessiva.
- Evitare di posizionare il dispositivo vicino a fonti di calore o alla luce diretta del sole.
- Non tentare di smontare o riparare il dispositivo da soli. In caso di problemi, contattare l'assistenza clienti.
- Tenere fuori dalla portata dei bambini.
Contenuto della confezione
- CHEREEKI Digital LED Alarm Clock
- Power Adapter (5V/1A or 5V/2A)
- Cavo di ricarica USB (1.5 m)
- Manuale d'uso
- CR2032 Backup Battery (pre-installed or included)

Image: Illustration of the items included in the product package.
Layout e controlli del prodotto

Image: Rear panel of the alarm clock with labels for all buttons and ports.
- Pulsante di impostazione dell'ora: Premere per accedere alla modalità di impostazione dell'ora.
- Pulsante allarme 1: Press to set Alarm 1.
- Pulsante allarme 2: Press to set Alarm 2.
- Pulsanti su/giù: Adjust values during setting.
- Manopola dimmer: Rotate to adjust display brightness (0-100%).
- Manopola del volume: Rotate to adjust alarm volume (10 levels).
- Porta di uscita USB: Per caricare dispositivi esterni.
- Porta di ingresso di tipo C: For power supply to the alarm clock.
- Pulsante DST: For Daylight Saving Time adjustment.
- Vano batteria: Houses the CR2032 backup battery.
Impostare
1. Collegamento elettrico
The alarm clock operates solely on AC power. Connect the provided USB cable to the Type-C input port on the back of the clock and plug the adapter into a standard wall outlet (5V/1A or 5V/2A). The display will light up.

Image: The alarm clock connected to a power source via its adapter.
2. Batteria di riserva
A CR2032 backup battery is included to retain time and alarm settings during power outages. This battery does not power the display or alarm functions; it only preserves memory. Ensure the battery is correctly installed in the compartment on the back of the clock.

Image: Close-up of the backup battery compartment, indicating its purpose to retain settings during power loss.
Istruzioni per l'uso
Impostazione dell'ora
- Press the "TIME SET" button. The hour digits will flash.
- Use the "UP" or "DOWN" buttons to adjust the hour.
- Press "TIME SET" again to confirm the hour and move to minute setting. The minute digits will flash.
- Utilizzare i pulsanti "SU" o "GIÙ" per regolare i minuti.
- Press "TIME SET" once more to confirm the minutes and exit time setting mode.
Impostazione degli allarmi (allarme 1 e allarme 2)
This clock supports two independent alarms with three scheduling options.
- Press the "ALARM 1" or "ALARM 2" button. The alarm hour digits will flash.
- Use the "UP" or "DOWN" buttons to adjust the alarm hour.
- Press the respective alarm button again to confirm the hour and move to minute setting. The minute digits will flash.
- Use the "UP" or "DOWN" buttons to adjust the alarm minutes.
- Press the alarm button again to select the alarm schedule:
- Giorni feriali: Dal lunedì al venerdì
- Fine settimana: Sabato a domenica
- Quotidiano: Dal lunedì alla domenica
- Press the alarm button once more to confirm the schedule and exit alarm setting mode.
- To enable/disable an alarm, press the "ALARM 1" or "ALARM 2" button briefly outside of setting mode. An alarm icon will appear/disappear on the display.

Image: The alarm clock demonstrating dual alarm settings with various scheduling options.
Funzione snooze
When the alarm sounds, touch the top of the clock to activate the 5-minute snooze function. The alarm will temporarily stop and sound again after 5 minutes. To turn off the alarm completely, press any other button on the back of the clock.

Image: A user activating the snooze function by touching the top of the alarm clock.
Regolazione della luminosità del display
Rotate the "DIMMER" knob on the back of the clock to adjust the display brightness from 0% (off) to 100% (maximum brightness). This allows for comfortable viewin qualsiasi condizione di illuminazione.

Image: Visual representation of the adjustable brightness feature and the dimmer knob.
Regolazione del volume dell'allarme
Rotate the "VOLUME" knob on the back of the clock to select one of the 10 available alarm volume levels. Choose a volume that suits your preference.

Image: The volume control knob and a visual scale indicating adjustable volume levels.
Formato 12/24 ore
To switch between 12-hour and 24-hour time formats, press and hold the "TIME SET" button for a few seconds until the format changes. In 12-hour format, "AM" or "PM" indicators will be displayed.

Image: The alarm clock showing both 12-hour and 24-hour time display options.
Porta di ricarica USB
The USB-A output port on the back of the clock allows you to charge other devices, such as smartphones or tablets. Simply connect your device's charging cable to this port.

Image: The alarm clock charging a smartphone via its integrated USB port.
Ora legale (DST)
To adjust for Daylight Saving Time, press the "DST" button on the back of the clock. This will advance or set back the time by one hour. Press it again to revert.
Manutenzione
- Pulire la superficie dell'orologio con un panno morbido e asciutto. Non utilizzare detergenti abrasivi o solventi.
- Mantenere il dispositivo libero da polvere e detriti.
- If the backup battery needs replacement, use a CR2032 coin cell battery. Ensure correct polarity.
Risoluzione dei problemi
| Problema | Possibile causa | Soluzione |
|---|---|---|
| Il display è spento. | Not connected to power; Dimmer set to 0%. | Ensure the clock is plugged into a working power outlet. Rotate the Dimmer knob to increase brightness. |
| L'allarme non suona. | Alarm not activated; Volume set to minimum. | Press the ALARM 1/2 button to activate the alarm (icon should appear). Rotate the Volume knob to increase volume. |
| Impostazioni perse dopo lo spegnimentotage. | La batteria di backup è scarica o mancante. | Sostituire la batteria di backup CR2032. |
| La ricarica USB non funziona. | Clock not powered; Device cable faulty. | Assicurati che la sveglia sia alimentata. Prova un altro cavo USB o un altro dispositivo. |
Specifiche
- Marca: CHEREEKI
- Modello: B0FHHKMP1X
- Colore: Nero
- Tipo di visualizzazione: LED digitale
- Materiale: Acrilonitrile Butadiene Stirene (ABS)
- Dimensioni del prodotto: 14.5 x 3.81 x 6.5 cm (5.7 x 1.5 x 2.5 pollici)
- Peso dell'articolo: 230 grammi (0.5 libbre)
- Fonte di energia: Wired Electric (5V/1A or 5V/2A adapter)
- Batteria di backup: CR2032 (for memory retention only)
- Caratteristiche speciali: Adjustable Brightness, Dual Alarm, Snooze, USB Charging Port, 12/24H Format, Adjustable Volume, Day of Week Display
Garanzia e supporto
This CHEREEKI Digital LED Alarm Clock comes with a Garanzia a vita. For any product inquiries, technical support, or warranty claims, please contact CHEREEKI customer service through the retailer where you purchased the product or visit the official CHEREEKI websito per le informazioni di contatto.
Si prega di conservare la prova d'acquisto ai fini della garanzia.
Ask a question about this manual
Ask about setup, troubleshooting, compatibility, parts, safety, or missing instructions. Manuals+ will review the question and use this page’s manual context to help answer it.