
1. Introduzione
Thank you for choosing the Reolink E1 Outdoor S 4K PTZ Security Camera. This manual provides essential information for the safe and efficient use of your camera. Please read it thoroughly before installation and operation, and keep it for future reference.
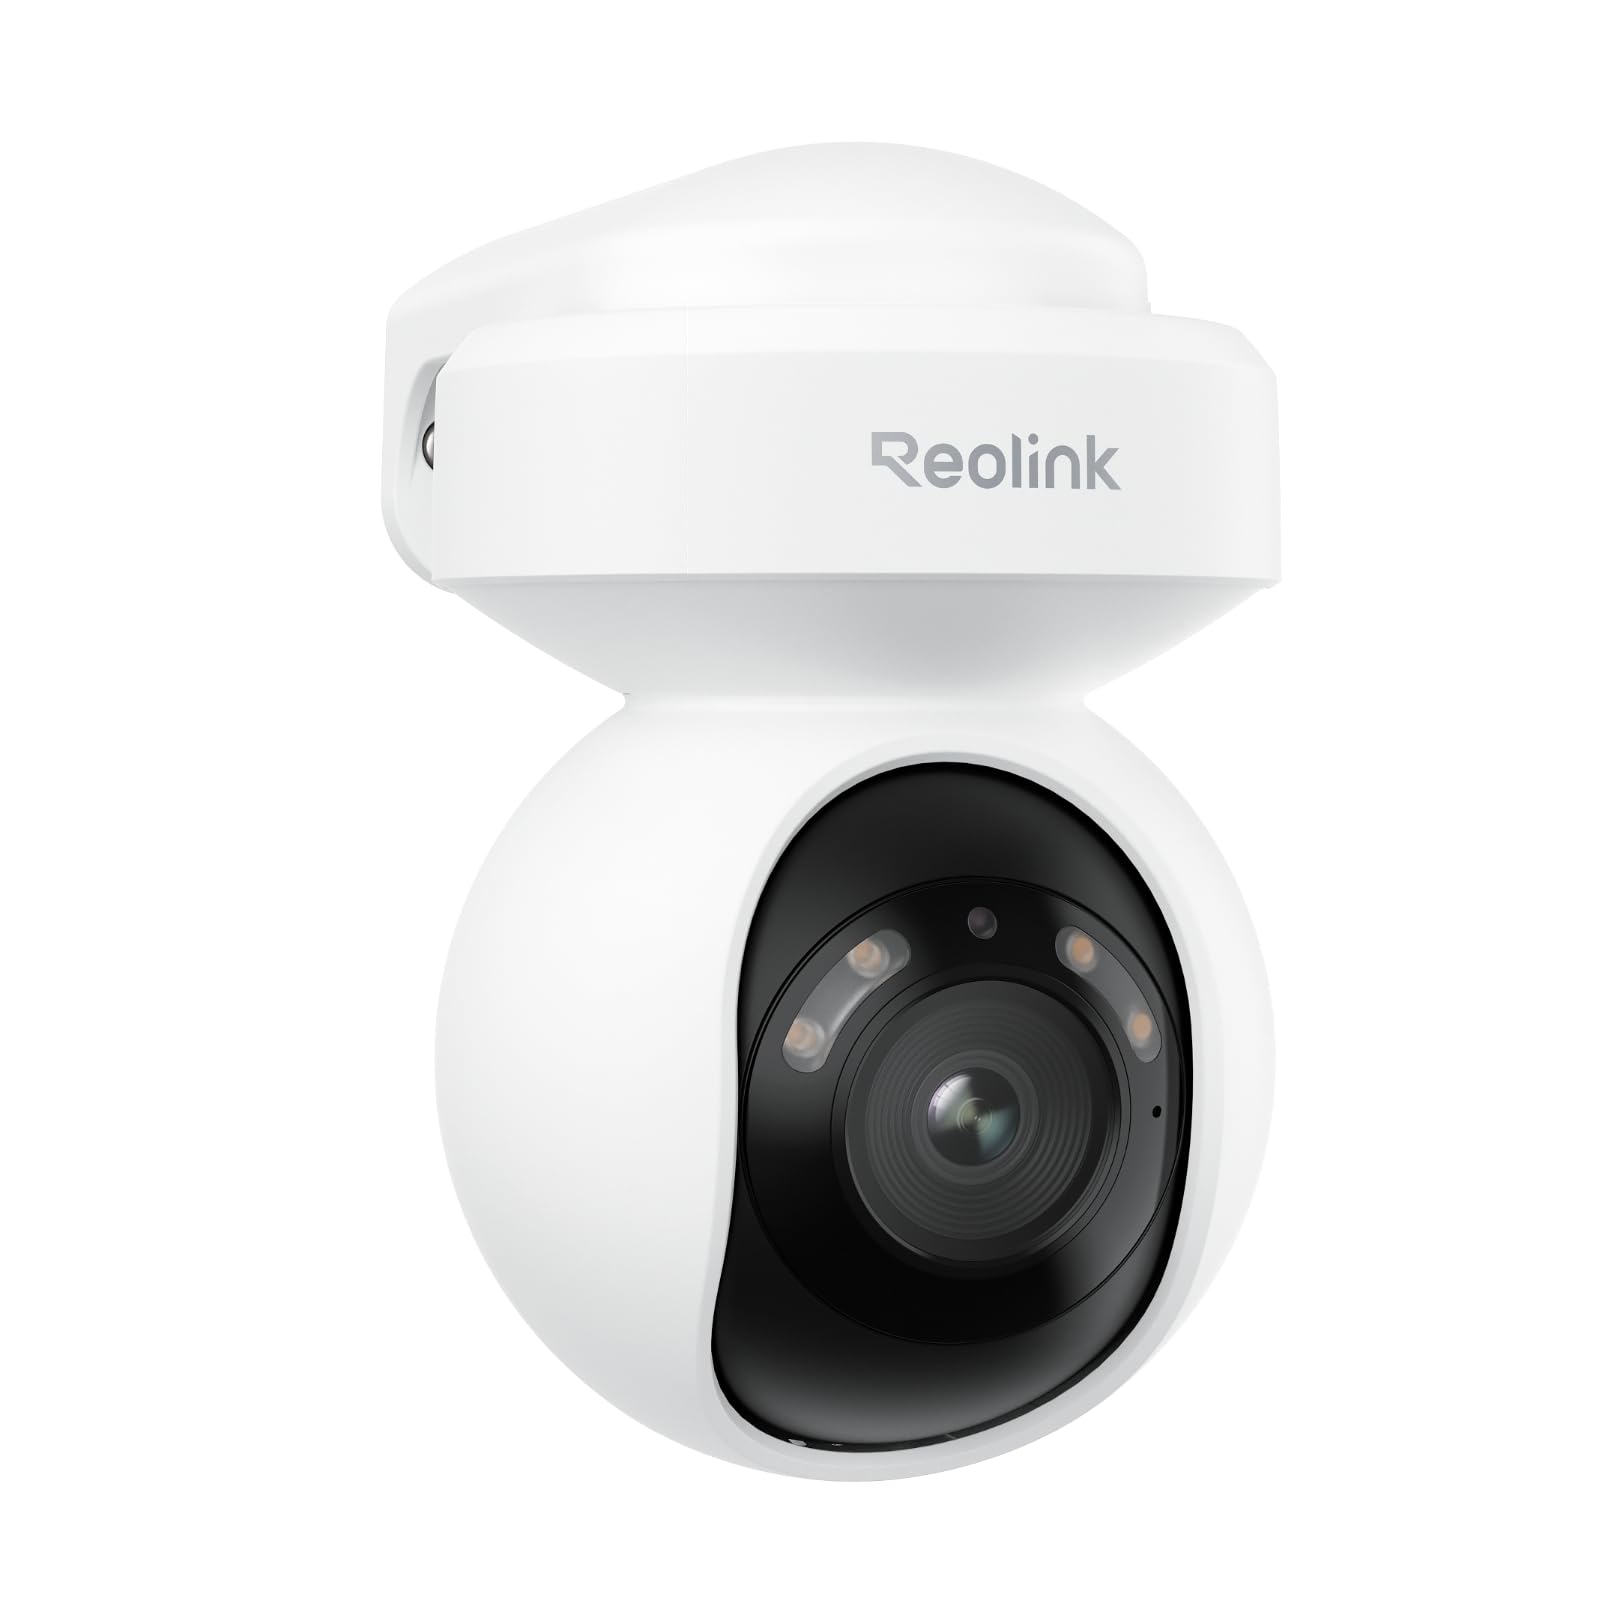
Image 1.1: Reolink E1 Outdoor S Camera Overview
2. Prodotto finitoview
2.1 Caratteristiche principali
- Ultra HD 4K Clarity: Captures rich details with 8MP resolution, even in low-light conditions, thanks to its F1.6 large aperture lens.
- Dual-Band Wi-Fi 6 Connectivity: Experience faster and more stable streaming with next-generation Wi-Fi 6, supporting both 2.4GHz for reliable coverage and 5GHz for quicker data transfer.
- Smart Detection (Person/Vehicle/Pet): Advanced AI technology accurately detects people, vehicles, and pets, reducing false alerts. Customizable detection zones and sensitivity are available without monthly subscriptions.
- Two-Way Audio & Integrated Alerts: Built-in spotlights and a siren can be triggered to deter intruders. Receive real-time notifications and emails, and communicate effectively via two-way audio.
- 355° Pan & 50° Tilt with Auto Tracking: Monitor a wide area with flexible pan and tilt capabilities, and automatically track detected objects to keep them in view.
- Visione notturna a colori: See vivid details in color even in darkness.
2.2 Contenuto della confezione
- Reolink E1 Outdoor S Camera x1
- Power Adapter (12V 1A) with 140cm cable
- 6m (19ft) Power Extension Cable
- 1m (3ft) Network Cable
- Modello di montaggio
- Viti di montaggio
- Guida rapida
2.3 Diagramma della telecamera

Image 2.1: E1 Outdoor S Component Diagram. Labels include microSD card slot (up to 512GB, not included), Aluminum Alloy Casing, Spotlights, Lens, Microphone, Reset Button, Power Cable, Network Cable (for initial setup only, PoE not supported), and IR LED.
3. Impostazione
3.1 Configurazione iniziale
Follow these steps for the initial setup of your Reolink E1 Outdoor S camera:
- Connect the camera to your router using the provided Ethernet cable.
- Download the Reolink App from your device's app store.
- Open the app and follow the on-screen instructions to add your camera and configure Wi-Fi settings.
- Once Wi-Fi is configured and the camera is connected, you may disconnect the Ethernet cable.

Image 3.1: Initial setup process showing connecting the camera to a router, configuring Wi-Fi via the Reolink app, and disconnecting the Ethernet cable.
3.2 Montaggio della telecamera
The E1 Outdoor S camera can be mounted on a wall or ceiling. Choose a location that provides the desired viewangolo di inclinazione e si trova nel raggio di azione della rete Wi-Fi e di una presa di corrente.
- Use the mounting template to mark screw positions.
- Se necessario, praticare dei fori e inserire i tasselli a muro.
- Secure the camera bracket with screws.
- Attach the camera to the bracket and adjust its angle.

Image 3.2: Flexible installation options for the E1 Outdoor S, including wall and ceiling mounting, and its weather-resistant design.
4. Istruzioni per l'uso
4.1 Reolink App Usage
The Reolink App is the primary interface for controlling and monitoring your camera. It allows you to view live feeds, adjust settings, and receive alerts.
- Vivere View: Accedi ai video in tempo reale dalla tua telecamera.
- Riproduzione: Review registrato footage stored on the microSD card or NVR.
- Impostazioni: Configure motion detection, night vision, audio, and other camera parameters.
Image 4.1: Remote access to the camera feed via the Reolink app on a smartphone and laptop.
4.2 Panoramica, inclinazione e zoom (PTZ)
Use the Reolink App to remotely control the camera's pan (horizontal rotation up to 355°) and tilt (vertical movement up to 50°) functions. The camera also supports digital zoom.

Image 4.2: The camera's auto-tracking feature following a person, illustrating its 355° pan and 50° tilt capabilities.
4.3 Rilevamento intelligente e avvisi
The camera's AI can differentiate between people, vehicles, and pets. Configure detection zones and sensitivity in the app to receive precise alerts.

Image 4.3: The camera's AI detection accurately identifying a person, a vehicle, and a pet in a garden setting.
4.4 Audio bidirezionale
Utilize the built-in microphone and speaker for two-way communication. You can speak to visitors or warn off intruders directly through the Reolink App.

Image 4.4: A delivery person interacting with someone via the camera's two-way audio feature.
4.5 Opzioni di registrazione
The camera supports local storage via a microSD card (up to 512GB, not included) for continuous or motion-triggered recording. It also supports integration with Network Attached Storage (NAS) and FTP for extended storage solutions.

Image 4.5: The camera's microSD card slot for local storage and options for NAS/FTP integration.
4.6 Visione notturna
The E1 Outdoor S features advanced night vision capabilities, including full-color night vision in low-light conditions and traditional black-and-white infrared night vision when light is minimal.

Image 4.6: Comparison showing vibrant color night vision versus standard black and white night vision.
5. Manutenzione
- Pulizia: Pulisci regolarmente l'obiettivo della fotocamera con un panno morbido e asciutto per garantire una qualità dell'immagine nitida. Non utilizzare prodotti chimici aggressivi.
- Aggiornamenti del firmware: Controlla e installa gli aggiornamenti del firmware tramite l'app Reolink per garantire prestazioni ottimali e l'accesso alle nuove funzionalità.
- Considerazioni ambientali: Ensure the camera is installed in a location that protects it from extreme weather conditions beyond its IP rating.
6. Risoluzione Dei Problemi
6.1 Problemi comuni e soluzioni
| Problema | Possibile causa | Soluzione |
|---|---|---|
| Fotocamera offline/Impossibile connettersi | Weak Wi-Fi signal, incorrect Wi-Fi password, network issues. | Ensure camera is within Wi-Fi range. Verify Wi-Fi password. Restart router and camera. Try initial setup with Ethernet cable again. |
| Scarsa qualità dell'immagine | Lente sporca, scarsa illuminazione, larghezza di banda della rete. | Pulisci le lenti. Garantisci un'illuminazione adeguata per una visione notturna ottimale. Controlla la velocità della rete. |
| Avvisi di movimento falsi | High sensitivity, environmental factors (e.g., moving branches). | Adjust motion detection sensitivity and configure detection zones in the Reolink App. |
| Nessuna registrazione sulla scheda SD | SD card full, faulty, or not inserted correctly. Recording schedule not set. | Check SD card status in the app. Format or replace the SD card. Ensure recording schedule is enabled. |
7. Specifiche
| Caratteristica | Dettaglio |
|---|---|
| Modello del prodotto | E1 Outdoor S |
| Sensore di immagine | 8 Megapixel (4K UHD) |
| Formato video | MP4 |
| Connettività | Wi-Fi (2.4GHz/5GHz), Wired (Ethernet) |
| Fonte di alimentazione | AC Power (Plug-in) |
| Gamma di panoramica/inclinazione | Pan 355 °, inclinazione 50 ° |
| Magazzinaggio | MicroSD card (up to 512GB), NAS, FTP |
| Audio | Audio bidirezionale |
| Caratteristiche speciali | Smart Person/Vehicle/Pet Detection, Auto Tracking, Color Night Vision, Spotlights, Siren |
| Ambiente di utilizzo | All'aperto |
| Dimensioni | Dimensioni: 9 x 9 x 10 cm |
8. Garanzia e supporto
Reolink products come with a limited warranty. For detailed warranty information, please refer to the official Reolink websito o sulla scheda di garanzia inclusa nella confezione.
For technical support, troubleshooting assistance, or any product-related inquiries, please visit the official Reolink support page at reolink.com/support. You can also find FAQs, firmware updates, and user forums there.
9. Video del prodotto finitoview
Guarda questo video ufficiale per una panoramica visivaview of the Reolink E1 Outdoor S camera's features and capabilities.
Video 9.1: Official Reolink E1 Outdoor S Product Overview. This video highlights features such as 4K resolution, Wi-Fi 6 connectivity, 360° coverage with auto-tracking, and smart detection for people, animals, and vehicles.