
Prodotto finitoview
The Bewinner 1080P Action Camera is a versatile camcorder designed for outdoor photography and vlogging. It features 1080P HD video recording, a multi-axis stabilizer, and a 1.53-inch HD screen for convenient operation and playback. Its unique lens design allows for 270-degree and 180-degree rotation, offering flexible shooting angles.
- Registrazione video HD 1080P: Captures high-definition videos with clear details, supported by supplementary light for improved nighttime recording.
- Schermo HD da 1.53 pollici: Allows for immediate viewing of recorded content and easy control of camera functions.
- Smart Stabilization: Minimizes shakes during high-speed motion for smoother, more stable footage.
- Versatile Rotating Lens: Features a wide-angle lens with 270-degree and 180-degree rotation for diverse photographic perspectives.
- Molteplici opzioni di montaggio: Can be clipped to clothing or mounted on tripods using a 1/4 inch screw hole.
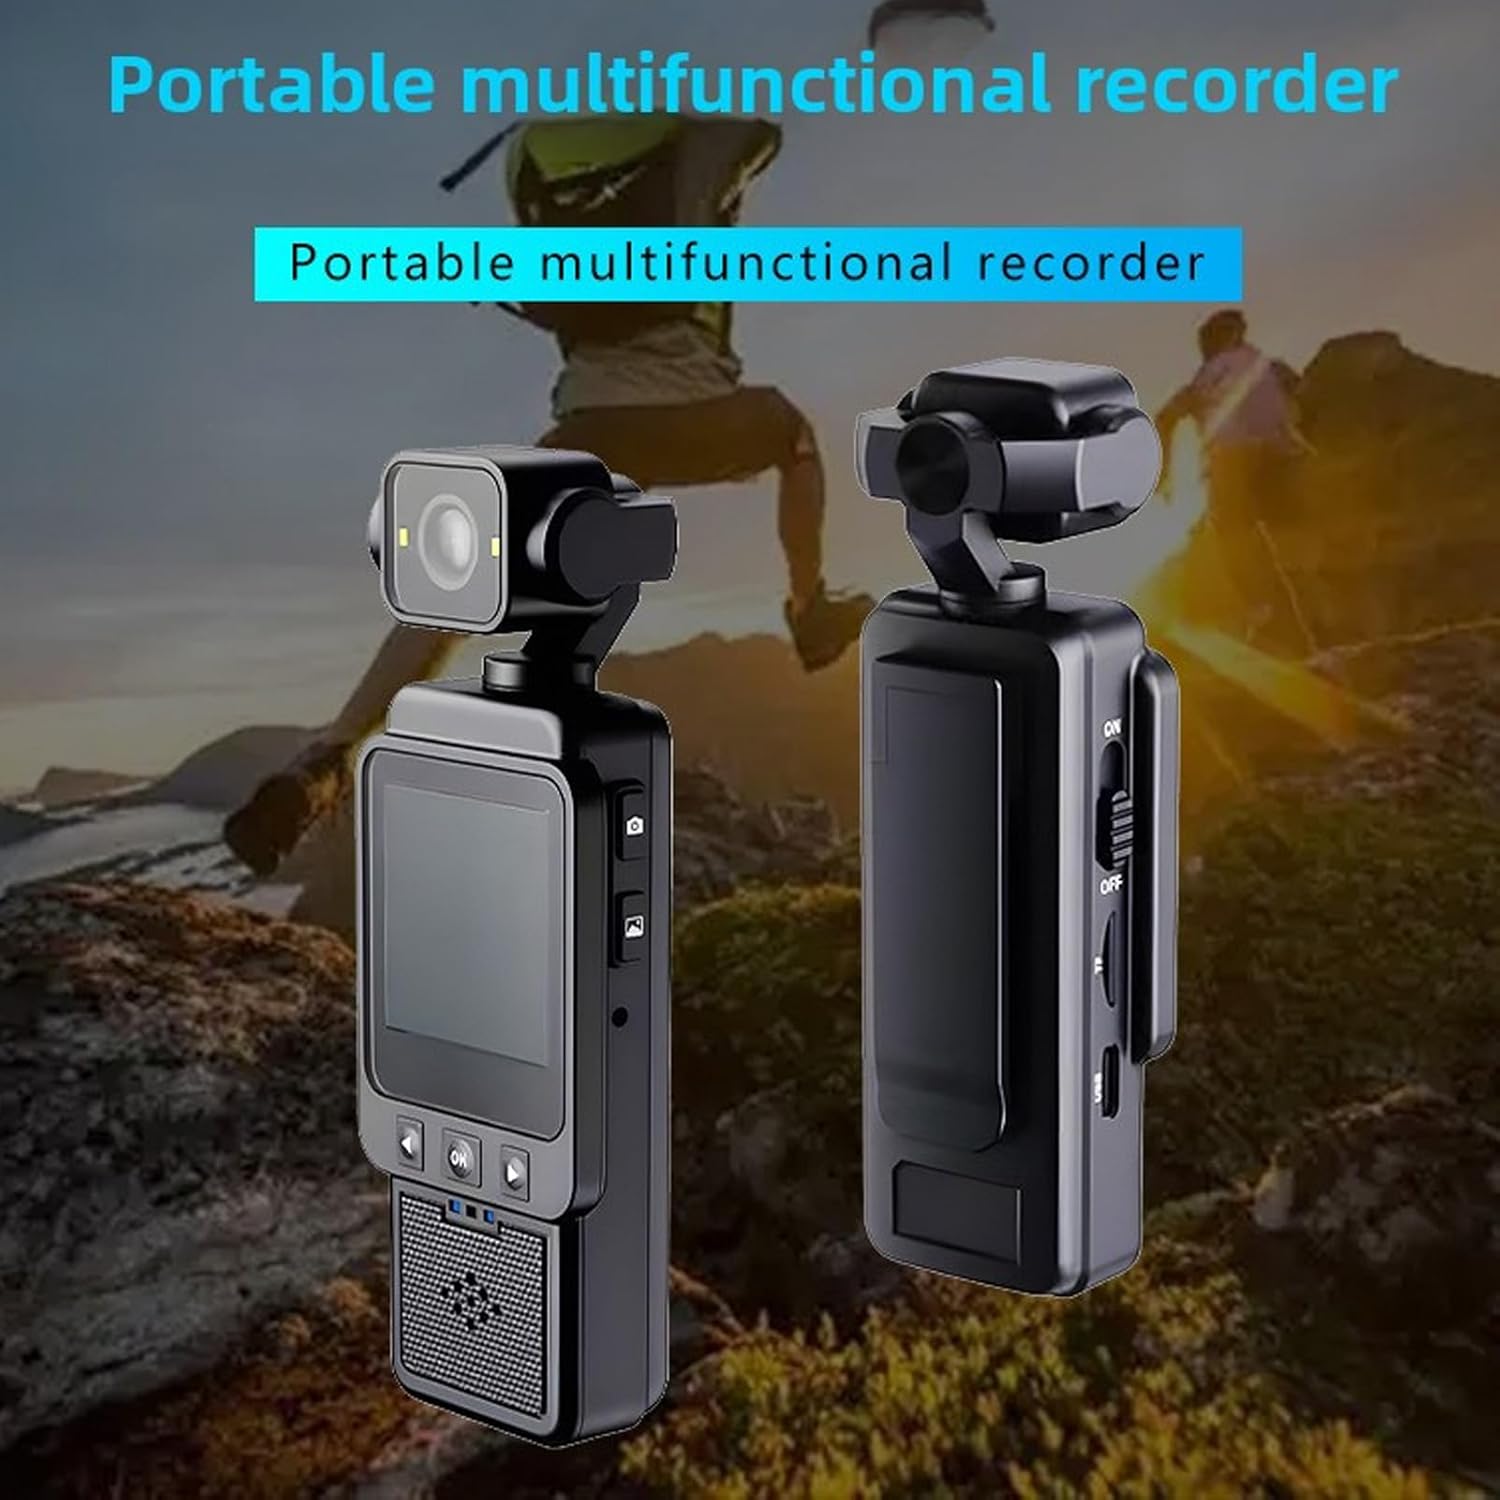
Immagine: Fronte e retro view of the Bewinner 1080P Action Camera, highlighting its compact design and screen.
Contenuto della confezione
Verificare che tutti gli articoli siano presenti nel pacco:
- 1 x Bewinner 1080P Camera
- 1 x Manuale di istruzioni (questo documento)
- 1 x cavo di ricarica (tipo C)

Image: The Bewinner 1080P Action Camera displayed alongside its USB charging cable.
Impostare
1. Caricare la fotocamera
Before first use, fully charge the camera's built-in high-capacity lithium polymer battery. Connect the provided Type-C charging cable to the camera's Type-C port and a suitable USB power source.

Immagine: Lato view of the camera, indicating the Type-C charging port and the power switch.
2. Inserimento di una scheda di memoria
The camera supports up to a 256GB memory card (not included). Locate the memory card slot on the side of the camera and insert the card with the contacts facing the correct direction until it clicks into place.

Image: Close-up of the camera's side, showing the memory card slot for storage expansion.
3. Accensione/Spegnimento
To power on the camera, slide the ON/OFF switch to the "ON" position. The HD screen will illuminate. To power off, slide the switch to the "OFF" position.
4. Opzioni di montaggio
The camera offers flexible mounting:
- A clip: Use the integrated clip to attach the camera to clothing, such as a shirt pocket or backpack strap.
- Montaggio del treppiede: Utilize the 1/4 inch screw hole at the bottom of the camera to attach it to tripods, monopods, or other compatible accessories.

Image: The camera's rear view, showing the integrated clip for attachment to clothing or gear.
Istruzioni per l'uso
1. Registrazione di video e scatto di foto
The camera features dedicated buttons for recording and photography:
- Premere il tasto Pulsante di registrazione video (often marked with a camera icon) once to start recording. Press again to stop.
- Premere il tasto Pulsante di acquisizione foto (often marked with a camera icon) once to take a still photograph.
Immagine: Lato view of the camera, highlighting the distinct buttons for video recording and photo capture.
2. Using the HD Display Screen
The 1.53-inch HD screen allows you to:
- View Alimentazione dal vivo: See what the camera is capturing in real-time.
- Registrazioni in riproduzione: Review your videos and photos directly on the device.
- Navigare nei menu: Use the navigation buttons (Up, Down, OK) below the screen to access settings and playback options.

Image: The camera's HD screen displaying real-time images, demonstrating its utility for monitoring and playback.
3. Smart Stabilization
The camera incorporates intelligent stabilization technology to reduce blur and shakiness, especially during dynamic activities. This feature is automatically active to ensure smoother video capture.
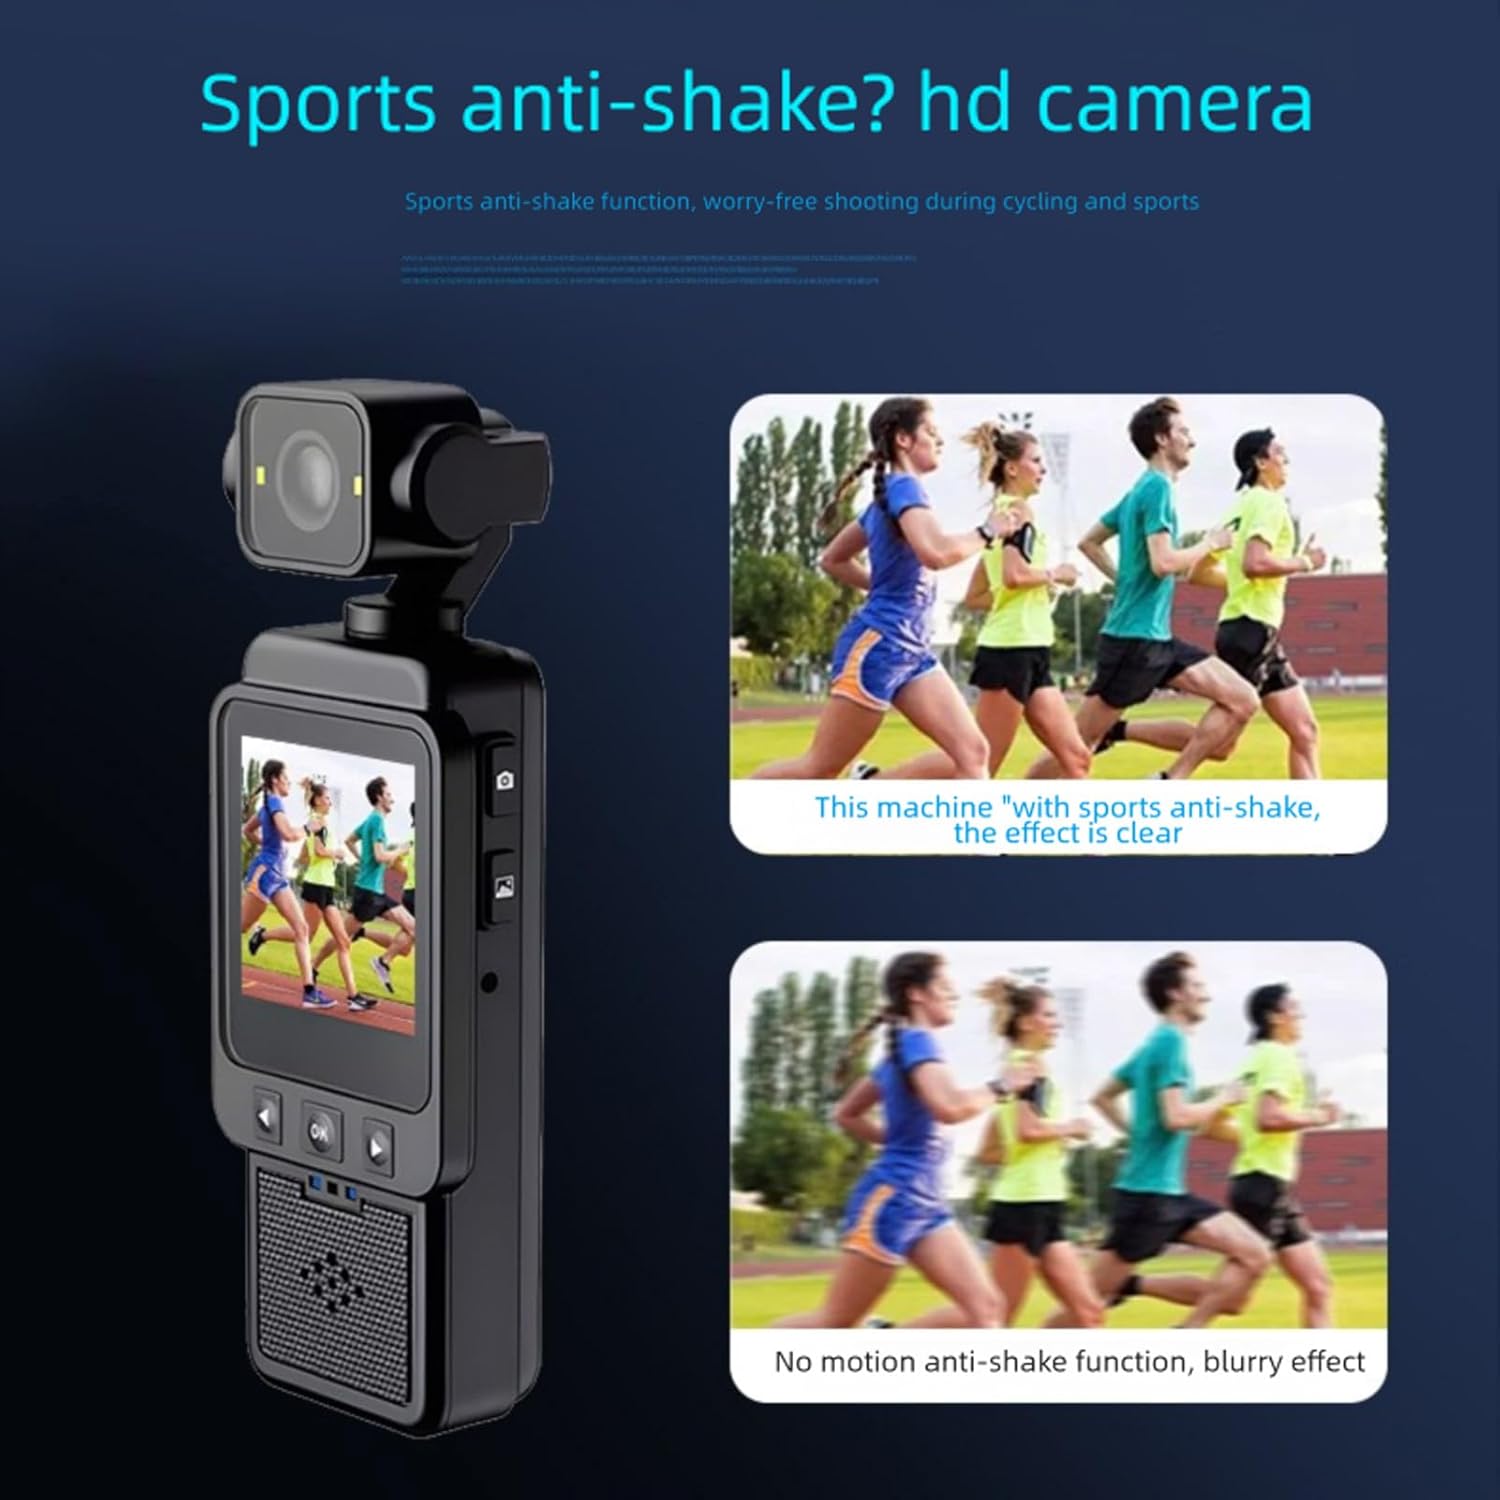
Image: A visual comparison showing the improved clarity of footage when smart anti-shake stabilization is active versus when it is not.
4. Adjusting the Rotating Lens
The camera's lens can be manually rotated 270 degrees and 180 degrees. Gently adjust the lens module to achieve desired shooting angles, such as forward-facing, backward-facing, or upward/downward perspectives.
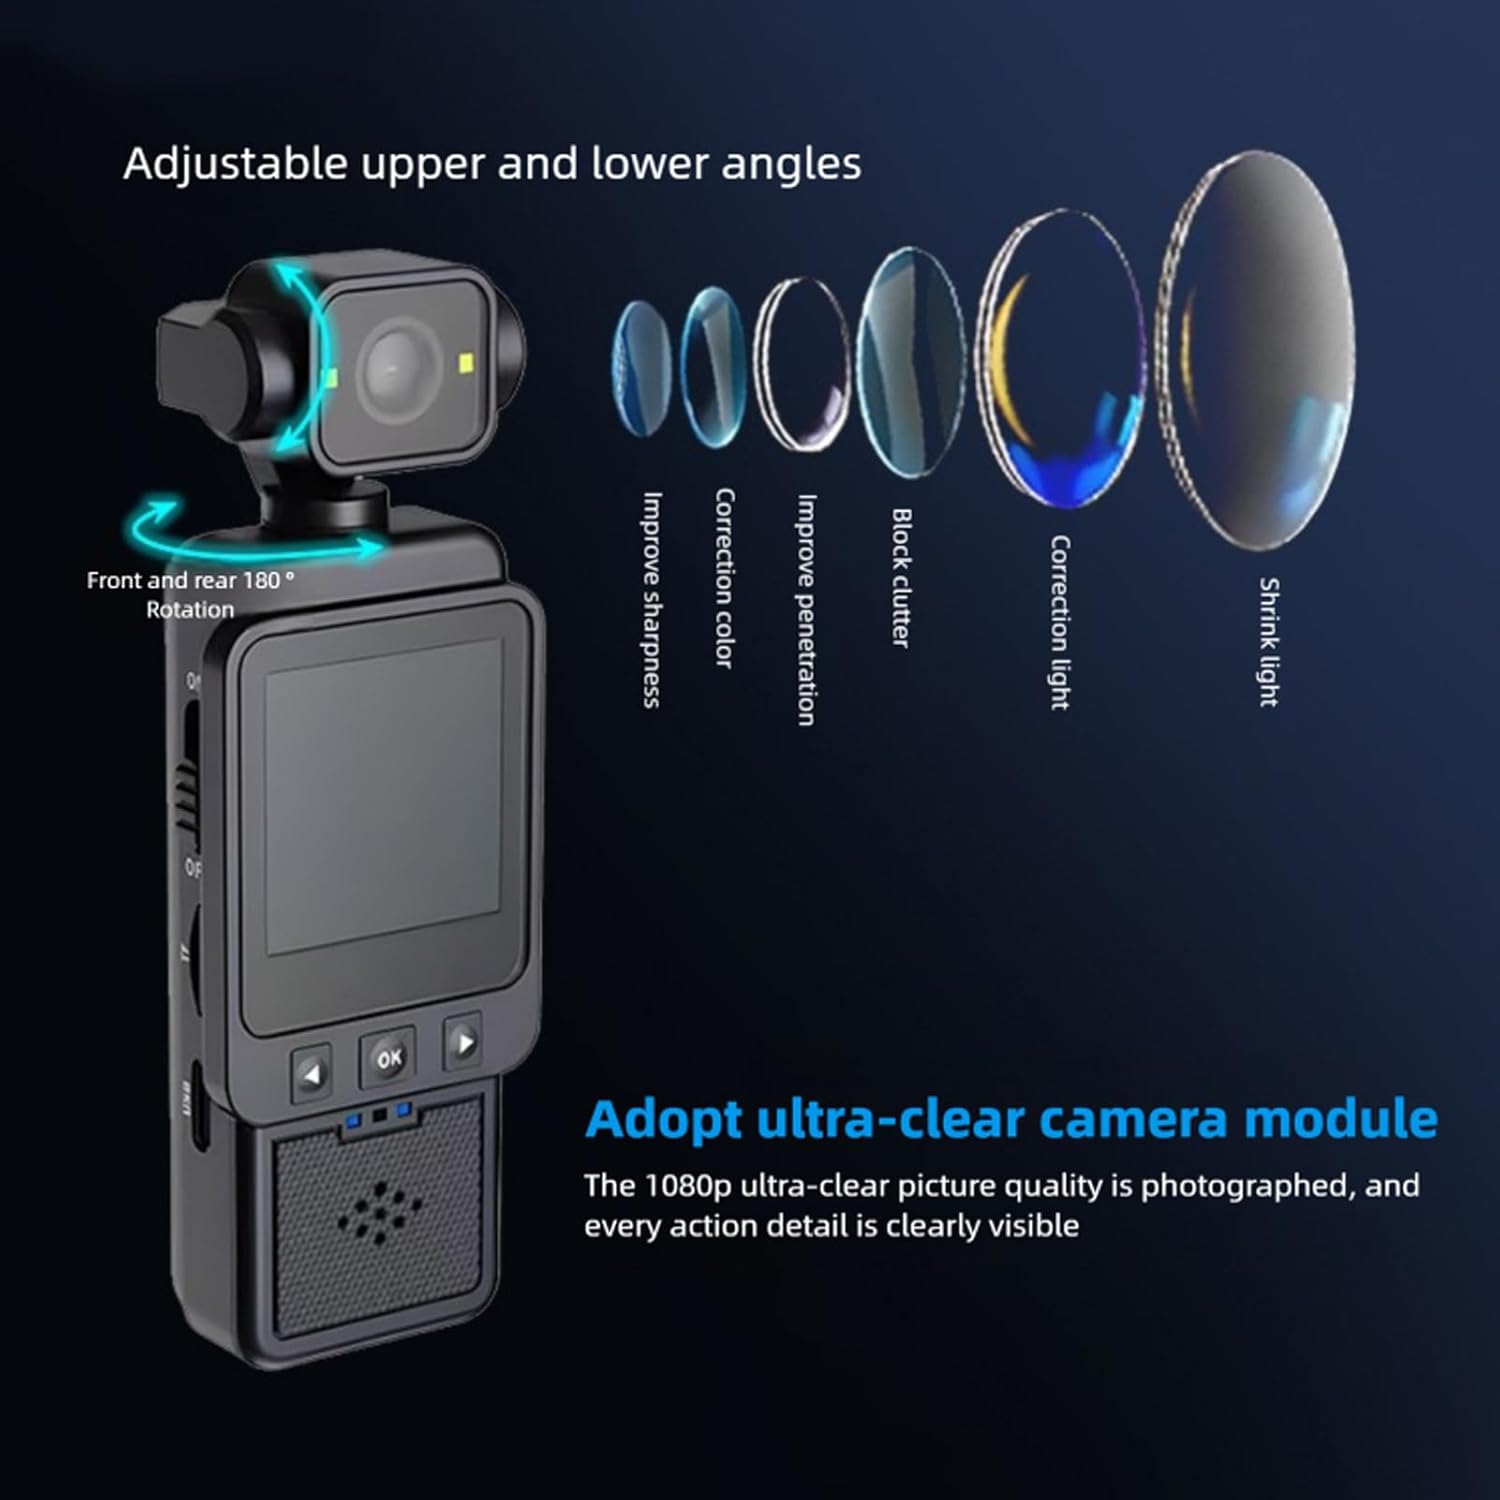
Image: The camera demonstrating its adjustable lens, capable of 180-degree front and rear rotation for varied shooting angles.
5. Using the Built-in Supplementary Light
For low-light conditions, activate the built-in supplementary light to enhance video and photo quality. Refer to the on-screen menu or dedicated button (if available) for activation.

Image: A visual comparison showing the improvement in image brightness and clarity when the built-in supplementary light is used in low-light environments.
6. Wi-Fi Mobile Phone Connection
Connect the camera to your mobile phone via Wi-Fi for remote control, live view, E file transfer. Download the "Viidure" application on your smartphone (available for Android, iOS, and Linux systems). Follow the app's instructions to pair with the camera.
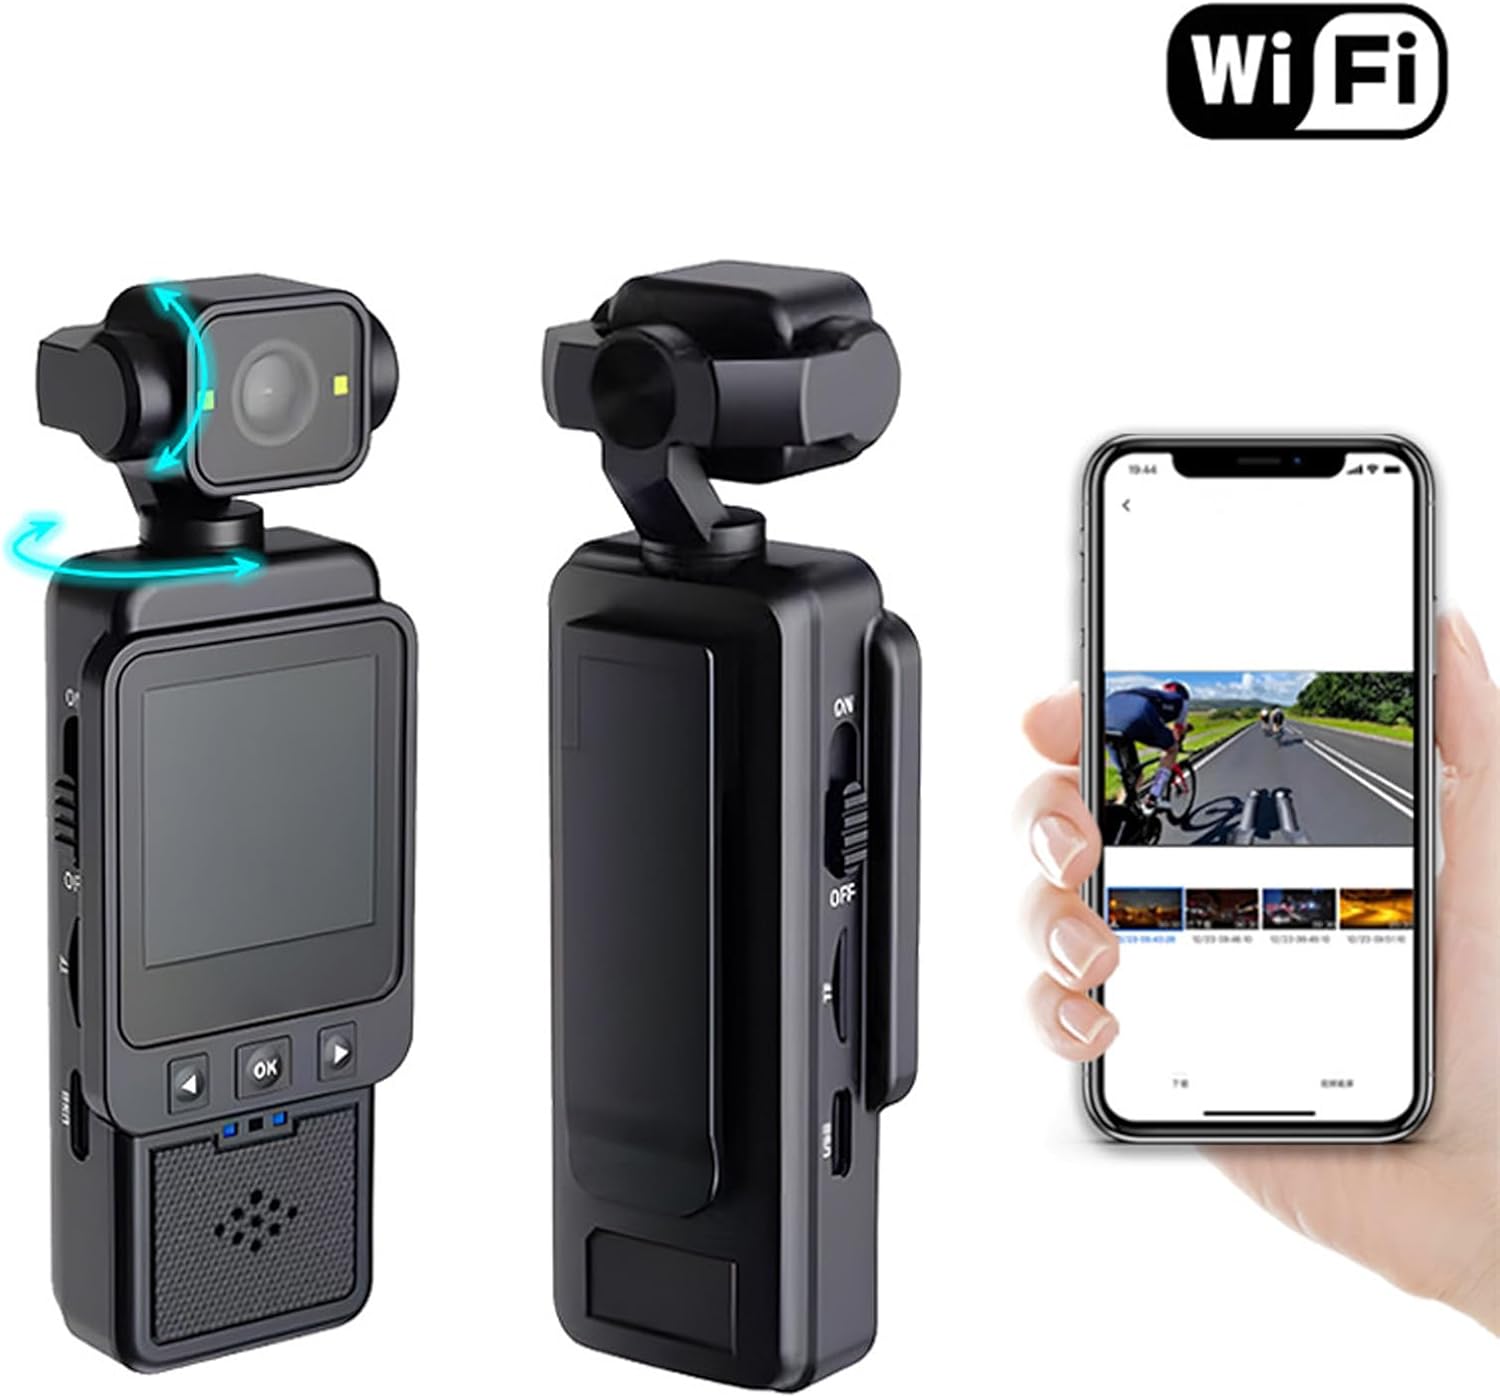
Image: The camera shown wirelessly connected to a smartphone, demonstrating the Wi-Fi connectivity feature for remote operation and data transfer.
Manutenzione
- Pulizia: Utilizzare un panno morbido e asciutto per pulire il corpo macchina. Per l'obiettivo, utilizzare un panno e una soluzione specifici per la pulizia delle lenti. Evitare materiali abrasivi o sostanze chimiche aggressive.
- Magazzinaggio: Conservare la fotocamera in un luogo fresco e asciutto, lontano dalla luce solare diretta e da temperature estreme. Rimuovere la scheda di memoria se si prevede di non utilizzarla per periodi prolungati.
- Cura della batteria: Per prolungare la durata della batteria, evitare di scaricarla completamente frequentemente. Caricarla regolarmente, anche se non in uso.
Risoluzione dei problemi
- La fotocamera non si accende:
- Assicurarsi che la batteria sia carica. Collegare la fotocamera a una fonte di alimentazione tramite il cavo Type-C.
- Verify the ON/OFF switch is fully in the "ON" position.
- Impossibile registrare video/scattare foto:
- Check if a memory card is inserted correctly.
- Assicurarsi che la scheda di memoria abbia spazio libero sufficiente.
- The memory card might be full or corrupted. Try formatting the card (this will erase all data) or using a different card.
- Pippotage is blurry/shaky:
- Assicurati che la lente sia pulita.
- Confirm that the smart stabilization feature is active (it is usually automatic).
- Hold the camera as steadily as possible during recording.
- Problemi di connessione Wi-Fi:
- Assicurati che il Wi-Fi sia abilitato sia sulla fotocamera che sullo smartphone.
- Confirm you have the correct "Viidure" app installed.
- Prova a riavviare sia la fotocamera che lo smartphone.
Specifiche
| Tipo di articolo | Fotocamera 1080P |
| Materiale | addominali |
| Risoluzione video | 1080P (Maximum) |
| Lente | Large Wide Angle 6 Glass Lens |
| Stabilization Type | Stabilizzazione elettronica |
| Dimensioni dello schermo | 1.53 pollici |
| Proporzioni | 16:9 |
| Tipo di batteria | Built-in High Capacity Lithium Polymer Battery |
| Capacità della batteria | 1960mAh |
| Archiviazione supportata | Up to 256GB Memory Card (Not Included) |
| Tipo di interfaccia | Tipo C |
| Sistemi supportati | Android, OS X, Linux |
| Playback APP | Viidura |
| Interfaccia di espansione | 1/4 Inch Screw Port |
Garanzia e supporto
This Bewinner product comes with a manufacturer warranty for 90 days from the date of purchase. Please retain your proof of purchase for warranty claims.
For further assistance or technical support, please refer to the official Bewinner websito o contattare il servizio clienti tramite il rivenditore presso cui è stato acquistato il prodotto.