
1. Introduzione
This manual provides detailed instructions for the safe installation, operation, and maintenance of your new addlon 52-inch Flush Mount Ceiling Fan with Light. Please read all instructions carefully before beginning installation and retain this manual for future reference.
2. Informazioni sulla sicurezza
Rischio di scossa elettrica
- Before installing this ceiling fan, disconnect the power supply by turning off the circuit breaker.
- Tutti i collegamenti elettrici devono essere conformi agli standard locali e nazionali del Codice elettrico (NEC) e ANSI/NFPA 70.
- Consultare un elettricista qualificato se non si ha familiarità con i collegamenti elettrici corretti.
- Non modificare, spostare o rimuovere i cavi se non si riscontrano problemi con il prodotto.
- Double-check all connections and screws to ensure they are tight and correct.
- Verificare che il volume di fornituratage è corretto confrontandolo con le informazioni sul prodotto.
- Per evitare incendi, scosse elettriche e gravi lesioni personali, leggere attentamente le seguenti istruzioni.
Importanti istruzioni di sicurezza
- Prima di installare il ventilatore, scollegare l'alimentazione rimuovendo i fusibili o disattivando gli interruttori automatici.
- Ensure the installation site allows a minimum of 7.5 feet from the blades to the floor.
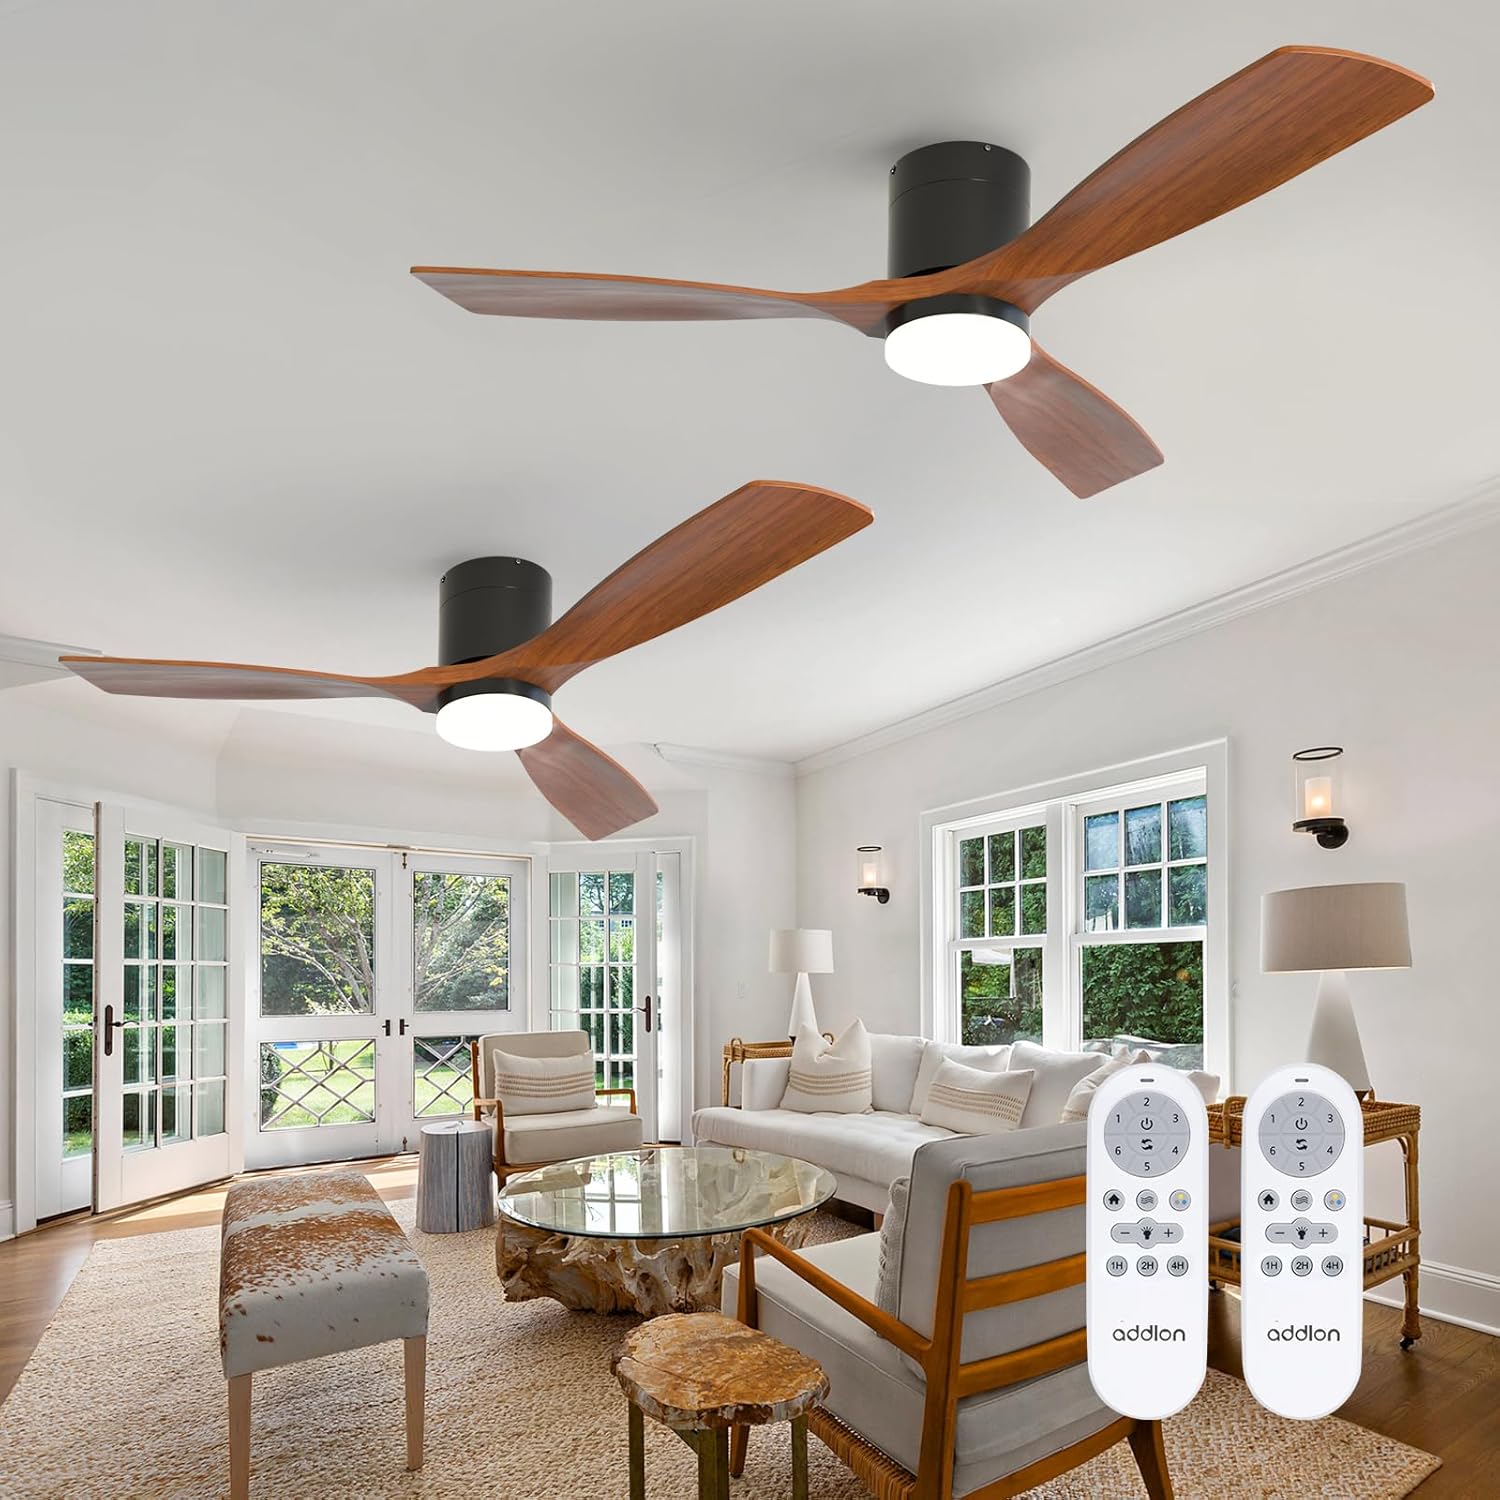
Image: Illustration of a circuit breaker being turned off to disconnect power, emphasizing safety before installation.
3. Elenco degli accessori
Please check the contents of the package against the list below to ensure all parts are present and undamaged.
Image: All components of the addlon 52-inch Flush Mount Ceiling Fan with Light, including blades, motor, light kit, remote, and mounting hardware, laid out on a table.
- Gruppo motore ventilatore da soffitto
- 3 Wood Blades
- Kit luce
- Remote Control (2 included for 2-pack)
- Hardware di montaggio (viti, dadi per cavi, ecc.)
- Manuale di istruzioni
4. Installation Instructions (Flush Mount)
This section details the installation process for the flush mount ceiling fan. For visual guidance, please refer to the installation video below.
Video: Detailed installation guide for the addlon 52-inch Wood Ceiling Fan with Light (Flush Mount version).
4.1. Prepararsi per l'installazione
- Scollegare l'alimentazione: Prima di iniziare, assicurarsi che l'alimentazione elettrica dell'area di installazione sia interrotta tramite l'interruttore automatico.
- Remove Motor Protection Plates: Carefully remove the three motor protection plates from the motor assembly.
4.2. Install the Ceiling Bracket
- Rimuovi la staffa esistente: If an existing bracket is present, remove it.
- Fissare la nuova staffa: Use appropriate screws (provided) to securely attach the addlon ceiling bracket to your ceiling junction box. Ensure it is firmly mounted.
4.3. Cablaggio della ventola
- Hang Motor for Wiring: Carefully hang the motor assembly to the ceiling bracket using the provided safety cable to support its weight during wiring.
- Collegare i fili: Connect the fan's wires to your household wiring using the wire nuts. Ensure connections are tight and wires of the same color are connected (e.g., White to Neutral, Black to Live, Green to Ground).
- Insert Controller: Place the controller into the bracket and organize the wires neatly.
4.4. Mount the Motor Assembly
- Allinea e proteggi: Align the screw on the bracket with the L-shape slot hook in the canopy. Slightly rotate the fan body to make it sit in position.
- Stringere le viti: Install the two screws and tighten all four screws on the sides to secure the motor assembly to the ceiling bracket.
4.5. Fissare le lame
- Installare le lame: Install each of the three wooden blades using two screws per blade. Ensure spacers are used on all screws for proper alignment and stability.
- Stringere tutte le viti: After installing all three blades, tighten all six screws to ensure stability.
4.6. Installare il kit luci
- Unscrew for Light Kit: Unscrew the three pre-installed screws on the motor for future use.
- Connect Light Kit: Plug the terminal pairs of the light kit tightly.
- Secure Light Kit: Put the three removed screws back in and tighten them to secure the light kit.
- Luce di prova: Turn on the switch and select the desired color temperature before installing the light cover.
- Attach Light Cover: Attach the decorative light cover to the light kit by twisting it clockwise until it snaps into place.
5. Istruzioni per l'uso
Your addlon ceiling fan is designed for ease of use with the included remote control. Familiarize yourself with its functions for optimal comfort.
5.1. Funzioni di controllo remoto

Image: Detailed diagram of the addlon remote control, showing buttons for fan speed, fan off, forward/reverse, security, natural wind, light dimmer, light color temperature, light on/off, and timer settings.
- Velocità della ventola (1-6): Adjust fan speed from low (1) to high (6).
- Ventola spenta: Spegne la ventola.
- Avanti/indietro: Cambia la direzione di rotazione della lama per l'uso stagionale.
- Luce accesa/spenta: Accende o spegne la luce.
- Light Dimmer (+/-): Adjusts the brightness of the light (10%-100%).
- Temperatura del colore della luce: Cycles through 3000K (Warm White), 4500K (Natural White), and 6000K (Cool White).
- Timer (1H/2H/4H): Imposta lo spegnimento automatico della ventola dopo 1, 2 o 4 ore.
- Funzione di sicurezza: Turns the light on every 2 hours for 5 minutes.
- vento naturale: Simula la brezza naturale variando la velocità della ventola.
5.2. Selezione della velocità della ventola

Image: Visual representation of the 6 selectable fan speeds, categorized as Low Comfortable Wind (Level 1-2), Medium Natural Wind (Level 3-4), and High Cooling Wind (Level 5-6).
The fan offers 6 speed settings to suit your comfort needs:
- Livelli 1-2: Low Comfortable Wind
- Livelli 3-4: Medium Natural Wind
- Livelli 5-6: High Cooling Wind
5.3. Customizable Light

Image: Demonstrates the dimmable light feature (10%-100%) and the three color temperature options: 3000K, 4500K, and 6000K.
The integrated LED light is both dimmable (10%-100%) and offers three color temperature options:
- 3000K: Bianco caldo
- 4500K: Bianco naturale
- 6000K: Bianco freddo
5.4. Motore CC reversibile

Image: Illustrates the reversible DC motor function, showing downward airflow for cooling in summer and upward airflow for improved air circulation in winter.
Il motore DC reversibile consente l'utilizzo durante tutto l'anno:
- Modalità estiva: Il flusso d'aria verso il basso crea un effetto di raffreddamento.
- Modalità invernale: Upward airflow circulates warm air, improving heating efficiency.
5.5. Funzionamento silenzioso

Image: Graph comparing noise levels, showing the addlon fan operating at approximately 20dB, significantly quieter than typical city noise (80dB) or normal conversation (50dB).
The advanced DC motor ensures a quiet operation, contributing to a peaceful environment.
6. Manutenzione
Una manutenzione regolare contribuisce a garantire la longevità e le prestazioni ottimali del ventilatore da soffitto.
- Pulizia: Utilizzare un morbido, damp panno per pulire le pale della ventola e l'alloggiamento del motore. Non utilizzare detergenti abrasivi o solventi.
- Controllare le connessioni: Controllare periodicamente tutte le viti e i collegamenti per accertarsi che siano ben saldi.
- Bilanciamento della lama: If the fan wobbles, ensure all blades are securely attached and balanced.
7. Risoluzione Dei Problemi
Se riscontri problemi con la ventola, fai riferimento ai seguenti problemi comuni e alle relative soluzioni:
| Problema | Possibile causa | Soluzione |
|---|---|---|
| La ventola non si avvia | No power supply; Loose wiring; Remote control issue. | Check circuit breaker; Verify all wire connections are secure; Replace remote batteries. |
| La luce non funziona | Loose light kit connection; Faulty LED. | Check light kit wiring; Contact customer support if LED is faulty. |
| La ventola traballa | Lame allentate; Lame sbilanciate; Staffa di montaggio allentata. | Ensure all blade screws are tight; Use balancing kit (not included) if necessary; Tighten mounting bracket screws. |
| Il telecomando non funziona | Batterie scariche; telecomando non associato. | Replace AAA batteries; Refer to remote pairing instructions in the manual. |
8. Specifiche
| Caratteristica | Dettaglio |
|---|---|
| Marca | addlon |
| Nome del modello | KFM52WOO3B01R1-D |
| Misurare | 52 pollici |
| Stile | Flush Mount |
| Lame | 3 Wood Blades |
| Tipo di motore | Motore CC reversibile |
| Velocità della ventola | 6 livelli |
| Caratteristiche della luce | 3 Color Temperature (3000K/4500K/6000K), Dimmable (10%-100%) |
| Metodo di controllo | Telecomando |
| Timer | 1/2/4 hour sleep shutdown |
| Uso interno/esterno | Interno, Esterno (Damp Rated, not for direct rain exposure) |
| Voltage | 120 Volt |
| Cosatage | 50 watt |
| Peso dell'articolo | 22 libbre |
| Codice UPC | 850076255831 |
9. Garanzia e supporto
addlon is committed to customer satisfaction. We offer comprehensive warranty and support services for your product.
- Garanzia del motore: Up to 120 months (10 years) warranty on the motor.
- Garanzia su altre parti: 2 years warranty on the rest of the fan components.
- Assistenza clienti: We offer 24-hour customer support. Please feel free to contact us with any questions you may have during installation or use.