
1. Introduzione
This manual provides essential information for the installation, operation, and maintenance of your Hikvision IDS-7208HQHI-M1/XT 8-Channel 5MP Turbo HD DVR. Please read this manual thoroughly before using the product to ensure correct and safe operation. Keep this manual for future reference.
The Hikvision IDS-7208HQHI-M1/XT is an advanced 8-channel Digital Video Recorder designed for high-definition surveillance systems. It supports various video input formats, including Turbo HD, AHD, CVI, CVBS, and IP cameras, offering versatile compatibility. Key features include 5MP recording capability, H.265+ video compression for efficient storage, AcuSense technology for intelligent motion detection, and remote access via the Hik-Connect app.
2. Contenuto della confezione
Verify that all items are present and in good condition upon unpacking. If any items are missing or damaged, contact your supplier immediately.
- DVR main unit
- Adattatore di alimentazione
- Mouse USB
3. Caratteristiche del prodotto
The Hikvision IDS-7208HQHI-M1/XT DVR offers a range of features designed for effective surveillance:
- 8-Channel DVR with 5MP HD Support: Supports multiple analog HD camera formats and up to 8 channels of real-time video monitoring and recording.
- Two-Way Audio Support: Enables audio communication through compatible cameras.
- Built-In AcuSense Technology: Smart analysis minimizes false alarms by focusing on human and vehicle-based motion detection.
- Remote Access via Hik-Connect App: View live video, playback recordings, and receive alerts anytime on your smartphone.
- Efficient Storage with H.265+ Compression: Saves bandwidth and hard disk space while maintaining clear video quality.
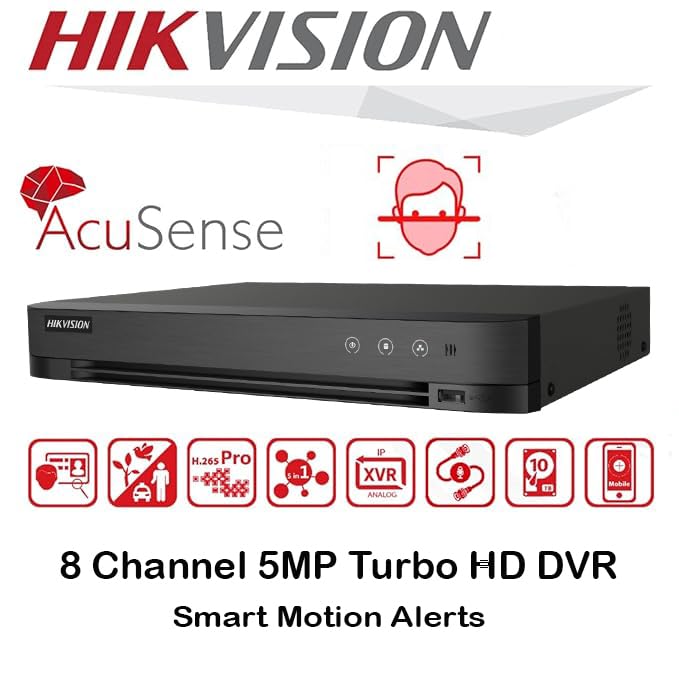
Immagine: Oltreview of key features including AcuSense, H.265+ compression, and 5MP resolution support.
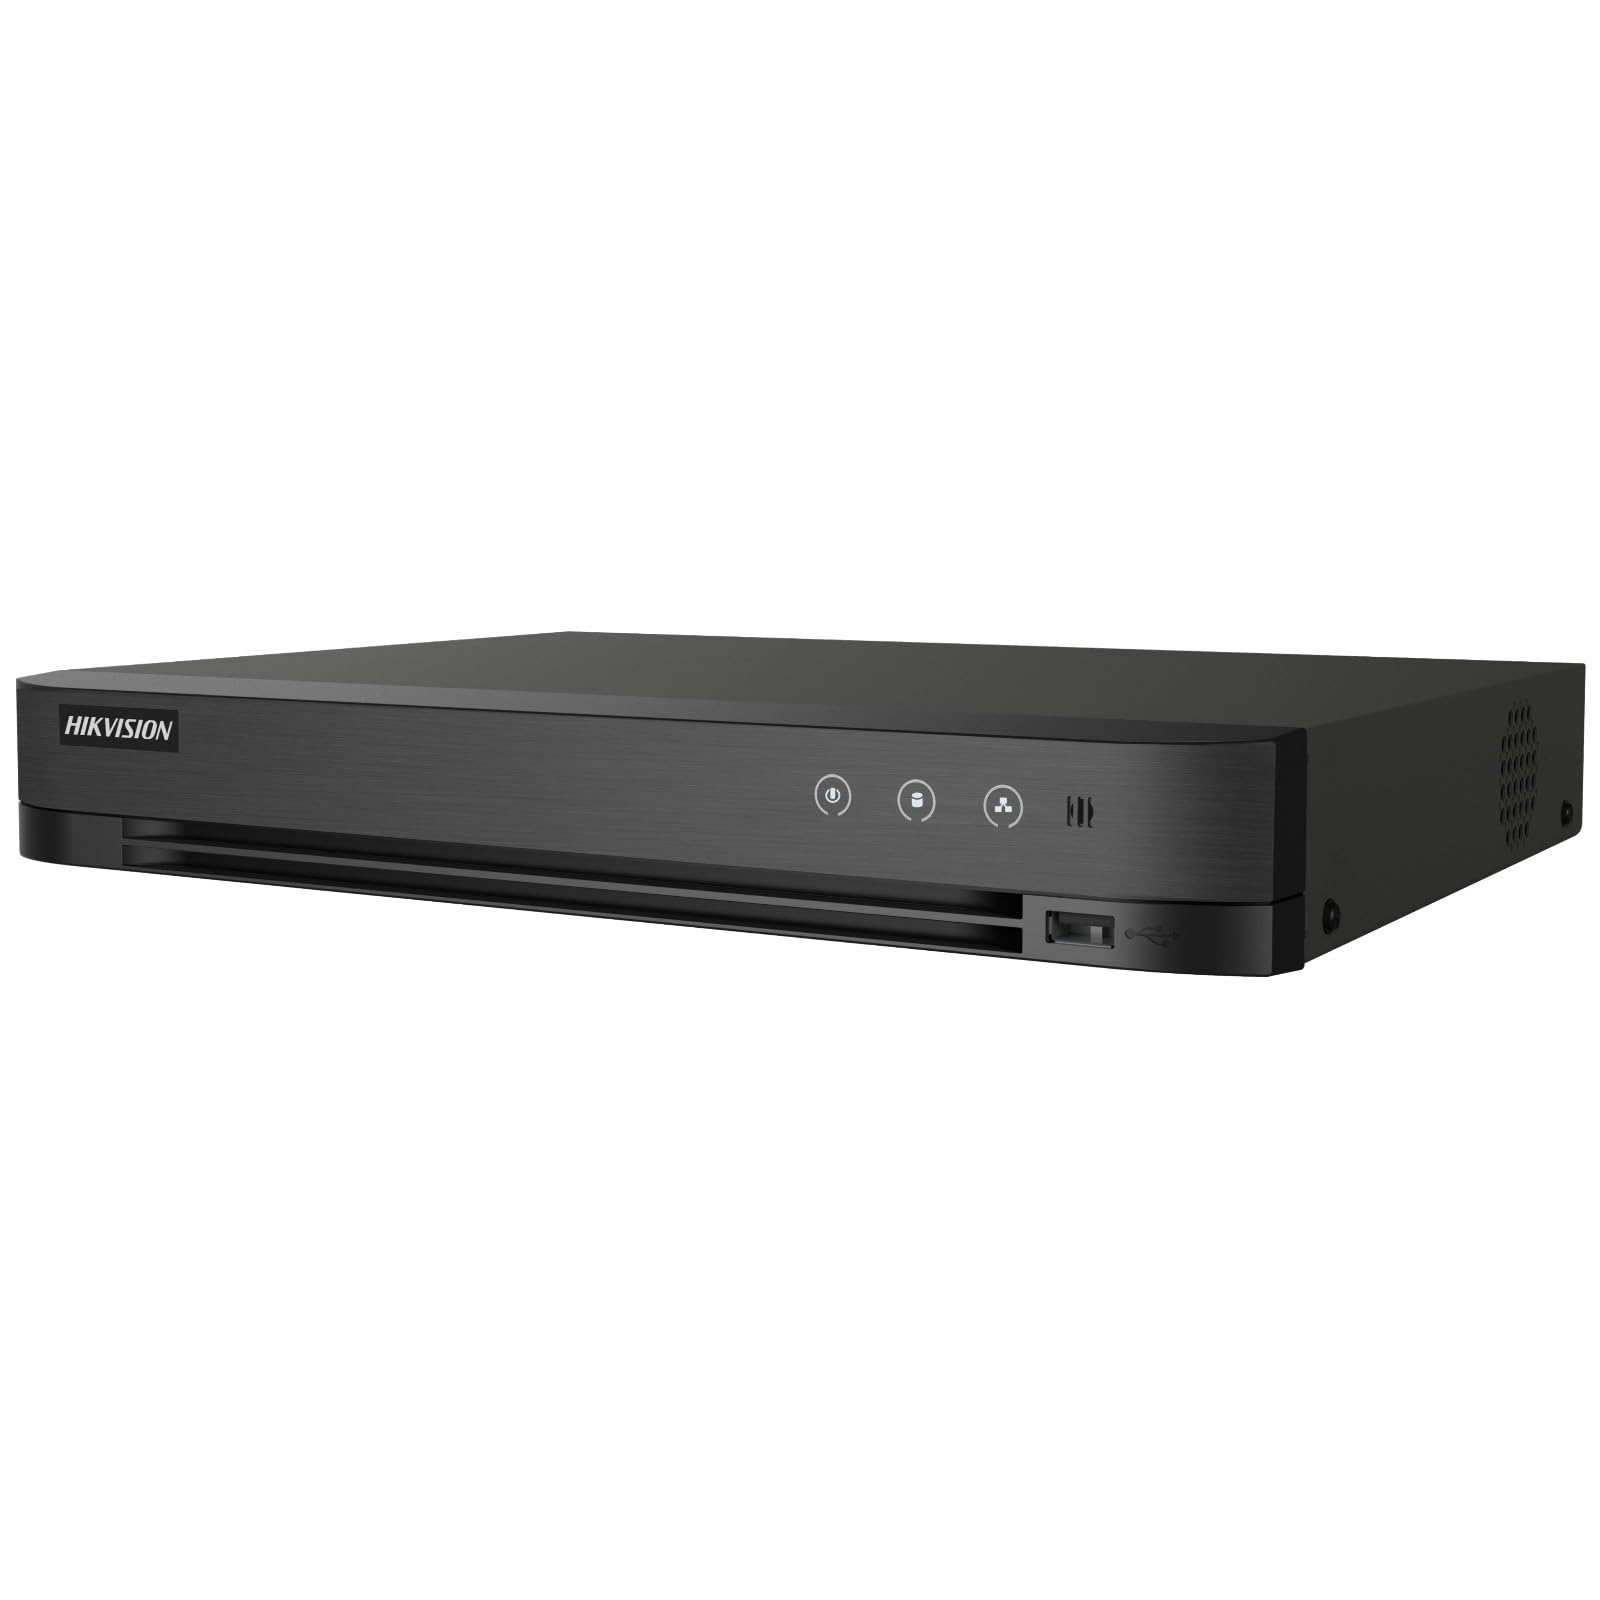
Image: The Hikvision Turbo HD DVR highlighting its support for two-way audio cameras, enabling interactive communication.
4. Interfaccia fisica
Familiarize yourself with the ports and indicators on the DVR unit. The following diagram illustrates the rear panel of the Hikvision IDS-7208HQHI-M1/XT DVR:

Image: Rear panel connections of the DVR, showing video inputs, audio ports, network, and power.
- Ingresso video (BNC): Connect analog HD cameras (Turbo HD, AHD, CVI, CVBS).
- Video Out (BNC): Connect to a monitor for local display.
- Ingresso audio (RCA): Connect external audio input devices.
- Uscita HDMI: Connect to an HDMI-compatible monitor or TV for high-definition video output.
- Uscita VGA: Connect to a VGA-compatible monitor.
- Uscita audio (RCA): Connect to external audio output devices.
- Porte USB: Connect a USB mouse, USB flash drive for backup, or external storage.
- Porta LAN (RJ45): Collegati alla tua rete per l'accesso remoto e l'integrazione della telecamera IP.
- RS-485: For PTZ camera control (if supported).
- Ingresso alimentazione CC 12 V: Collegare l'adattatore di alimentazione in dotazione.
- Terminale di terra: Per la messa a terra del dispositivo.
5. Impostazione
Follow these steps for initial setup of your DVR system:
5.1 Installazione del disco rigido (se non preinstallato)
- Svitare e rimuovere il coperchio superiore del DVR.
- Collegare il cavo dati SATA e il cavo di alimentazione al disco rigido.
- Fissare il disco rigido allo chassis del DVR utilizzando le viti fornite.
- Riposizionare il coperchio superiore e fissarlo con le viti.
5.2 Collegamento delle periferiche
- Connect your cameras to the Video In (BNC) ports.
- Collegare un monitor al Cavo HDMI or VGA porta di uscita.
- Connect the USB mouse to a Porta USB.
- Connect the DVR to your network router using an Ethernet cable plugged into the Porta LAN.
- Collegare l'adattatore di alimentazione a Ingresso alimentazione 12 V CC and then plug it into a power outlet.
5.3 Configurazione iniziale
- Al primo avvio, il DVR ti guiderà attraverso una procedura guidata di configurazione.
- Imposta una password complessa per l'account amministratore.
- Configurare le impostazioni di rete (DHCP è solitamente sufficiente per la maggior parte delle reti domestiche).
- Initialize the hard drive if prompted. This will format the drive for recording.
- Adjust date, time, and other system preferences as needed.
6. Operativo
Once the DVR is set up, you can begin monitoring and recording.
6.1 Vivere View
Dopo aver effettuato l'accesso, il DVR visualizzerà la registrazione in diretta view dalle telecamere collegate sul monitor. È possibile passare dalla visualizzazione a telecamera singola view e griglia multi-camera view utilizzando i controlli sullo schermo o il mouse.
6.2 Registrazione
The DVR is typically configured to record continuously or based on motion detection. You can adjust recording schedules and settings through the DVR's menu system (Configurazione > Registra > Pianifica).
6.3 Riproduzione
per riview registrato footage, vai al Riproduzione menu. Select the date, time, and camera channel to view recordings. Use the playback controls (play, pause, fast forward, rewind) to navigate through the footage.
6.4 Remote Access (Hik-Connect App)
The Hik-Connect app allows you to access your DVR remotely from a smartphone or tablet.
- Scarica l'app Hik-Connect dall'app store del tuo dispositivo.
- Create a Hik-Connect account and log in.
- Add your DVR by scanning the QR code on the DVR's label or by manually entering its serial number.
- Seguire le istruzioni nell'app per completare l'aggiunta del dispositivo.
- Una volta aggiunto, puoi view live feeds, play back recordings, and receive push notifications for events.

Image: Illustration of the Hik-Connect mobile application interface, demonstrating remote access to live video and recordings.
7. Manutenzione
Una manutenzione regolare garantisce prestazioni ottimali e longevità del sistema DVR.
- Clean the DVR: Periodically clean the exterior of the DVR with a soft, dry cloth. Ensure ventilation openings are free from dust to prevent overheating.
- Aggiornamenti del firmware: Controlla il sito ufficiale Hikvision webSito per gli aggiornamenti del firmware. L'aggiornamento del firmware può migliorare le prestazioni, aggiungere funzionalità e correggere bug. Seguire attentamente le istruzioni di aggiornamento.
- Stato del disco rigido: Monitor the health of your hard drive through the DVR's system menu (Gestione dell'HDD). Replace the hard drive if it shows signs of failure.
- Backup Importante Footage: Eseguire regolarmente il backup dei video criticitage su un'unità USB esterna o su un archivio di rete.
- Sicurezza della password: Change your DVR and Hik-Connect passwords periodically to maintain security.
8. Risoluzione Dei Problemi
Questa sezione affronta i problemi più comuni che potresti incontrare.
8.1 Nessuna uscita video sul monitor
- Verificare che il monitor sia acceso e correttamente collegato alla porta HDMI o VGA del DVR.
- Assicurati che sul tuo monitor sia selezionata la sorgente di input corretta.
- Prova a collegarti a un monitor diverso o a utilizzare un cavo diverso.
8.2 Le telecamere non visualizzano
- Verify that cameras are powered on and properly connected to the DVR's BNC inputs.
- Check camera power supplies.
- Ensure the camera type (TVI, AHD, CVI, CVBS) is compatible with the DVR and configured correctly in the DVR settings.
8.3 Accesso remoto non funzionante
- Assicurarsi che il DVR sia connesso a Internet tramite la porta LAN.
- Check network settings on the DVR (Configurazione > Rete).
- Verify that the Hik-Connect service is enabled on the DVR.
- Assicurati che il tuo smartphone abbia una connessione Internet attiva.
- Re-add the device to the Hik-Connect app if necessary.
8.4 Nessuna registrazione
- Check if a hard drive is installed and properly initialized (Configuration > HDD).
- Verify recording schedules are set correctly (Configurazione > Registra > Pianifica).
- Assicurarsi che ci sia spazio libero sufficiente sul disco rigido.
9. Specifiche
Detailed technical specifications for the Hikvision IDS-7208HQHI-M1/XT DVR:
| Caratteristica | Specificazione |
|---|---|
| Numero di modello | IDS-7208HQHI-M1/XT |
| Ingresso video | 8-Channel (Turbo HD/AHD/CVI/CVBS/IP) |
| Compressione video | H.265 + / H.265 / H.264 + / H.264 |
| Risoluzione di registrazione | Fino a 5 MP |
| Uscita video | HDMI, VGA, BNC |
| Ingresso/uscita audio | 2-Way Audio Support |
| Interfaccia di rete | 1 RJ45 10M/100M Ethernet Interface |
| Interfaccia USB | 2 porte USB 2.0 |
| Supporto HDD | 1 interfaccia SATA (capacità fino a 10 TB per HDD) |
| Alimentazione elettrica | 12V CC |
| Dimensioni (L x P x A) | Dimensioni: 19.7 x 19.2 x 4.1 cm |
| Peso | 1.5 kg |
| Produttore | HIKVISION, Prama Hikvision India Pvt. Ltd. |
10. Garanzia e supporto
For warranty information and technical support, please refer to the warranty card included with your product or visit the official Hikvision websito. Conservare la ricevuta d'acquisto come prova d'acquisto per eventuali reclami in garanzia.
For further assistance, contact Hikvision customer support or your authorized dealer.


