
1. Introduzione
This manual provides instructions for the safe and effective use of your Cecotec FixerForce 4000 Manual Riveter Kit. Please read all instructions carefully before operating the tool and retain this manual for future reference. The FixerForce 4000 is designed for fastening materials together using blind rivets, suitable for various DIY and professional applications.
2. Istruzioni di sicurezza
- Protezione degli occhi: Indossare sempre occhiali di sicurezza o maschere per proteggere gli occhi dai detriti volanti.
- Protezione della mano: Wear appropriate gloves to prevent injury during operation.
- Area di lavoro: Assicuratevi che l'area di lavoro sia pulita, ben illuminata e libera da ostacoli. Tenete lontani bambini e astanti.
- Condizione dell'utensile: Inspect the riveter before each use. Do not use if any parts are damaged or missing.
- Correct Rivet Size: Always use the correct size rivet and nozzle for the material thickness and hole diameter.
- Pezzo sicuro: Ensure the materials being riveted are securely clamptrattenuto o trattenuto per impedire il movimento.
- Presa corretta: Maintain a firm grip on the riveter handles during operation.
- Mandrel Disposal: Dispose of spent rivet mandrels safely to avoid cuts or punctures.
3. Contenuto della confezione
Your Cecotec FixerForce 4000 Manual Riveter Kit includes the following items:
- 1 x Manual Riveter
- 200 x Rivets (in 4 assorted sizes)
- 4 x Interchangeable Nozzles (2.4 mm, 3.2 mm, 4 mm, 4.8 mm)
- 4 x Drill Bits (matching rivet sizes)
- 1 x Rivet Mandrel Extractor
- 1 x Custodia per il trasporto
- 1 x Manuale di istruzioni

Immagine 3.1: Passoview of the riveter, various rivets, and drill bits.
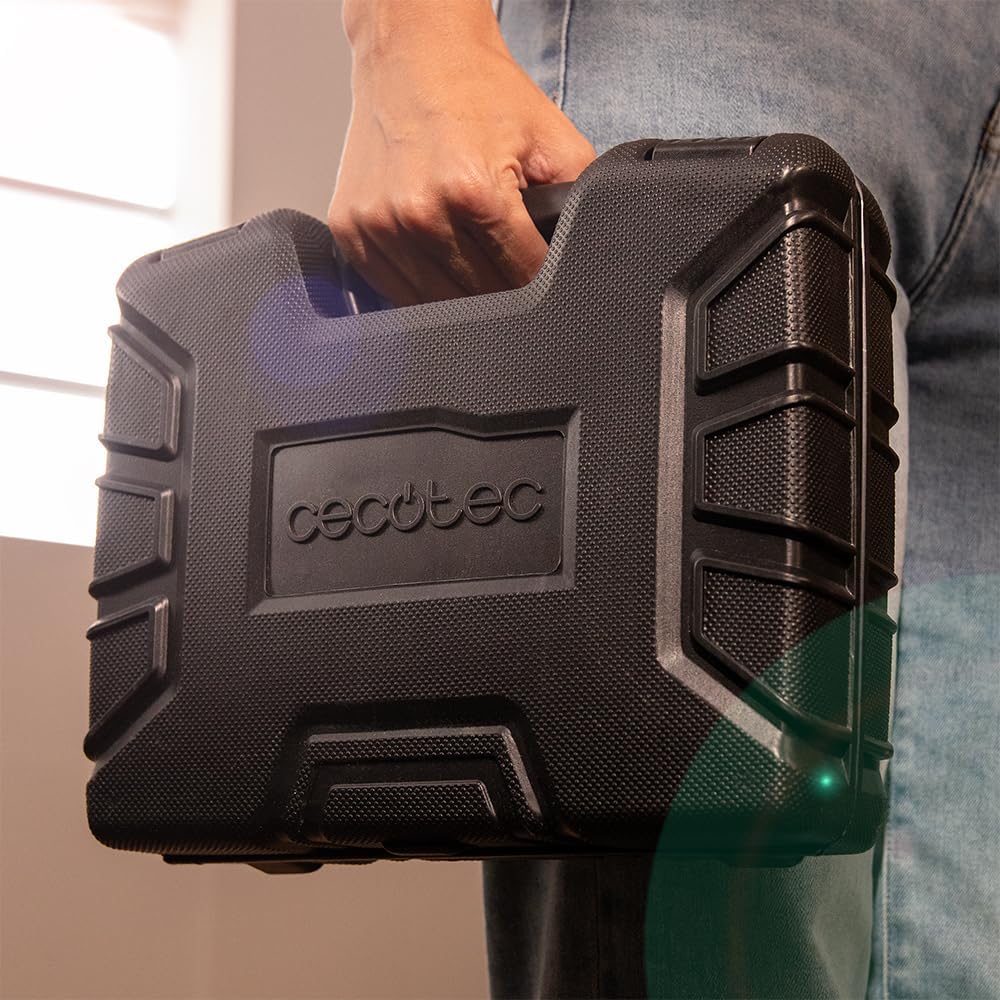
Image 3.2: The durable carrying case for storage and transport.
4. Impostazione
- Seleziona ugello: Choose the correct nozzle that matches the diameter of the rivet you intend to use. The kit includes nozzles for 2.4 mm, 3.2 mm, 4 mm, and 4.8 mm rivets.
- Installa l'ugello: Unscrew the current nozzle (if any) from the riveter head. Screw the selected nozzle firmly into place. The keyless adjustment allows for easy changes.
- Open Handles: Squeeze the riveter handles together and then release them to open the jaws fully.
- Inserire il rivetto: Insert the rivet mandrel (the pin part) into the installed nozzle until the rivet head rests against the nozzle.
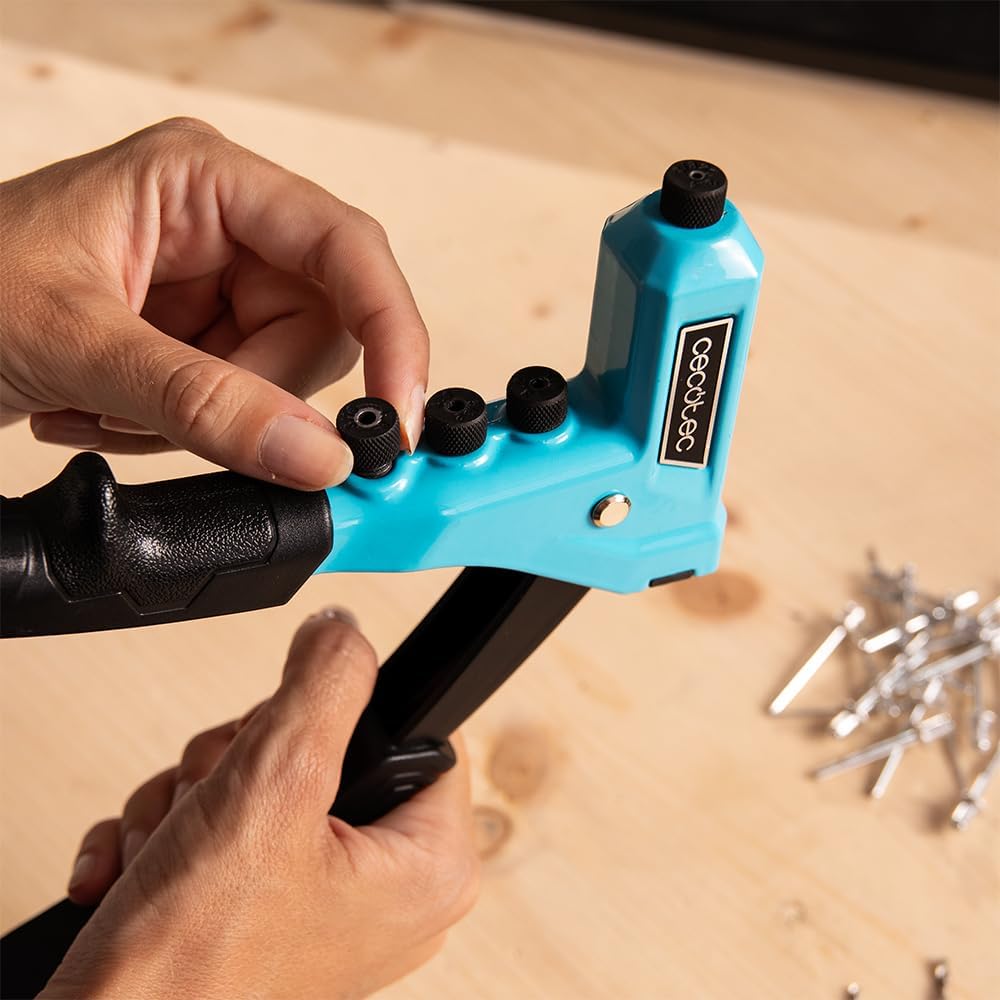
Image 4.1: Adjusting the nozzle on the riveter head.
5. Istruzioni per l'uso
- Prepara il foro: Using the appropriate drill bit from the kit, drill a hole through the materials to be joined. The hole diameter should match the rivet diameter.
- Posizione Rivetto: Place the rivet, with its mandrel inserted into the riveter, through the prepared hole in the materials. Ensure the rivet head is flush against the material surface.
- Utilizzare la rivettatrice: Firmly squeeze the handles of the riveter together. You will feel resistance as the tool pulls the rivet mandrel, expanding the rivet body on the blind side of the material. Continue squeezing until the rivet mandrel snaps off.
- Mandrino di espulsione: After the mandrel snaps, release the handles. The spent mandrel should fall out. If it remains in the tool, squeeze the handles again to eject it, or use the included mandrel extractor.
- Verify Rivet: Check that the rivet is securely set and the materials are firmly joined.

Image 5.1: Demonstrating the use of the riveter on a metal structure.
6. Manutenzione
- Pulizia: After each use, wipe the riveter clean with a dry cloth to remove any dust or debris.
- Lubrificazione: Periodically apply a small amount of light machine oil to the pivot points and jaws to ensure smooth operation.
- Magazzinaggio: Store the riveter and all accessories in the provided carrying case in a dry, safe place, away from moisture and extreme temperatures.
- Ispezione: Regularly inspect the nozzles and jaws for wear or damage. Replace worn parts as necessary.
7. Risoluzione Dei Problemi
| Problema | Possibile causa | Soluzione |
|---|---|---|
| Rivetto non fissato correttamente | Incorrect nozzle size; insufficient force applied; rivet too long for material thickness. | Ensure nozzle matches rivet diameter. Apply more force. Use a rivet suitable for the material thickness. |
| Mandrel does not eject | Jaws are stuck or dirty; mandrel is bent. | Squeeze handles fully again. Clean and lubricate jaws. Use the mandrel extractor if necessary. |
| Rivet slips out of nozzle | Nozzle is too large for the rivet mandrel. | Ensure the correct nozzle size is installed for the rivet being used. |
8. Specifiche
- Modello: FixerForce 4000
- Produttore: Cecotec
- Numero modello prodotto: A01_EU01_108197
- Dimensioni: Dimensioni: 3 x 10 x 21 cm
- Peso: 490 grammi
- Fonte di energia: Alimentato a mano
- Dimensioni degli ugelli: 2.4 millimetri, 3.2 millimetri, 4 millimetri, 4.8 millimetri
- Componenti inclusi: Manual riveter, 200 rivets, 4 nozzles, 4 drill bits, rivet extractor, carrying case.
9. Garanzia e supporto
I prodotti Cecotec sono realizzati secondo elevati standard di qualità. Per informazioni sulla copertura della garanzia, consultare la scheda di garanzia inclusa nell'acquisto o visitare il sito ufficiale Cecotec. website. For technical support, spare parts, or service inquiries, please contact Cecotec customer service through the contact information provided on their official websito o la documentazione di acquisto.