
1. Informazioni importanti sulla sicurezza
Leggere attentamente tutte le istruzioni prima di utilizzare questo apparecchio per ridurre il rischio di incendi, scosse elettriche o lesioni. Conservare il presente manuale per riferimento futuro.
- Sicurezza elettrica: Assicurarsi che il frigorifero sia collegato a una presa con messa a terra. Non utilizzare prolunghe.
- Ventilazione: Maintain adequate space around the refrigerator for proper air circulation.
- Materiali infiammabili: Non conservare sostanze esplosive o materiali infiammabili all'interno dell'apparecchio.
- Bambini: Sorvegliare i bambini per assicurarsi che non giochino con l'apparecchio.
- Disposizione: Dispose of the appliance according to local regulations, especially regarding refrigerant and insulation materials.
2. Prodotto finitoview
The Midea MERM17B0ABB is a compact 1.7 cubic feet mini fridge designed for efficient cooling in various settings.

Figure 1: Midea MERM17B0ABB 1.7 Cu Ft Mini Fridge (Black)
Video 1: Fine ufficialeview of the Midea 1.7 Cubic Feet Compact Fridge, demonstrating its features and compact design.
3. Configurazione e installazione
3.1 Disimballaggio
- Rimuovere tutti i materiali di imballaggio, compresi schiuma e nastro adesivo.
- Inspect the refrigerator for any damage during transit.
- Ensure all included components, such as the compact fridge and user manual, are present.
3.2 Posizionamento
Choose a location with a stable, level surface away from direct sunlight and heat sources. Allow sufficient space around the unit for proper ventilation.
- Dimensioni: 17.6"P x 18.6"L x 19.3"A.
- Liquidazione: Lasciare almeno 10 cm di spazio sul retro e sui lati per consentire la circolazione dell'aria.

Figure 2: The compact dimensions of the Midea mini fridge, suitable for various spaces.

Figura 3: Esamples of versatile placement options for the compact refrigerator in different rooms.
3.3 Livellamento
The refrigerator must be level for proper operation. Adjust the leveling legs at the bottom of the unit to ensure stability.

Figure 4: Detail showing the adjustable leveling legs for stable placement.
3.4 Installazione della porta reversibile
The door can be reversed to open from either the left or right side, offering flexible placement options. Refer to the detailed instructions in the included user manual for the reversal process.

Figure 5: Illustration of the reversible door design, allowing opening from either side.
3.5 Accensione iniziale
After placing the refrigerator in its desired location, allow it to stand upright for at least 24 hours before plugging it into a power outlet. This allows the refrigerant to settle, ensuring optimal cooling performance.
4. Istruzioni per l'uso
4.1 Controllo della temperatura
The refrigerator features an adjustable thermostat to control the internal temperature. Turn the dial to your desired setting. Higher numbers typically indicate colder temperatures.

Figure 6: The adjustable temperature control dial inside the refrigerator.
4.2 Conservazione degli alimenti
Utilize the adjustable and removable shelf to customize the interior space for various items. The door also includes a built-in 2-liter bottle storage rack.
- Ripiano regolabile: Position the shelf at different heights or remove it entirely to accommodate taller items.
- Stoccaggio della porta: Ideal for frequently accessed beverages and smaller items, including a dedicated space for 2-liter bottles.
5. Manutenzione
5.1 Pulizia
Una pulizia regolare aiuta a mantenere l'igiene e l'efficienza.
- Interno: Unplug the unit. Wash interior surfaces with a solution of mild detergent and warm water. Rinse and dry thoroughly.
- Esterno: Pulisci l'esterno con un panno morbido e un detergente delicato.
- Guarnizione porta: Pulire regolarmente la guarnizione della porta per garantire una tenuta adeguata.
5.2 Sbrinamento
This refrigerator features a manual defrost system. Defrost the unit when frost accumulation on the evaporator reaches approximately 1/4 inch (6 mm) thick.
- Staccare la spina del frigorifero.
- Remove all food items and place them in another cooling unit.
- Lasciare lo sportello aperto per consentire al ghiaccio di sciogliersi naturalmente. Posizionare degli asciugamani o una bacinella bassa per raccogliere l'acqua.
- Non utilizzare oggetti appuntiti o dispositivi di riscaldamento per rimuovere la brina, poiché ciò potrebbe danneggiare il sistema di raffreddamento.
- Una volta sbrinato, pulire e asciugare l'interno prima di ricollegare l'unità.
6. Risoluzione Dei Problemi
Review the following common issues and their solutions before contacting customer service.
| Problema | Possibile causa | Soluzione |
|---|---|---|
| Il frigorifero non funziona | Not plugged in; circuit breaker tripped; temperature control set to 'OFF'. | Assicurarsi che la spina sia ben salda; ripristinare l'interruttore automatico; regolare il controllo della temperatura. |
| La temperatura non è abbastanza fredda | Il controllo della temperatura è impostato su un valore troppo alto; la porta viene aperta troppo frequentemente; all'interno vengono inseriti alimenti caldi; la ventilazione è scarsa. | Regolare il termostato su un'impostazione più fredda; ridurre al minimo le aperture delle porte; lasciare raffreddare gli alimenti caldi prima di riporli; assicurarsi che vi sia spazio sufficiente attorno all'unità. |
| Rumori insoliti | Unità non in piano; oggetti che vibrano contro l'unità; normali rumori di funzionamento. | Adjust leveling legs; ensure nothing is touching the refrigerator; gurgling or humming sounds are normal. |
| Eccessivo accumulo di brina | Door not sealing properly; door opened too frequently; high humidity. | Check door gasket for damage; minimize door openings; perform manual defrost. |
7. Specifiche
Detailed technical specifications for the Midea MERM17B0ABB Mini Fridge.
| Caratteristica | Specificazione |
|---|---|
| Numero di modello | MERM17B0ABB |
| Dimensioni del prodotto (P x L x A) | 17.6" x 18.6" x 19.3" |
| Capacità | 1.7 piedi cubi |
| Colore | Nero |
| Tipo di installazione | Libera installazione |
| Numero di porte | 1 |
| Sistema di sbrinamento | Manuale |
| Voltage | 115 Volt |
| Metodo di raffreddamento | Compressore |
| Numero di ripiani | 1 |
| Controllo della temperatura regolabile | SÌ |
| Orientamento della porta | Reversibile |
| Peso dell'articolo | 29.8 libbre |
| Consumo energetico annuale | 246 kilowattora |
| Certificato Energy Star | SÌ |
| Refrigerante | R-600A |

Figure 7: The Midea mini fridge is Energy Star Certified, indicating energy efficiency.
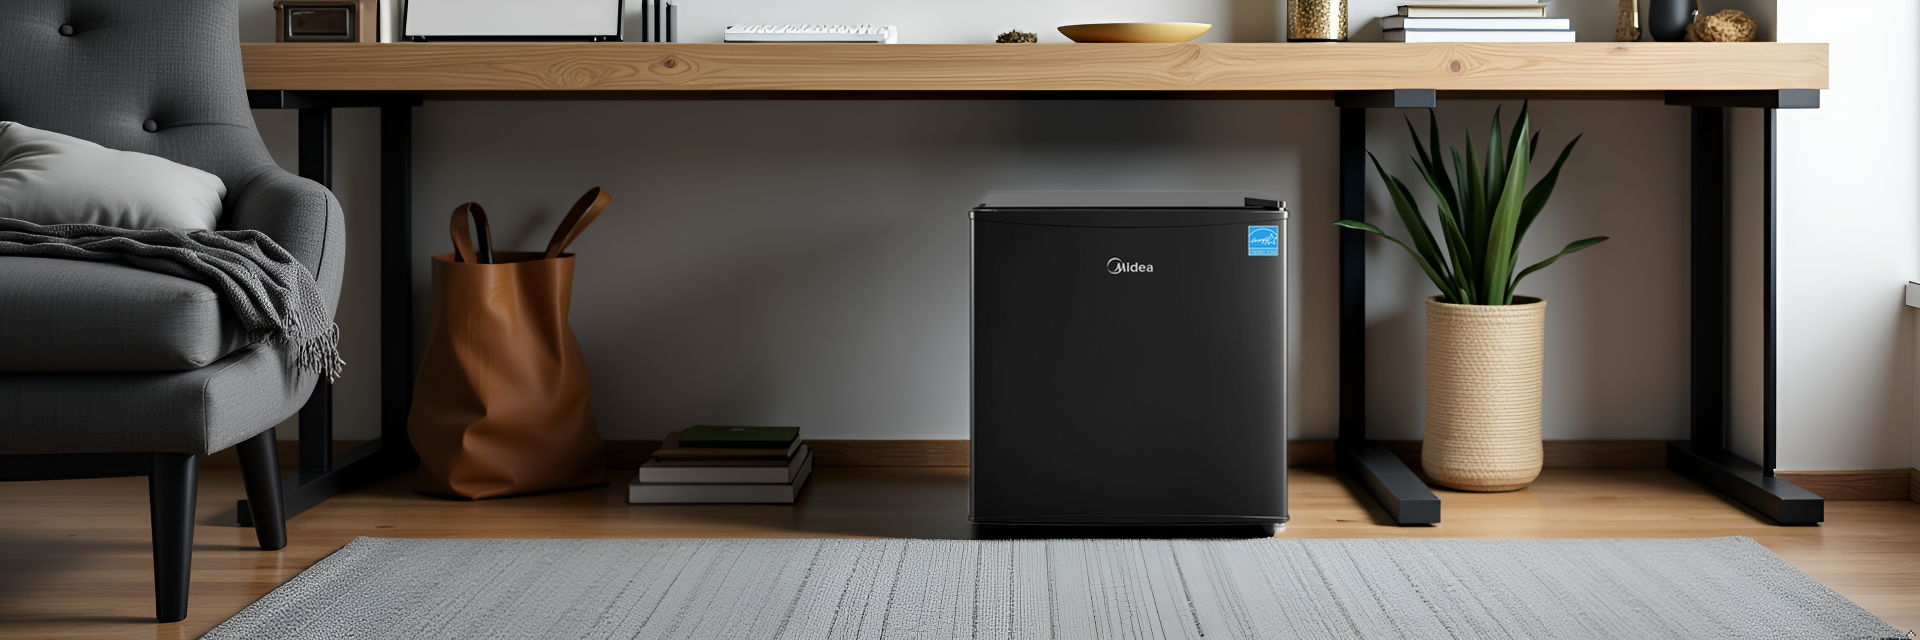
Figure 8: The official EnergyGuide label providing estimated yearly energy cost and electricity use.
8. Garanzia e supporto
This Midea refrigerator comes with a Garanzia del produttore di 1 anni. For warranty claims or technical support, please refer to the contact information provided in the original packaging or visit the official Midea websito.