1. Introduzione
Thank you for choosing the SHPAI 8x10 FT Hardtop Gazebo. This manual provides essential information for the safe assembly, operation, and maintenance of your new outdoor structure. Please read these instructions thoroughly before beginning assembly and retain them for future reference.
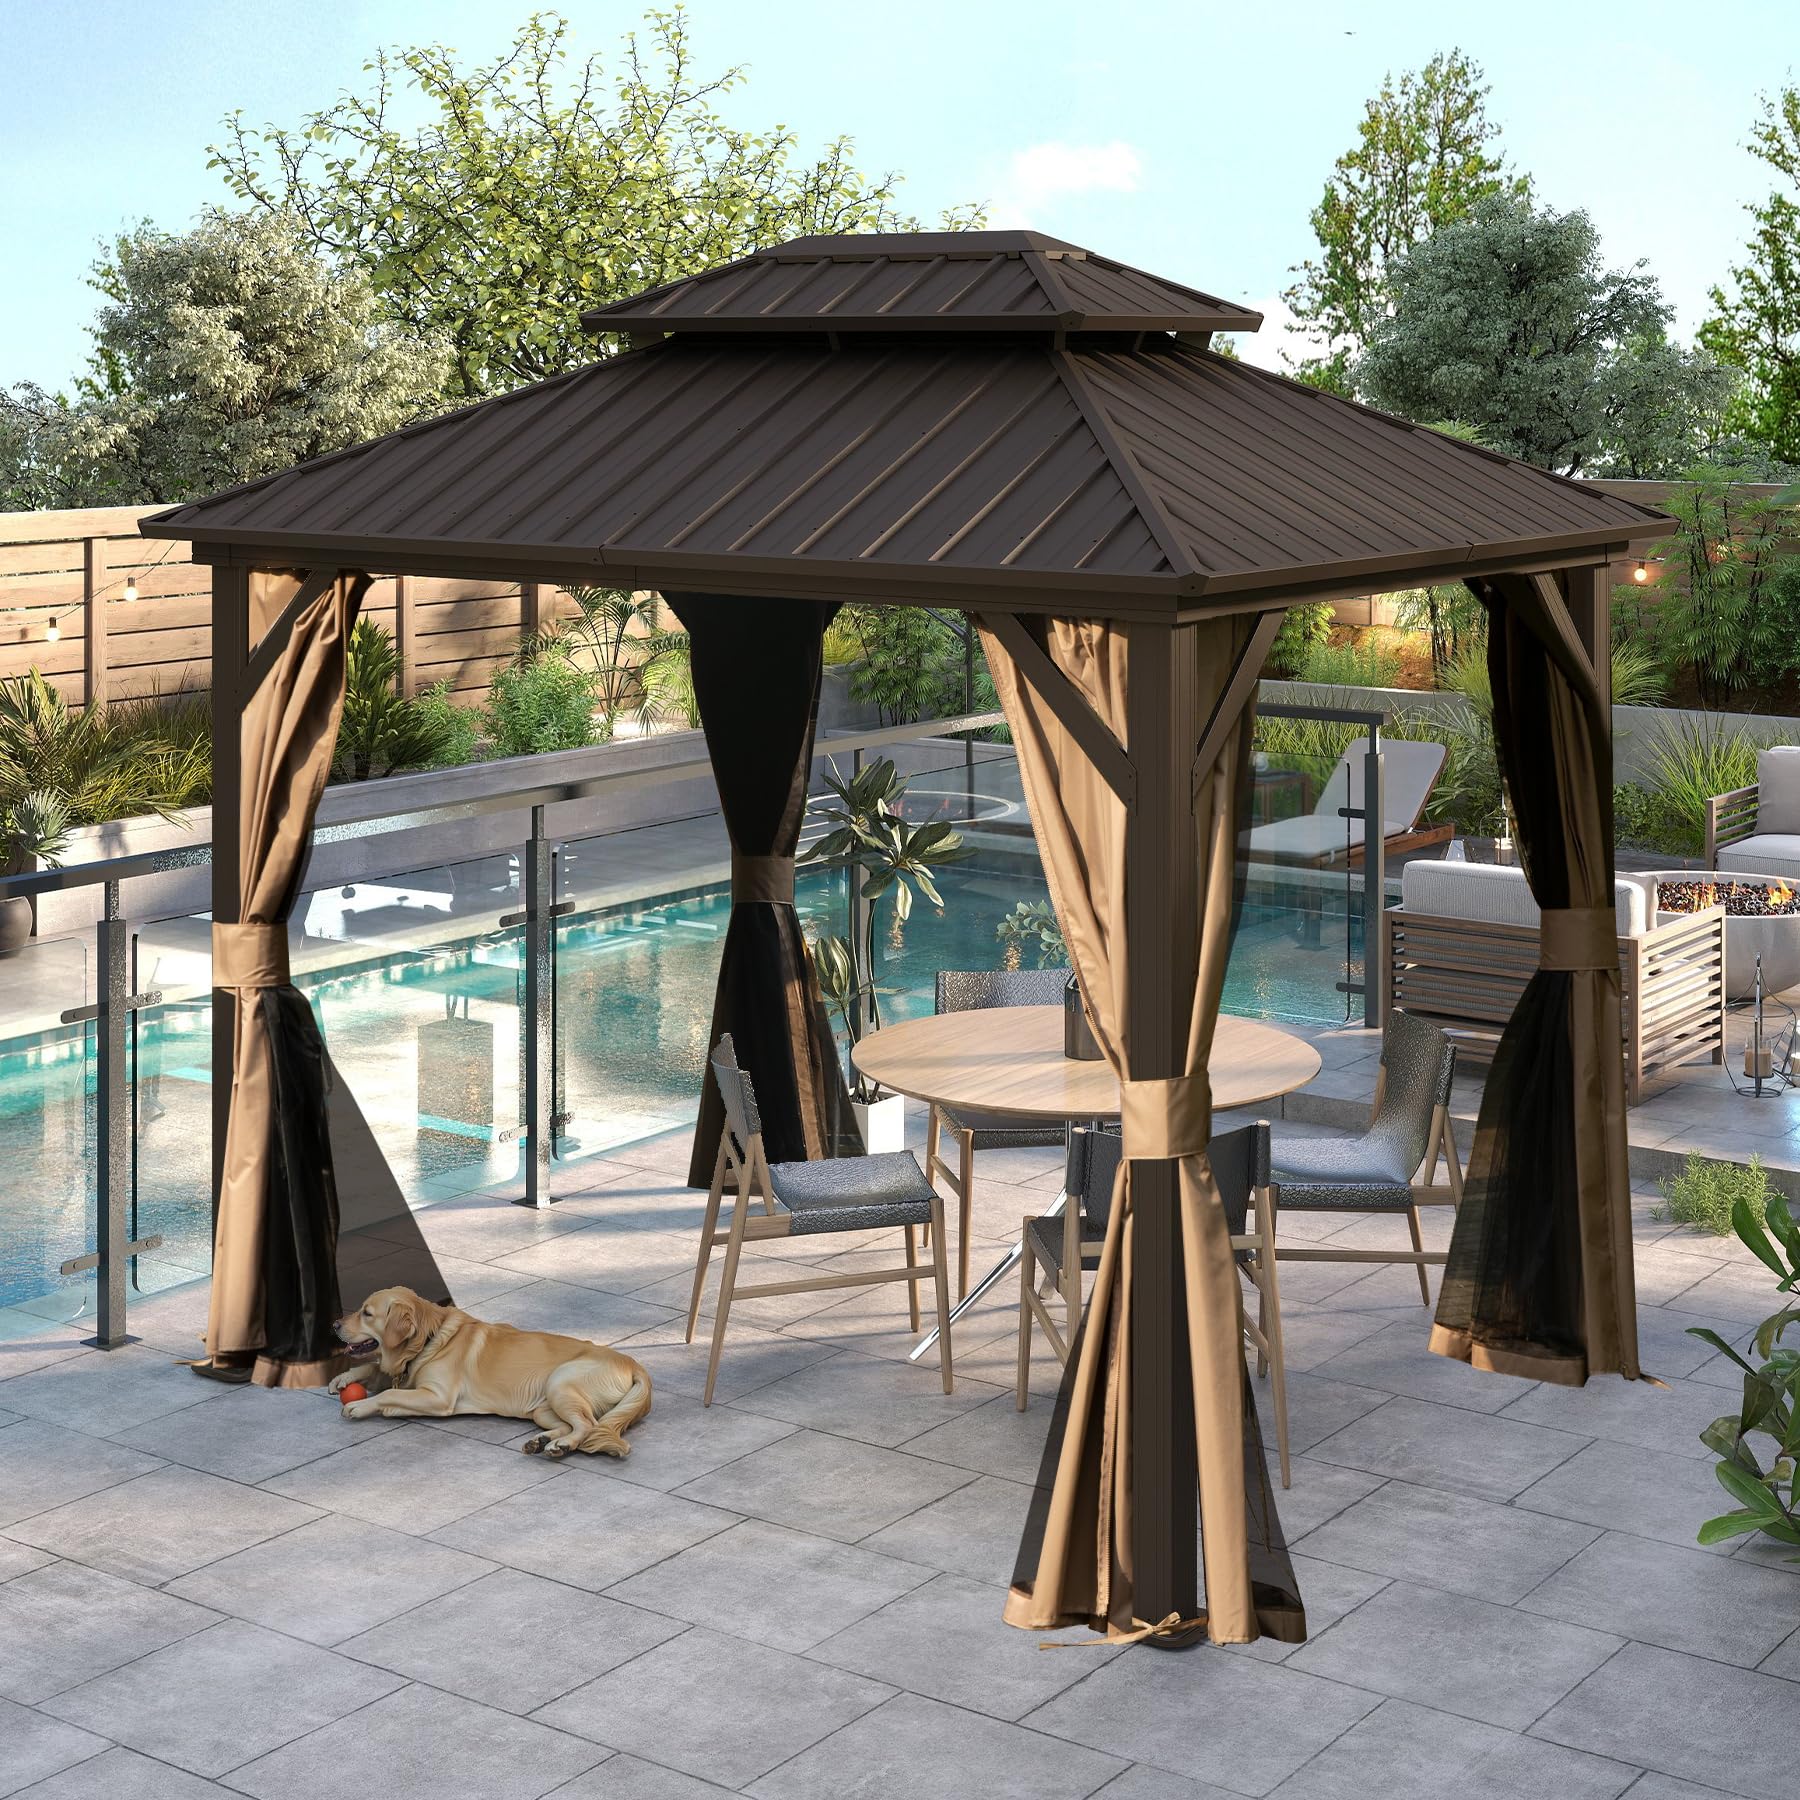
Image 1.1: The SHPAI 8x10 FT Hardtop Gazebo, showcasinil suo design e la sua funzionalità in un ambiente esterno.
2. Informazioni sulla sicurezza
- Ensure all components are securely fastened before and after assembly. Regularly check for loose connections.
- Do not use the gazebo in extreme weather conditions such as strong winds, heavy snow, or thunderstorms. Disassemble or secure the structure appropriately during such events.
- Per evitare incidenti, tenere bambini e animali domestici lontani dall'area di montaggio.
- Always use appropriate safety gear, including gloves, during assembly.
- Do not climb on the gazebo roof or frame.
- Ensure the installation site is level and clear of obstructions.
3. Contenuto della confezione
Your SHPAI Hardtop Gazebo is delivered in multiple boxes, typically three, which may arrive on different days. Please verify all packages have been received before starting assembly.
Il pacchetto include:
- Componenti del telaio in acciaio zincato
- Hardtop roof panels
- Privacy curtains and bug nettings
- All necessary hardware (screws, bolts, washers, etc.)
- Assembly tools (basic wrenches, hex keys)
- Manuale di istruzioni dettagliato

Image 3.1: The gazebo is shipped in three separate boxes, which may arrive on different days.
4. Installazione (assemblaggio)
Assembly of the SHPAI Hardtop Gazebo requires careful attention to detail. It is recommended that 2 to 5 people participate in the assembly process, which typically takes 3 to 6 hours.
4.1 Fasi di pre-assemblaggio
- Disimballare e identificare le parti: Carefully unpack all components. Many parts are wrapped in protective plastic; remove this wrapping before assembly.
- Review Istruzioni: Read the entire instruction manual before starting. Familiarize yourself with all steps and diagrams.
- Organizza l'hardware: Sort all screws, bolts, and other hardware. It is helpful to lay them out according to the manual's parts list.
- Preparare il sito: Choose a level area for installation. Ensure there is enough space around the gazebo for safe assembly.
4.2 Linee guida per l'assemblaggio
- Non stringere eccessivamente: During initial assembly, loosely fasten all screws. This allows for flexibility to align holes correctly. Tighten all fasteners only after the entire structure is assembled and aligned.
- Segui passo dopo passo: Adhere strictly to the numbered steps in the provided detailed instructions.
- Utilizzare i diagrammi: Refer to the diagrams for correct orientation of parts.

Image 4.1: Detailed dimensions of the 8x10 FT Hardtop Gazebo, including height, length, and width measurements.
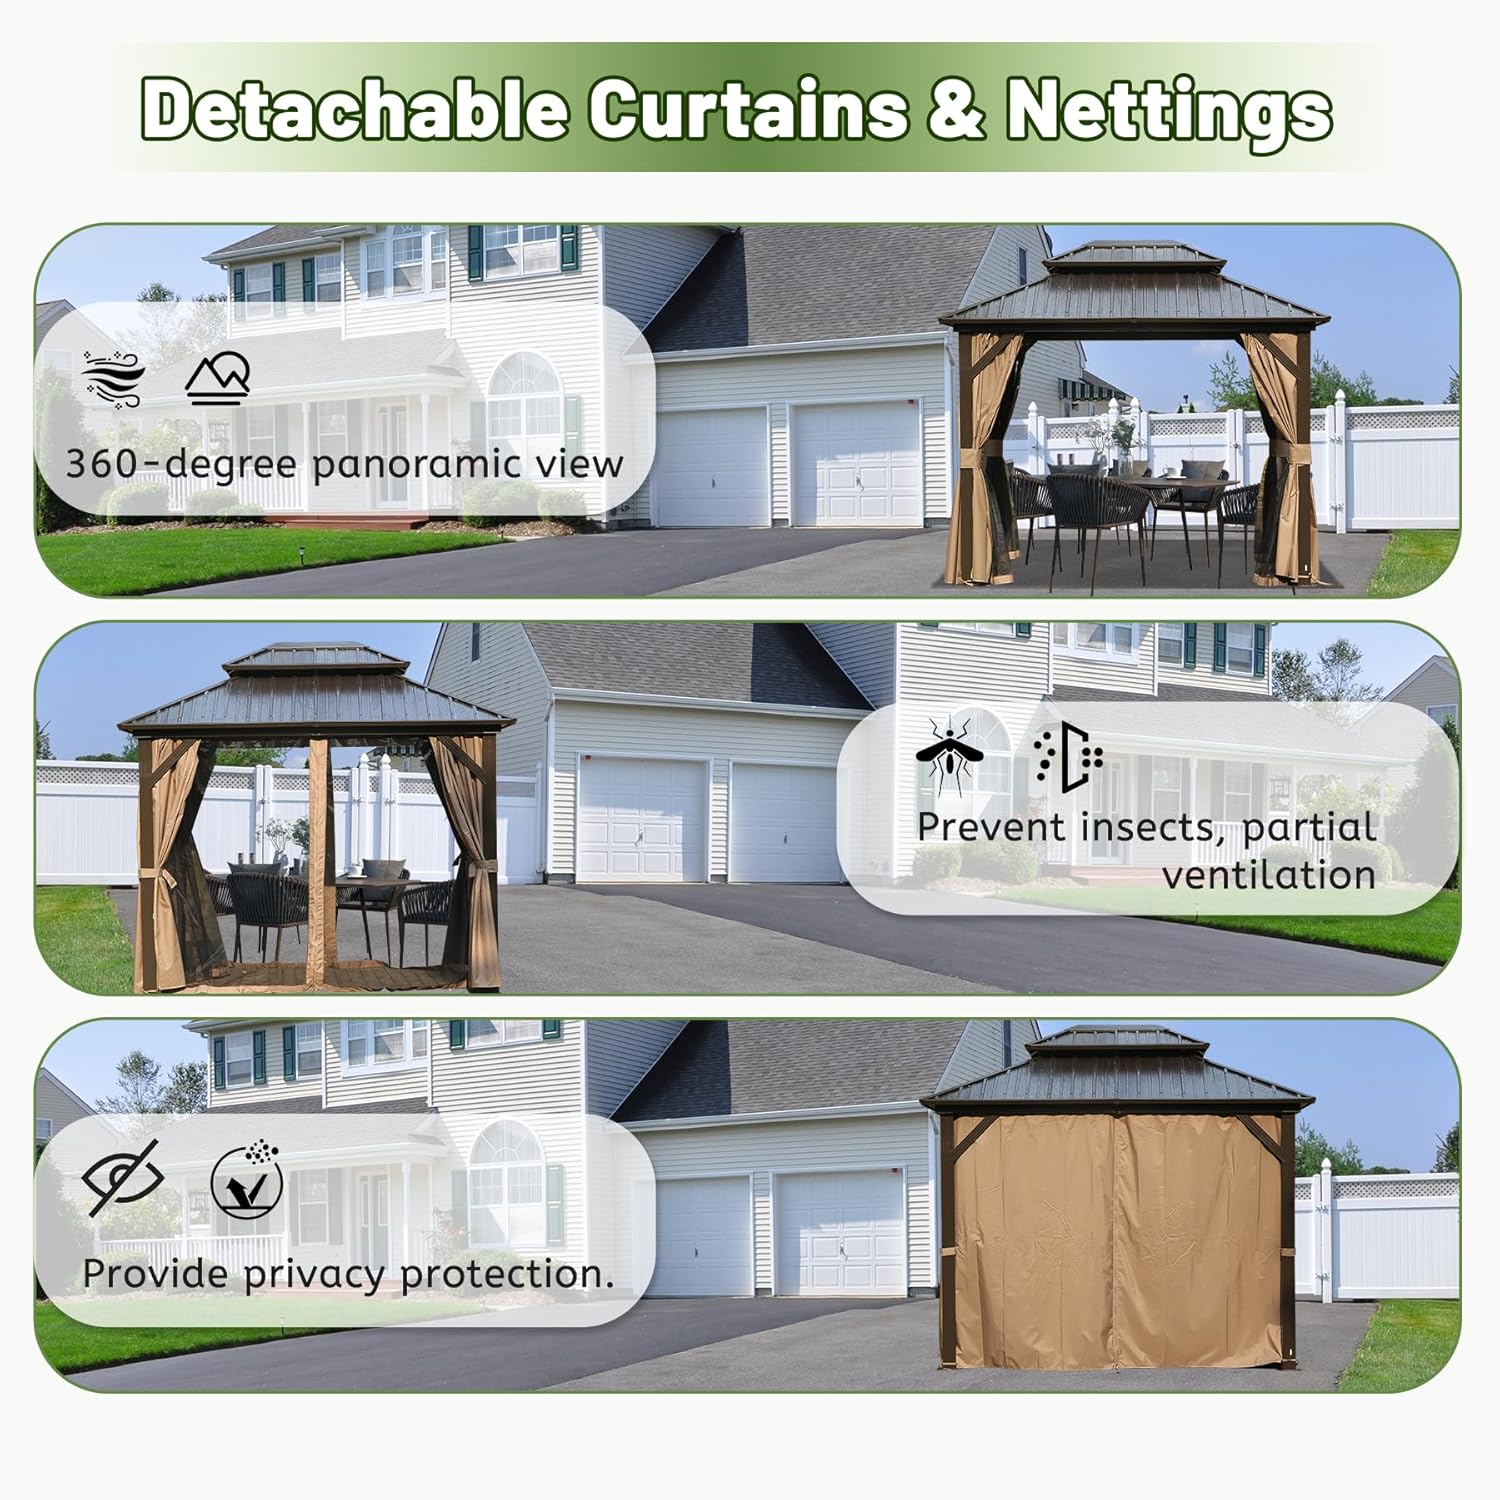
Image 4.2: Key structural features of the gazebo, highlighting the stable triangle structure, curtain straps, robust pillars, and pre-drilled base for secure anchoring.

Image 4.3: Illustration of the anchoring design, showing how the gazebo base can be securely fastened to the ground for enhanced stability.
5. Istruzioni per l'uso
5.1 Tende e reti
The gazebo is equipped with a dual-track system for both privacy curtains and bug nettings. This design allows for independent movement of each layer.
- Bug Netting: Use the integrated bug netting to prevent insects from entering while maintaining ventilation and clear views. The netting features double-sided zippers for easy access.
- Tende per la privacy: Deploy the privacy curtains for shade, wind protection, or to create a more secluded space. These also feature double-sided zippers.
- Securing Curtains/Nettings: Use the provided curtain straps to tie back the curtains or nettings when not in use.

Immagine 5.1: Un primo piano view of the dual track system, illustrating how both the privacy curtains and bug nettings slide independently.

Image 5.2: Demonstrates the versatility of the detachable curtains and nettings, showing a 360-degree panoramic view, insect prevention with partial ventilation, and full privacy protection.
5.2 Ceiling Hooks
The gazebo ceiling is equipped with three sturdy hooks designed to hold up to 20 lbs each. These hooks are ideal for hanging lights, fans, or decorative items to enhance your outdoor ambiance.

Image 5.3: Illustrates the three ceiling hooks, providing a convenient solution for hanging various accessories like lights or fans.
5.3 Double-Layer Roof Ventilation
The hardtop gazebo features a ventilated double-layer roof design. This allows for optimal air circulation, helping to keep the interior cool and comfortable on warm days. The integrated mesh within the roof helps prevent insects from entering.

Image 5.4: Shows the hardtop double-layer roof, highlighting its ventilation capabilities, UV resistance, and integrated one-piece mesh to prevent mosquitoes.
6. Manutenzione
Regular maintenance will extend the lifespan and preserve the appearance of your SHPAI Hardtop Gazebo.
- Pulizia: Clean the metal frame and roof panels with a mild soap and water solution. Rinse thoroughly and dry to prevent water spots. Avoid abrasive cleaners or scrubbers.
- Cura del tessuto: The curtains and nettings can be spot cleaned with mild soap and water. For deeper cleaning, follow care instructions on the fabric tags. Ensure they are completely dry before storing or folding to prevent mildew.
- Ispezione dell'hardware: Controllare periodicamente tutti i bulloni e le viti per assicurarsi che siano ben serrati. Serrare nuovamente se necessario.
- Cura invernale: While the gazebo is designed to be snowproof, it is advisable to remove heavy snow accumulation from the roof to prevent structural stress. The sloped roof design facilitates water and snow runoff.
- Prevenzione della ruggine: The galvanized steel frame is designed to resist rust and corrosion. However, inspect for any scratches or chips in the powder coating and touch up with appropriate paint to prevent rust.

Image 6.1: Illustrates the gazebo's resilience against various weather conditions, including UV resistance, water resistance, and snowproof capabilities.
7. Risoluzione Dei Problemi
Questa sezione affronta i problemi più comuni che potresti riscontrare durante il montaggio o l'uso.
7.1 Sfide di assemblaggio
- Fori non allineati: If holes do not align, ensure all screws are loosely fastened. This allows for minor adjustments. Avoid fully tightening any screws until the entire section is assembled. If issues persist, double-check that you are using the correct parts for the step.
- Hardware mancante: In the event of missing screws or other small parts, please contact SHPAI customer support immediately. Do not attempt to substitute with incorrect hardware.
- Difficulty with Roof Panels: Roof panel installation can be challenging. Ensure the frame is square and level. Work with at least two people to lift and secure panels.
7.2 Problemi generali
- Accumulo di acqua sul tetto: The sloped roof is designed for drainage. Ensure no debris is blocking the runoff paths. If water still accumulates, check for proper roof panel installation and alignment.
- Curtains/Nettings Sticking: Clean the dual tracks to remove any dirt or debris that might impede smooth sliding. Apply a silicone-based lubricant if necessary.
8. Specifiche
| Caratteristica | Dettaglio |
|---|---|
| Marca | SHPAI |
| Modello | 8x10 FT Hardtop Gazebo |
| Dimensioni del prodotto (L x P x A) | 117.6"L x 93.6"W x 108.24"H (approx. 9.8' L x 7.8' W x 9' H) |
| Materiale | Alloy Steel (Frame), Galvanized Steel (Roof) |
| Peso dell'articolo | 232.6 libbre |
| Livello di resistenza all'acqua | Impermeabile |
| Protezione dai raggi ultravioletti | 99% UV-proof, UPF 50+ |
| Snow Pressure Resistance | 22 lbs./sq ft |
| Resistenza al vento | Fino a 60 mph |
| Assemblaggio richiesto | Sì (consigliato 2-5 persone, 3-6 ore) |
| Occupazione | 2-5 persone |
9. Garanzia e supporto
9.1 Garanzia del prodotto
For specific warranty details regarding your SHPAI Hardtop Gazebo, please refer to the warranty card included with your product or contact SHPAI customer service directly. Warranty coverage typically addresses manufacturing defects.
9.2 Piani di protezione estesa
Optional protection plans may be available for purchase, such as a 3-Year Protection Plan or a Complete Protect monthly plan. These plans offer extended coverage beyond the standard manufacturer's warranty. Please review i termini e le condizioni di qualsiasi piano di protezione prima dell'acquisto.
9.3 Assistenza clienti
If you have any questions, require assistance with assembly, or need to report missing/damaged parts, please contact SHPAI customer support. Have your product model number (8x10 FT Hardtop Gazebo) and purchase information ready when contacting support.
For the most up-to-date contact information, please visit the official SHPAI websito o fare riferimento alla documentazione relativa all'acquisto.