
1. Introduzione e oltreview
The DATOUBOSS 6200W 48V Hybrid Solar Inverter is a pure sine wave inverter designed to convert 48V DC power to 220/230V AC power. It integrates a 120A MPPT solar charge controller and supports a maximum PV array power of 8500W. This inverter is engineered for reliable performance in various applications, including RVs, camping boats, and home emergency power systems. It features advanced protection mechanisms and flexible operating modes to optimize solar energy utilization.
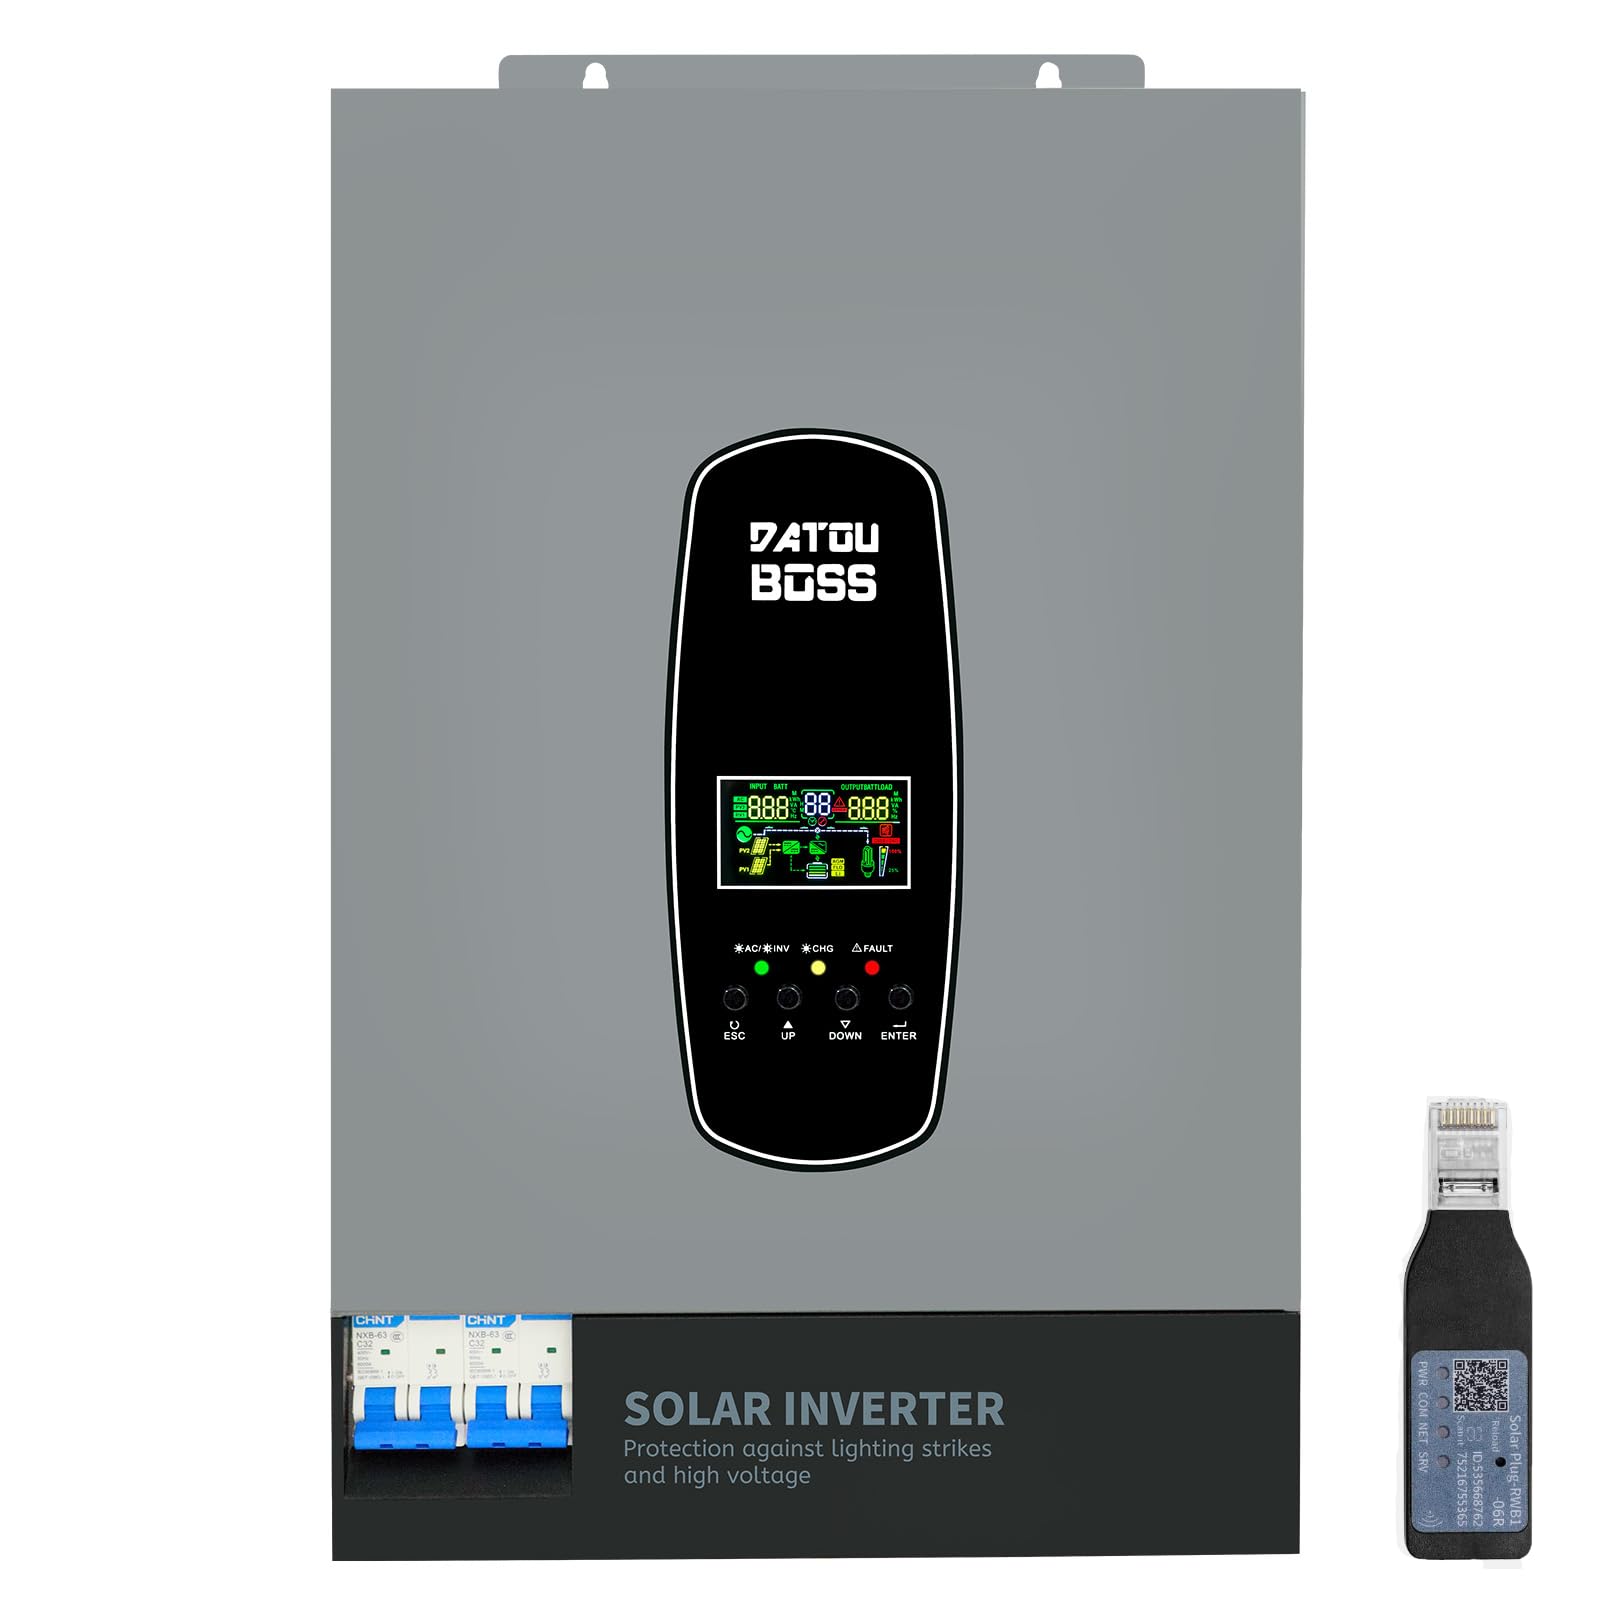
Image 1.1: The DATOUBOSS 6200W Hybrid Solar Inverter, highlighting its 6200W battery inverter output, 6500W PV inverter output, 120A MPPT charging, 8500W maximum PV input, and 60-500Vdc MPPT input voltage gamma.
2. Informazioni sulla sicurezza
Please read all safety instructions carefully before installation and operation. Failure to follow these instructions may result in electric shock, fire, or serious injury. Keep this manual for future reference.
- Installazione professionale: L'installazione deve essere eseguita solo da personale qualificato.
- Ventilazione: Assicurare un'adeguata ventilazione attorno all'inverter per evitare il surriscaldamento.
- Esposizione all'acqua: Non esporre l'inverter a pioggia, neve, spruzzi o altri liquidi.
- Messa a terra: Una corretta messa a terra è essenziale per la sicurezza.
- Spegnimento di emergenza: Scopri come interrompere rapidamente l'alimentazione in caso di emergenza.
- Protezione da fulmini e sovratensioni: This inverter includes enhanced lightning and overvoltage protection. Integrated safety switches at input and output further enhance safety against overload, short circuit, and surge hazards.

Image 2.1: The inverter features a new lightning-proof design, offering lightning and high-voltage protection, input and output safety switches, increased PV input current, improved inverter performance under PV, higher PV utilization, and EMI filtering.
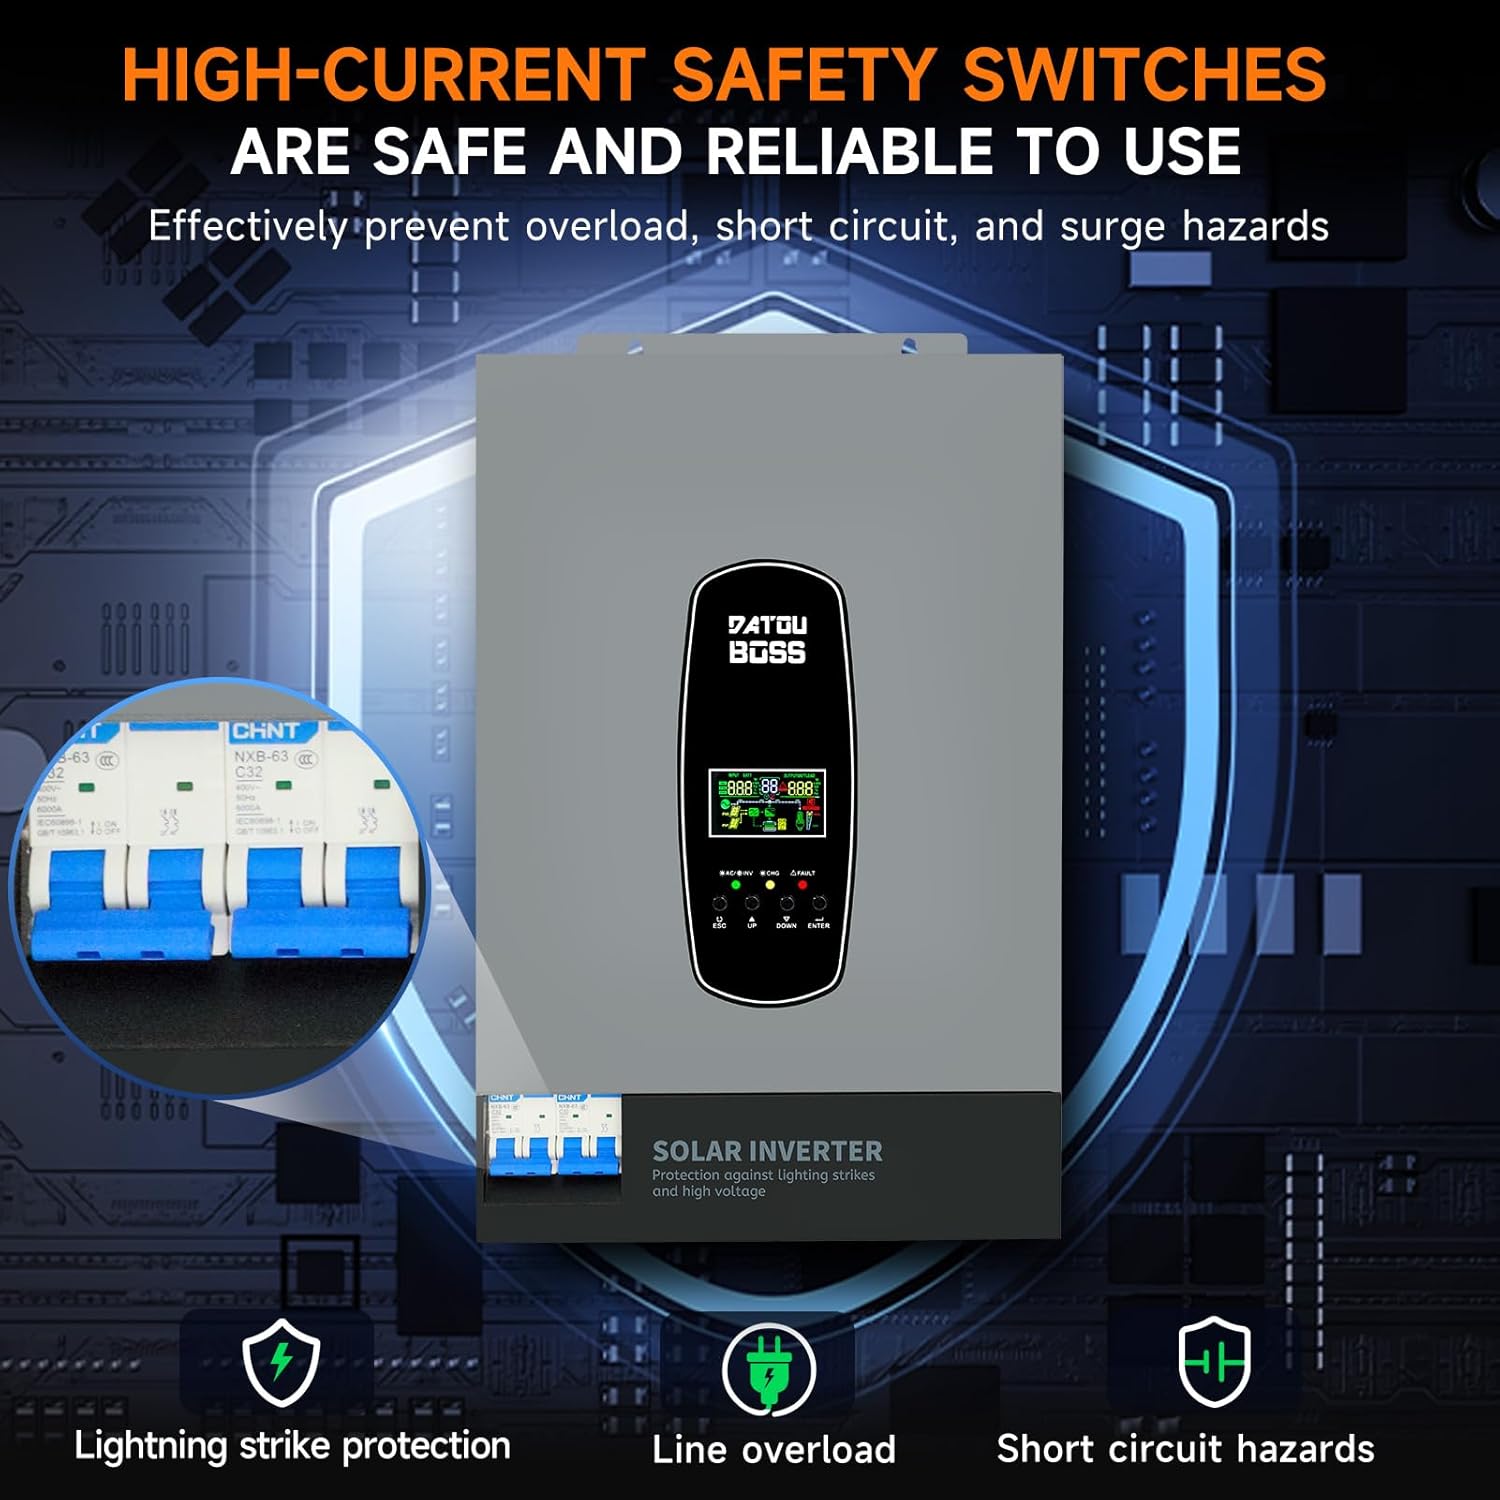
Image 2.2: High-current safety switches are integrated to effectively prevent overload, short circuit, and surge hazards, ensuring safe and reliable operation.
3. Caratteristiche del prodotto
- Uscita onda sinusoidale pura: Fornisce alimentazione CA di alta qualità adatta ai dispositivi elettronici sensibili.
- Regolatore di carica MPPT integrato: Features a 120A MPPT solar charge controller for efficient solar power harvesting.
- Funzionamento senza batteria: Supports direct power supply to loads from PV array or AC source without requiring a battery connection.
- Sistema di protezione BMS: Equipped with a Battery Management System for lithium batteries, preventing overcharge and deep discharge.
- Customizable Charging Modes: Offers three battery charging modes: Hybrid (solar and utility), Solar Limited, and Pure Solar.
- Display LCD e indicatori LED: Real-time system data and operating status are displayed on the LCD screen, complemented by 3 dynamic LED indicators. Error codes are shown for easy troubleshooting.
- EMI Filtering: Minimizes electromagnetic interference for stable operation.
- Porta di comunicazione RS485: Enables communication with batteries for monitoring and optimized charging.
4. Descrizione dell'aspetto
The DATOUBOSS 6200W Hybrid Solar Inverter features a robust design with clearly labeled connection points and an intuitive user interface.

Immagine 4.1: Questa immagine fornisce una visione dettagliata view of the inverter's front, left, and right sides. The front panel includes an LCD display, status indicators, and control buttons (ESC, UP, DOWN, ENTER). The top panel shows AC input, BMS/RS485, AC output, RS232 Dry Contact, and PV input ports. The bottom features a safety switch and ground wire connection. The left and right sides show ventilation grilles.
- Pannello frontale: Features an LCD display for real-time data, status indicators (AC/INV, CHG, FAULT), and navigation buttons (ESC, UP, DOWN, ENTER).
- Top Connections: Includes terminals for AC input, AC output, PV input, BMS/RS485 communication, and RS232 Dry Contact.
- Collegamenti inferiori: Equipped with a safety switch and a ground wire terminal.
- Lati: Designed with ventilation grilles for efficient heat dissipation.
5. Specifiche
Key technical specifications for the DATOUBOSS 6200W 48V Hybrid Solar Inverter:

Image 5.1: A close-up of the inverter's detailed parameters label, showing model DT4862L, capacity, PV and DC specifications, operating temperature, and protection degree.
| Caratteristica | Specificazione |
|---|---|
| Numero di modello | DATOUBOSS-48V-6200W |
| Capacità | 6200 W / 6200 VA |
| Ingresso volumetage | 48 VCC |
| Volume di uscitatage | 230 VAC (Pure Sine Wave) |
| Potenza di uscita massima | 9300 Watt |
| MPPT PV Voltage Gamma | Da 60 V CC a 500 V CC |
| Potenza massima del generatore FV | 8500 L |
| Corrente massima di carica solare | 120 A |
| Corrente di carica CA massima | 100 A |
| Max Combined Charging Current (PV + AC) | 120 A |
| Intervallo di temperatura di esercizio | -10°C a 50°C |
| Grado di protezione | Grado di protezione IP21 |
| Dimensioni (L x P x A) | Dimensioni: 31 x 13.4 x 46.3 cm |
| Peso dell'articolo | 10.4 chilogrammi |
| Tipo di visualizzazione | LCD |
6. Impostazione
Proper setup is crucial for the safe and efficient operation of your hybrid solar inverter. Always ensure all power sources are disconnected before making any connections.
- Montaggio: Choose a suitable location for mounting the inverter. It should be indoors, well-ventilated, and protected from direct sunlight, moisture, and extreme temperatures. Ensure sufficient clearance around the unit for airflow.
- Messa a terra: Collegare il terminale di terra dell'inverter a una messa a terra affidabile.
- Collegamento della batteria: Connect the battery bank to the inverter's battery terminals. Ensure correct polarity (positive to positive, negative to negative). Use appropriate cable gauges and fuses. The inverter supports 48V lithium batteries and includes a lithium battery activation function.
- Collegamento del pannello fotovoltaico: Connect the solar panel array to the PV input terminals. Verify that the PV voltage and current are within the inverter's specified operating range (60-500 VDC MPPT range, max 500 VDC open circuit voltage, max 27A input current). Ensure correct polarity.
- Collegamento di ingresso CA (servizio/generatore): Connect the AC utility grid or a compatible generator to the AC input terminals.
- Collegamento uscita CA (carichi): Connect your AC loads (appliances, circuits) to the AC output terminals.
- Collegamenti di comunicazione (facoltativi): If using, connect the RS485 port to a compatible battery or monitoring device. The WiFi module (if included) can be connected for remote monitoring.
- Controlli finali: Double-check all connections for tightness and correct polarity. Ensure all safety switches are in the OFF position before powering on.
7. Operativo
Once the inverter is properly installed and all connections are secure, you can begin operation.
- Accensione: Turn on the battery breaker first, then the PV array breaker, and finally the AC input breaker (if connected). Switch the inverter's main power ON/OFF switch to the 'ON' position.
- Schermo LCD: The LCD screen will illuminate, displaying system data such as input voltage, volume di uscitatage, battery status, and load percentage. Use the 'UP' and 'DOWN' buttons to navigate through different display screens and the 'ENTER' button to confirm selections.
- Indicatori LED: Observe the three LED indicators:
- CA/INV: Indica lo stato dell'ingresso CA o il funzionamento dell'inverter.
- CHG: Indica lo stato di carica della batteria.
- COLPA: Illuminates if an error occurs. Refer to the LCD for specific error codes.
- Setting Charging Modes: The inverter allows customization of battery charging modes:
- Carica ibrida: (Default) Utilizes both solar energy and AC utility power for charging.
- Solar Limited Charge: Prioritizes solar charging, using AC utility only when solar is insufficient.
- Pure Solar Charge: Carica le batterie esclusivamente tramite energia solare.
- Battery-Less Mode: The inverter can operate without a battery connected, directly powering loads from the PV array or AC source. This mode can be configured through the system settings.
- Monitoraggio: Regularly check the LCD display for system status and performance. If a WiFi module is installed, use the dedicated application for remote monitoring.
8. Manutenzione
Una manutenzione regolare garantisce la longevità e le prestazioni ottimali del tuo inverter solare ibrido DATOUBOSS.
- Pulizia: Mantenere l'inverter pulito e privo di polvere. Utilizzare un panno asciutto per pulire l'esterno. Assicurarsi che le aperture di ventilazione non siano ostruite.
- Verifiche della connessione: Controllare periodicamente tutti i collegamenti elettrici per verificarne la tenuta e l'assenza di segni di corrosione. Serrare eventuali collegamenti allentati.
- Ispezione della batteria: If using batteries, regularly check their terminals for corrosion and ensure they are clean and secure. Monitor battery health via the inverter's display or communication port.
- Condizioni ambientali: Ensure the inverter remains in a suitable environment, free from excessive heat, cold, or humidity.
- Aggiornamenti del firmware: Controllare il produttore websito per eventuali aggiornamenti firmware disponibili per garantire che il tuo inverter abbia le ultime funzionalità e correzioni di bug.
9. Risoluzione Dei Problemi
Questa sezione fornisce indicazioni per i problemi più comuni. Per problemi più complessi, contattare l'assistenza tecnica.
| Problema | Possibile causa | Soluzione |
|---|---|---|
| L'inverter non si accende | No battery power; main switch off; loose connections. | Controllare il volume della batteriatage; ensure main switch is ON; verify all connections. |
| Nessuna uscita CA | Sovraccarico; cortocircuito; basso livello della batteriatage; fault code. | Reduce load; check for short circuits; charge battery; check LCD for error codes. |
| Batteria non in carica | PV input too low/high; AC input unavailable; incorrect charging mode. | Controllare il volume PVtage/current; verify AC input; adjust charging mode settings. |
| Fault LED illuminated | Internal error; over-temperature; over-voltage/corrente. | Note the error code on the LCD and consult the full user manual for specific remedies. Power cycle the unit if safe to do so. |
10. Garanzia e supporto
DATOUBOSS is committed to providing high-quality products and customer satisfaction.
- Durata: This product is designed for a 10-year lifespan.
- Garanzia: A 5-year guarantee covers manufacturing defects and malfunctions under normal use.
- Assistenza clienti: We offer 24-hour response for technical inquiries and support.
- Servizio: Local warehouses are available for efficient service and parts.

Image 10.1: Visual representation of DATOUBOSS's commitment to product quality and customer service, including a 10-year lifespan, 5-year guarantee, 24-hour response, and local warehouses.
For further assistance or to report an issue, please contact DATOUBOSS customer service through the official channels provided with your purchase.