1. Introduzione
This manual provides essential information for the safe and efficient installation, operation, and maintenance of your VEVOR Vertical Fishing Windlass. Designed for boats between 20-36 ft, this 12V DC windlass system offers a maximum pull of 700 lbs and is constructed from durable 316 stainless steel for marine environments. Please read this manual thoroughly before use to ensure proper function and longevity of the product.
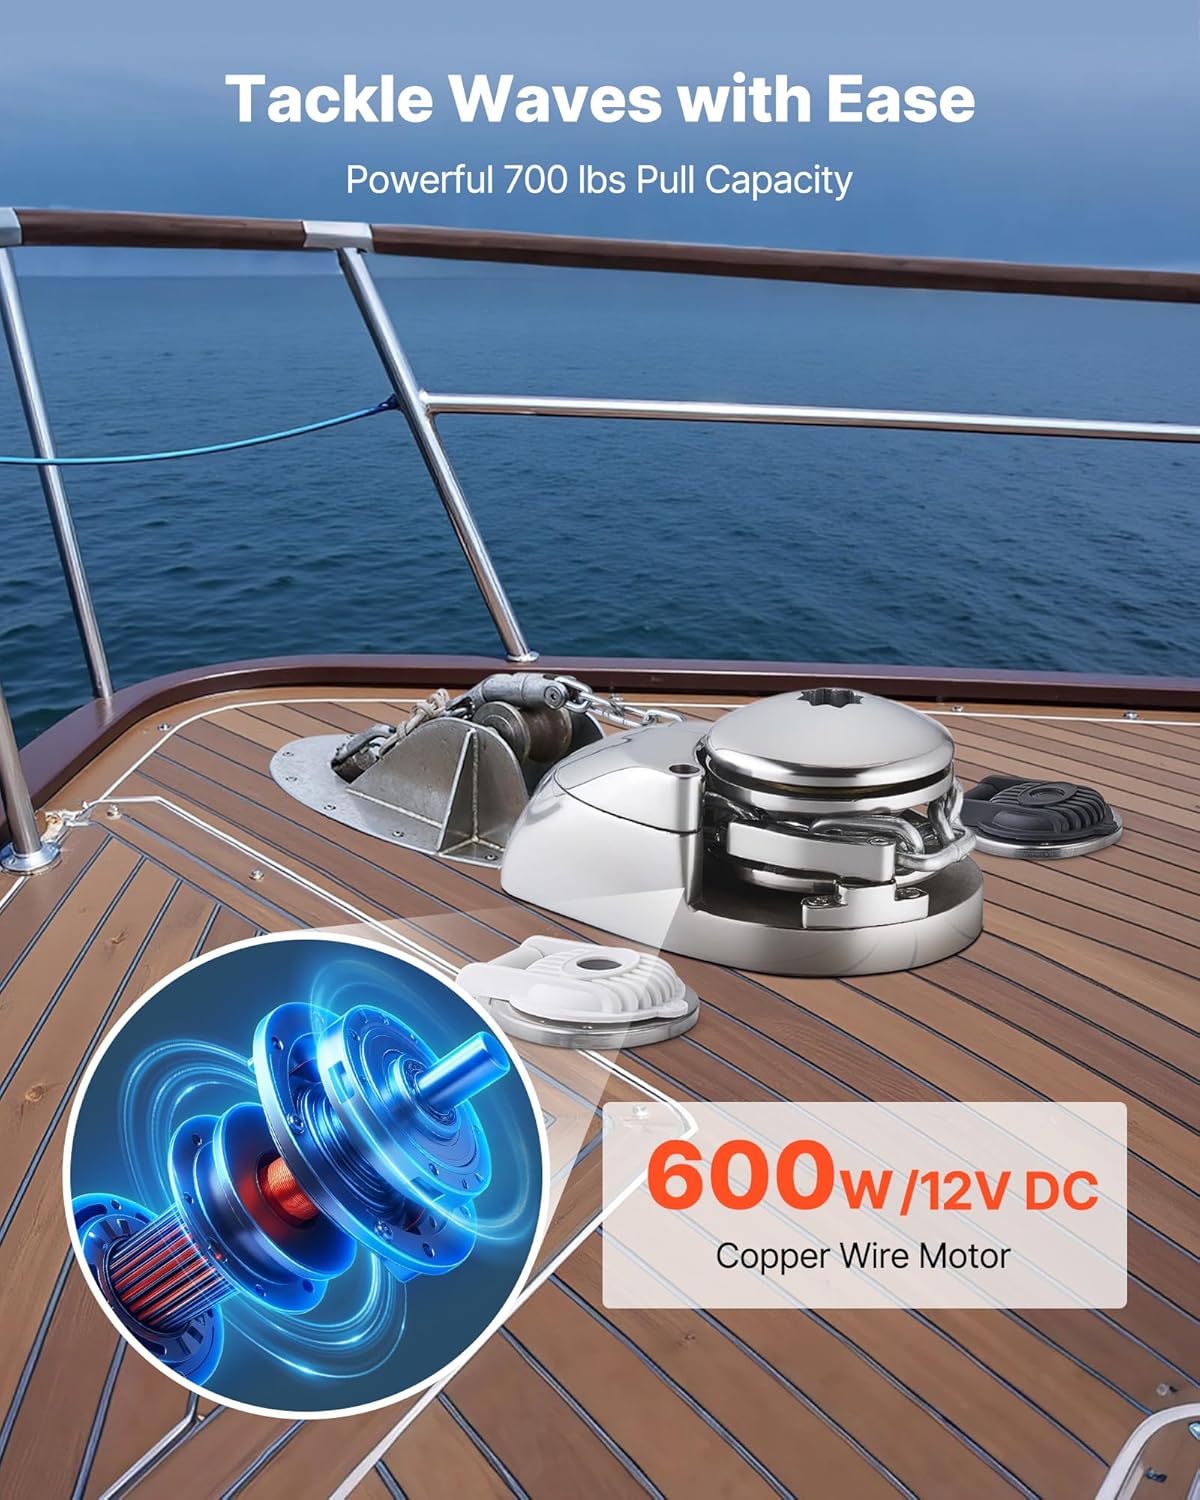
Image 1.1: VEVOR Vertical Fishing Windlass overview, mostraasing its robust motor and pull capacity.
2. Istruzioni di sicurezza
- Always ensure the windlass is properly installed and secured according to the instructions before operation.
- Never operate the windlass while anyone is in the anchor's path or near the chain/rope.
- Disconnect power to the windlass before performing any maintenance or inspection.
- Do not exceed the maximum pulling load of 700 lbs or the working load of 176 lbs to prevent damage to the unit.
- Ensure the anchor chain/rope is correctly seated in the gypsy before operating.
- Use the provided circuit breaker to protect the motor from overload and burnout.
- Always use the chain stopper to secure the anchor chain when the anchor is lifted and stowed, preventing stress on the windlass.
- Durante il funzionamento, tenere le mani e gli abiti larghi lontani dalle parti in movimento.
3. Cosa c'è nella scatola
Dopo aver aperto la confezione, verificare che siano presenti tutti i componenti:
- 1 x Electric Boat Windlass (Motor, Gearbox, Flange, and Deck Unit assembled)
- 1 x Manuale utente
- 1 x Base Drilling Template
- 1 x Elettrovalvola
- 2 x Foot Switches (Up/Down)
- 1 x Manual Switch (Panel Switch)
- 1 chiave di installazione
- 1 x Circuit Breaker (50A)
- 1 x Installation Diagram

Image 3.1: All included components of the VEVOR Vertical Fishing Windlass.
4. Specifiche
| Caratteristica | Specificazione |
|---|---|
| Numero modello articolo | DDMJ 320 kg |
| Materiale principale | Acciaio inossidabile 316 |
| Carico di lavoro massimo | 176 libbre / 80 kg |
| Carico di trazione massimo | 700 libbre / 320 kg |
| Voltage | CC 12V |
| Max Retrieval Speed | 65 piedi / min (20 m / min) |
| Suitable Boat Size | 20-36 ft / 6-11m |
| Tipo di controllo | Controllo cablato |
| Peso netto | 23.59 libbre / 10.7 kg |
| Dimensioni del prodotto (LxWxH) | 14.17 x 12.6 x 7.09 pollici / 360 x 320 x 180 mm |
Compatibilità:
- Fits 1/4 inch chains.
- Fits 9/16 inch and 5/8 inch nylon ropes.

Image 4.1: Anchor chain and nylon rope compatibility.
5. Configurazione e installazione
Proper installation is crucial for the safe and effective operation of your windlass. Refer to the included installation diagram and the video guide for detailed steps.
5.1. Deck Preparation
- Identify the optimal location on your boat's deck for the windlass. Consider the position of the chain locker directly below the drop hole.
- Use the provided 1:1 scale drilling template to mark the positions for the main spindle, bearing, and four fixing bolt holes.
- Ensure the chain locker's position aligns with the drop hole on the template.
- Using an electric drill, drill bits, and a jig saw (as shown in the tools image), carefully create the necessary holes on the deck according to the template.
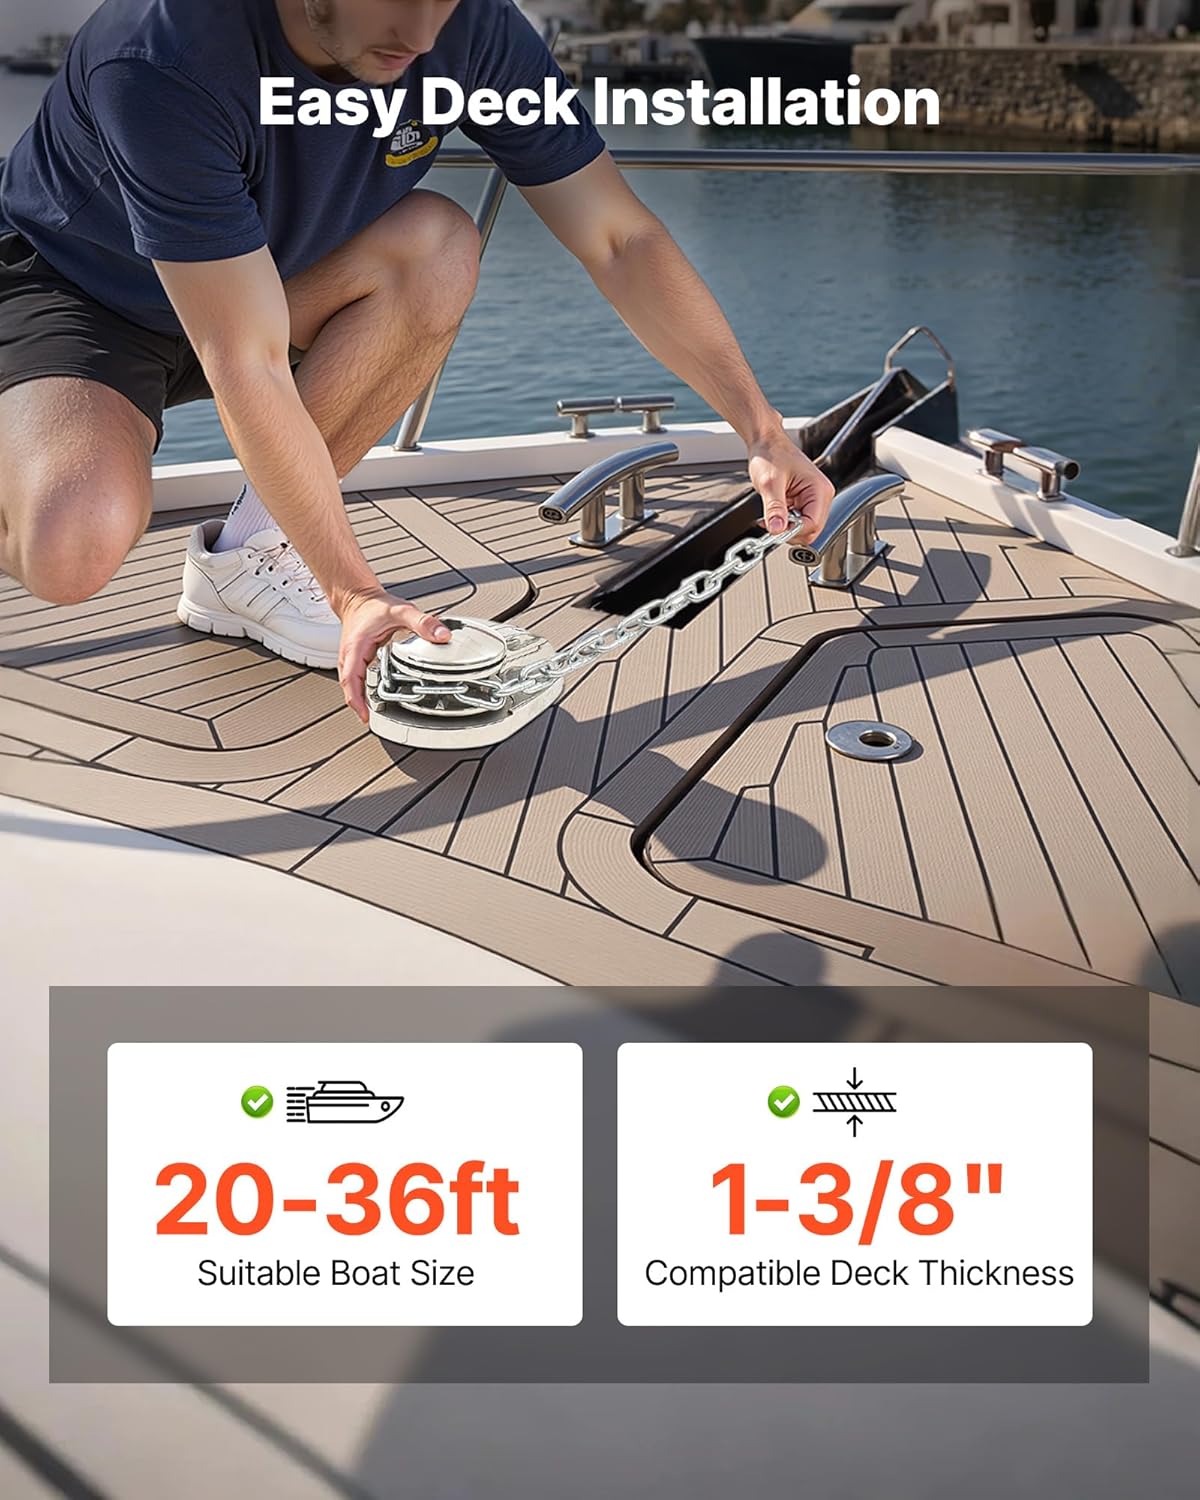
Image 5.1: Deck installation process, highlighting boat size and deck thickness compatibility.
5.2. Montaggio del verricello
- Place the gasket over the drilled holes on the deck.
- Align the windlass's top part (above deck) with the punched holes and place it onto the gasket.
- From below the deck, install the motor and gearbox assembly, aligning it with the spindle and securing it with bolts.
- Tighten all bolts securely using the provided wrench.
5.3. Collegamenti elettrici
Connect all electrical lines according to the wiring diagram provided in the manual. The circuit breaker (50A) should be installed in the main circuit to protect the motor from burnout. The foot switches and panel switches are typically installed on the driving console.
5.4. Anchor Chain Installation
- Ensure the clutch is released by rotating the wrench counter-clockwise until the gypsy can move freely.
- Feed the anchor chain through the bow roller and then through the windlass gypsy. Each link should be caught between two teeth of the gypsy.
- Press the anchor chain into the chain press part, but do not bend it excessively to avoid deforming the internal spring.
- Rotate the gypsy until the anchor chain falls into the chain locker.
- After installing the anchor chain, rotate the wrench clockwise to tighten the clutch completely before lifting the anchor. This prevents accidental dropping of the anchor.

Image 5.2: Properly installed windlass with anchor chain.
5.5. Guida video all'installazione
For a visual guide on unboxing, component identification, deck preparation, and anchor chain installation, please watch the official VEVOR product video:
Video 5.1: Official VEVOR installation and operation guide for the Vertical Fishing Windlass.
6. Istruzioni per l'uso
6.1. Dispiegamento dell'ancora
- Before dropping the anchor, ensure the chain stopper is open.
- To deploy the anchor using the electric power, press the 'DOWN' button on the control switch (foot switch or panel switch). The anchor will descend uniformly.
- To quickly drop the anchor (free-fall), rotate the wrench counter-clockwise to release the clutch. The anchor will fall rapidly.
6.2. Recupero dell'ancora
- Ensure the clutch is fully tightened by rotating the wrench clockwise.
- Press the 'UP' button on the control switch (foot switch or panel switch) to retrieve the anchor. The windlass will pull the anchor at a speed of 65 ft/min.
- Once the anchor is fully retrieved and stowed, secure the anchor chain using the chain stopper to prevent unnecessary stress on the windlass.

Image 6.1: Windlass in operation, demonstrating precision anchoring and fast retrieval.
7. Manutenzione
- Pulizia regolare: Rinse the windlass with fresh water after each use, especially in saltwater environments, to prevent salt buildup and corrosion.
- Ispezione: Periodically inspect all visible parts for wear, corrosion, or damage. Check electrical connections for tightness and signs of corrosion.
- Lubrificazione: Consult the full user manual for specific lubrication points and recommended lubricants. Generally, moving parts may require occasional lubrication.
- Chain/Rope Condition: Regularly inspect your anchor chain and rope for wear, fraying, or damage. Replace as necessary.
- Interruttore: Ensure the circuit breaker is functioning correctly and has not tripped.

Image 7.1: The 316 stainless steel construction ensures durability and resistance to harsh marine conditions.
8. Risoluzione Dei Problemi
| Problema | Possibile causa | Soluzione |
|---|---|---|
| Il verricello non funziona | No power, tripped circuit breaker, loose electrical connection, faulty switch. | Check battery connections, reset circuit breaker, inspect wiring, test switches. |
| Anchor chain/rope jams | Incorrectly seated chain/rope, debris in gypsy, damaged chain/rope. | Ensure chain/rope is properly aligned, clear any obstructions, inspect for damage. |
| Slow retrieval speed | Basso volume della batteriatage, excessive load, motor issue. | Check battery charge, reduce load, inspect motor for signs of overheating or damage. |
| Clutch not engaging/disengaging | Wrench not fully rotated, internal mechanism issue. | Ensure wrench is rotated completely clockwise/counter-clockwise. Do not over-bend the chain press part. |
9. Garanzia e supporto
I prodotti VEVOR sono progettati per garantire durata e prestazioni. Per informazioni sulla garanzia, supporto tecnico o per acquistare parti di ricambio, visita il sito ufficiale VEVOR. webo contattare direttamente il servizio clienti VEVOR. Conservare la ricevuta d'acquisto come prova d'acquisto per eventuali reclami in garanzia.
Informazioni sui contatti:
- Visita il negozio VEVOR: Negozio ufficiale VEVOR
- Refer to the contact details provided in your product packaging or on the official VEVOR websito.