
1. Introduzione
This manual provides detailed instructions for the installation, operation, and maintenance of your CAMECHO 2K 9.66 Inch Mirror Dash Cam. Please read this manual thoroughly before using the product to ensure proper functionality and to maximize your driving safety and recording experience. This device features a 9.66-inch IPS touchscreen, 2K front camera, and 1080P rear camera, offering a wide field of view and advanced recording capabilities.
2. Prodotto finitoview
2.1 Caratteristiche principali
- Touchscreen IPS da 9.66 pollici: Premium display for clear viewnavigazione semplice e intuitiva.
- Sistema a tripla telecamera: Front 2K (150°), Interior 1080P, and Rear 1080P (120°) cameras for comprehensive coverage.
- Visione notturna eccellente: High-quality capture in low-light conditions.
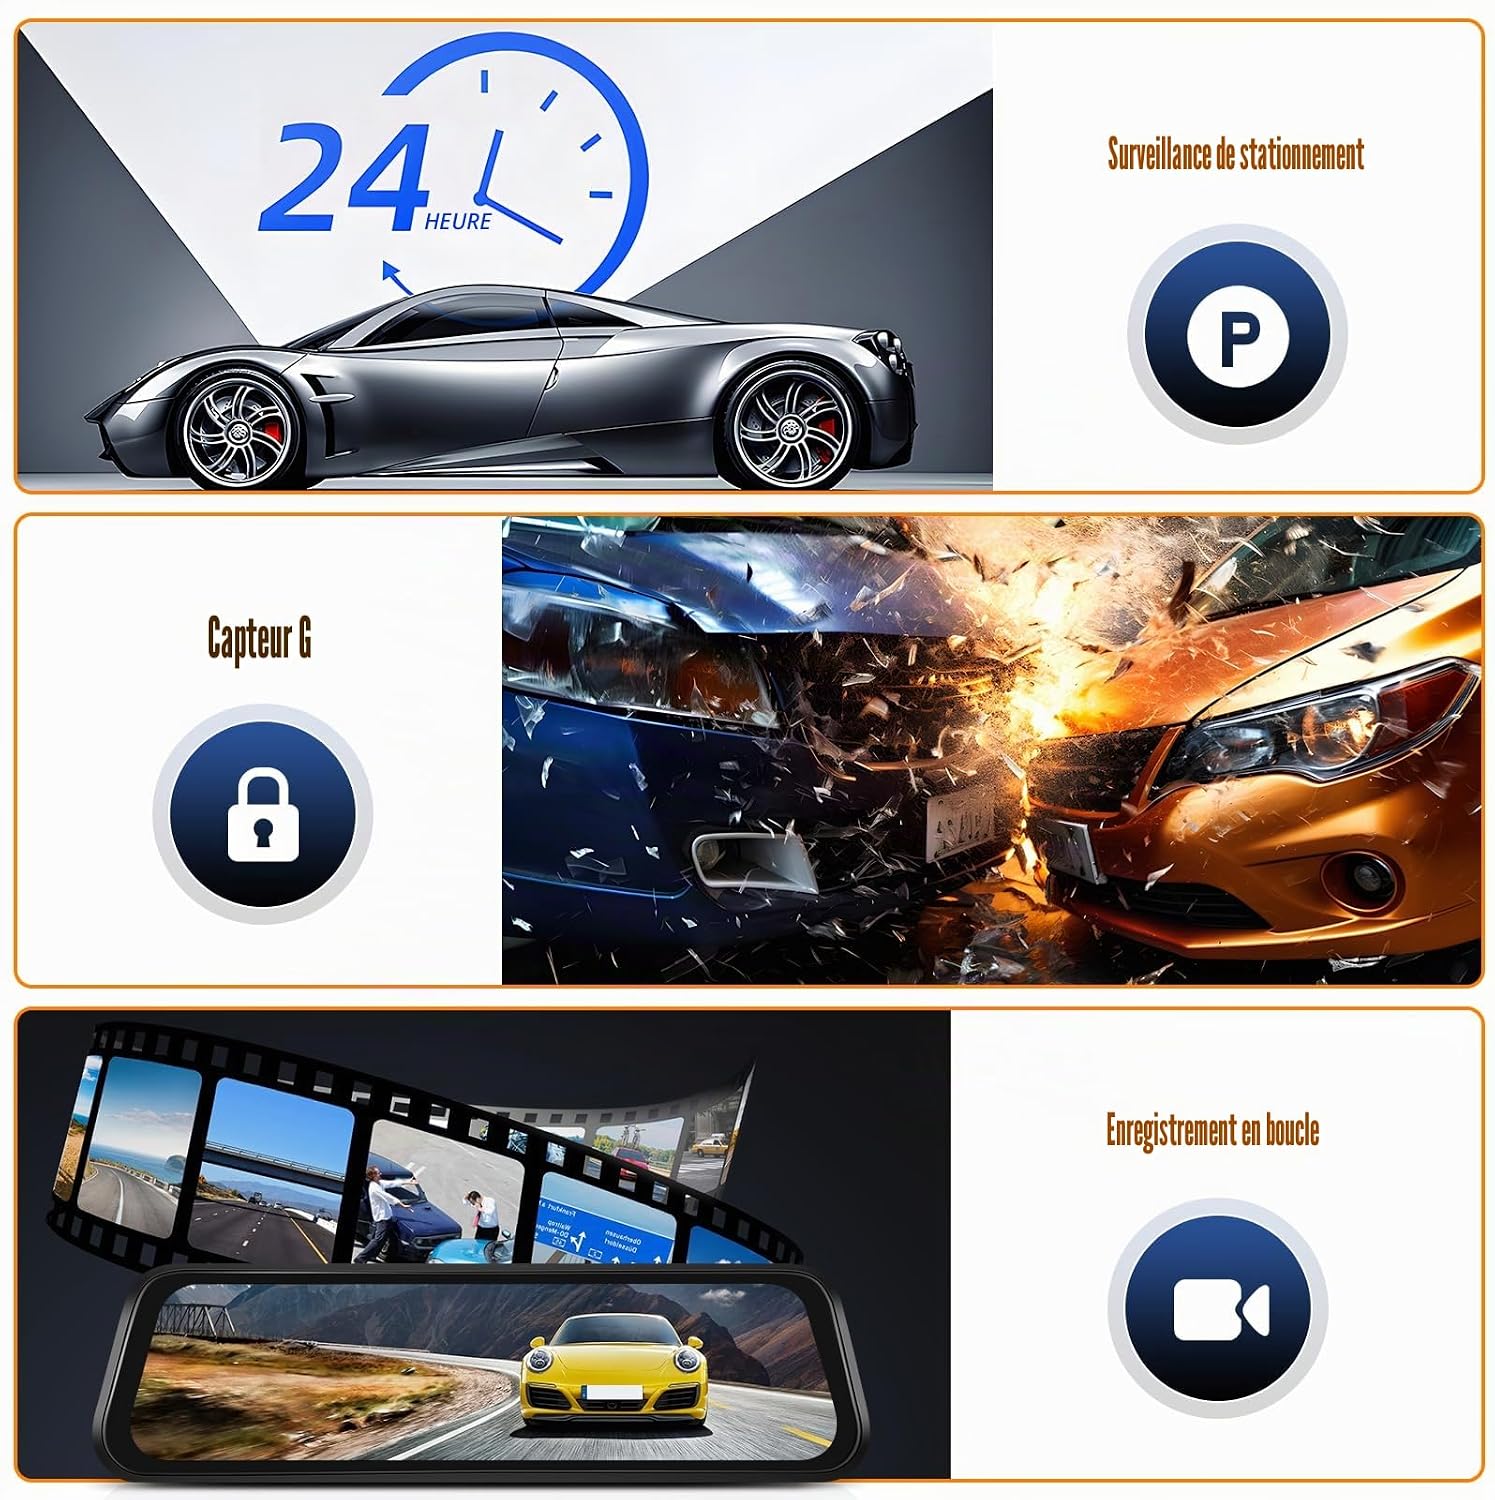
- 24-Hour Loop Recording: Registrazione continua, sovrascrittura del più vecchio files quando la scheda di memoria è piena.
- Sensore G: Automatically activates emergency video recording upon sudden impact or braking.
- Assistenza alla retromarcia: Displays reversing lines on the screen to aid in safe parking.
- Controllo WiFi e APP: Connect to your smartphone via Wi-Fi for real-time viewing, management, and sharing of recordings.


2.2 Contenuto della confezione
Assicurarsi che tutti gli articoli siano presenti nel pacco:
- 1 x DVR Mirror Dash Cam
- 1 x Integrated Camera (likely referring to the interior camera, or the main unit itself)
- 1 posteriore View Telecamera
- 1 posteriore View Cavo della fotocamera
- 1 x Caricabatteria da auto
- 1 x Manuale utente
- Bende per il montaggio

3. Configurazione e installazione
3.1 Tipo di installazione
The CAMECHO Mirror Dash Cam is designed for rearview mirror installation, suitable for all vehicles equipped with a standard rearview specchio.
3.2 Passaggi di installazione
- Montare la Dash Cam: Fissare saldamente la dash cam sullo specchietto retrovisore esistenteview mirror using the provided bandages. Ensure it is centered and stable.
- Connetti alimentazione: Plug the car charger into your vehicle's cigarette lighter socket and connect the other end to the dash cam's power input. Route the cable neatly along the windshield trim to avoid obstruction.
- Installare la telecamera posteriore: Mount the rear camera at the back of your vehicle, typically above the license plate or inside the rear window. Ensure a clear view.
- Cavo della telecamera posteriore: Connect the rear camera cable to the dash cam. Carefully route the cable from the rear camera to the main unit, tucking it under the vehicle's interior trim for a clean installation.
- Inserisci la scheda TF: Insert a compatible TF (microSD) card (maximum 128GB, not included) into the designated slot on the dash cam. Ensure the card is formatted before first use.
- Funzionalità di prova: Start your vehicle to power on the dash cam. Verify that both front and rear cameras are displaying video on the screen and that recording has started. Test the reverse assist function by engaging reverse gear.

4. Istruzioni per l'uso
4.1 Accensione/spegnimento
- Automatico: La dash cam si accenderà automaticamente e inizierà a registrare all'accensione del veicolo. Si spegnerà automaticamente allo spegnimento del veicolo.
- Manuale: Press and hold the power button located on the device to manually turn it on or off.
4.2 Interfaccia touchscreen
The 9.66-inch IPS touchscreen allows for intuitive control. Tap icons to access menus, change settings, view recordings, and switch camera views.
4.3 Modalità di registrazione
- Registrazione normale: Registrazione continua durante la guida. Files are saved in segments (e.g., 1, 3, or 5 minutes) and loop recording ensures older filevengono sovrascritti.
- Registrazione di emergenza: Triggered by the G-Sensor, these recordings are locked and protected from being overwritten.
- Monitoraggio del parcheggio: Records events when the vehicle is parked and detects impact (requires continuous power supply or built-in battery charge).
5. WiFi APP Control
The dash cam supports WiFi connectivity, allowing you to connect your smartphone via the dedicated app (Viidure). This enables real-time viewgestione e condivisione delle tue registrazioni.
5.1 Fasi di connessione
- Scarica l'app: Scan the QR code provided in the manual or on the device packaging, or search for "Viidure" in your smartphone's app store (iOS or Android) to download and install the application.
- Enable WiFi on Dash Cam: Access the dash cam's settings menu and enable the Wi-Fi function. The screen will display the Wi-Fi network name (SSID) and password.
- Connetti lo smartphone: On your smartphone, go to Wi-Fi settings, find the dash cam's Wi-Fi network (e.g., "CAMECHO_XXXX"), and connect using the provided password.
- Apri l'app: Launch the Viidure app. The app should automatically detect and connect to the dash cam, allowing you to view cibo vivotage, sfoglia registrato files, download videos, and adjust settings.

6. Funzionalità avanzate
6.1 Visione notturna
The dash cam is equipped with super night vision technology, ensuring high-quality video capture even in low-light conditions, tunnels, or at night. This feature enhances visibility and recording clarity during dark environments.

6.2 G-Sensor (Gravity Detection)
The built-in G-Sensor automatically detects sudden movements, impacts, or rapid braking. When triggered, it locks the current video segment, preventing it from being overwritten by loop recording. This ensures critical footage from accidents or incidents is preserved.
6.3 Monitoraggio del parcheggio 24 ore su 24
With 24-hour parking monitoring, the dash cam continues to protect your vehicle even when parked. If an impact is detected while the vehicle is off, the dash cam will automatically power on and record a short video. This feature requires a continuous power supply (e.g., hardwire kit, sold separately) or sufficient internal battery charge.
6.4 Registrazione in loop
La registrazione in loop garantisce una registrazione continua sovrascrivendo il video sbloccato più vecchio files when the memory card reaches its capacity. This eliminates the need to manually clear the memory card.
6.5 Assistenza alla retromarcia
When you engage reverse gear, the dash cam automatically displays the rear camera view in full screen with guiding lines. These auxiliary lines assist in safer and more efficient parking, helping to prevent collisions.

7. Manutenzione
- Pulisci la lente: Per garantire una qualità video nitida, pulire regolarmente le lenti della fotocamera anteriore e posteriore con un panno morbido e privo di lanugine.
- Formato scheda TF: It is recommended to format the TF card periodically (e.g., once a month) to maintain optimal performance and prevent data corruption. Back up any important files prima della formattazione.
- Aggiornamenti del firmware: Controlla il CAMECHO ufficiale websito o app per eventuali aggiornamenti firmware disponibili per garantire che la tua dash cam abbia le funzionalità e le correzioni di bug più recenti.
- Temperatura: Evitare di esporre la dash cam a temperature estreme per periodi prolungati, poiché ciò potrebbe influire sulla durata della batteria e sulle prestazioni del dispositivo.
8. Risoluzione Dei Problemi
| Problema | Possibile causa | Soluzione |
|---|---|---|
| La dash cam non si accende. | Nessuna alimentazione; caricabatteria per auto difettoso; collegamento allentato. | Check car charger connection and vehicle's cigarette lighter. Ensure the car charger is functional. |
| La registrazione si interrompe o si blocca. | TF card full; slow TF card; TF card error. | Format the TF card. Use a high-speed (Class 10 or U3) TF card. Replace faulty TF card. |
| Scarsa qualità video. | Lente sporca; pellicola protettiva ancora sulla lente; impostazioni di risoluzione errate. | Clean camera lenses. Remove any protective film. Adjust video resolution settings in the menu. |
| La telecamera posteriore non viene visualizzata. | Collegamento del cavo allentato; telecamera posteriore difettosa. | Controllare il collegamento del cavo della telecamera posteriore all'unità principale. Assicurarsi che il cavo non sia danneggiato. |
| Problemi di connessione WiFi. | Password errata; app non aggiornata; interferenza. | Verify Wi-Fi password. Update the Viidure app. Try connecting in a different location to rule out interference. |
9. Specifiche
| Caratteristica | Dettaglio |
|---|---|
| Marca | CAMECHO |
| Nome del modello | Dual Cámara |
| Dimensioni dello schermo | Schermo touchscreen IPS da 9.66 pollici |
| Risoluzione della fotocamera frontale | 2K (1440p) |
| Risoluzione della telecamera posteriore | 1080P |
| Campo di View (Davanti) | 150 gradi |
| Campo di View (Posteriore) | 120 gradi |
| Tecnologia di connettività | Wifi |
| Caratteristiche speciali | Night Vision, G-Sensor, Loop Recording, Parking Monitoring, Reverse Assist, APP Control |
| Formato video | TS |
| Formato foto | M-JPG |
| Frequenza dei fotogrammi | 25 fotogrammi al secondo |
| Magazzinaggio | Supports TF (microSD) card up to 128GB (not included) |
| Tipo di montaggio | Posterioreview Supporto per specchio |
| Metodo di controllo | Schermo tattile |
| Dispositivi compatibili | Smartphone (via Viidure App) |
| Peso dell'articolo | 600 grammi |
10. Garanzia e supporto
10.1 Informazioni sulla garanzia
CAMECHO provides a 2-year warranty for this product. This includes a 30-day return policy and a response to inquiries within 24 hours.
10.2 Assistenza clienti
For any questions, technical assistance, or warranty claims, please contact CAMECHO customer support:
- E-mail: bs_support21@126.com
- Please include your product model and a detailed description of your issue for faster assistance.
