
Introduzione
This manual provides comprehensive instructions for the setup, operation, and maintenance of your PGST Home Security System A01-A. Please read this guide thoroughly before installation and use to ensure optimal performance and safety. This 5-piece kit is designed to provide reliable home security with smart features and compatibility with popular smart home platforms.
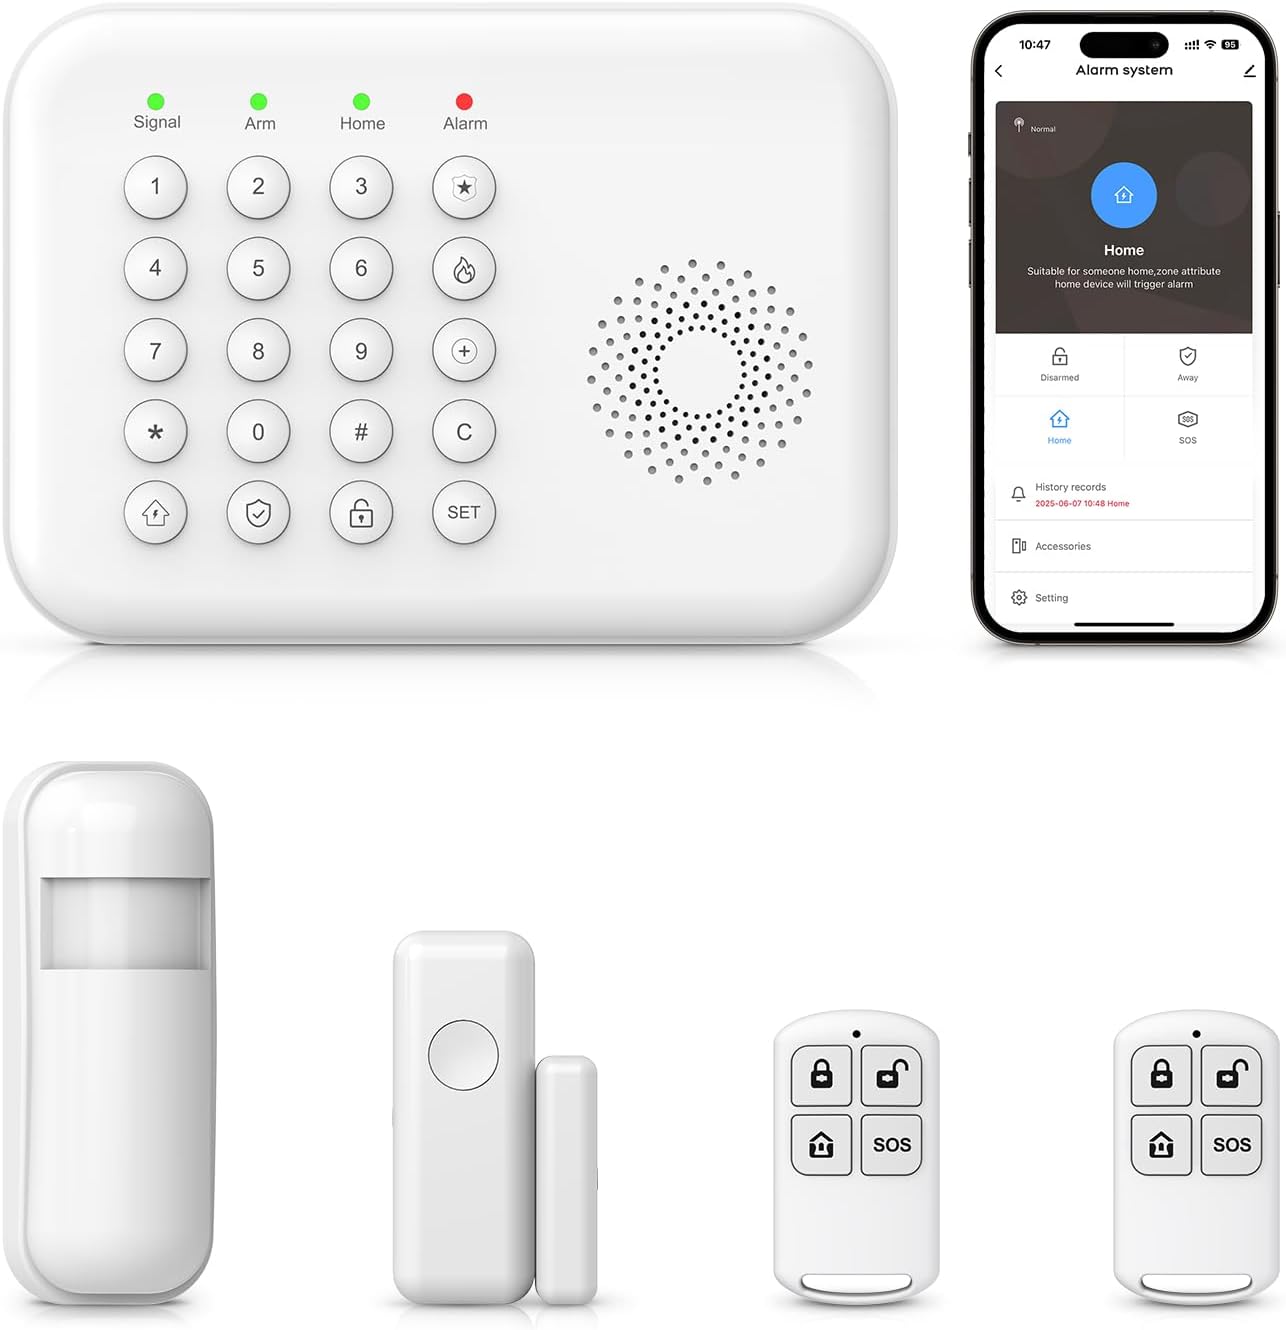
Image: The PGST Home Security System A01-A kit, showing the main keypad, a door sensor, a PIR motion sensor, and two remote controls.
1. Impostazione
1.1 Unboxing e accensione iniziale
Carefully remove all components from the packaging. Ensure all items listed in the product description are present. Connect the alarm host to power. The system includes a Lithium Ion battery for backup power.
1.2 Installazione e connessione dell'app
The PGST Home Security System is compatible with the "Tuya" and "Smart Life" applications. Download either app from your smartphone's app store.
- Open the chosen app (Tuya or Smart Life).
- Select the "+" icon to add a new device.
- Choose "Alarm (Wi-Fi)" under the "Sensors" category.
- Ensure your Wi-Fi network is 2.4GHz. 5G networks are not supported for initial setup.
- Enter your Wi-Fi password and proceed.
- Follow the on-screen prompts to connect the device. The indicator light on the alarm host will flash during the pairing process.
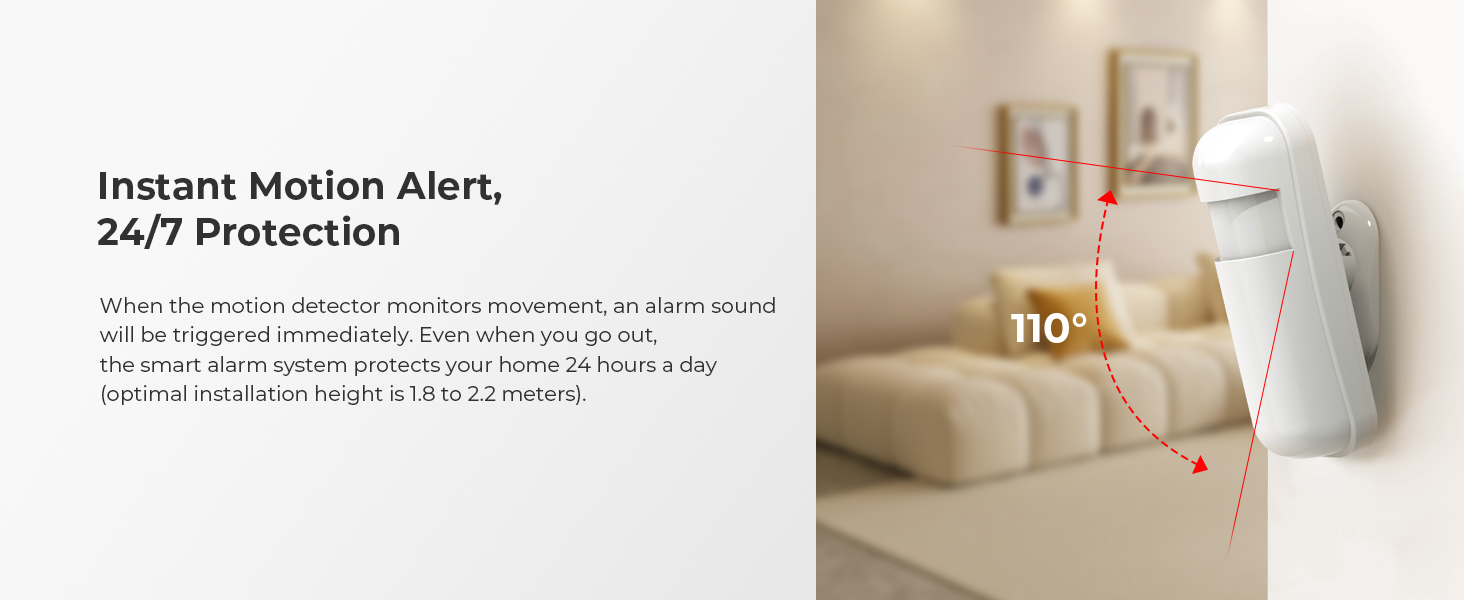
Image: The alarm system is compatible with both Tuya and Smart Life applications for remote control.
For visual guidance on Wi-Fi connection, refer to the video below:
Video: Demonstrates the process of connecting the home security system to a Wi-Fi network using the mobile application.
1.3 Adding Accessories (Remote Controls, Sensors)
The system supports up to 10 remote controls and 240 sensors. Follow these steps to add accessories:
1.3.1 Aggiunta di telecomandi
- On the alarm host keypad, enter: SET → 6666# → 21 → (1~10) → #.
- Press any button on the remote control to pair it with the system.
- The system will confirm successful pairing.
For visual guidance on adding remote controls, refer to the video below:
Video: Demonstrates the process of connecting accessories like remote controls and sensors to the security system.

Image: The remote control offers quick access to Arm, Disarm, Home, and SOS functions.
1.3.2 Adding PIR Motion Sensors
- On the alarm host keypad, enter: SET → 6666# → 23 → (1~240) → #.
- Turn on the infrared sensor switch. Wait for the red light to flash rapidly and continuously twice.
- The system will confirm successful pairing.
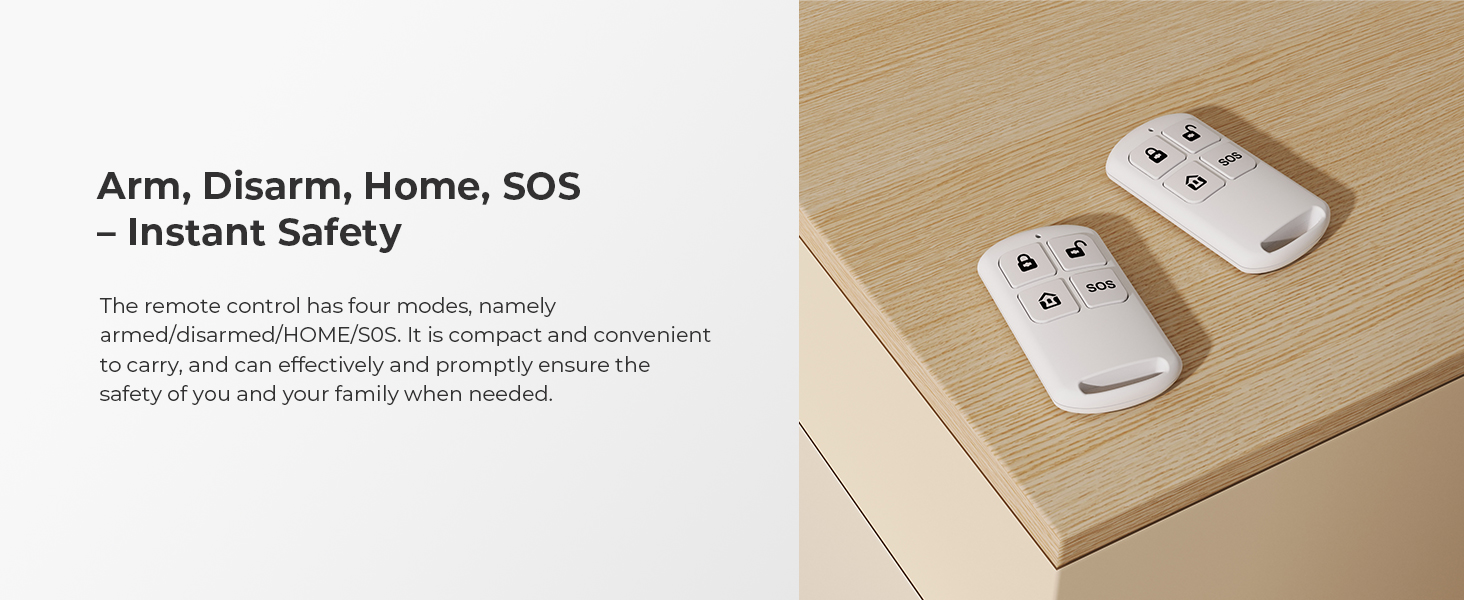
Image: A PIR motion sensor detects movement within a 110-degree field, typically installed at 1.8-2.2 meters height.
1.3.3 Adding Door/Window Sensors
- On the alarm host keypad, enter: SET → 6666# → 23 → (1~240) → #.
- Separate the two parts of the door magnetic sensor.
- The system will confirm successful pairing.

Image: A door and window sensor, designed to trigger an alarm if the gap between its two parts exceeds 2cm.

Image: Diagram illustrating the recommended installation distance for the door window sensor, with an alarm triggered if the gap exceeds 1.5 cm.
1.4 Keyboard Lock Setting
To enable or disable the keyboard lock function:
- On the alarm host keypad, enter: SET → 6666# → 40 → (0 or 1) → #.
- 0 for Off, 1 for On.
For visual guidance on keyboard lock settings, refer to the video below:
Video: Demonstrates how to set the keyboard lock on the security system's keypad.
2. Funzionamento del sistema
The PGST Home Security System offers multiple ways to control its functions, including the keypad, remote controls, mobile app, and voice commands.

Image: The main control panel and connected accessories, illustrating complete control via app.
2.1 Inserimento e disinserimento
- Inserimento totale: Attiva tutti i sensori. Da usare quando si esce di casa.
- Inserimento in casa: Attiva i sensori perimetrali (ad esempio sensori per porte/finestre) consentendo il movimento all'interno.
- Disarmare: Disattiva il sistema di allarme.
- SOS: Attiva immediatamente un allarme di emergenza.
Image: The remote control provides convenient access to arm, disarm, home, and SOS functions.
Metodi di controllo 2.2
- tastiera: Use the physical buttons on the alarm host to arm, disarm, and configure settings.
- Telecomando: Use the provided remote controls for quick arming, disarming, and SOS functions.
- Applicazione mobile: Control the system remotely via the "Tuya" or "Smart Life" app. Receive instant alerts and manage settings from your smartphone.
- Controllo vocale: Integrate with Alexa or Google Assistant to arm or disarm the system using voice commands.

Image: The system is compatible with Alexa and Google Assistant for voice-activated control.

Image: RFID cards can be used for quick, code-free arming and disarming of the system.
3. Manutenzione
3.1 Gestione della batteria
The alarm host includes a Lithium Ion battery for continuous operation during power outages. Ensure the host is regularly connected to power to keep the internal battery charged.
Sensors (PIR motion sensor, door/window sensor) are battery-powered. The system will provide low battery alerts via the app. Replace batteries promptly to maintain continuous protection.
3.2 Cura generale
- Keep all components clean and free from dust.
- Avoid exposing components to extreme temperatures or moisture.
- Regularly check sensor placement to ensure they remain securely attached and properly aligned.
4. Risoluzione Dei Problemi
4.1 Falsi allarmi
- Sensori di movimento: Ensure PIR motion sensors are installed in areas free from drafts, direct sunlight, or moving objects (e.g., curtains near a window). Consider pet-immune sensors if you have pets.
- Sensori per porte/finestre: Verify that the two parts of the sensor are correctly aligned and the gap is within the recommended distance (less than 1.5 cm) when the door/window is closed.
4.2 Problemi di connettività
- Connessione Wi-Fi: Confirm your Wi-Fi network is 2.4GHz. Ensure the alarm host is within range of your Wi-Fi router. Restart the alarm host and your router if issues persist.
- GSM/3G/4G Network: If using a SIM card, ensure it is a 2G/3G/4G card (5G SIM cards are not supported). Check for proper SIM card insertion and network coverage.
4.3 Avvisi di batteria scarica
The system will notify you via the app when sensor batteries are low. Replace batteries immediately to avoid system malfunctions or unexpected alarms.
5. Specifiche
| Caratteristica | Dettaglio |
|---|---|
| Marca | PGST |
| Numero di modello | A01-A (PGA01-US-A) |
| Colore | Bianco |
| Fonte di alimentazione | Alimentato a batteria (batteria agli ioni di litio inclusa) |
| Dispositivi compatibili | Alexa, Google Assistant, Tuya, Smart Life |
| Dimensioni articolo (L x P x A) | 6 x 2 x 5 pollici |
| Tecnologia di connettività | Wireless (2.4GHz Wi-Fi, GSM/3G/4G) |
| Tipo di installazione | Autoadesivo |
| Peso dell'articolo | 2 libbre |
| Metodo di controllo | App, Pulsante, Voce |
| Componenti inclusi | Alarm Host, 1 Door Sensor, 1 Wireless PIR Motion Sensor, 2 Remote Controls |
| Compatibilità con la casa intelligente | Smart Home Compatible |

Image: Detailed diagram highlighting the various features and ports of the PGST Home Security System keypad.
6. Garanzia e supporto
6.1 Garanzia del prodotto
Specific warranty details are typically provided at the point of purchase or within the product packaging. Please refer to your purchase documentation for information regarding warranty coverage and duration.
6.2 Assistenza clienti
If you encounter any issues during installation or operation, or if you require assistance with defective parts, please contact the seller directly through their Amazon Store site for support. They are available to help resolve any problems you may experience.
Per ulteriori risorse, puoi visitare il Negozio PGST su Amazon.