
1. Introduzione
The Montech AX120 PRO is a high-performance 120mm cooling fan designed for efficient thermal management in computer systems. This 3-pack includes fans with a glowing ARGB rim and illuminated fan blades, providing both cooling capability and visual effects. The fans feature a precision-engineered 9-blade design for optimal airflow and static pressure, along with integrated anti-vibration pads for reduced noise. A durable rifle bearing ensures smooth operation and an extended lifespan. This manual provides instructions for installation, operation, maintenance, and troubleshooting.

Immagine 1.1: Passoview of MONTECH AX120 PRO ARGB Fans and their features.
2. Cosa c'è nella scatola
Verificare che tutti i componenti siano presenti prima di procedere con l'installazione:
- 3 x MONTECH AX120 PRO ARGB PWM 120mm Fans
- 1 x ARGB Fan Hub
- Viti di montaggio

Image 2.1: Packaging and contents of the AX120 PRO 3-pack.
3. Configurazione e installazione
Follow these steps to properly install your MONTECH AX120 PRO fans:
- Prepara il tuo sistema: Assicurati che il computer sia spento e scollegato dalla presa a muro. Apri il case del computer per accedere ai punti di montaggio delle ventole.
- Montare le ventole: Position each AX120 PRO fan in your desired location (e.g., front intake, rear exhaust, top exhaust). Use the included mounting screws to secure the fans to the case. Ensure the fan's airflow direction is correct for your cooling strategy. The AX series fans typically blow air from the RGB end to the non-RGB end.
- Connect to Fan Hub: Connect the 4-pin PWM cable from each fan to an available 4-pin fan header on the included ARGB Fan Hub.
- Collegare i cavi ARGB: Connect the 3-pin ARGB cable from each fan to an available 3-pin ARGB header on the fan hub. Ensure correct orientation to avoid damage.
- Connect Fan Hub to Motherboard:
- Connect the 4-pin PWM cable from the fan hub to a 4-pin PWM fan header on your motherboard (e.g., CPU_FAN, SYS_FAN). This allows for fan speed control.
- Connect the 3-pin ARGB cable from the fan hub to a 3-pin 5V ARGB header on your motherboard. This enables software control of the fan lighting. Non collegare a un connettore RGB a 4 pin da 12 V, poiché ciò danneggerebbe i LED.
- Connect Fan Hub Power: Connect the SATA power connector from your power supply unit (PSU) to the ARGB Fan Hub. This provides power to both the fans and the ARGB lighting.
- Gestione dei cavi: Route all cables neatly to ensure proper airflow within the case and a clean aesthetic.
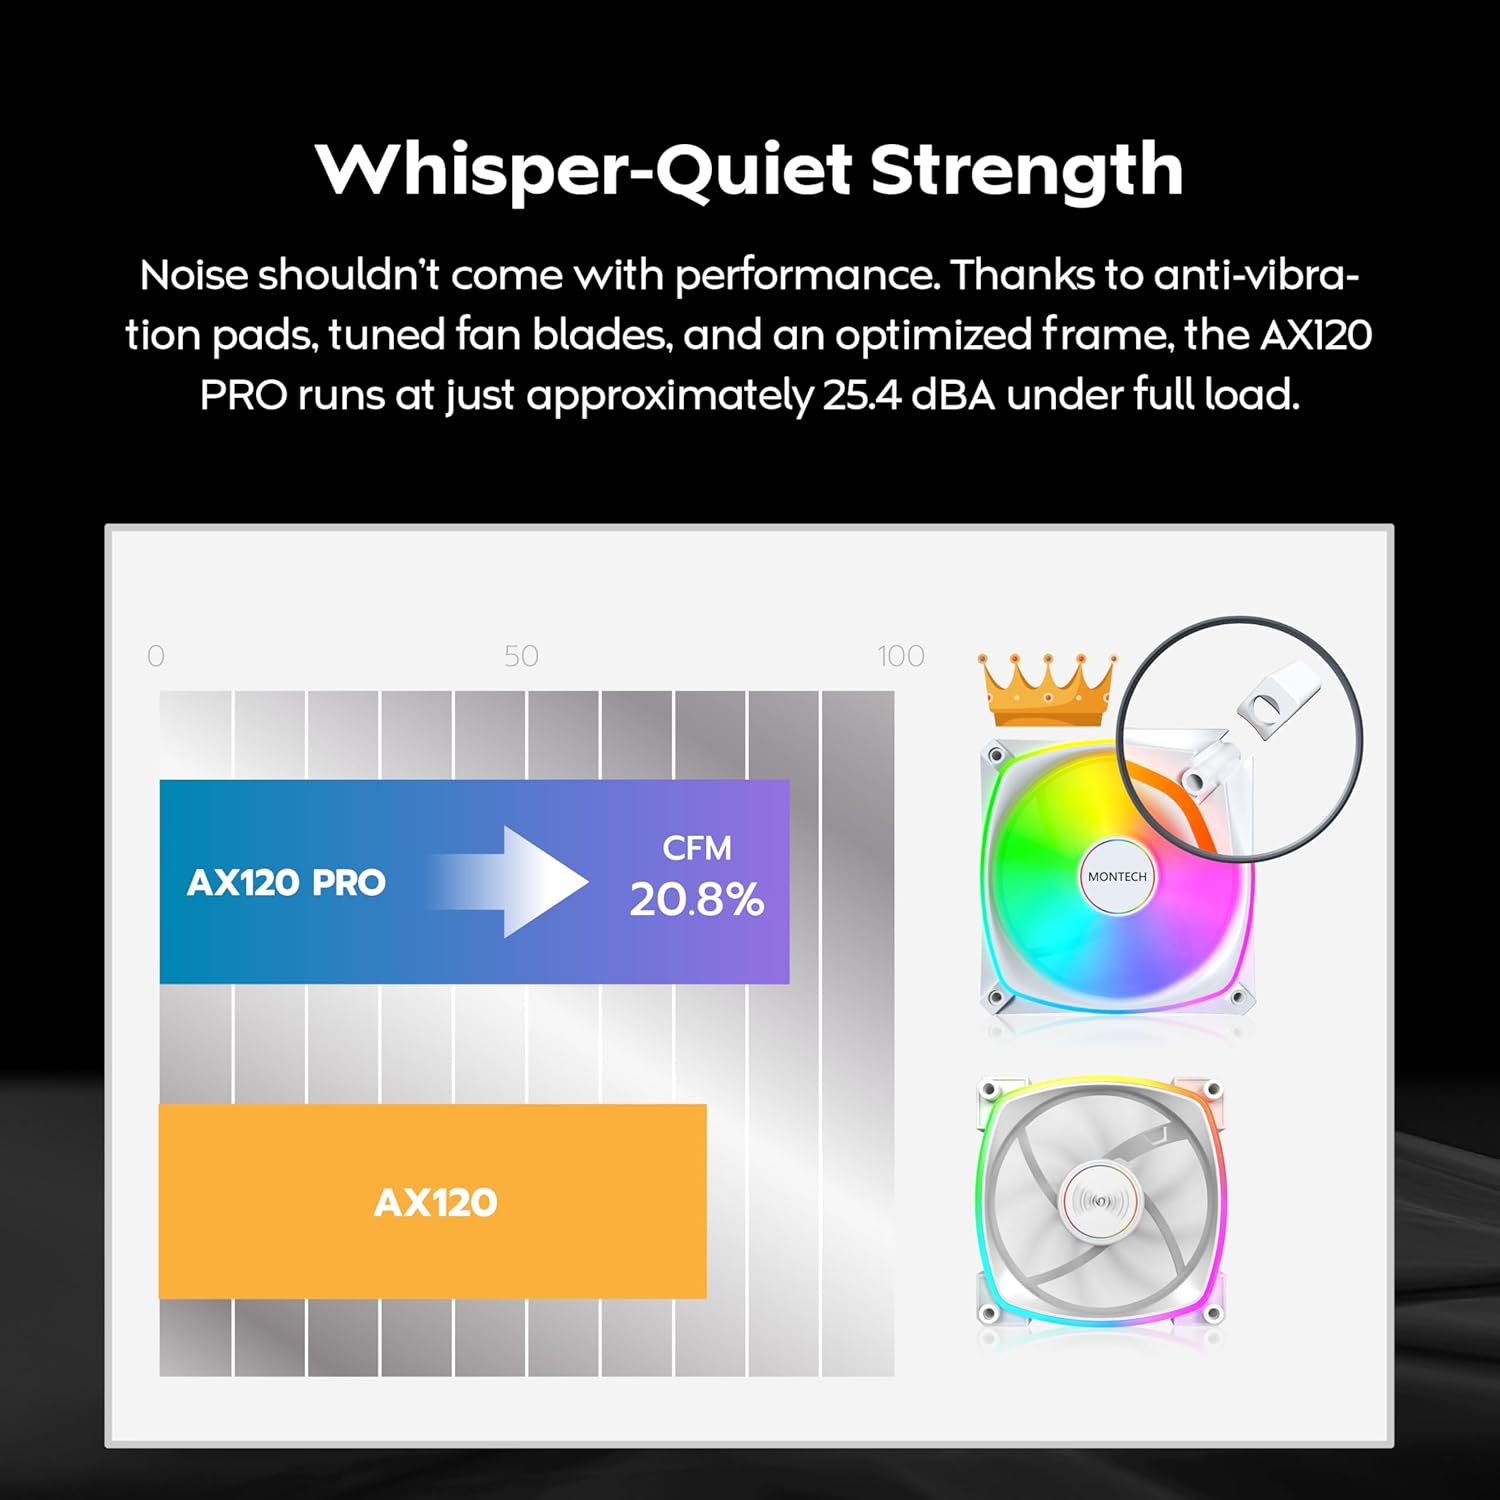
Image 3.1: The included ARGB Fan Hub for connecting multiple fans.

Image 3.2: Illustration of fan placement and airflow for optimal cooling.
4. Istruzioni per l'uso
4.1. PWM Fan Speed Control
The AX120 PRO fans utilize Pulse Width Modulation (PWM) technology, allowing your motherboard to dynamically adjust fan speeds based on system temperature. This provides an optimal balance between cooling performance and noise levels. Fan speeds can range from 600 to 1600 RPM.
- Controllo automatico: Once connected to a 4-pin PWM header on your motherboard, the fan speed will be automatically regulated by your motherboard's BIOS/UEFI settings or operating system software.
- Regolazione manuale: In genere è possibile regolare le curve della ventola e impostare la velocità personalizzata.files through your motherboard's BIOS/UEFI or dedicated fan control software provided by your motherboard manufacturer.

Image 4.1: PWM control mechanism for intelligent cooling.
4.2. Controllo dell'illuminazione ARGB
The AX120 PRO fans feature Addressable RGB (ARGB) lighting, allowing for customizable lighting effects. The lighting is controlled via your motherboard's ARGB software.
- Sincronizzazione software: Connect the fan hub's ARGB cable to a compatible 3-pin 5V ARGB header on your motherboard. Use your motherboard's RGB control software (e.g., ASUS Aura Sync, GIGABYTE RGB Fusion 2.0, MSI Mystic Light Sync, ASRock Polychrome Sync) to customize lighting patterns, colors, and effects.
- Controllo indipendente: If your motherboard does not have an ARGB header, or if you prefer, a separate ARGB controller (not included) can be used to manage the lighting.

Image 4.2: ARGB lighting synchronization with major motherboard brands.
5. Manutenzione
Regular maintenance helps ensure optimal performance and longevity of your fans.
- Pulizia: Periodically clean the fan blades and frame to remove dust buildup. Use compressed air or a soft brush. Ensure the fan is powered off and unplugged before cleaning. Do not use liquid cleaners directly on the fan.
- Ispezione: Check fan cables for any signs of wear or damage. Ensure all connections to the fan hub and motherboard are secure.
- Cura dei cuscinetti: The rifle bearing is designed for long-term, maintenance-free operation. No lubrication is required.

Immagine 5.1: Interno view of the rifle bearing, designed for durability.
6. Risoluzione Dei Problemi
If you encounter issues with your MONTECH AX120 PRO fans, refer to the following common problems and solutions:
- I ventilatori non girano:
- Ensure the fan hub is correctly connected to the PSU via the SATA power cable.
- Verify that the 4-pin PWM cables from the fans are securely connected to the fan hub, and the fan hub's PWM cable is connected to a motherboard fan header.
- Check your motherboard's BIOS/UEFI settings to ensure fan headers are enabled and configured correctly.
- Nessuna illuminazione ARGB:
- Confirm the 3-pin ARGB cables from the fans are connected to the fan hub, and the fan hub's ARGB cable is connected to a 3-pin 5V ARGB header on your motherboard.
- Importante: Do not connect to a 4-pin 12V RGB header.
- Ensure the fan hub is receiving power from the PSU via SATA.
- Check your motherboard's ARGB software for lighting control and ensure it is running and configured.
- Rumore eccessivo:
- Verify that the fans are securely mounted and not vibrating against the case. The fans include anti-vibration pads.
- Controllare che non vi siano cavi o ostruzioni che interferiscano con le pale della ventola.
- Adjust fan speed settings in your motherboard's BIOS/UEFI or software to a lower RPM if noise is a concern at idle.
- Pulire eventuali accumuli di polvere sulle pale della ventola.
7. Specifiche
| Caratteristica | Specificazione |
|---|---|
| Numero di modello | AX120PW3in1 |
| Dimensioni della ventola | 120 mm x 120 mm x 25 mm (4.72"L x 0.98"W x 4.72"H) |
| Velocità della ventola | 600 - 1600 giri/min (controllato da PWM) |
| Capacità del flusso d'aria | 72.3 CFM (piedi cubi al minuto) |
| Livello di rumore | 25.4 dBA (massimo) |
| Pressione statica | 1.85 mmH2O |
| Tipo di cuscinetto | Cuscinetto del fucile |
| Connettore di alimentazione | 4-Pin PWM |
| Connettore ARGB | 3 pin 5V ARGB |
| Dispositivi compatibili | Computer desktop |
| Numero di articoli | 3 Fans + 1 Hub |
8. Garanzia e supporto
8.1. Informazioni sulla garanzia
The MONTECH AX120 PRO ARGB PWM 120mm Fan 3-Pack comes with a Garanzia di 3 anno dalla data di acquisto. La presente garanzia copre i difetti di fabbricazione e garantisce che il prodotto soddisfi gli standard prestazionali specificati in condizioni di utilizzo normali. Si prega di conservare la prova d'acquisto per eventuali reclami in garanzia.
8.2. Supporto tecnico
For technical assistance, troubleshooting beyond this manual, or warranty inquiries, please contact MONTECH customer support through their official website or the retailer where the product was purchased. Provide your product model number (AX120PW3in1) and a detailed description of the issue to expedite support.