
1. Introduzione
The Daitsu Velar ceiling fan combines design, technology, and sustainability to provide comfort throughout the year. Its natural FSC-certified wooden blades, sourced from responsibly managed forests, add warmth to any room while committing to the protection of the planet's forest resources.
This manual provides detailed instructions for the safe installation, operation, and maintenance of your Daitsu Velar ceiling fan. Please read it thoroughly before installation and keep it for future reference.
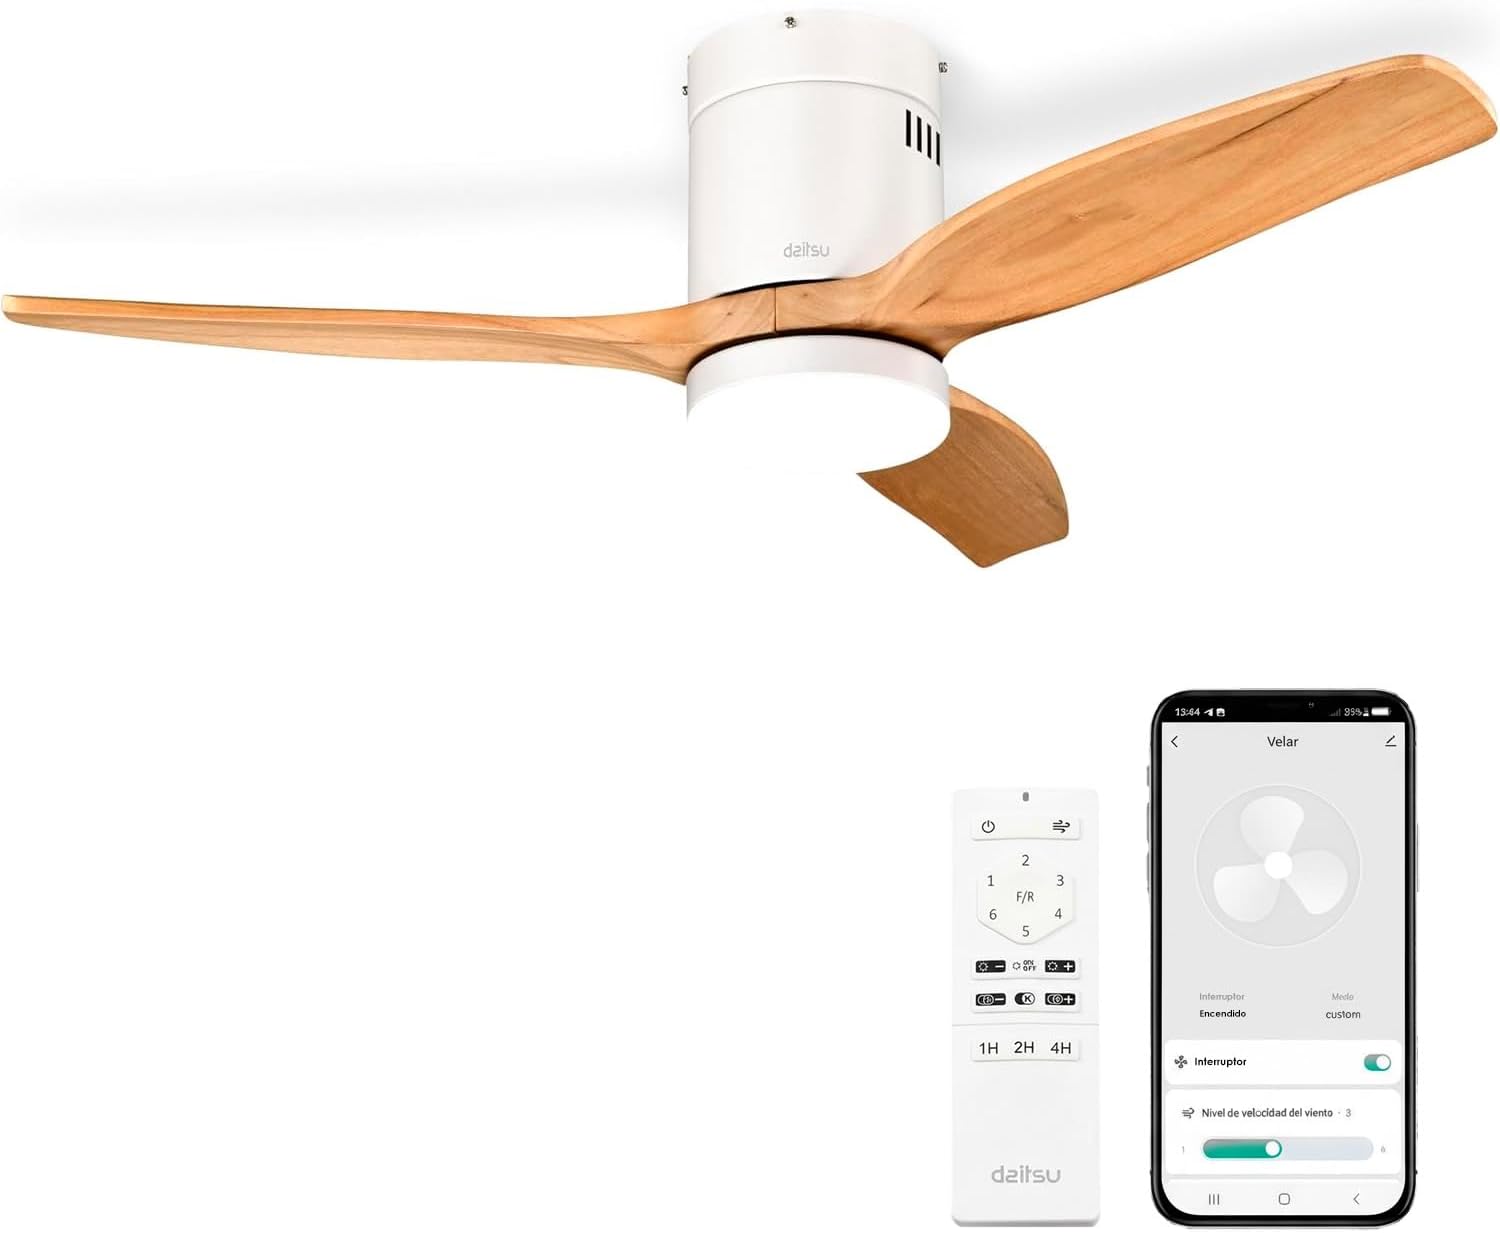
Image 1.1: Daitsu Velar Ceiling Fan in a living room setting.
2. Informazioni sulla sicurezza
Istruzioni importanti per la sicurezza:
- Leggere attentamente tutte le istruzioni prima dell'installazione e dell'uso.
- Prima dell'installazione o della manutenzione, assicurarsi che l'alimentazione elettrica sia scollegata dall'interruttore principale.
- L'installazione deve essere eseguita da un elettricista qualificato, nel rispetto delle normative elettriche locali.
- La struttura di montaggio deve essere in grado di sostenere il peso del ventilatore (circa 4.6 kg).
- Assicurarsi che le pale del ventilatore siano ad almeno 2.3 metri (7.5 piedi) dal pavimento e che ci sia almeno 0.5 metri (1.6 piedi) di distanza dalle pareti o da altri ostacoli.
- Non inserire oggetti nel percorso delle lame rotanti.
- Do not attempt to repair or modify the fan yourself. Contact qualified service personnel.
- Questo apparecchio è destinato esclusivamente all'uso in ambienti interni.
3. Contenuto della confezione
Prima di iniziare l'installazione, verificare che tutti i componenti siano presenti e integri:
- Pale del ventilatore (3x)
- Motor and Ceiling Mount Bracket
- LED Light Kit (plate + diffuser)
- Wireless Remote Control and Wall Mount Holder
- Mounting Screws (for ceiling and blades)
- Manuale di istruzioni (questo documento)

Immagine 3.1: Es.ample of product packaging, indicating included components.
4. Configurazione e installazione
Strumenti necessari: Screwdriver, wire strippers, electrical tape, ladder, drill (if necessary).
- Disconnessione dell'alimentazione: Per evitare scosse elettriche, disattivare l'alimentazione tramite l'interruttore principale.
- Installazione della staffa di montaggio: Securely attach the ceiling mount bracket to a ceiling joist or a suitable electrical junction box capable of supporting the fan's weight. Use the provided mounting screws.
- Cablaggio: Connect the fan's electrical wires to the household wiring according to the wiring diagram in the full installation guide (not provided here, but typically included with the product). Ensure all connections are secure and insulated.
- Assemblaggio motore: Sollevare con cautela il gruppo motore della ventola e appenderlo alla staffa di montaggio.
- Attacco lama: Attach the three wooden blades to the motor housing using the provided screws. Ensure they are securely fastened.
- LED Light Kit Installation: Connect the LED light kit wiring and attach the light plate and diffuser to the bottom of the fan motor housing.
- Installazione della tettoia: Far scorrere la calotta fino al soffitto e fissarla in modo da coprire il cablaggio e la staffa di montaggio.
- Ripristino dell'energia: Ripristinare l'alimentazione all'interruttore principale.
- Impostazione del telecomando: Insert batteries into the remote control. The fan should be ready for operation.
- Wi-Fi App Setup (Daitsu Connect):
- Download the "Daitsu Connect" app from your smartphone's app store.
- Follow the in-app instructions to pair your fan with your mobile device. This typically involves putting the fan into pairing mode (refer to the full app manual for specific steps).
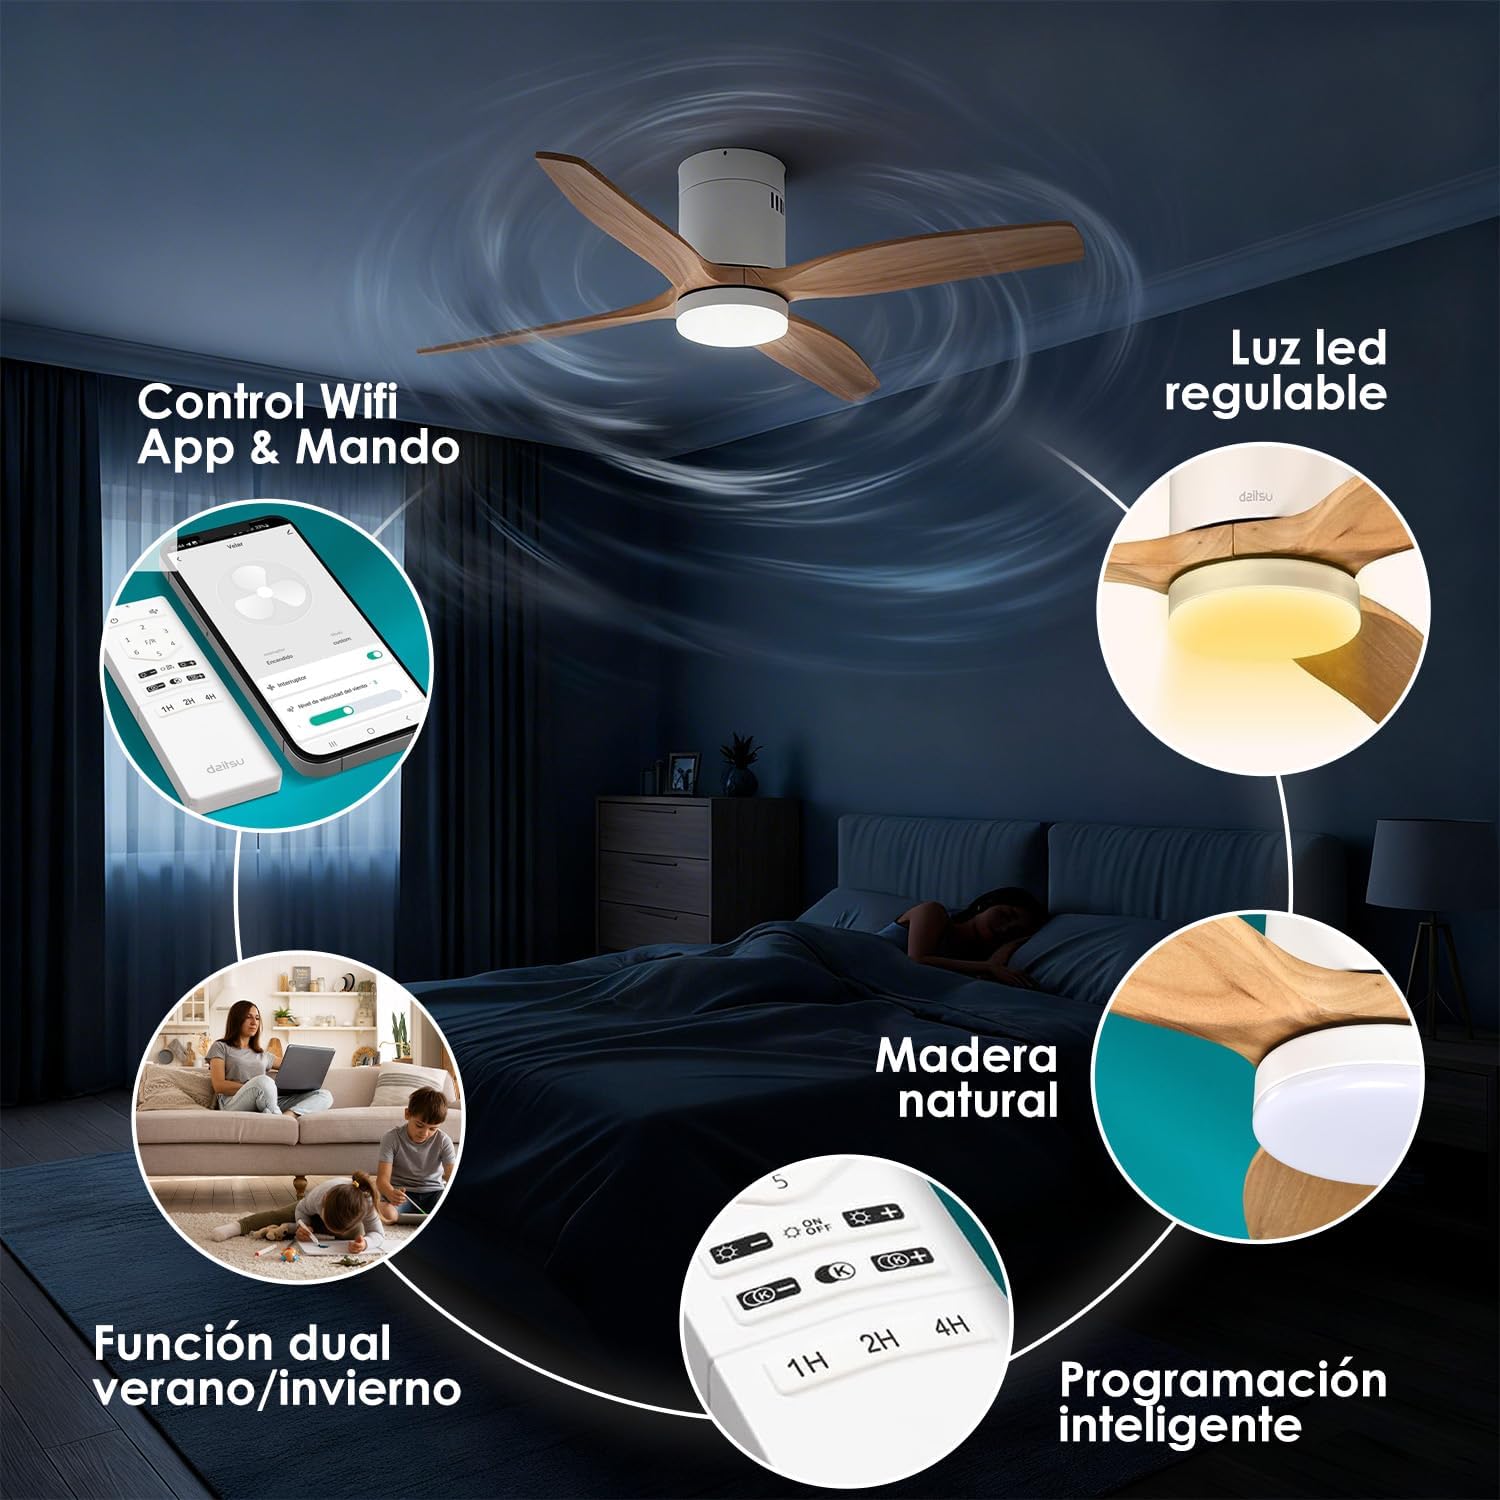
Immagine 4.1: Passoview of fan features, including Wi-Fi App & Remote Control.
5. Istruzioni per l'uso
Your Daitsu Velar ceiling fan can be controlled using the included wireless remote control or the Daitsu Connect mobile application.
5.1. Funzioni di controllo remoto

Image 5.1: Remote control and Daitsu Connect App interface.
- Accensione/spegnimento: Premere il tasto Energia pulsante per accendere o spegnere la ventola e la luce.
- Velocità della ventola: Use the speed buttons (1-6) to select one of the six available fan speeds. There is also a variable mode that alternates between low levels for a more natural air sensation.
- Summer/Winter Function (F/R): Premere il tasto FR button to switch between summer and winter modes.
- Modalità estiva: Le pale ruotano in senso antiorario, spingendo l'aria verso il basso e creando una brezza rinfrescante.
- Modalità invernale: Blades rotate clockwise, drawing cool air up and pushing warm air down from the ceiling, optimizing heating efficiency.
- Controllo della luce:
- Luce accesa/spenta: Premere il pulsante della luce per accendere o spegnere la luce LED.
- Regolazione della luminosità: Utilizzare il + E - buttons to adjust the light intensity (9 levels).
- Regolazione della temperatura del colore: Utilizzare il K+ E K- buttons to change the color temperature from cool to warm (9 levels).
- Funzione timer: Set the fan to automatically turn off after 1, 2, or 4 hours using the respective timer buttons (1H, 2H, 4H).

Image 5.2: Summer/Winter function diagram for optimal air circulation.

Image 5.3: LED light adjustability with 9 intensity and color temperature levels.
5.2. Daitsu Connect App Control
The Daitsu Connect app provides full control over all fan functions, including speed, light, mode, and timer, directly from your mobile device. It also allows for personalized hourly programming to automate operation based on your daily or weekly routines.
- Funzionalità completa: Access all remote control features and more.
- Pianificazione avanzata: Program specific on/off times and settings for different days.
- Funzione di memoria: The fan automatically remembers its last state (speed, light, color temperature, and mode) if power is interrupted or turned off from the switch. Upon power restoration, it will resume the last settings.

Image 5.4: Key features including 6 speeds, programming, light levels, and dual control.
6. Manutenzione
Una manutenzione regolare garantisce prestazioni ottimali e prolunga la durata del ventilatore.
- Pulizia:
- Scollegare sempre l'alimentazione prima della pulizia.
- Pulire l'alloggiamento della ventola e le pale con un panno morbido e asciutto.amp panno. Non usare detergenti abrasivi o solventi.
- Dust the blades regularly to maintain balance and efficiency.
- Ispezione della lama: Controllare periodicamente che tutte le viti delle lame siano ben serrate. Viti allentate possono causare oscillazioni e rumore.
- Sorgente luminosa: The integrated LED light is designed for long life. If it requires replacement, contact customer support.
7. Risoluzione Dei Problemi
Se riscontri problemi con la ventola, fai riferimento ai seguenti problemi comuni e alle relative soluzioni:
| Problema | Possibile causa | Soluzione |
|---|---|---|
| La ventola non si avvia. | No power, loose wiring, remote control battery dead. | Check circuit breaker. Ensure wiring is secure. Replace remote control batteries. |
| La ventola traballa. | Viti delle lame allentate, lame sbilanciate, montaggio non corretto. | Tighten all blade screws. Ensure blades are balanced (a balancing kit may be required). Recheck mounting bracket security. |
| La luce non funziona. | Loose wiring, LED module failure. | Check light kit wiring connections. If issue persists, contact customer support for LED module replacement. |
| Il telecomando non risponde. | Dead batteries, interference, remote not paired. | Replace batteries. Ensure no obstructions. Re-pair remote if necessary (refer to full manual). |
| Wi-Fi app connection issues. | Incorrect Wi-Fi password, poor signal, fan not in pairing mode. | Verify Wi-Fi password. Ensure fan is within Wi-Fi range. Follow app instructions to put fan in pairing mode. |
If the problem persists after attempting these solutions, please contact Daitsu customer support.
8. Specifiche
| Caratteristica | Dettaglio |
|---|---|
| Marca | Daitsu |
| Numero di modello | VELARE |
| Misurare | Ø122cm (suitable for rooms up to 25m²) |
| Dimensioni (P x L x A) | 106.5 cm x 106.5 cm x 31.5 cm (Note: The Ø122cm refers to the blade span, while 106.5cm might be the housing dimensions or a different measurement.) |
| Peso | 4.6 chilogrammi |
| Colore | White with Wooden Blades |
| Numero di lame | 3 |
| Fonte di alimentazione | Elettrico con cavo |
| Voltage | 240 Volt |
| Consumo energetico | 30 Watt |
| Capacità di flusso d'aria | 121 metri cubi al minuto |
| Numero di velocità | 6 |
| Livello di rumore | 34 Decibels (Ultra-silent DC motor) |
| Caratteristiche speciali | Natural wooden blades, Remote control, App control (Wi-Fi), Dimmable LED light (18W, 9 intensity levels, 9 color temperatures), Summer/Winter function, Smart memory function, Programmable auto-off. |
| Uso consigliato | Air circulation, Ventilation (Indoor use only) |

Image 8.1: Dimensions for the Ø122cm model.
9. Garanzia e supporto
Garanzia: Questo prodotto è coperto da una garanzia del produttore di 3 anni.
Assistenza clienti: For technical assistance, warranty claims, or any questions regarding your Daitsu Velar ceiling fan, please contact Daitsu customer service through their official websito o le informazioni di contatto fornite con la documentazione di acquisto.
Please have your model number (VELAR) and proof of purchase ready when contacting support.