
1. Introduzione
This manual provides detailed instructions for the installation, operation, and maintenance of your JOOAN 4G Solar Security Camera. This outdoor wireless surveillance camera is designed for areas without traditional power or network infrastructure, utilizing 4G cellular connectivity and solar power for continuous operation. Please read this manual thoroughly before use to ensure proper setup and functionality.

Image 1.1: JOOAN 4G Solar Security Camera with its solar panel and a smartphone displaying the camera's live feed, highlighting its 4MP/5MP HD resolution capability.
2. Caratteristiche del prodotto
- Connettività 4G: Operates independently using a SIM card, ideal for remote locations.
- Alimentato ad energia solare: Equipped with a solar panel for continuous charging, reducing the need for external power sources.
- Risoluzione ad alta definizione: Cattura video nitiditage for effective surveillance.
- Visione notturna a colori: Offers multiple night vision modes including infrared, full-color, and smart color night vision for enhanced visibility in low-light conditions up to 10 meters.
- Archiviazione locale e cloud: Supports up to 256GB SD card storage and optional cloud storage for recorded footage.
- Installazione semplice: Designed for straightforward setup and mounting.
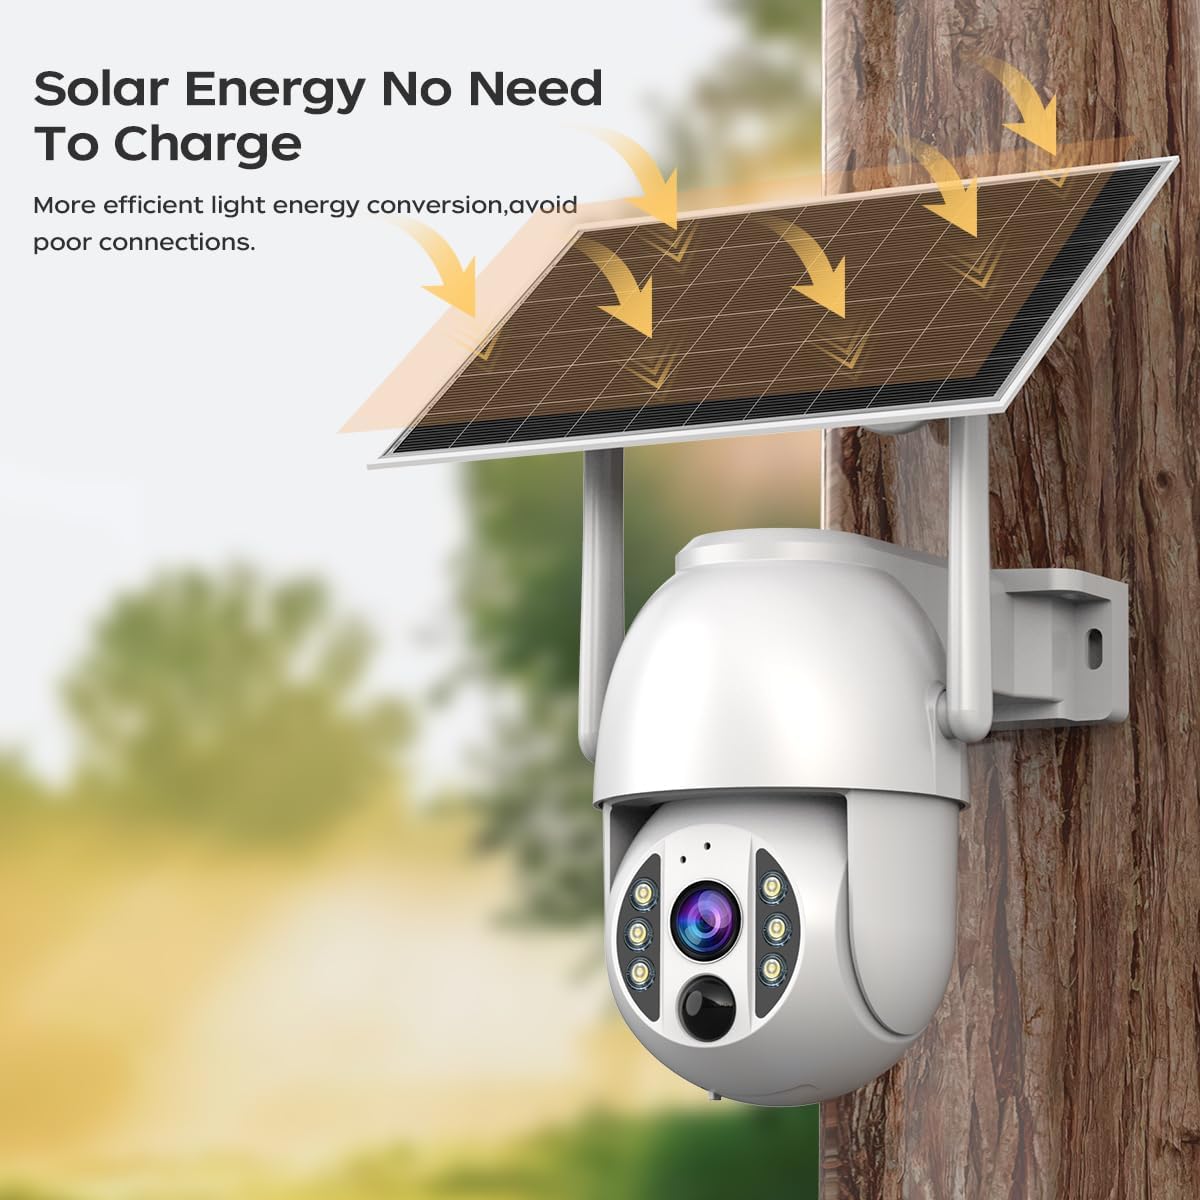
Image 2.1: The JOOAN 4G Solar Security Camera mounted with its solar panel, illustrating its solar energy capability for efficient light energy conversion and avoiding poor connections.
3. Configurazione e installazione
3.1. Installazione della scheda SIM e della scheda SD
Before mounting, install a 4G SIM card (not included) and an SD card (up to 256GB, not included) into the designated slots on the camera. Ensure the camera is powered off before inserting or removing cards.

Immagine 3.1: Un primo piano view of the JOOAN camera's SD card slot, indicating support for cloud storage and a maximum 256GB SD card.
3.2. Passaggi di montaggio
- Positioning and Punching: Select a suitable location for the camera and solar panel. Mark the drilling points on the wall. Use a drill to create holes at the marked positions.
- Inserire le viti di espansione: Gently tap the expansion screws into the drilled holes until they are flush with the surface.
- Montare la fotocamera: Align the camera bracket with the expansion screws and secure it using the provided screws.
- Installazione completa: Attach the solar panel to the camera bracket or mount it separately in a location with ample sunlight. Ensure all connections are secure.

Image 3.2: Visual guide showing the four installation steps: 1. Positioning and punching, 2. Inserting expansion screws, 3. Mounting the camera with screws, and 4. Completing the installation with the solar panel.
3.3. Connessione all'app
Download the official JOOAN app from your smartphone's app store. Follow the in-app instructions to add your camera. There are typically two methods:
- Add APP Phone Code: Scan the QR code displayed on your mobile phone APP with the camera lens from a distance of 20-30cm to add the distribution network.
- Add Camera Body Code: Scan the QR code located on the camera body using the mobile phone APP to add the distribution network.

Image 3.3: Illustration of the two connection methods: scanning the APP phone code or scanning the camera body code to establish a network connection.
4. Funzionamento
4.1. Accensione/Spegnimento
The camera automatically powers on when sufficient solar power is available or when connected to a power source. To power off, disconnect the power source and allow the battery to deplete, or use the app if a power-off function is available.
4.2. Vivere View e Registrazione
Once connected to the app, you can access the live video feed. The camera supports continuous recording to the SD card or cloud storage (subscription may be required). You can also manually record video or capture screenshots from the live view.
4.3 Rilevamento del movimento e avvisi
Configure motion detection sensitivity and alert settings within the app. The camera will send notifications to your smartphone when motion is detected. Recorded events can be reviewnella sezione di riproduzione dell'app.
4.4. Modalità di visione notturna
La telecamera offre tre modalità di visione notturna, selezionabili tramite l'app:
- Visione notturna a infrarossi: Fornisce immagini nitide in bianco e nero anche in completa oscurità.
- Visione notturna a colori: Utilizza faretti integrati per fornire immagini a colori in condizioni di scarsa illuminazione.
- Visione notturna intelligente a colori: Automatically switches from infrared to full-color vision upon detection of motion or specific events.

Image 4.1: Comparison of the three night vision modes: Infrared night vision, Full color night vision, and Smart color night vision, demonstrating the camera's ability to pick out details in darkness up to 10 meters away.
5. Manutenzione
- Pulizia della lente: Pulisci regolarmente l'obiettivo della fotocamera con un panno morbido e asciutto per garantire una qualità dell'immagine nitida. Evita detergenti abrasivi.
- Pulizia del pannello solare: Keep the solar panel free from dust, dirt, and debris to maximize charging efficiency. Clean with a damp panno secondo necessità.
- Aggiornamenti del firmware: Controlla periodicamente l'app per verificare la disponibilità di aggiornamenti del firmware, per garantire prestazioni e sicurezza ottimali.
- Stato della batteria: Ensure the solar panel receives adequate sunlight to maintain battery charge. Prolonged periods without sunlight may require temporary charging via a USB power adapter (not included).
6. Risoluzione Dei Problemi
6.1. Camera Not Connecting to 4G Network
- Assicurarsi che la scheda SIM sia inserita correttamente e attivata con un piano dati valido.
- Check 4G signal strength at the camera's location.
- Riavviare la fotocamera scollegandola e ricollegandola brevemente all'alimentazione.
6.2. No Video Feed or Poor Quality
- Verify the camera has sufficient power.
- Check the 4G signal strength.
- Pulisci l'obiettivo della fotocamera.
6.3. Il pannello solare non si carica
- Assicurarsi che il pannello solare sia posizionato in modo da ricevere la luce solare diretta per diverse ore al giorno.
- Clean any dirt or obstructions from the solar panel surface.
- Controllare il cavo di collegamento tra il pannello solare e la telecamera.
6.4. SD Card Not Recording
- Assicurarsi che la scheda SD sia inserita correttamente e formattata all'interno dell'app.
- Verificare che la scheda SD abbia spazio libero sufficiente.
- Verificare le impostazioni di registrazione nell'app.
7. Specifiche
| Caratteristica | Dettaglio |
|---|---|
| Marca | JOOAN |
| Modello | B0GCFGYCLX |
| Fonte di alimentazione | Alimentato ad energia solare |
| Protocollo di connettività | 4G Cellular (SIM card required), Wi-Fi (for initial setup/local access if applicable) |
| Usi consigliati | Indoor/Outdoor Surveillance |
| Caratteristica speciale | Facile da installare |
| Magazzinaggio | Supports up to 256GB SD card, Cloud Storage (subscription may apply) |
8. Garanzia e supporto
Per informazioni sulla garanzia e supporto tecnico, fare riferimento al sito ufficiale JOOAN weboppure contatta direttamente il servizio clienti. Conserva la ricevuta d'acquisto come prova d'acquisto.
Per ulteriore assistenza, visitare: Negozio JOOAN su Amazon


