Introduzione
This manual provides detailed instructions for the installation, operation, and maintenance of your Acekool 12000 BTU Split Air Conditioner with Heater. Designed for powerful and efficient all-season performance, this unit features a 21 SEER2 inverter system, capable of reliable cooling and heating across a wide temperature range. It is suitable for spaces up to 750 sq. ft. and includes smart features like WiFi and Alexa voice control for enhanced convenience.
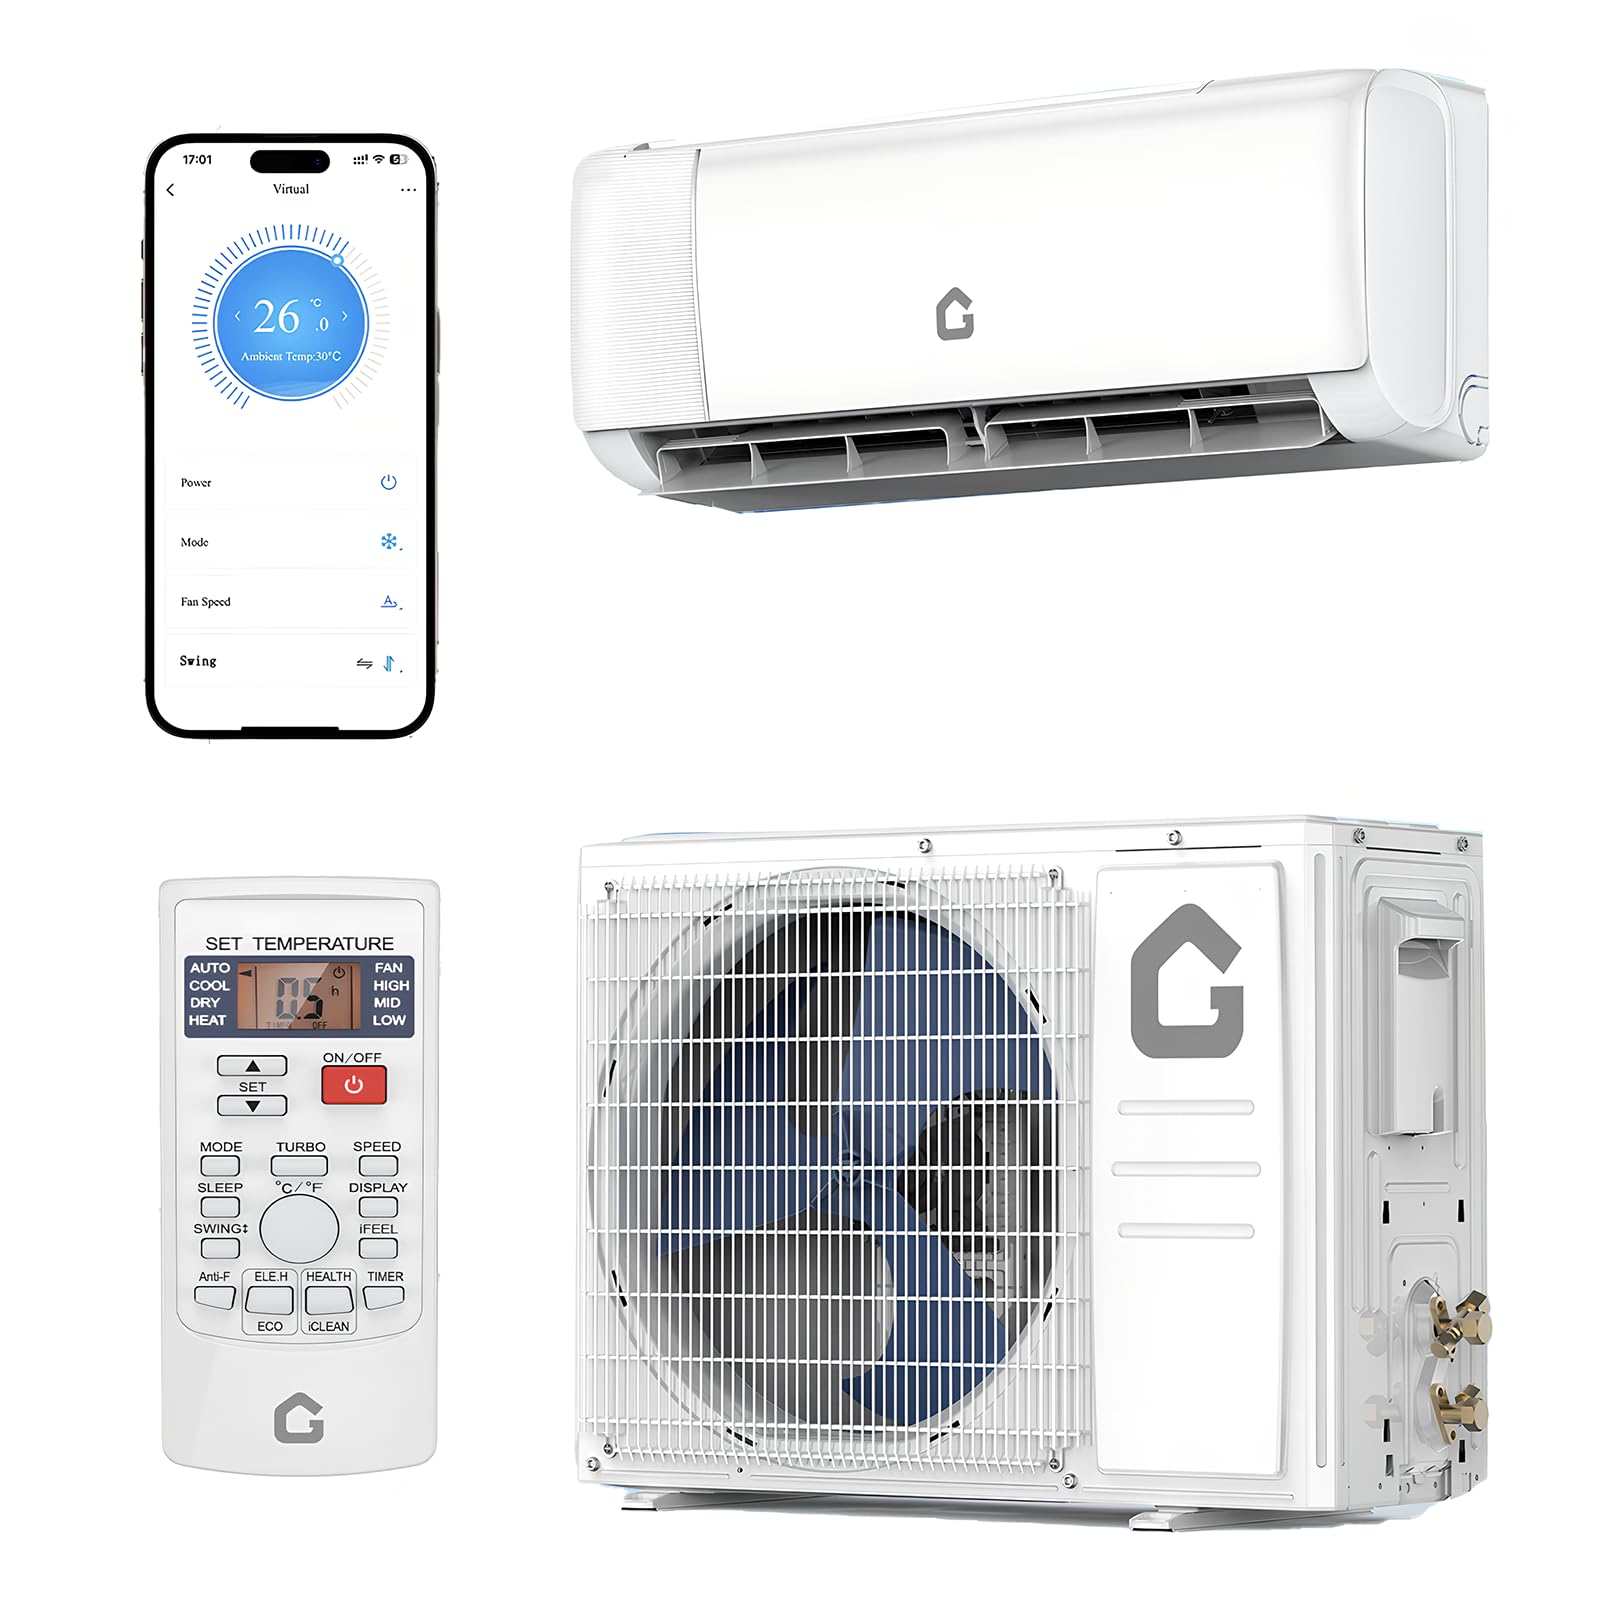
The complete Acekool 12000 BTU Split Air Conditioner system, including the indoor unit, outdoor compressor, remote control, and various installation accessories.
Informazioni sulla sicurezza
Please read all safety warnings and instructions carefully before installation and operation to prevent injury or damage. Installation should be performed by a licensed HVAC technician to ensure proper function and safety. Always disconnect power before performing any maintenance or service.
Installation Environment Considerations:
- Avoid installing near heat sources or steam sources.
- Assicurarsi che non vi siano ostruzioni attorno all'ingresso e all'uscita delle unità interne ed esterne per consentire un corretto flusso d'aria.
- Do not install in areas with excessive smoke, oil, flammable, explosive, or corrosive gases.
Contenuto della confezione
Your Acekool Split Air Conditioner system comes in two boxes and includes the following components:
- Unità interna
- Unità esterna
- 13-ft Copper Connection Pipe (Air Pipe)
- 13-ft Copper Connection Pipe (Liquid Pipe)
- 8-ft Power Line
- 15-ft Communication Wire
- 6.5-ft Drain Pipe
- Telecomando + batterie
- Manuale d'uso
- Nastro
- Stucco (incollaggio)

This image illustrates the items included in the package, such as the indoor and outdoor units, copper line sets, communication cable, power cord, drain hose, remote, user manual, tape, and putty.
Guida all'installazione
The installation process involves several critical steps to ensure optimal performance and safety. It is highly recommended to hire a licensed HVAC technician for installation.
Videoguida all'installazione
This video provides a comprehensive guide to the installation process of the Acekool mini split air conditioner, covering indoor and outdoor unit setup, piping, electrical connections, and vacuuming.
1. Preparazione prima dell'installazione
Gather all necessary tools and materials as shown in the video. Ensure the installation environment meets the safety requirements mentioned above.
2. Installazione dell'unità interna
- Seleziona la posizione di installazione: The wall for the indoor unit must be hard, flat, and firm to prevent vibration and noise. Ensure clearances: >15cm to ceiling, >20cm to obstacles on sides, and 230-260cm from the floor.
- Piastra di montaggio fissa: Place the mounting plate on the wall and use a level to ensure it is horizontal. Punch holes in the wall and use expansion screw kits to firmly fix the plate. Do not use nails.
- Foro nel muro: After determining the pipe's path, drill a wall hole with a diameter of 60-80mm, inclined outward by 5-10 degrees. Use an anti-dust bag. Avoid wires, plumbing, and gas lines.
- Install Connection Cable: Pass the power cable from the back of the indoor unit and fix it on the terminal board. Secure the cable with a clamp.
- Pannello knock-out: According to the piping direction, remove the knock-out panel with a knife and remove any burrs to prevent the drain pipe from being broken.
- Collegare le tubazioni del refrigerante: Use both hands to turn the pipe in the desired direction. Aim at the pipe center, tighten the taper nut with fingers, then tighten with two wrenches. It is recommended to use a torque wrench.
| Dimensione tubo (mm) | Coppia (N·m) |
|---|---|
| φ6/φ 6.35 | 15-25 |
| φ9/φ 9.52 | 35-40 |
| φ12/φ 12.7 | 45-60 |
| φ15.88 | 73-78 |
| φ19.05 | 75-80 |
- Installare il tubo di scarico: Connect the drain hose with the water outlet pipe and fix it firmly with adhesive tape. The length should be more than 5cm. Ensure the drain hose is sloped down to prevent water accumulation. Never put the end of the drain hose in water.
- Avvolgere il piping: Wrap the refrigerant piping, wires, and drain pipe together with wrapping tape.
- Montare l'unità interna: Put the refrigerant piping out of the wall hole. Place the indoor unit on the mounting plate. Push the lower part of the indoor unit until a 'click' sound is heard to ensure it is firmly fixed to the wall.
- Anello di protezione e stucco per tubi: To protect piping and wires, install a pipe protecting ring and seal with putty.
3. Installazione unità esterna
- Seleziona la posizione di installazione: The outdoor unit must be installed in a firm and flat place to prevent vibration and noise. Ensure clearances: >20cm to top obstruction, >30cm to side obstructions, >10cm for air inlet side, and >200cm for air outlet side.
- Installare la staffa dell'unità esterna: If installing at a higher place, wear a safety belt and helmet. Use a level to ensure the bracket is horizontal and vertical. Use at least 6 expansion bolts to fix the brackets firmly on the wall.
- Riparazione unità esterna: Posizionare l'unità esterna sulle staffe. Utilizzare 4 viti per fissare i piedini dell'unità esterna.
- Collegare le tubazioni del refrigerante: Remove the nuts from the stop valves. Aim at the pipe center of the stop valve, tighten the taper nut with fingers, then tighten with two wrenches. It is recommended to use a torque wrench.
| Dimensione tubo (mm) | Coppia (N·m) |
|---|---|
| φ6/φ 6.35 | 15-25 |
| φ9/φ 9.52 | 35-40 |
| φ12/φ 12.7 | 45-60 |
| φ15.88 | 73-78 |
| φ19.05 | 75-80 |
Nota: When the length of the connecting pipe is changed, extra refrigerant may need to be added or reduced to ensure optimal operation and performance.
| Lunghezza del tubo di collegamento | Refrigerante aggiunto o ridotto | Quantità di refrigerante per l'unità |
|---|---|---|
| <3 metri | CC≤12000Btu: ridurre di 20 g/m | ≤1 Kg |
| CC≥18000Btu: ridurre di 50 g/m | ||
| 3-5m | Non necessario | |
| 5-15m | CC≤12000Btu: aggiungere 20 g/m | ≤1 Kg |
| CC≥18000Btu: aggiungere 30 g/m | ||
- Cavi di fissaggio: Rimuovere il coperchio della scatola elettrica. Fissare i cavi alla morsettiera secondo lo schema elettrico sul coperchio dei componenti elettrici. Seguire lo schema elettrico all'interno del coperchio della scatola. Utilizzare un clamp to fix cables. Put the electrical box cover back.
- Aspirazione: Before vacuuming, check all the nuts of the indoor and outdoor units are tightened. Connect the stop valve, charging hose, manifold valve, and vacuum pump as shown in the diagram. Turn on handle Lo to vacuumize. Vacuumize for at least 15 minutes, ensuring the value on the pressure gauge is ≤0.1MPa. Keep pressure for 3-5 minutes after vacuumizing; pressure springback should be ≤0.05MPa. Open the 1/4 liquid valve and remove the charging hose.
- Valvole aperte: Open all the liquid valves and gas valves. Screw all the caps and tighten them up.
Modalità operative
Your Acekool Split Air Conditioner offers versatile modes for year-round comfort:
- Modalità fredda: Provides fast 30-second cooling.
- Modalità di calore: Offers rapid 60-second heating.
- Modalità a secco: One-key drying mode to quickly reduce indoor humidity.
- Modalità ventola: Features Low, Mid, High, and Turbo fan speeds with 4D auto-sweep airflow for even distribution up to 50 feet.

The remote control allows selection of various operating modes and features like fast cooling/heating, dry mode, fan speeds, sleep mode, and self-cleaning.
Funzionalità intelligenti
Enhance your comfort with smart control options:
- Connettività WiFi: Connect via WiFi to control the unit using a mobile app.
- Controllo vocale Alexa: Enjoy hands-free operation by integrating with Alexa.
- Modalità ecologica: Reduces power consumption during periods of low demand.
- Timer programmabile: Set schedules for automatic operation.
- Modalità risparmio: Funziona silenziosamente per un riposo indisturbato.
Manutenzione
Una manutenzione regolare garantisce la longevità e l'efficienza del tuo condizionatore d'aria.
- Funzione autopulente: The unit features an automatic self-cleaning function for low maintenance.
- Pulizia del filtro: The reusable filter only requires seasonal cleaning, saving on replacement costs.
- Test di scarico e perdite d'acqua: Periodically check that the water drain can normally flow out and inspect for any water leakage around the indoor unit.

The unit is designed for ultra-quiet operation, featuring double-layer soundproofing and low-vibration design, perfect for bedrooms and living spaces.
Risoluzione dei problemi
If you encounter issues with your Acekool Split Air Conditioner, refer to the following common troubleshooting steps:
- Nessun potere: Check the power supply, circuit breaker, and ensure the unit is properly plugged in.
- Non raffredda/riscalda efficacemente: Verify the selected mode and temperature settings. Ensure filters are clean and there are no obstructions to airflow. Check if doors and windows are closed.
- Rumori insoliti: Minor noises during operation are normal. If loud or unusual noises occur, check for loose parts or contact customer support.
- Perdita d'acqua: Ensure the drain hose is properly installed and sloped, and not blocked.
- Controllo della sicurezza elettrica: Use a multimeter to test for possible leaking positions on the outdoor unit shell during trial operation. If electricity leakage is detected, immediately turn off power and conduct further examination by a professional.
Specifiche
| Caratteristica | Specificazione |
|---|---|
| Marca | Acekool |
| Nome del modello | 048-TL-9K1V-19S-I+O |
| Numero di modello | PHO_163KN8M1-81338H |
| Potenza di raffreddamento | 12000 unità termiche britanniche |
| Valutazione SEER2 | 21 VEGGENTE2 |
| Area di copertura | Fino a 750 piedi quadrati |
| Voltage | 230V |
| Livello di rumore | 42 decibel |
| Dimensioni del prodotto | 32"P x 24"L x 29"A |
| Peso dell'articolo | 86 libbre |
| Consumo energetico annuale | 576 kilowattora all'anno |
| Tipo di controllore | Controllo dell'app |
| Caratteristica speciale | Compressore inverter |
| Tipo di installazione | Sistema diviso |

Detailed dimensions of both the indoor and outdoor units are shown, along with key specifications like SEER2 rating, cooling/heating capacity, and power supply.
Garanzia e supporto
Your Acekool 12000 BTU Split Air Conditioner comes with a Garanzia di due anni. For technical support, troubleshooting assistance, or warranty claims, please contact Acekool customer service. Ensure you have your model number and purchase information readily available.