
1. Introduzione
This manual provides essential instructions for the safe and efficient operation, setup, and maintenance of your Procolored F13 Panda DTF Printer. Please read this manual thoroughly before using the printer to ensure optimal performance and longevity.
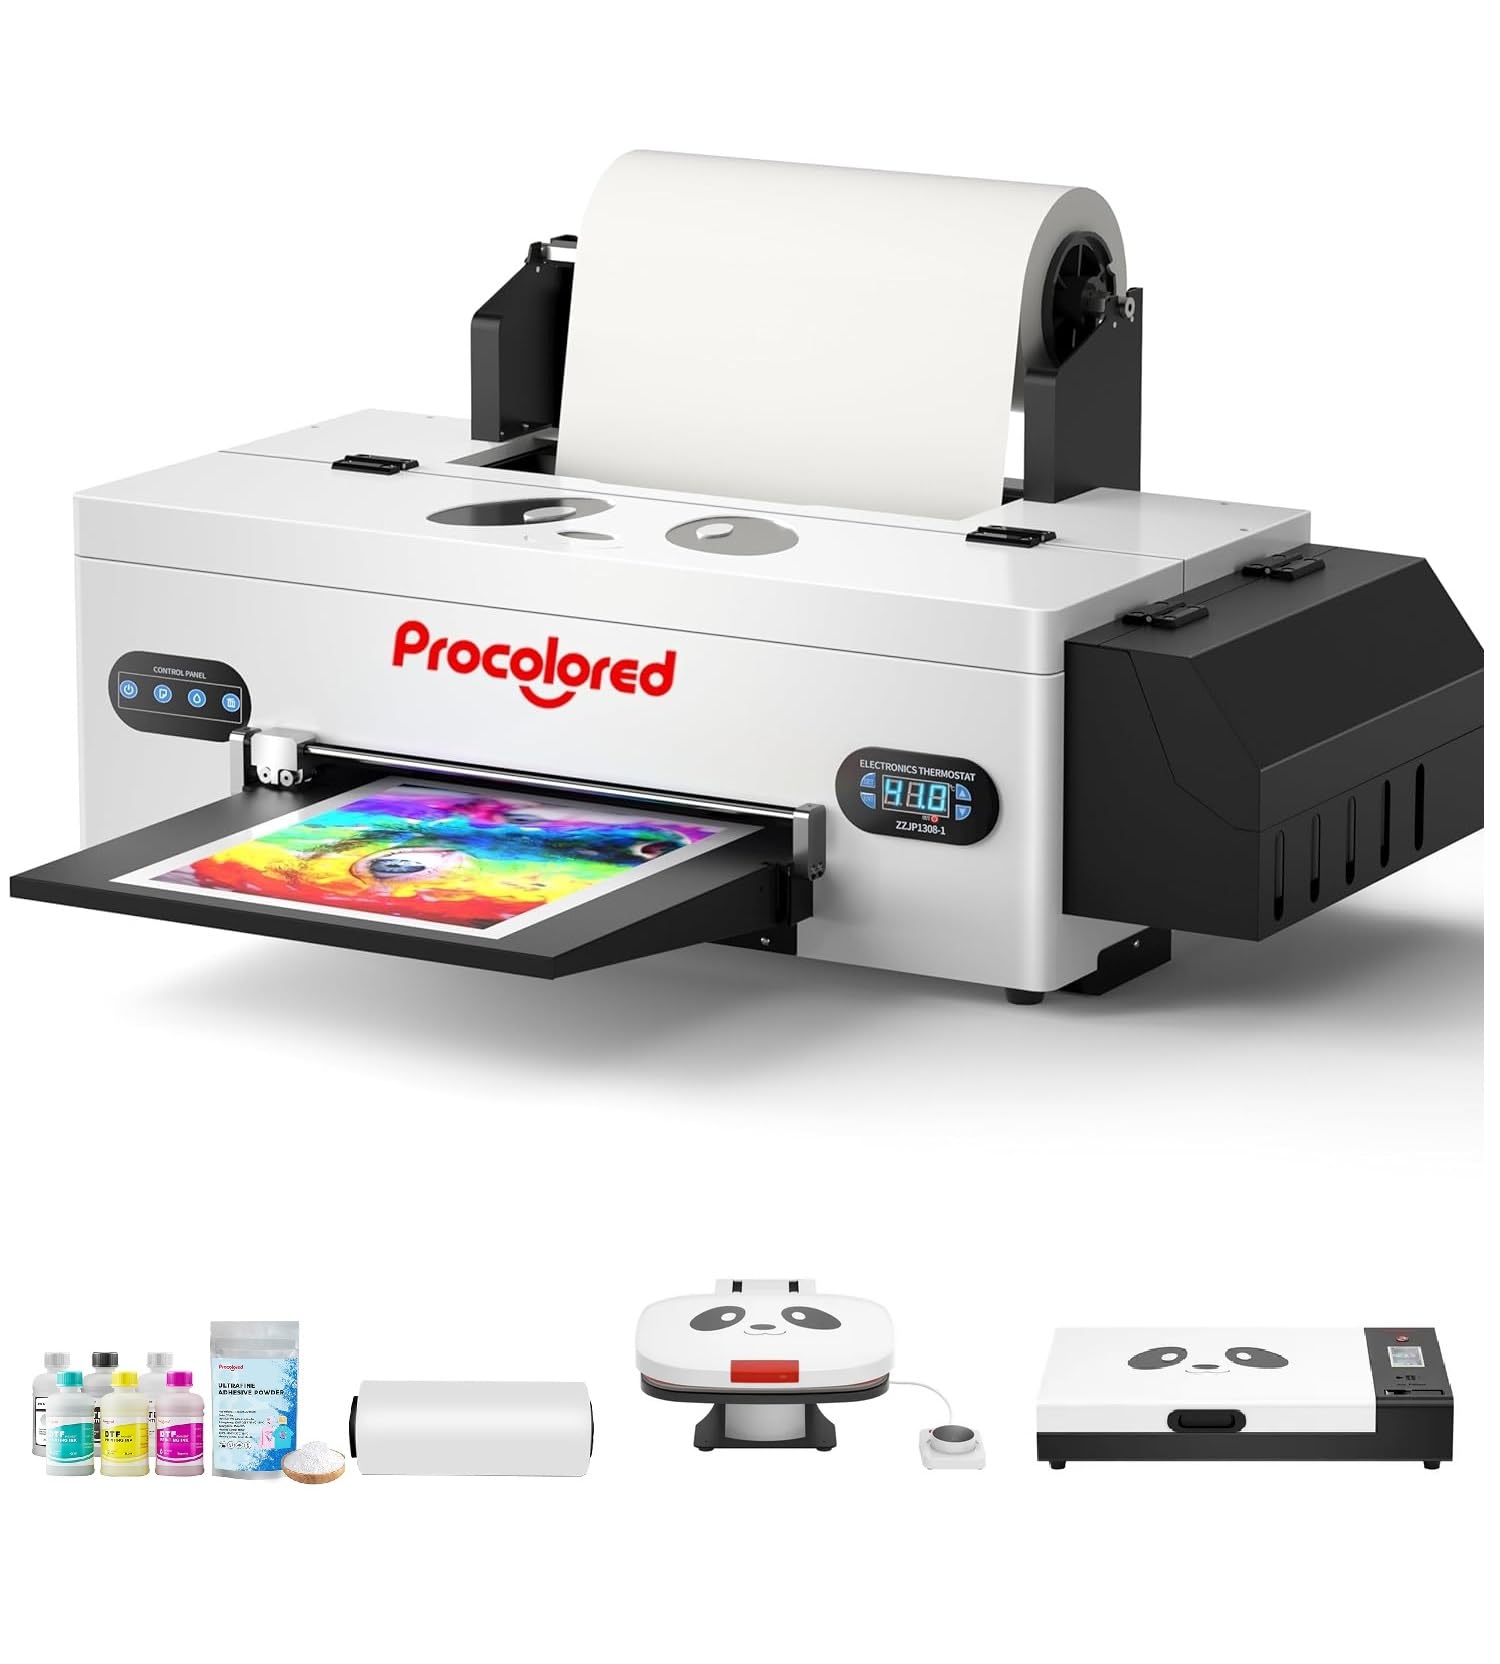
Figure 1: Procolored F13 Panda DTF Printer.
2. Informazioni sulla sicurezza
Per evitare lesioni o danni alla stampante, osservare sempre le seguenti precauzioni di sicurezza:
- Assicurarsi che la stampante sia posizionata su una superficie stabile e piana.
- Connect the printer to a grounded power outlet with the correct voltage (CA 100-230 V).
- Non esporre la stampante all'acqua o a umidità eccessiva.
- Durante il funzionamento, tenere le mani lontane dalle parti in movimento.
- Use only recommended inks and cleaning solutions.
- Tenere fuori dalla portata dei bambini.
3. Contenuto della confezione
Verificare che tutti gli articoli siano presenti nel pacco:
- Procolored F13 DTF Printer
- Roll Film 13"
- DTF Ink Set (CMYK+WW)
- Fluido di protezione dell'ugello
- DTF Powder
- Supporto in plastica
- Cavo dati (USB)
- Cavo di alimentazione
- Moisturizing Device
- Bottiglia dei rifiuti
- Cartuccia
- Spare Ink Tube
- Staffa a rullo
- Tampone per inchiostro
- Tergicristallo
- Cutter lama
- Chiavetta USB
- Siringa
- Cacciavite
- Barra a rulli
- Tubo di prolunga
- Needle Hub
- Primavera
- Tampone

Figure 2: Included accessories for the Procolored F13 DTF Printer.
4. Guida all'installazione
4.1 Unboxing e posizionamento iniziale
Carefully remove the printer and all components from the packaging. Place the printer on a sturdy, level surface in a well-ventilated area.
Video 1: Procolored F13 DTF Printer Unboxing. This video demonstrates the unboxing process and initial setup steps for the printer.
4.2 Installazione del rullino
Install the 13-inch DTF film roll onto the designated holder at the rear of the printer. Ensure the film feeds smoothly into the printer mechanism.
4.3 Ink System Setup
Fill the ink tanks with the corresponding DTF pigment inks (Cyan, Magenta, Yellow, Black, White, Light Cyan). Ensure the white ink circulation system is properly connected and functioning to prevent clogging.

Figure 3: Illustration of the advanced white ink system, showing circulation, siphon effect, and automatic cleaning.
4.4 Collegamento dell'alimentazione e installazione del software
Connect the power cable to the printer and a suitable power outlet. Install the Procolored RIP software (compatible with Windows 7/10/11) on your computer. Follow the on-screen instructions for software installation and driver setup.
Figura 4: Oltreview of the Procolored RIP software interface and available tutorials.
5. Istruzioni per l'uso
5.1 Preparing for Print
- Power on the printer using the main switch.
- Ensure the DTF film is correctly loaded and aligned.
- Open the Procolored RIP software on your computer.
- Import your design and adjust settings such as size, resolution (up to 1440x1440dpi), and color profile.
5.2 Processo di stampa
Initiate the print job from the software. The printer will feed the film and apply ink. The built-in cutter will automatically trim the film after printing, optimizing material usage.
Video 2: Procolored F13 DTF Printer in operation. This video demonstrates the printing process, including film feeding and ink application.
5.3 Post-Printing
After printing, apply DTF powder to the wet ink and cure it using a DTF oven or heat press. Once cured, the design is ready for transfer to textiles.

Figura 5: Esamples of versatile applications for DTF prints, including shirts, flags, tote bags, and caps.
6. Manutenzione
6.1 Sistema di pulizia automatico
The F13 Panda DTF Printer features an automatic cleaning system that operates even when the printer is powered on. This system helps prevent print head clogs and ensures consistent print quality. Regular use of this feature is recommended.
6.2 White Ink Circulation
The printer includes a white ink circulation system with a siphon filtration diaphragm pump. This system minimizes blockages and maintains the quality of white ink. Ensure the system is always active during operation.
Video 3: F13 L1800 DTF Apparel Printer features. This video highlights the white ink circulation and automatic cleaning functions.
6.3 Pulizia generale
Pulire periodicamente l'esterno della stampante con un panno morbido eamp cloth. Refer to the software's maintenance section for specific print head cleaning procedures if needed.
7. Risoluzione Dei Problemi
Se riscontri problemi con la stampante, prendi in considerazione le seguenti soluzioni comuni:
- Problemi di qualità di stampa: Perform a nozzle check and head cleaning through the software. Ensure ink levels are sufficient.
- Film Feeding Problems: Check for obstructions in the film path and ensure the film roll is correctly installed and aligned.
- Errori software: Restart the software and the printer. Ensure your software and drivers are up to date.
- Problemi di connettività: Verify USB cable connection and ensure the printer is powered on.
For persistent issues, contact Procolored customer service.
8. Specifiche
| Caratteristica | Specificazione |
|---|---|
| Marca | Procolorato |
| Nome del modello | F13-XMJZ |
| Tecnologia di connettività | USB |
| Tecnologia di stampa | Getto d'inchiostro |
| Caratteristica speciale | Portatile |
| Uscita della stampante | Colore |
| Velocità massima di stampa (colore) | 1 ppm |
| Velocità di stampa massima in bianco e nero | 1 ppm |
| Dimensioni del prodotto (P x L x A) | 16.53"P x 34.25"L x 16.4"A |
| Colore dell'inchiostro | Cyan, Magenta, Yellow, Black, White, Light Cyan |
| Risoluzione | 1440 x 1440 dpi |
| Dimensione massima del supporto | A3 (13 Inches) |
| Supporto software | Finestre 7/10/11 |
| Usi specifici per il prodotto | Textile Printing |
9. Garanzia e supporto
Your Procolored F13 Panda DTF Printer comes with a comprehensive warranty:
- Print Head and Related Components: Six-month warranty.
- Altri accessori: Garanzia di un anno.
Our dedicated customer service team is available 24/6 to address any queries or technical issues you may encounter. Please refer to your purchase documentation for specific contact details.