1. Introduzione
Thank you for choosing the Inefala 2.5K 3-Channel Dash Cam. This device is designed to provide comprehensive video surveillance for your vehicle, offering 360° coverage with front, rear, and interior cameras. Equipped with advanced features such as 2.5K resolution, IR night vision, G-sensor, and parking monitoring, it ensures reliable recording for your safety and peace of mind. Please read this manual carefully before use to ensure proper installation and operation.
2. Contenuto della confezione
Si prega di selezionare la casella per i seguenti elementi:
- DVR (Dash Cam Unit)
- Caricabatterie per auto
- Manuale di istruzioni
- Staffa di fissaggio
- Telecamera posteriore
- Cavo telecamera posteriore
- 64GB TF Card (Pre-installed or included separately)
3. Prodotto finitoview e Caratteristiche
The Inefala Dash Cam offers a robust set of features for comprehensive vehicle monitoring:
- Risoluzione HD 2.5K: Cattura video chiari e dettagliatitage dalla fotocamera frontale.
- Registrazione a 3 canali: Simultaneously records from the front, interior, and rear cameras, providing 360° coverage.
- 3.16'' Display Screen: Consente in tempo reale viewnavigazione del menu semplice e intuitiva.
- 8 Visione notturna IR: Enhanced infrared lights ensure excellent video quality in low-light conditions, especially for interior recording.
- Scheda di memoria da 64 GB inclusa: Fornisce ample storage for recorded videos.
- Sensore G: Rileva automaticamente impatti o collisioni improvvisi e blocca il video corrente file per evitare la sovrascrittura.
- Monitoraggio del parcheggio: Activates recording when motion or impact is detected while the vehicle is parked, protecting your car 24/7.
- Registrazione in loop: Registra continuamente sovrascrivendo il file sbloccato più vecchio files quando la scheda di memoria è piena.
- Inversione View Funzione: Visualizza un chiaro view from the rear camera with parking guidelines when reversing.
4. Impostazione
4.1 Inserimento della scheda di memoria
Before first use, insert the provided 64GB TF card into the dash cam's memory card slot. Ensure the card is inserted correctly with the contacts facing the correct direction. A click indicates it is securely in place. It is recommended to format the memory card within the dash cam settings before initial use.
4.2 Montaggio della Dash Cam
- Pulisci la zona del parabrezza dove intendi montare la dash cam.
- Fissare la staffa di montaggio alla dash cam.
- Secure the dash cam with the bracket to the windshield, ensuring it does not obstruct your view. Adjust the camera angle for optimal front road coverage.
4.3 Collegamento dell'alimentazione
- Collegare il caricabatteria per auto alla porta di ingresso dell'alimentazione della dash cam.
- Collegare l'altra estremità del caricabatteria per auto alla presa di corrente da 12 V del veicolo (presa accendisigari).
- Far passare il cavo di alimentazione in modo ordinato lungo il parabrezza e il cruscotto per evitare interferenze con la guida.
4.4 Installazione della telecamera posteriore
- Montare la telecamera posteriore sul parabrezza posteriore o sulla targa, assicurandosi che la visuale sia libera view.
- Collegare il cavo della telecamera posteriore alla telecamera posteriore e instradarlo verso l'unità principale della dash cam.
- Collegare il cavo della telecamera posteriore alla porta designata sull'unità principale della dash cam.
- If the rear camera has a red wire for reverse trigger, connect it to your vehicle's reverse light power supply for automatic reverse view display.
5. Istruzioni per l'uso
5.1 Accensione/spegnimento
The dash cam will automatically power on and begin recording when connected to power and the vehicle engine starts. It will power off automatically when the engine is turned off (if connected to a switched power source).
5.2 Registrazione di base
Once powered on, the dash cam will automatically start loop recording. Video files are saved in segments (e.g., 1, 3, or 5 minutes) to the memory card. When the card is full, the oldest unlocked files verrà sovrascritto.
5.3 Screen Adjustment and Display Modes
The dash cam allows you to switch between different display modes on its 3.16'' screen. This enables you to view pippotage from the front, rear, interior, or a combination of cameras simultaneously.

Immagine: Screen Adjustment. The dash cam display can be switched to show various camera views, including Front+Back+Inside, Front only, Back only, or Inside only, based on user preference.
5.4 Funzionalità del sensore G
Il sensore G integrato rileva accelerazioni, frenate o collisioni improvvise. Quando viene rilevato un evento, il video corrente file is automatically locked and saved to a protected folder, preventing it from being overwritten by loop recording. This ensures critical incident footage è conservato.
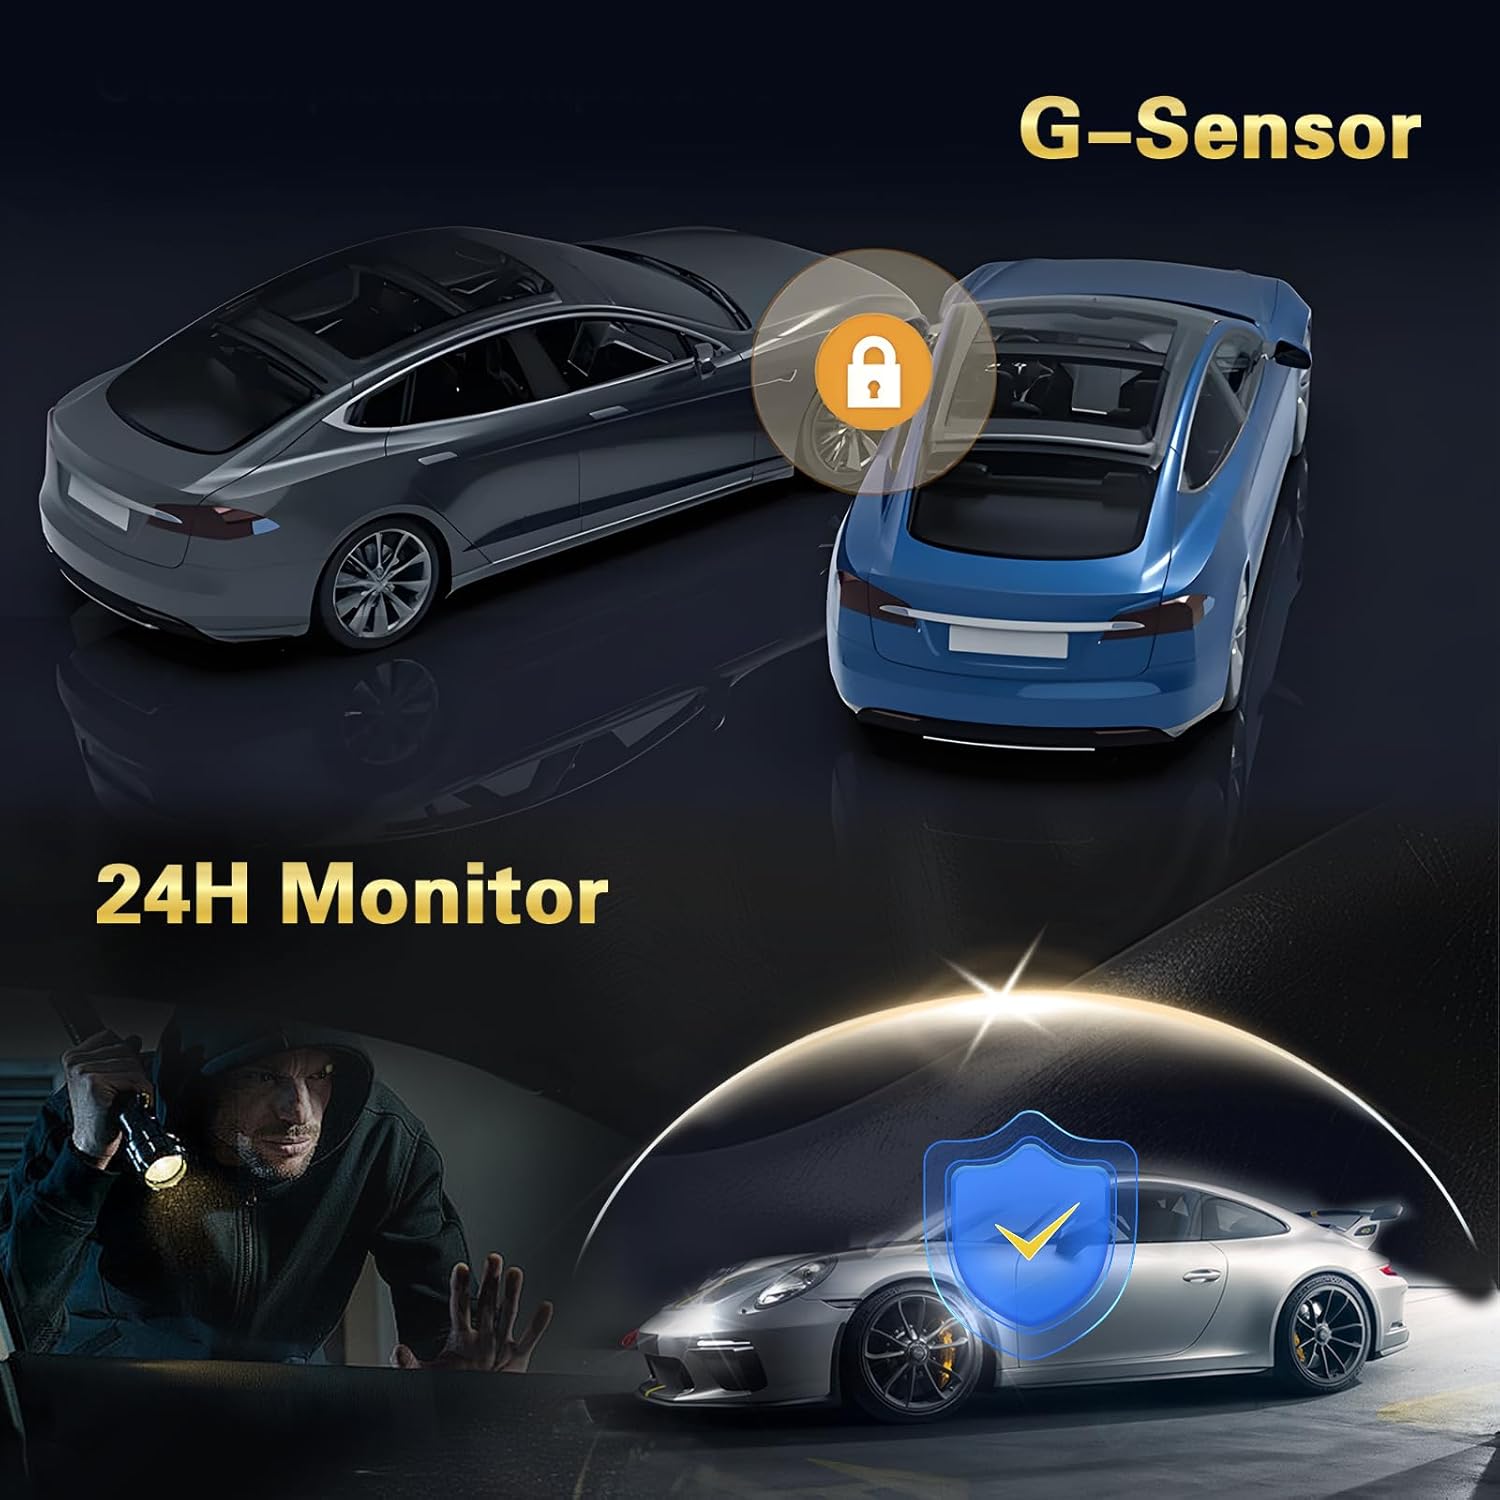
Immagine: G-Sensor and 24H Monitor. The G-Sensor automatically locks video during impacts, while the 24-hour monitor protects the vehicle from theft or damage when parked.
5.5 Monitoraggio del parcheggio
With parking monitoring enabled, the dash cam will automatically start recording if it detects motion or an impact while your vehicle is parked and the engine is off. This feature requires a continuous power supply (e.g., a hardwire kit, sold separately) to function 24/7.
5.6 Invertire View Funzione
When the rear camera is properly installed and connected to the vehicle's reverse light, the dash cam display will automatically switch to the rear camera view with parking guidelines when the vehicle is put into reverse gear. This assists with safe parking maneuvers.

Immagine: Inversione View Function. The dash cam provides a clear rear camera feed with dynamic parking lines to aid in safe and precise vehicle maneuvering during reverse.
5.7 Visione notturna
The dash cam is equipped with 8 IR lights for enhanced night vision, particularly for the interior camera. This ensures clear recordings even in very dark environments.

Immagine: Super Night Vision. The dash cam features advanced night vision capabilities, ensuring clear video capture in low-light conditions, indicated by the 'Night Mode' icon.
5.8 Registrazione in loop
The dash cam continuously records video in a loop. When the memory card reaches its capacity, the oldest unprotected fileLe registrazioni vengono automaticamente sovrascritte dalle nuove registrazioni. Questo garantisce che la registrazione non si interrompa mai a causa della scheda piena.
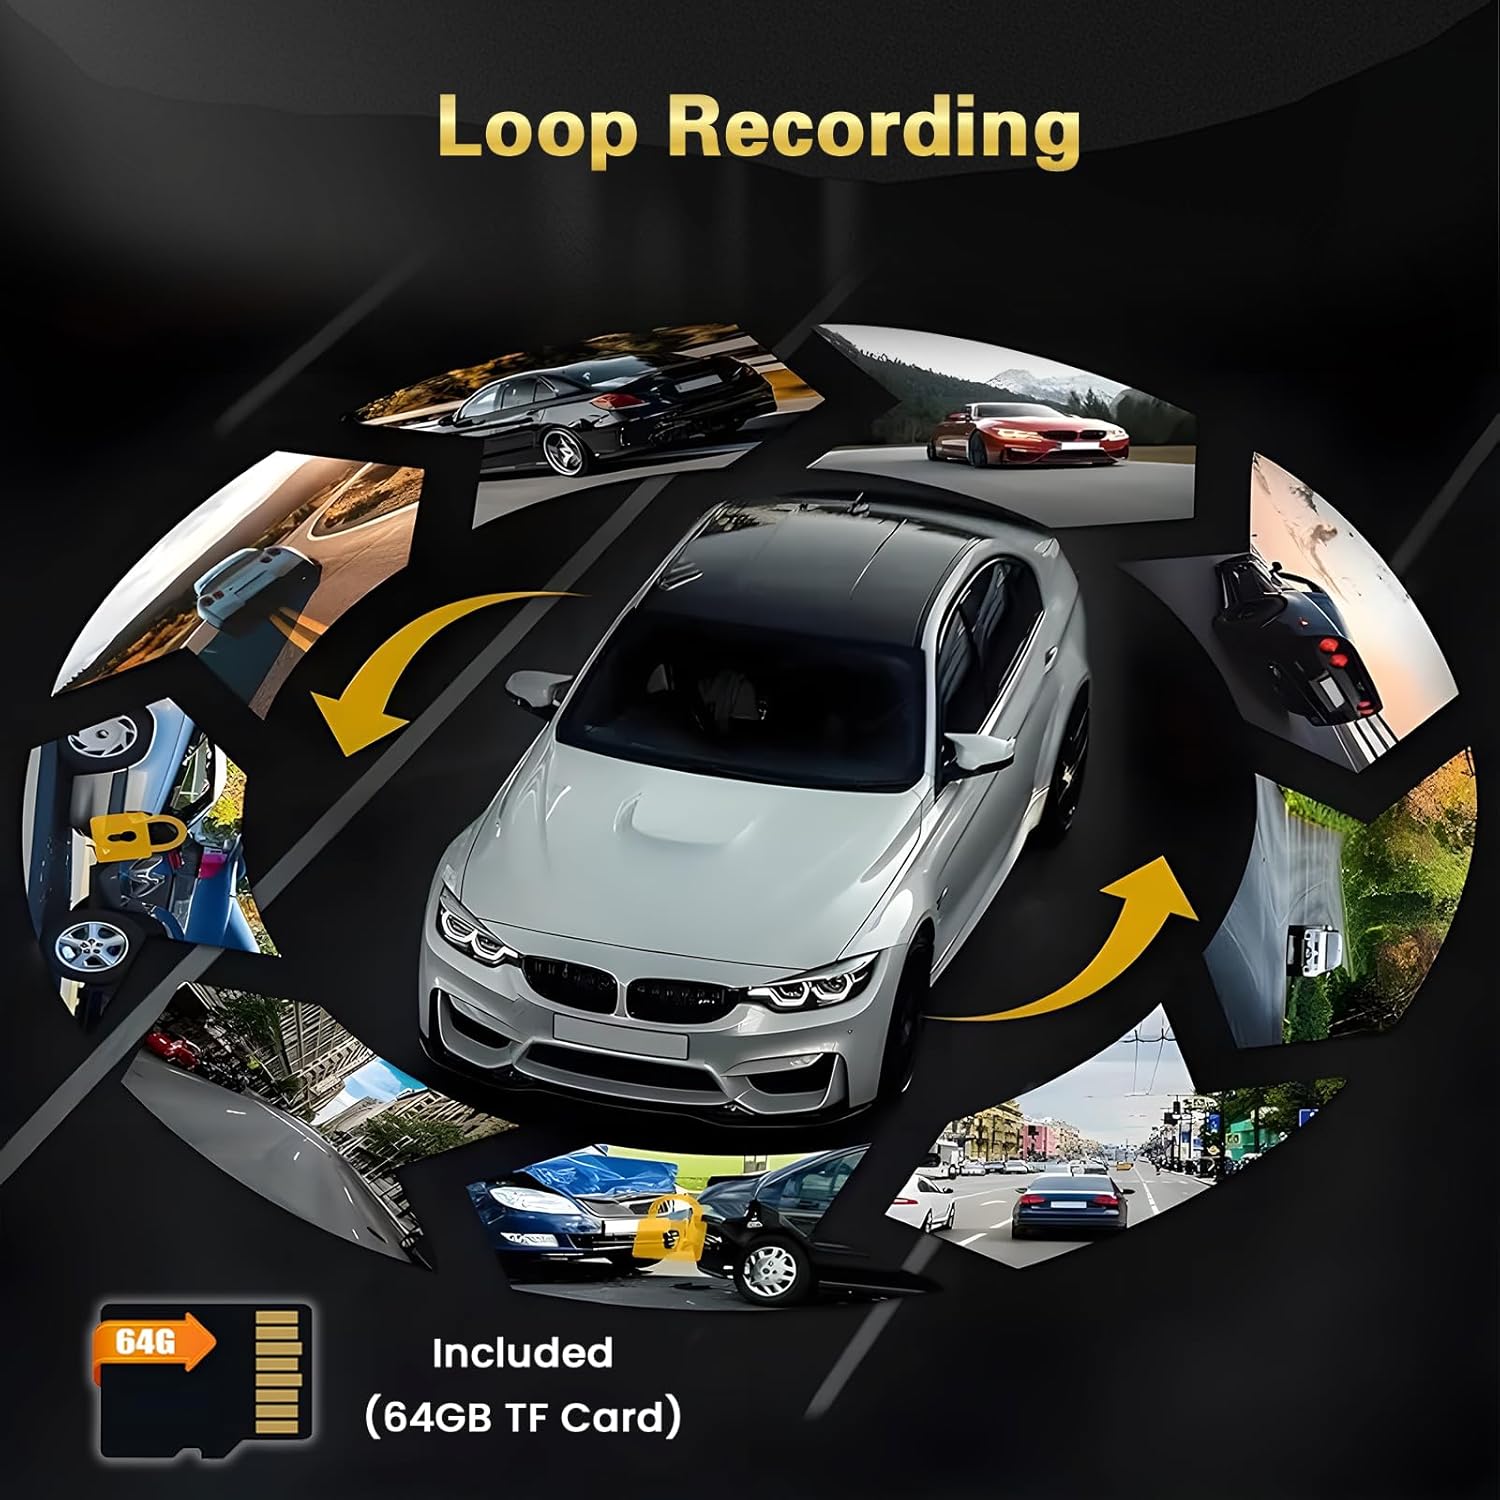
Immagine: Loop Recording. The dash cam continuously records, overwriting older files when the 64GB TF card is full, ensuring uninterrupted video capture.
5.9 Protezione a 360°
With three cameras (front, interior, and rear), the dash cam provides comprehensive 360° coverage around and within your vehicle, minimizing blind spots and enhancing overall security.

Immagine: 360° Protection. The multi-camera system offers wide-angle views (140°, 150°, 120°) to provide comprehensive surveillance around the vehicle.
6. Menu Impostazioni
Access the settings menu by pressing the Menu button (refer to your device's physical buttons for exact location). Navigate using the up/down buttons and confirm selections with the OK button. Common settings include:
- Risoluzione: Adjust video resolution for front, interior, and rear cameras.
- Registrazione in loop: Imposta la durata dei segmenti video (ad esempio, 1, 3, 5 minuti).
- Sensibilità del sensore G: Adjust the sensitivity of impact detection (Low, Medium, High).
- Monitoraggio del parcheggio: Enable/disable and adjust sensitivity for parking surveillance.
- Data/Ora: Imposta la data e l'ora corrette per ottenere orari precisiamps sulle registrazioni.
- Lingua: Seleziona la lingua preferita per l'interfaccia del menu.
- Formatta scheda SD: Erase all data on the memory card. (Avvertimento: This will delete all recordings.)
- Volume: Regola il volume dell'altoparlante.
- Salvaschermo: Set the time after which the screen turns off automatically.
7. Manutenzione
7.1 Formattazione della scheda di memoria
It is recommended to format the memory card regularly (e.g., once a month) to ensure optimal performance and prevent data corruption. Always format the card using the dash cam's menu settings, not on a computer.
7.2 Pulizia delle lenti
Periodically clean the lenses of all cameras (front, interior, and rear) with a soft, lint-free cloth. Avoid using abrasive cleaners that could scratch the lens surface. Clean lenses ensure clear video quality.
7.3 Aggiornamenti firmware
Controllare il produttore webVisitare periodicamente il sito per verificare la disponibilità di aggiornamenti firmware. Gli aggiornamenti firmware possono migliorare le prestazioni, aggiungere nuove funzionalità o correggere bug. Seguire attentamente le istruzioni fornite con l'aggiornamento firmware.
8. Risoluzione Dei Problemi
- La Dash Cam non si accende:
- Assicurarsi che il caricabatteria per auto sia collegato correttamente sia alla dash cam sia alla presa di corrente del veicolo.
- Controllare se la presa di corrente da 12 V del veicolo funziona.
- Se disponibile, provare una fonte di alimentazione o un cavo diverso.
- La registrazione si interrompe o filesono corrotti:
- Format the memory card using the dash cam's settings.
- Ensure you are using a high-speed (Class 10 or U3) TF card.
- The memory card may be faulty; try replacing it.
- La qualità video è scarsa:
- Pulisci le lenti della fotocamera.
- Assicurarsi che la pellicola protettiva sia stata rimossa dalle lenti.
- Controllare le impostazioni della risoluzione video nel menu.
- Il sensore G è troppo sensibile o non abbastanza sensibile:
- Adjust the G-sensor sensitivity setting in the menu (Low, Medium, High) to suit your driving conditions.
- Il monitor di parcheggio non funziona:
- Assicurarsi che la funzione di monitoraggio del parcheggio sia abilitata nelle impostazioni.
- Verify that the dash cam is receiving continuous power when the vehicle is off (requires a hardwire kit).
9. Specifiche
| Marca | Inefala |
| Numero di modello | Inefala-L5970G64DE53-C490 |
| Tecnologia di connettività | Bluetooth, USB |
| Metodo di controllo | Tocco |
| Dimensioni del prodotto (PxLxA) | 3.9P x 12l x 4.5H cm |
| Dispositivi compatibili | Smartphone |
| Batterie incluse | NO |
| Paese di origine | Cina |
10. Garanzia e supporto
This Inefala Dash Cam comes with a Garanzia del prodotto di 24 mesiOffriamo anche supporto online a vita for consultations and aim to respond to inquiries within 24 hours. For technical assistance or warranty claims, please contact Inefala customer support through the retailer where you purchased the product or visit the official Inefala websito per le informazioni di contatto.