1. Introduzione
This manual provides detailed instructions for the installation, operation, and maintenance of your KIMISS 4K DVR Dash Camera. This device features a 10.26-inch touchscreen, 4K front and 1080P rear cameras, Wi-Fi connectivity, and advanced driving assistance functions to enhance your safety on the road.
2. Informazioni sulla sicurezza
- Assicurarsi che la telecamera di bordo sia montata saldamente e non ostruisca la visuale del conducente view o interferire con i comandi del veicolo.
- Non tentare di utilizzare il dispositivo o di modificarne le impostazioni durante la guida. Accostare sempre in un luogo sicuro prima di effettuare qualsiasi regolazione.
- Utilizzare solo il cavo di alimentazione e gli accessori forniti per evitare danni al dispositivo o al veicolo.
- Evitare di esporre il dispositivo a temperature estreme, alla luce solare diretta per periodi prolungati o all'umidità.
- Controllare regolarmente la scheda di memoria per individuare eventuali errori e assicurarsi che funzioni correttamente.
3. Contenuto della confezione
Verificare che tutti gli articoli siano presenti nel pacco:
- KIMISS 4K DVR Dash Camera Unit (10.26-inch touchscreen)
- Telecamera posteriore
- Cavo di alimentazione per veicoli
- Accessori di montaggio
- Manuale d'uso
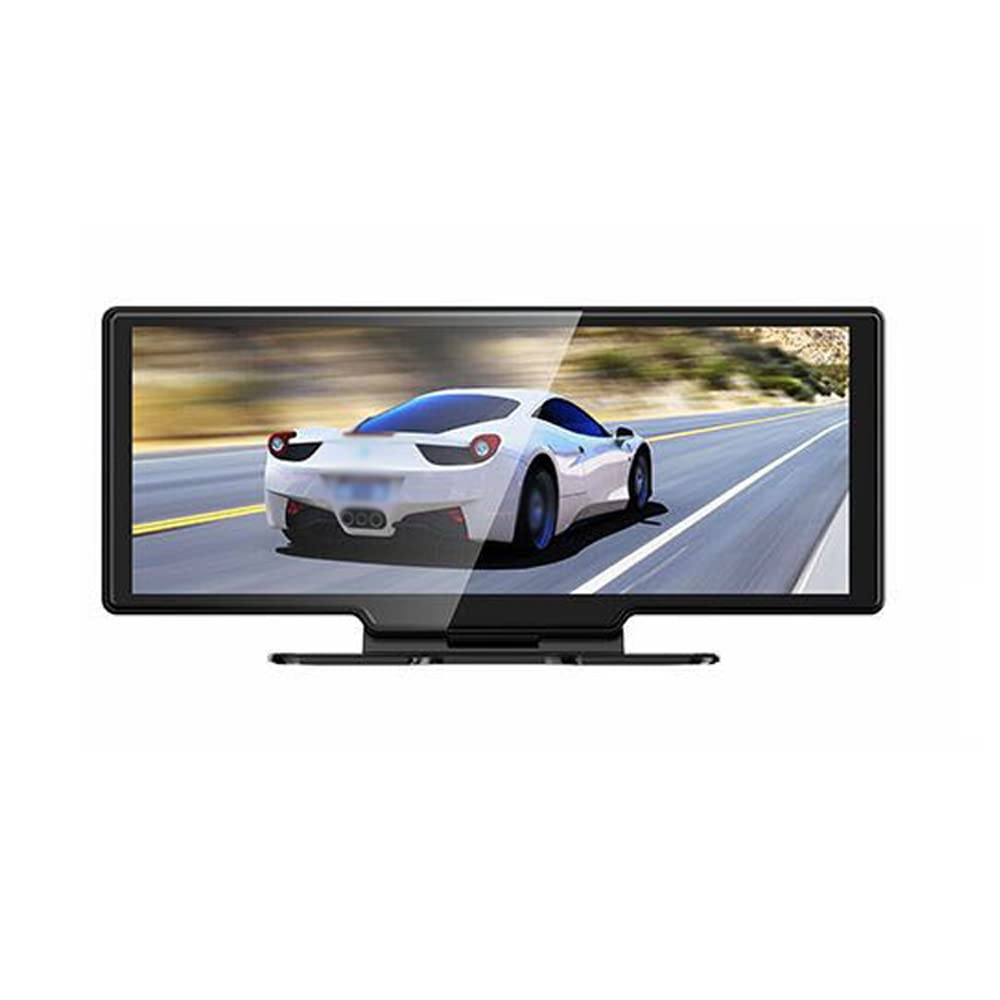
Image: The main dash camera unit, a separate rear camera, and the vehicle power cable.
4. Impostazione
4.1. Installazione della scheda di memoria
Insert a high-speed (Class 10 or higher) MicroSD card (up to 256GB, not included) into the designated slot on the dash camera. Ensure the card is inserted correctly until it clicks into place.
4.2. Montaggio della fotocamera anteriore
- Clean the windshield area where the dash camera will be mounted.
- Attach the mounting bracket to the dash camera unit.
- Securely affix the dash camera to the windshield, ensuring it does not obstruct your view. Adjust the lens angle to capture the road ahead clearly.
4.3. Installazione della telecamera posteriore
- Montare la telecamera posteriore sul parabrezza posteriore o sulla targa, assicurandosi che la visuale sia libera view.
- Route the rear camera cable to the front dash camera unit, connecting it to the designated port. Ensure cables are tucked away safely and do not interfere with vehicle operation.
4.4. Collegamento elettrico
Connect the vehicle power cable to the dash camera and plug the other end into your car's 12V power outlet (cigarette lighter socket). The camera will typically power on automatically when the vehicle starts.

Image: Front and rear perspectives of the dash camera unit, illustrating its design and camera placement.
5. Istruzioni per l'uso
5.1. Registrazione di base
The dash camera automatically begins recording when powered on. It records simultaneously with the 4K front camera and 1080P rear camera, providing a wide 170° angle view per una copertura completa.

Image: A visual representation of the dual camera system, indicating the 4K front and 1080P rear recording capabilities and their respective fields of view.
5.2. Interfaccia touchscreen
Navigate the 10.26-inch touchscreen to access various functions and settings. The intuitive interface allows for easy control of recording, playback, and system configurations.

Image: The dash camera's touchscreen interface displaying icons for 'Driving recorder', 'Carplay', 'Android Auto', 'FM launch', 'BT', 'Replay', 'Screen Brightness', and 'Setting'.
5.3. Registrazione in loop
The device supports loop recording. When the memory card is full, the oldest unlocked video files will be automatically overwritten by new recordings. Ensure important footage is saved or backed up to prevent loss.
5.4. Parking Monitoring & G-Sensor
The built-in G-sensor detects sudden movements or impacts while the vehicle is parked. If vibration is detected, the camera will automatically start recording to capture potential incidents, providing 24-hour monitoring.
5.5. WiFi Connectivity & App
Connect your smartphone to the dash camera via Wi-Fi to access the dedicated app. This allows for real-time video playback, downloading recorded footage, and adjusting settings directly from your phone. Compatible with Android and iOS systems.

Image: The dash camera screen showing a driving scene, with a smartphone held below it displaying the same video feed, demonstrating Wi-Fi connectivity and app mirroring.
5.6. Phone Link (CarPlay/Android Auto)
The dash camera supports Apple CarPlay for iOS phones and Android Auto for Android phones. This feature enables voice control, allowing you to manage navigation, calls, and music hands-free, keeping your focus on the road.

Image: The dash camera screen showing a split view with navigation on one side and a driving scene with a truck on the other, indicating a Bluetooth connection to a smartphone.
5.7. Assistenza alla retromarcia
When the vehicle is put into reverse, the dash camera automatically displays the rear camera view on the screen, providing guidelines to assist with safe parking and reversing maneuvers.
5.8. Trasmettitore FM
Utilize the built-in FM transmitter to seamlessly play audio from the dash camera through your car's stereo system.
5.9. Visione notturna
Equipped with a 6-layer full-glass lens, the camera provides enhanced night-vision recording capabilities, ensuring clear footage anche in condizioni di scarsa illuminazione.
6. Manutenzione
- Pulizia: Gently wipe the camera lens and screen with a soft, dry cloth. Do not use abrasive cleaners or solvents.
- Scheda di memoria: Format the MicroSD card regularly (e.g., once a month) within the camera's settings to maintain optimal performance and prevent data corruption. Replace the card if it shows signs of wear or error.
- Aggiornamenti del firmware: Controllare il produttore webperiodicamente il sito per gli aggiornamenti del firmware, per garantire che il tuo dispositivo abbia le ultime funzionalità e correzioni di bug.
7. Risoluzione Dei Problemi
- La fotocamera non registra: Ensure a MicroSD card is inserted and formatted. Check if loop recording is enabled.
- Lo schermo non si accende: Verify the power cable is securely connected and the vehicle's 12V outlet is functioning.
- Scarsa qualità video: Clean the camera lenses. Ensure the protective film is removed. Check resolution settings.
- Problemi di connessione Wi-Fi: Restart both the dash camera and your smartphone. Ensure you are within range and have selected the correct Wi-Fi network.
- Sensore G troppo sensibile/non abbastanza sensibile: Adjust the G-sensor sensitivity setting in the camera's menu.
8. Specifiche
| Caratteristica | Specificazione |
|---|---|
| Marca | KIMISS |
| Nome del modello | KIMISS3fkxbdzqi6 |
| Risoluzione della fotocamera frontale | 4K |
| Risoluzione della telecamera posteriore | 1080P |
| Grandangolo | 170° |
| Dimensioni dello schermo | 10.26 pollici (touchscreen) |
| Connettività | Wi-Fi, Ethernet (for certain functions) |
| Caratteristiche speciali | Night Vision, Reversing Assist, Hands-free Calling, FM Transmitter, G-Sensing, Parking Monitoring, Adjustable |
| Supporto per schede di memoria | Up to 256GB (MicroSD, not included) |
| Dimensioni del prodotto | 11.81"P x 6.69"L x 3.94"A |
| Tipo di servizio del veicolo | ATV (General compatibility) |
9. Garanzia e supporto
This KIMISS product comes with a manufacturer warranty for 90 days from the date of purchase. Please retain your proof of purchase for warranty claims.
For technical support or warranty inquiries, please contact KIMISS customer service through your retailer or the official KIMISS support channels.