
Introduzione
This manual provides detailed instructions for the installation, operation, and maintenance of your Surakey Android 15 Double Din Car Stereo. Please read this manual thoroughly before using the product to ensure proper function and safety. This head unit is designed for Pontiac G6 models from 2005 to 2008, featuring an 8-inch touch screen, wireless Apple CarPlay, wireless Android Auto, GPS navigation, Bluetooth, WiFi, FM/RDS radio, DSP, Steering Wheel Control (SWC), and backup camera support.
Informazioni sulla sicurezza
- Installazione professionale consigliata: Data la complessità dei sistemi audio per auto, si consiglia vivamente l'installazione da parte di un professionista per evitare danni all'unità o al veicolo.
- Alimentazione elettrica: Ensure the unit is connected to a 12V DC power supply with negative grounding. Incorrect wiring can cause damage.
- Cablaggio: Do not modify or cut any wires unless specifically instructed. Insulate all exposed wires to prevent short circuits.
- Sicurezza di guida: Non utilizzare l'unità in modo da distrarti dalla guida. Dare sempre priorità alla sicurezza stradale.
- Temperatura: Evitare di esporre l'unità a temperature estreme o alla luce solare diretta per periodi prolungati.
- Umidità: Tenere l'unità lontana dall'acqua e dall'umidità eccessiva.
Impostare
1. Contenuto della confezione
Verificare che tutti i componenti siano presenti nella confezione:

Image: The Surakey Android 15 Double Din Car Stereo head unit along with its various accessories, including power cables, RCA input/output cables, USB cables, camera input cable, radio adapter, GPS antenna, instruction manual, sound amplifier, and Canbus Box.
2. Collegamenti elettrici
Carefully connect all necessary cables to the back of the head unit and to your vehicle's wiring harness. Refer to the detailed wiring diagrams below.

Image: A comprehensive wiring diagram illustrating connections for GND, ACC, B+, ILL, KEY1, KEY2, ANT-12V, RL-, RL+, RR-, RR+, FL-, FL+, FR-, FR+, Audio/Video multifunctional plug, Radio antenna, USB1, USB2, and Camera input.

Immagine: Posteriore view of the car stereo showing various ports and connected cables, including the GPS antenna, RCA cables, and power harness.
Important Note for Bluetooth and WiFi Signals:

Image: A warning sign indicating that the white plug must be connected to the main device to ensure proper Bluetooth and WiFi signals. The image also shows the camera input cable with a white plug highlighted.
The white plug, typically associated with the camera input cable, must be securely connected to the main head unit. Failure to connect this plug will result in no Bluetooth or WiFi signals.
Installazione della telecamera di retromarcia:

Image: A diagram showing the wiring for the reversing camera. It illustrates connecting the camera's positive and negative power lines to the car's reversing light, and the video signal cable to the head unit. The reversing trigger is controlled by the stereo and does not require a separate connection.
Connect the reversing camera as follows:
- Collegare il cavo di alimentazione positivo della telecamera al polo positivo della luce di retromarcia dell'auto.
- Collegare il cavo di alimentazione negativo della telecamera al polo negativo della luce di retromarcia dell'auto.
- The reversing trigger is controlled by the stereo; no separate connection is required for this.
Backup Camera Format and Resolution Setup:

Image: A step-by-step guide on setting up the backup camera format and resolution. It shows navigating through settings to Factory Settings (password 8888), then Protocol Parameter Settings, and finally selecting the appropriate Reverse video resolution settings (NTSC/PAL for OEM, AHD/25 for included camera).
To configure the backup camera settings:
- Tap the settings icon to open the settings menu.
- Selezionare Impostazioni di fabbrica, then enter the password 8888.
- Vai a Impostazioni dei parametri del protocollo.
- Selezionare Reverse video resolution settings.
- Choose the correct setting based on your camera type: For OEM cameras, select NTSC/PAL. For the included camera, keep the default AHD/25.
3. Controllo di compatibilità del veicolo

Image: A megaphone icon next to a note emphasizing the importance of checking car model compatibility. The text advises users to verify the year and model number and to send an image of the center console and main unit plugs if unsure.
Before installation, confirm the compatibility of this unit with your specific Pontiac G6 model (2005-2008). If you are unsure, provide a complete image of the plugs on the back of your center console and the on-board main unit to the seller for verification of wiring harness or adapter requirements.
Istruzioni per l'uso
1. Navigazione e interfaccia di base
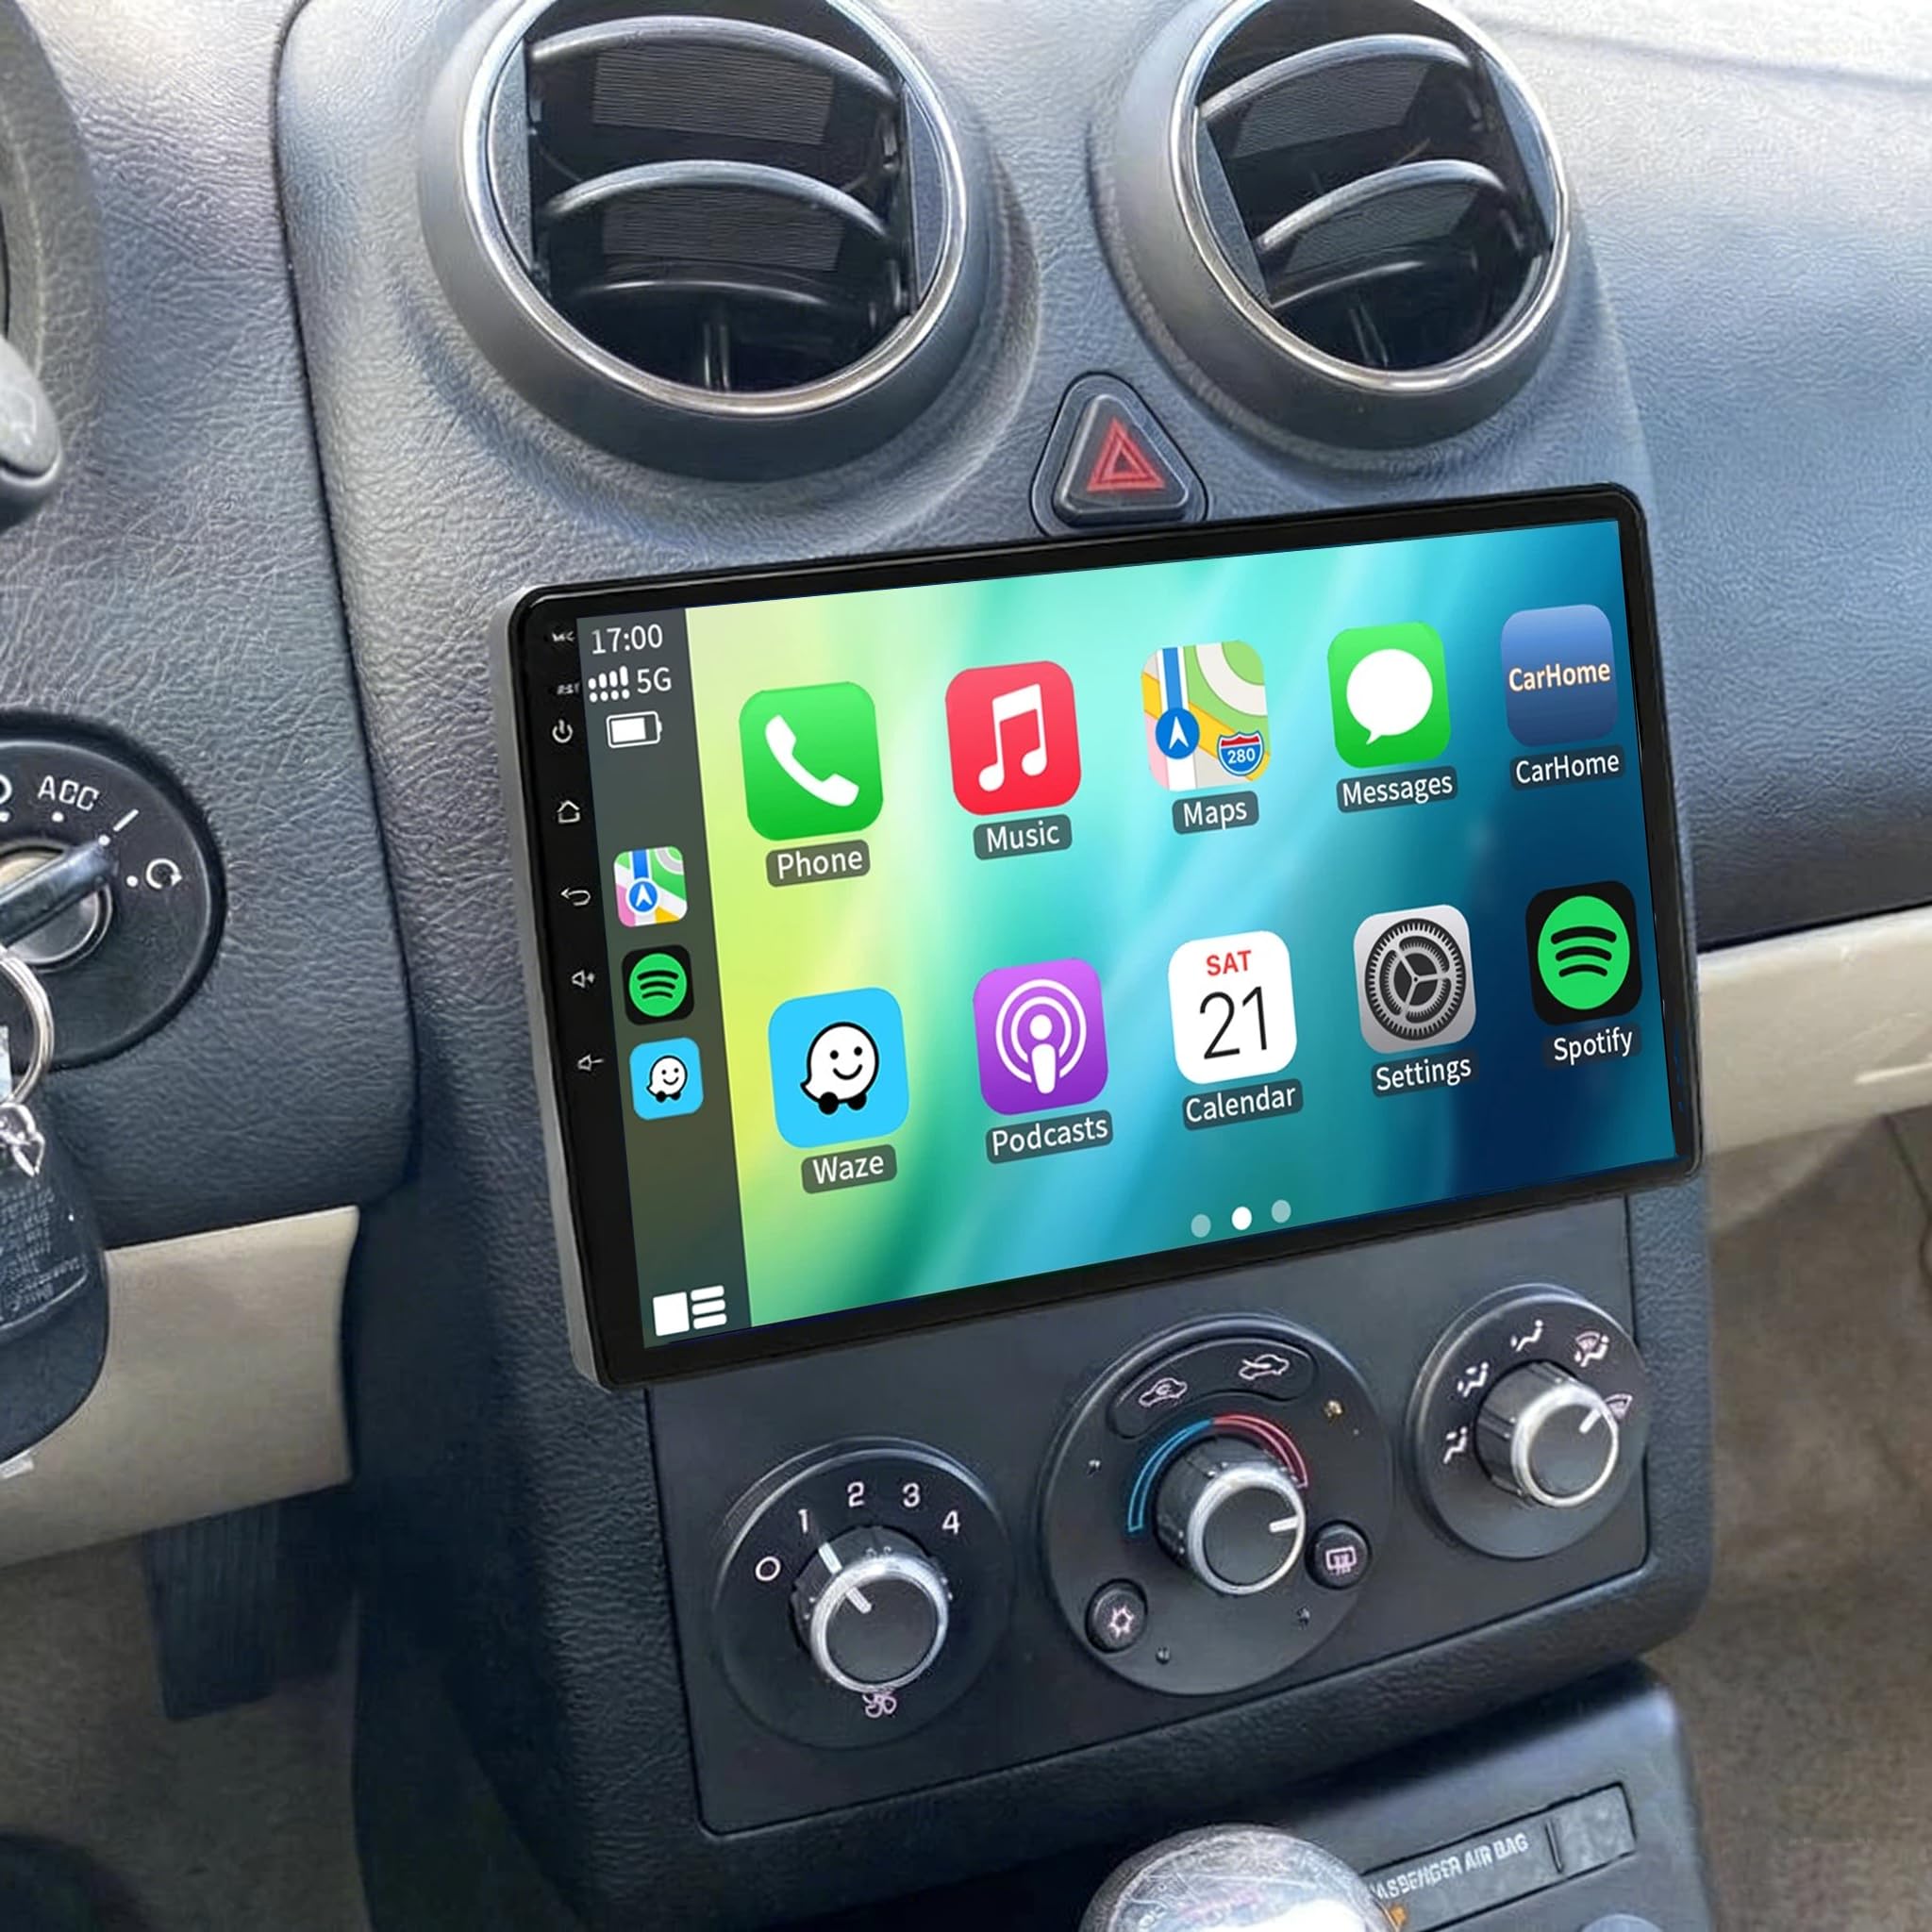
Image: The main screen of the Surakey Android 15 car stereo showing various application icons like YouTube, FM Radio, WhatsApp, Waze, and others, indicating a user-friendly interface.
The unit features an intuitive Android interface. Navigate through applications and settings using the 8-inch touch screen. The home screen provides quick access to frequently used functions such as navigation, music, and radio.
2. Connessione Bluetooth

Image: The Bluetooth interface of the car stereo, displaying a phone dialer and music playback controls. Icons for Music, Address book, Caller ID, and Voice call are visible.
To connect your phone via Bluetooth for hands-free calling and music streaming:
- On the car stereo, tap the 'BT' icon or navigate to Bluetooth settings.
- Assicurati che il Bluetooth sia abilitato sul tuo telefono cellulare.
- Cercare available devices on your phone and select 'CarBT' (or the device name displayed on the stereo).
- Se richiesto, immettere il PIN (solitamente '0000').
- Once connected, 'phone audio' and 'music audio' should be displayed, indicating a successful connection. If not, restart the Bluetooth on both devices.
3. Apple CarPlay e Android Auto wireless

Image: The car stereo displaying both Apple CarPlay and Android Auto interfaces, showing common apps like Phone, Music, Maps, and Messages. A user is shown interacting with voice commands for Siri and Google Assistant.
The unit supports both wireless Apple CarPlay and wireless Android Auto. This allows seamless integration of your smartphone for navigation, calls, messages, and music, with voice control capabilities.
Connection Steps (via ZLINK app):
- Assicurati che il Bluetooth del tuo telefono sia connesso all'autoradio.
- Aprire l'applicazione 'ZLINK' sull'autoradio.
- The system will attempt to connect to your phone. For Apple CarPlay, ensure your iPhone's Wi-Fi is also enabled. For Android Auto, ensure your Android phone has Android Auto installed and is set up for wireless projection.
- If the connection is not successful automatically, you may need to manually connect the car stereo to your phone's WiFi hotspot. After connecting to the hotspot, delete any previous ZLINK history records on the car stereo, then reopen the ZLINK app.
Video: This video demonstrates the process of connecting a smartphone to the car stereo via Bluetooth and ZLINK for Apple CarPlay and Android Auto. It shows how to enable Bluetooth on the phone, pair with the car stereo, and then initiate the ZLINK connection. It also illustrates troubleshooting steps for manual WiFi connection if the automatic connection fails.
4. Navigazione GPS

Image: The car stereo displaying a GPS navigation map with a route highlighted, showing both online and offline navigation options.
The unit supports both online and offline navigation. You can use pre-installed offline maps via the included GPS module or download navigation apps from the Play Store when connected to WiFi/WLAN.
5. Radio FM/RDS

Image: The FM radio interface of the car stereo, showing a large frequency display (102.30 MHz) and controls for tuning, station presets, and RDS information.
Access FM and RDS radio channels for news, music, and real-time traffic updates. Use the touch screen to tune frequencies and save your favorite stations.
6. Funzione schermo diviso

Image: The car stereo screen displaying two applications simultaneously in split-screen mode, such as navigation on one side and music playback on the other.
The split-screen feature allows you to display two applications simultaneously, such as navigation and music, enhancing multitasking while driving.
7. Controllo del volante (SWC)

Image: A hand on a car's steering wheel with control buttons, alongside the car stereo's interface for setting up Steering Wheel Control (SWC) functions like volume, track changes, and call answering.
The SWC function allows you to control various features like answering calls, changing music tracks, and adjusting volume directly from your steering wheel buttons, providing convenience and safety.
8. Collegamento specchio

Image: A smartphone screen being mirrored onto the car stereo display, illustrating the Mirror Link function.
The Mirror Link function allows you to mirror your iOS or Android smartphone screen directly onto the car stereo display via WiFi, enabling access to your phone's content on a larger screen.
9. Processore audio digitale (DSP)

Image: The Digital Sound Processor (DSP) interface of the car stereo, showing a graphic equalizer with various frequency bands and preset sound modes like Custom, Classical, Jazz, Pop, Metal, Subwoofer, and Vocal.
The integrated DSP feature provides high-quality audio processing, allowing for personalized audio settings, optimized soundstage, and enhanced in-car audio performance.
Manutenzione
- Pulizia dello schermo: Use a soft, lint-free cloth to clean the touch screen. For stubborn marks, lightly dampPulisci il panno con acqua o un detergente per schermi. Evita materiali abrasivi o sostanze chimiche aggressive.
- Pulizia generale: Pulire l'esterno dell'unità con un panno morbido e asciutto. Non utilizzare umidità eccessiva o detergenti spray direttamente sull'unità.
- Aggiornamenti software: Controlla periodicamente la disponibilità di aggiornamenti software per garantire prestazioni ottimali e l'accesso a nuove funzionalità. Segui le istruzioni sullo schermo per verificare la disponibilità di eventuali aggiornamenti.
- Evitare ostacoli: Ensure that no objects obstruct the ventilation openings of the unit to prevent overheating.
Risoluzione dei problemi
| Problema | Possibile causa | Soluzione |
|---|---|---|
| Nessun potere | Cablaggio errato, fusibile bruciato, problema di alimentazione del veicolo. | Check power connections (B+, ACC, GND). Verify vehicle fuses. Consult a professional installer. |
| No Bluetooth/WiFi signal | White plug not connected. | Ensure the white plug (camera input cable) is securely connected to the main unit. |
| CarPlay/Android Auto non si connette | Bluetooth/WiFi issues, ZLINK app error, phone settings. | Ensure Bluetooth is paired. If wireless connection fails, manually connect car stereo to phone's WiFi hotspot. Delete ZLINK history on stereo and restart ZLINK app. Check phone's CarPlay/Android Auto settings. |
| La telecamera di backup non viene visualizzata | Incorrect wiring, incompatible camera, incorrect settings. | Verify camera power and video signal connections. Check camera format settings in Factory Settings (NTSC/PAL for OEM, AHD/25 for included camera). This unit only supports OEM CVBS 720P backup cameras; 360-degree panoramic cameras are not supported. If your OEM camera is incompatible, use the included backup camera. |
| I comandi al volante non funzionano | Incorrect wiring, SWC learning not performed. | Ensure KEY1 and KEY2 wires are correctly connected. Perform the SWC learning procedure in the unit's settings. |
| Nessun suono o audio distorto | Speaker wiring issues, volume settings, DSP settings. | Check all speaker wire connections. Adjust volume levels. Verify DSP equalizer settings are not set to extreme values. |
Specifiche
- Modello: JIAQI-QA1153X-A026402-WYQ-2601-29
- Sistema operativo: Androide 15
- Memoria RAM: 2 GB
- ROM: 64 GB
- Dimensioni dello schermo: 8 pollici
- Tipo di schermo: Schermo touch HD 2.5D
- Compatibilità: Pontiac G6-2005
- Caratteristiche: Wireless Apple CarPlay, Wireless Android Auto, GPS Navigation, Bluetooth, WiFi, FM/RDS, DSP, SWC, Backup Camera Support
- Processore: Quad/4 cores high efficiency processor
- Risoluzione video: HD 1024P or IPS 1280P
- Extended Functions Support: TPMS, OBD2, DVR, DAB+
Garanzia e supporto
For product support, warranty information, or any inquiries, please contact Surakey customer service. You can typically find contact details on the product packaging or through the seller's platform.

Image: An illustration of a customer service representative with text indicating "24 Hours Customer Support" and an email address: Fuyatongus@outlook.com.
Supporto via e-mail: Fuyatongus@outlook.com
Quando contatti l'assistenza, ti preghiamo di fornire il numero di modello del tuo prodotto e una descrizione dettagliata del problema per garantire una risoluzione rapida ed efficace.