1. Prodotto finitoview
The JVC HR-J692U is a 4-head Hi-Fi VCR designed for high-quality video and audio playback and recording. It features advanced capabilities for an enhanced viewesperienza di acquisizione.
Caratteristiche principali
- 4-Head Hi-Fi Stereo Design: Ensures superior audio and video quality for both playback and recording.
- Super VHS Quasi Playback (SQPB): Allows playback of S-VHS tapes at standard VHS resolution.
- Ingressi AV frontali: Provides convenient access for connecting external devices such as camcorders or gaming consoles.
- Pro-Cision 19-micron Heads: Delivers clear picture quality, especially in EP (extended-play) mode.
- Express Programming: Simplifies timer recording with a 1-year, 8-event timer.
- Telecomando completo di tutte le funzioni: Provides complete control over VCR functions.
- Variable Special Effects: Includes variable slow motion, frame advance, and variable speed search.
2. Guida all'installazione
This VCR is designed for easy plug-and-play setup. Follow these steps to connect your unit.
Connessione iniziale
- Collegamento elettrico: Connect the VCR's power cord to a standard electrical outlet.
- Video and Audio Connection: Use RCA cables (yellow for video, white for left audio, red for right audio) to connect the VCR's output jacks to the corresponding input jacks on your television or receiver. Ensure the colors match.
- Antenna/Cable Connection (Optional): If you plan to watch broadcast TV through the VCR, connect your antenna or cable TV line to the VCR's 'Antenna In' jack, then connect the VCR's 'Antenna Out' jack to your TV's 'Antenna In' jack.
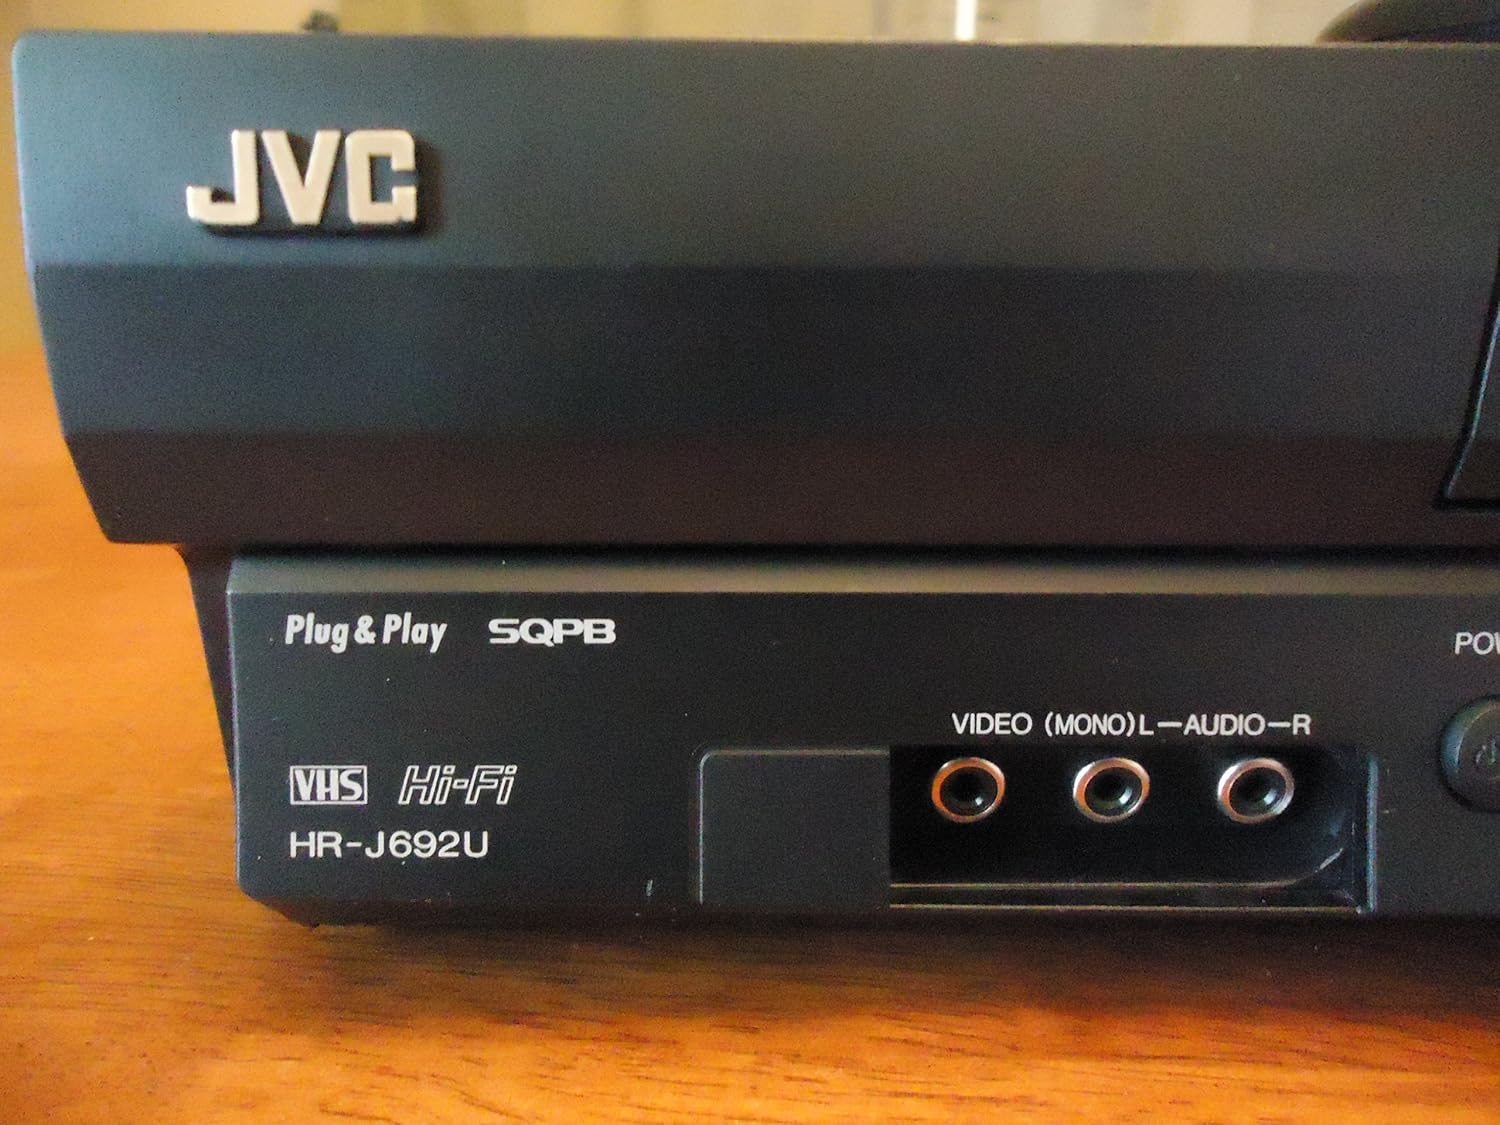
Image: Front panel of the JVC HR-J692U VCR, highlighting the front AV input jacks for easy connection of external devices.
Configurazione del sintonizzatore
The VCR features a PLL frequency-synthesized 181-channel tuner. Use the on-screen menu (accessed via the remote control) to scan for available channels and set the clock.
3. Istruzioni per l'uso
Riproduzione di base
- Inserisci nastro: Inserire delicatamente una cassetta VHS nell'apposito alloggiamento. Il videoregistratore la caricherà automaticamente.
- Giocare: Premere il tasto GIOCARE sul videoregistratore o sul telecomando per avviare la riproduzione.
- Stop: Premere il tasto FERMARE pulsante per interrompere la riproduzione.
- Pausa: Premere il tasto PAUSA button to temporarily freeze the picture. Press again to resume.
- Avanti veloce/Riavvolgimento: Utilizzare il FF (Avanti veloce) e RIVISTA Pulsanti (Riavvolgimento) per navigare nel nastro.
- Espellere: Premere il tasto ESPELLERE button to remove the tape.
Special Playback Features
- Variable Slow Motion: During playback, use the slow motion controls on the remote to adjust playback speed.
- Frame Advance: Advance the video frame by frame for detailed viewing.
- Variable Speed Search: Quickly scan through content at different speeds.
- Super VHS Quasi Playback (SQPB): The VCR automatically detects and plays S-VHS tapes, converting them to standard VHS resolution for viewing.
Registrazione
- Registrazione istantanea: With a blank tape inserted, press the RICORDA pulsante per avviare la registrazione.
- Express Programming: Utilize the 1-year/8-event timer for scheduled recordings. Refer to the on-screen menu for detailed programming steps.
Front AV Inputs
The front AV inputs (Video, L-Audio, R-Audio) allow for easy temporary connection of devices like camcorders, video game consoles, or another VCR for dubbing.
Telecomando
The included full-function remote control provides access to all VCR features, including playback controls, channel selection, timer programming, and menu navigation.

Image: The JVC VCR/TV remote control, illustrating the layout of buttons for comprehensive control.
4. Manutenzione
Regular maintenance helps ensure the longevity and optimal performance of your VCR.
- Pulizia dell'esterno: Wipe the exterior of the VCR with a soft, dry cloth. Avoid using liquid cleaners or abrasive materials.
- Ventilazione: Ensure the ventilation slots on the VCR are not blocked to prevent overheating.
- Cura del nastro: Store VHS tapes in their cases away from direct sunlight, dust, and magnetic fields. Avoid using damaged or moldy tapes, as they can harm the VCR's internal mechanisms.
5. Risoluzione Dei Problemi
If you encounter issues with your JVC HR-J692U VCR, refer to the following common troubleshooting tips:
- Nessun potere: Check if the power cord is securely plugged into both the VCR and the electrical outlet.
- Nessuna immagine/suono: Verify that the AV cables are correctly connected to the VCR's output and the TV's input. Ensure your TV is set to the correct input source (e.g., AV1, Video 1).
- Tape Not Playing/Ejecting: Ensure the tape is inserted correctly. If the tape is stuck, try pressing the EJECT button multiple times. Do not force the tape.
- Scarsa qualità dell'immagine: Check the tape for damage. Ensure the VCR heads are clean (professional cleaning may be required if issues persist). Adjust tracking if necessary using the remote control.
- Il telecomando non funziona: Replace the batteries in the remote control. Ensure there are no obstructions between the remote and the VCR's sensor.
Per problemi persistenti, consultare un tecnico qualificato.
6. Specifiche
| Caratteristica | Dettaglio |
|---|---|
| Nome del marchio | JVC |
| Numero di modello | HRJ692U |
| Peso dell'articolo | 8 libbre |
| Dimensioni del prodotto | 6.9 x 21.2 x 13.7 pollici |
| Teste | Hi-Fi a 4 testine |
| Compatibilità di riproduzione | VHS, Super VHS Quasi Playback (SQPB) |
| Sintonizzatore | PLL Frequency-Synthesized 181-Channel |
| Registrazione con timer | 1-Year/8-Event Express Programming |
| Ingressi/Uscite | Front AV Inputs |
| Telecomando | Full-Function Remote Included |
| Batterie richieste | 1 CR5 battery (for remote) |
7. Garanzia e supporto
For information regarding warranty coverage and customer support for your JVC HR-J692U VCR, please refer to the documentation included with your purchase or contact JVC customer service directly.
Disclaimer legale
AVVISO AI CONSUMATORI: Questo ricevitore televisivo è dotato solo di un sintonizzatore analogico e, a partire dal 17 febbraio 2009, richiederà un convertitore per ricevere le trasmissioni via etere tramite antenna, a causa della transizione degli Stati Uniti alla trasmissione digitale. I televisori esclusivamente analogici dovrebbero continuare a funzionare come prima con servizi TV via cavo e satellitari, console di gioco, videoregistratori, lettori DVD e prodotti simili. Per ulteriori informazioni, chiamare la Federal Communications Commission al numero 1-888-225-5322 (TTY: 1-888-835-5322) o visitare il sito web della Commissione dedicato alla televisione digitale. Web sito a: www.dtv.gov.


