1. Introduzione
The Extech SDL200 is a versatile four-channel thermometer and data logger designed for precise temperature measurement and recording. It supports six types of thermocouples (J, K, E, T, R, S) and two channels for RTD (Pt100Ohm) probes, allowing for a wide range of applications. This device can display individual channel readings (T1, T2, T3, T4) or differential readings (T1-T2). It features an offset adjustment for relative measurements and can store up to 99 readings manually, with an extensive capacity of 20 million readings via a 2GB SD memory card. All recorded data is time-stamped and saved in an Excel-compatible format for easy transfer and analysis on a PC. The SDL200 also includes user-programmable sampling rates, Min/Max recording, Data Hold, Auto Power Off, and a built-in PC interface.
2. Informazioni sulla sicurezza
Please read and understand all safety instructions before operating the Extech SDL200. Failure to follow these instructions may result in injury or damage to the device.
- Non utilizzare il dispositivo se appare danneggiato o se l'isolamento è compromesso.
- Ensure proper probe connection before taking measurements.
- Evitare di esporre il dispositivo a temperature estreme, umidità o luce solare diretta.
- Use only specified battery types and ensure correct polarity during installation.
- Keep the device clean and dry. Refer to the maintenance section for cleaning instructions.
- Non tentare di riparare o modificare il dispositivo. Per qualsiasi intervento di assistenza, rivolgersi a personale qualificato.
3. Contenuto della confezione
Verificare che tutti gli articoli siano presenti al momento del disimballaggio:
- Extech SDL200 Four-Channel Thermometer SD Logger unit
- 6 batterie AA
- Four general purpose Type K bead wire temperature probes
- SD memory card (2GB)
- Custodia rigida per il trasporto

Figura 3.1: Extech SDL200 unit with four Type K thermocouple probes inserted into the top ports. The display shows temperature readings for T1, T2, T3, and T4.

Figura 3.2: The retail packaging box for the Extech SDL200, displaying the brand logo, model name, and UPC code (0793950432105).
4. Prodotto finitoview
The SDL200 features a clear digital display and intuitive button layout for easy operation. The top of the device includes four input ports for thermocouple probes. The side of the device houses connectivity ports for power and PC interface, along with RTD probe inputs.

Figura 4.1: Lato view of the Extech SDL200, illustrating the DC 9V power input, RS232 serial port for PC connection, and two RTD (PT100Ohm) probe input ports labeled PT1 and PT2, protected by a rubber flap.

Figura 4.2: A set of four yellow Type K bead wire temperature probes with standard mini-connectors, alongside a larger clamp-style temperature probe, demonstrating the variety of probes that can be used with the device.
5. Impostazione
5.1. Installazione della batteria
- Aprire il coperchio del vano batteria sul retro del dispositivo.
- Insert six (6) AA batteries, ensuring correct polarity as indicated inside the compartment.
- Chiudere saldamente il coperchio del vano batterie.
5.2. Collegamento della sonda
- For thermocouple probes (Type J, K, E, T, R, S), connect them to the four input jacks located at the top of the meter. Ensure the correct thermocouple type is selected in the device settings if applicable.
- For RTD (Pt100Ohm) probes, connect them to the PT1 and PT2 ports on the side of the device (refer to Figure 4.1).
5.3. Inserimento della scheda SD
- Locate the SD card slot, typically on the side or bottom of the device.
- Insert the provided 2GB SD memory card into the slot until it clicks into place.
- Per rimuoverla, spingere delicatamente la scheda verso l'interno finché non scatta fuori.
6. Istruzioni per l'uso
6.1. Accensione/spegnimento
Premere il tasto ENERGIA pulsante per accendere o spegnere il dispositivo.
6.2. Misurazione della temperatura di base
- Connect the desired temperature probes.
- Power on the device. The display will show real-time temperature readings for the connected channels (T1, T2, T3, T4).
- Premere il tasto Da T1 a T2 button to switch between individual channel display and differential temperature (T1-T2) display.
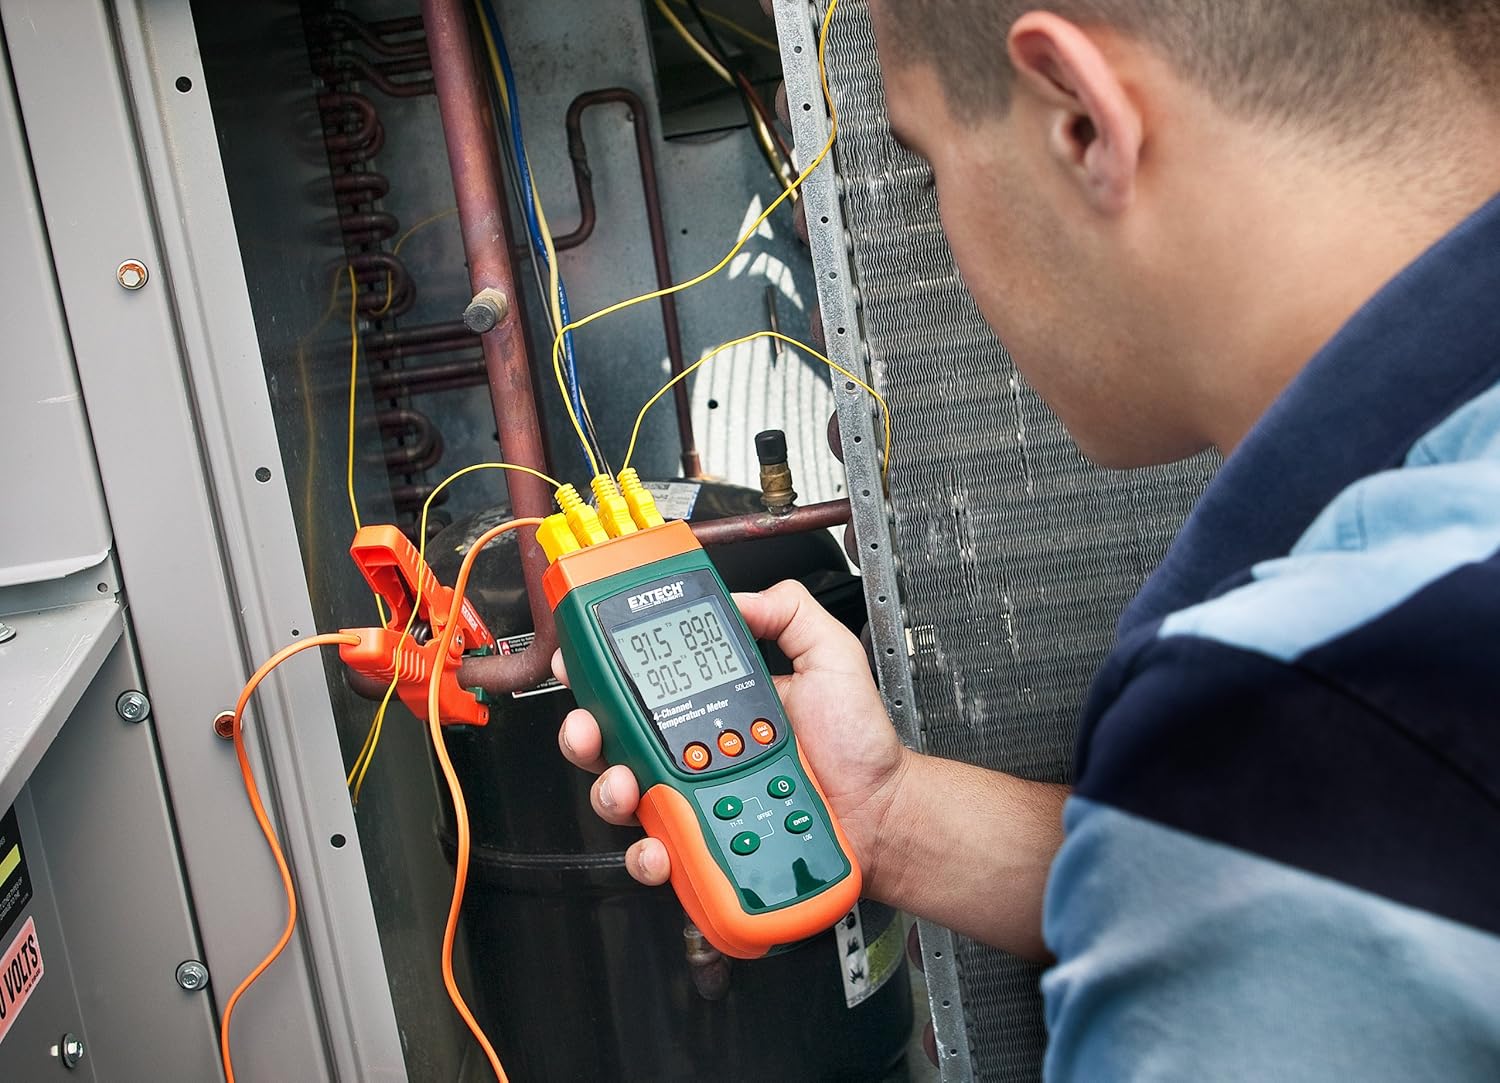
Figura 6.1: A technician utilizing the Extech SDL200 to monitor multiple temperature points on an HVAC system, demonstrating its application in industrial and scientific settings.
6.3. Registrazione dei dati
The SDL200 can record temperature data to the SD card with a real date and time stamp.
- Imposta Samptasso di ling: Utilizzare il IMPOSTATO button to access settings and adjust the sampling (da 1 a 3600 secondi).
- Inizia la registrazione: Premere il tasto TRONCO D'ALBERO button to begin recording data to the SD card. A logging indicator will appear on the display.
- Stop Logging: Premere il tasto TRONCO D'ALBERO button again to stop data recording.
- Trasferimento dati: Remove the SD card and insert it into a computer to access the data, which is saved in Excel (.xls) format.
6.4. Min/Max and Data Hold
- Minimo Massimo: Premere il tasto Massimo/minimo button to display the maximum or minimum recorded temperature since the function was activated. Press again to cycle through Max, Min, and current readings.
- Data Hold: Premere il tasto PRESA button to freeze the current readings on the display. Press again to release.
6.5. Offset Adjustment
Utilizzare il OFFSET button to perform a zero function for relative measurements. Consult the full manual for detailed calibration procedures.
6.6. Spegnimento automatico
The device features an Auto Power Off function to conserve battery life. This can typically be disabled or adjusted in the settings menu if continuous operation is required.
6.7. PC Interface
The built-in RS232 PC interface allows for real-time data streaming and advanced control using compatible software (sold separately or available for download from Extech's website). Connect the device to your PC using an appropriate RS232 cable.
7. Manutenzione
7.1. Pulizia
Pulisci il dispositivo con un panno morbido eamp cloth. Do not use abrasive cleaners or solvents. Ensure the device is dry before storage or further use.
7.2. Sostituzione della batteria
Sostituire le batterie quando sul display compare l'indicatore di batteria scarica. Per le istruzioni sull'installazione delle batterie, fare riferimento alla Sezione 5.1.
7.3. Conservazione
When not in use for extended periods, remove the batteries and store the device in its hard carrying case in a cool, dry place.
8. Risoluzione Dei Problemi
- Il dispositivo non si accende: Controllare l'installazione delle batterie e assicurarsi che non siano scariche. Sostituirle se necessario.
- Letture di temperatura errate: Verify probe connections are secure and that the correct probe type is selected (if applicable). Ensure probes are not damaged.
- Data logging not working: Check if the SD card is properly inserted and has sufficient free space. Ensure the logging function is activated.
- Problemi di connessione al PC: Verify the RS232 cable connection and ensure the correct drivers and software are installed on your PC.
9. Specifiche
| Caratteristica | Specificazione |
|---|---|
| Marca | Tecnologia avanzata |
| Nome del modello | SDL200 |
| Caratteristica speciale | 4-Channel Datalogging |
| Tipo di visualizzazione | Digitale |
| Tecnologia di connettività | USB (via RS232 interface) |
| Fonte di alimentazione | Alimentato a batteria (6 batterie AA incluse) |
| Valutazione della temperatura superiore | 2732 gradi Fahrenheit |
| Tempo di risposta | 1 secondo |
| Capacità di registrazione dei dati | 20M readings via 2G memory card |
| Samptasso di ling | 1 to 3600 seconds (user programmable) |
| Tipi di termocoppia | J, K, E, T, R, S (4-channel) |
| Sonde RTD | Pt100Ohm (2-channel) |
| Componenti inclusi | Batteries, Bead wire temperature probes, memory card, case |
| Peso dell'articolo | 1.1 libbre |
| Lunghezza dell'articolo | 7.2 pollici |
| Materiale esterno | Policarbonato (PC) |
| Specifica Met | CE |
10. Garanzia e supporto
Extech products are designed for reliability and performance. For warranty information, technical support, or service inquiries, please refer to the official Extech webo contattare il servizio clienti. Conservare la ricevuta d'acquisto come prova d'acquisto per eventuali reclami in garanzia.
Per ulteriori risorse, visitare il Negozio Extech su Amazon.


