Informazioni importanti sulla sicurezza
Please read this instruction manual thoroughly before installation and use. Improper installation or use may cause damage to the product, TV, or personal injury. Keep this manual for future reference.
- Assicurarsi che la superficie di montaggio possa sostenere in modo sicuro il peso combinato del supporto e della TV.
- Non superare la capacità di peso massima di 70 kg (154 libbre).
- Use appropriate tools and follow all steps carefully. If unsure, consult a qualified installer.
- Tenere lontani bambini e animali domestici durante l'installazione.
Contenuto della confezione
Verify all components are present before beginning installation. If any parts are missing or damaged, do not proceed with installation and contact customer support.
- Gruppo staffa per montaggio a parete
- Bracci di montaggio TV (2x)
- Mounting Hardware Kit (screws, washers, spacers for various TV types and wall fixings)
- Manuale di istruzioni
Note: Specific screw sizes and quantities may vary. Refer to the hardware kit for exact contents.
Strumenti necessari (non inclusi)
- Trapano
- Punte da trapano (adatte al tipo di parete e alla dimensione della vite)
- Stud Finder (for stud wall installation)
- Livello
- Matita
- Nastro di misurazione
- Cacciavite con testa Phillips
- Socket Wrench or Spanner
Istruzioni per l'installazione
This mount is designed for flat screens up to 65 inches (165cm) and 70kg (154lbs). It supports VESA and non-VESA mounting patterns. The installation process involves mounting the wall plate and then attaching the TV with its arms.
Fase 1: preparare la TV
- Carefully place the TV face down on a soft, clean surface.
- Attach the TV mounting arms to the back of your TV using the appropriate screws, washers, and spacers from the hardware kit. Ensure the arms are securely fastened and evenly spaced.
- Verify the VESA pattern compatibility. This mount fits various VESA patterns.
Step 2: Mark and Drill Wall Holes
- Determina l'altezza desiderata per il tuo televisore.
- Position the wall mount bracket against the wall at the desired location. Use a level to ensure it is perfectly horizontal.
- Mark the drilling points through the holes on the wall mount bracket with a pencil.
- For concrete/brick walls: Drill pilot holes using an appropriate drill bit. Insert wall anchors (if provided and necessary for your wall type).
- For stud walls (up to 32 inches apart): Locate the center of the studs using a stud finder. Drill pilot holes into the center of the studs.
Step 3: Mount the Wall Bracket
- Align the wall mount bracket with the drilled holes.
- Secure the bracket to the wall using the provided wall screws and washers. Tighten all screws firmly, but do not overtighten.
- Double-check that the wall bracket is securely fastened and level.
Passaggio 4: appendere la TV
- With assistance, carefully lift the TV with the attached mounting arms.
- Hook the TV mounting arms onto the wall mount bracket. This is a simple 'hook-on' installation.
- Ensure both TV arms are securely seated on the wall bracket.
- Engage any safety locking mechanisms on the TV arms to prevent accidental dislodgement.
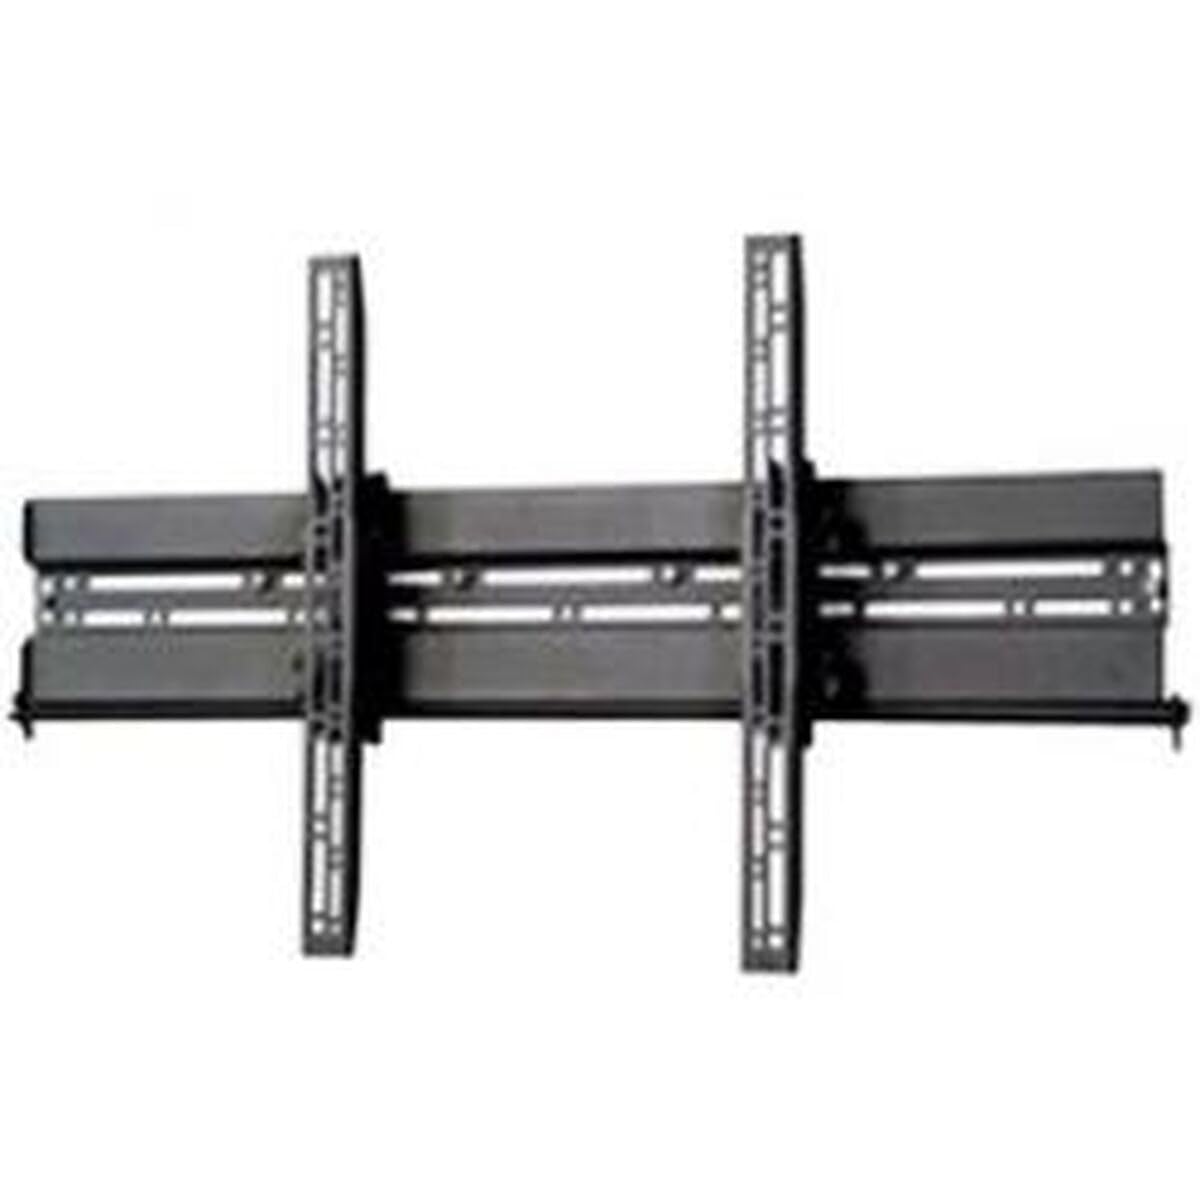
Immagine: Example of a TV mounted using a similar flat screen wall mount. The BT8432 mounts the screen approximately 80mm (3.1 inches) from the wall.
Istruzioni per l'uso
Regolazione dell'inclinazione
The BT8432 mount features a simple tilt adjustment of +/-15 degrees. This allows you to optimize your viewangolo di visione e ridurre l'abbagliamento.
- Locate the tilt adjustment knobs or bolts on the side of the TV mounting arms.
- Loosen the knobs/bolts slightly.
- Carefully tilt the TV to the desired angle.
- Tighten the knobs/bolts firmly to secure the TV in the new position. Do not overtighten.
Manutenzione
- Pulizia: Use a soft, dry cloth to clean the mount. Avoid abrasive cleaners or solvents.
- Controlli periodici: Controllare periodicamente tutte le viti e i bulloni per assicurarsi che siano ben serrati e sicuri. Serrarli nuovamente se necessario.
- Capacità di peso: Do not hang additional items or exceed the maximum weight capacity of the mount.
Risoluzione dei problemi
La TV non è in piano dopo l'installazione:
- Ensure the wall mount bracket was installed perfectly level. If not, you may need to adjust its position.
- Check if the TV mounting arms are attached evenly to the back of the TV.
Il supporto sembra allentato sul muro:
- Rimuovere immediatamente il televisore dal supporto.
- Check all wall screws for tightness.
- Verify that the wall anchors (if used) are properly seated and suitable for your wall type.
- Ensure the wall material is strong enough to support the mount and TV.
Difficoltà nell'inclinazione della TV:
- Ensure the tilt adjustment knobs/bolts are sufficiently loosened before attempting to adjust the angle.
- Do not force the tilt mechanism.
Specifiche
| Numero di modello | Modello BT8432 |
| Dimensione massima dello schermo | 65 pollici (165 cm) |
| Capacità massima di peso | 70 kg (154 libbre) |
| Tipo di montaggio | Montaggio a parete |
| Tipo di movimento | Inclinare |
| Regolazione dell'inclinazione | +/- 15 gradi |
| Distanza dal muro | 80 mm (3.1 pollici) |
| Tipi di pareti compatibili | Concrete / Brick, Stud Walls (up to 32 inches) |
| Materiale | Acrilonitrile Butadiene Stirene (ABS) |
| Dimensioni del prodotto | 5.83 x 27.56 x 16.54 pollici |
| Peso dell'articolo | 11.22 libbre |
| Produttore | B-Tecnologia |
| ASIN | B002C1OZYC |
| Codice GTIN | 05019318084294 |
Garanzia e supporto
Specific warranty information for the B-Tech BT8432 wall mount may vary by region and retailer. Please refer to your purchase documentation or contact the retailer where you purchased the product for details regarding warranty coverage.
For technical support or inquiries, please visit the official B-Tech webo contattare il servizio clienti. Tieni a portata di mano la prova d'acquisto quando richiedi assistenza.


