Manuale utente dello strumento di rimozione CVJ Sealey VS710
Modello: VS710
1. Introduzione
The Sealey VS710 CVJ Removal Tool is designed for the efficient and safe removal of Constant Velocity (CV) joints from drive shafts. This tool minimizes the risk of damage to the joint and transmission components, while also freeing hands for other tasks such as releasing retaining circlips. It is suitable for use with most vehicles.
Caratteristiche principali:
- Quickly removes the CV joint from the drive shaft without causing damage.
- Allows hands to remain free for releasing retaining circlips.
- Reduces the risk of damage to the vehicle's transmission system.
- Saves significant labor time during CV joint removal.
- Compatible with a wide range of vehicle models.
2. Informazioni sulla sicurezza
WARNING: Always read and understand all safety warnings and instructions before using this tool. Failure to follow the warnings and instructions may result in serious injury.
- Indossare sempre dispositivi di protezione individuale (DPI) adeguati, tra cui occhiali di sicurezza, guanti e calzature robuste.
- Prima di iniziare qualsiasi lavoro, assicurarsi che il veicolo sia saldamente appoggiato su cavalletti o su un sollevatore.
- Non utilizzare l'utensile se è danneggiato o sembra non funzionare correttamente.
- Durante il funzionamento, tenere le mani e le dita lontane dalle parti mobili e dai punti di schiacciamento.
- Utilizzare lo strumento solo per lo scopo previsto.
- Tenere i bambini e gli astanti lontani dall'area di lavoro.
- Quando non lo si utilizza, conservare l'utensile in un luogo asciutto e sicuro.
3. Contenuto della confezione
The Sealey VS710 CVJ Removal Tool package includes the following components:
- 1 x Sealey VS710 CVJ Removal Tool
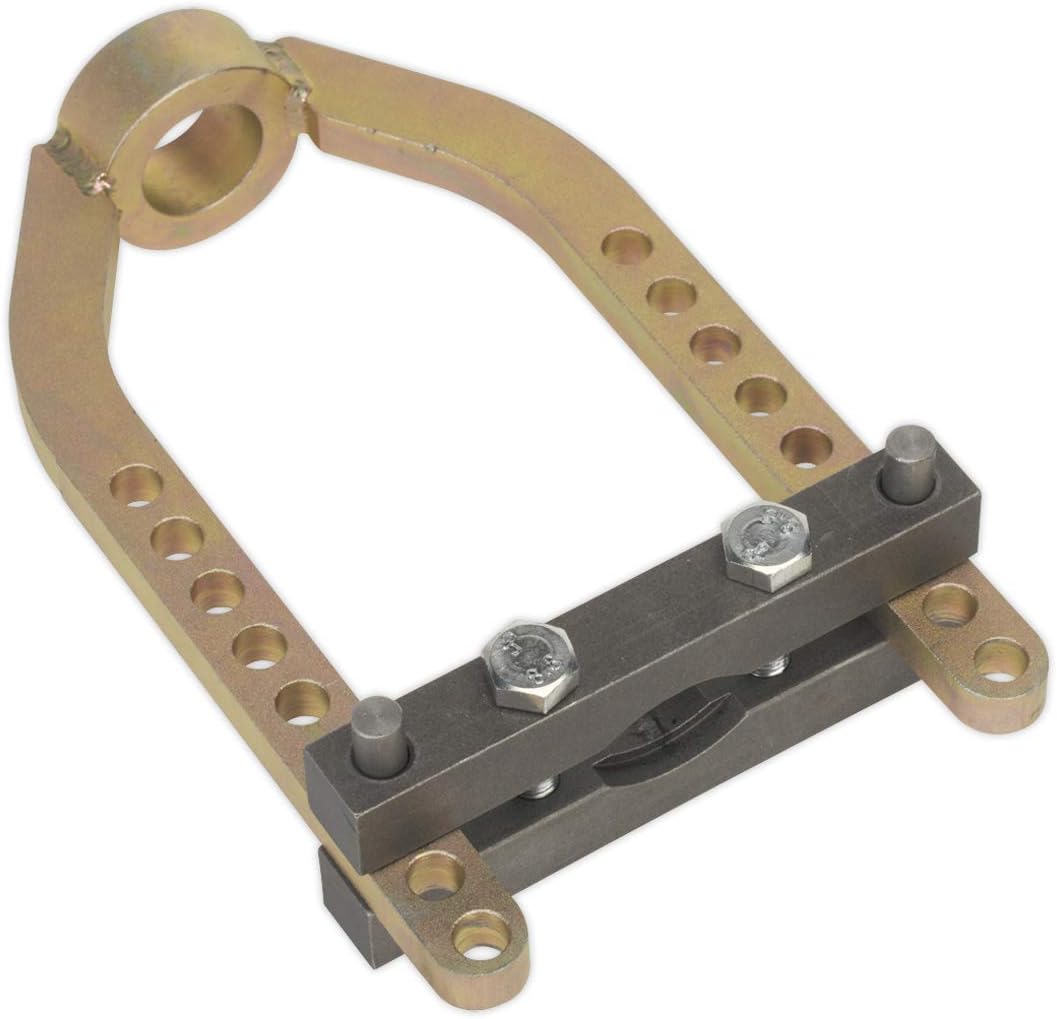
Figure 1: The Sealey VS710 CVJ Removal Tool as supplied.
4. Impostazione e preparazione
Before using the VS710 CVJ Removal Tool, ensure the vehicle is properly prepared and secured.
- Preparazione del veicolo: Lift the vehicle and secure it safely using jack stands or a hydraulic lift. Remove the wheel and any other components necessary to access the CV joint and drive shaft.
- Inspect CV Joint: Before attempting removal, identify the type of retaining ring used inside the CV joint (e.g., snap ring or circlip). This information is typically found in your vehicle's service manual.
- Circlips: These often require pre-opening with a specialized tool or long-nosed pliers to allow the joint to separate.
- Snap-rings: These are typically round in cross-section and can release under pressure when the tool is used. They are also commonly used to retain inner CV joints.
- Regolazione utensile: The VS710 tool features adjustable arms to accommodate various CV joint sizes. Loosen the bolts on the crossbar and slide the arms to fit the diameter of the CV joint. The maximum joint diameter supported is 95mm.
5. Istruzioni per l'uso
Follow these steps for safe and effective removal of the CV joint using the Sealey VS710 tool.
- Posizionare lo strumento: Place the open end of the tool around the drive shaft, ensuring the tool's arms are positioned to push against the inner race of the CV joint and the outer ring of the joint. The tool's design allows it to quickly remove the CV joint from the drive shaft without damaging the joint.
- Secure the Tool: Tighten the bolts on the crossbar to firmly secure the tool around the CV joint. Ensure the tool is stable and will not slip during operation.
- Applicare pressione: Once the tool is securely in place, use a suitable wrench or socket to turn the central bolt of the tool. This action will apply even pressure, pushing the CV joint off the drive shaft.
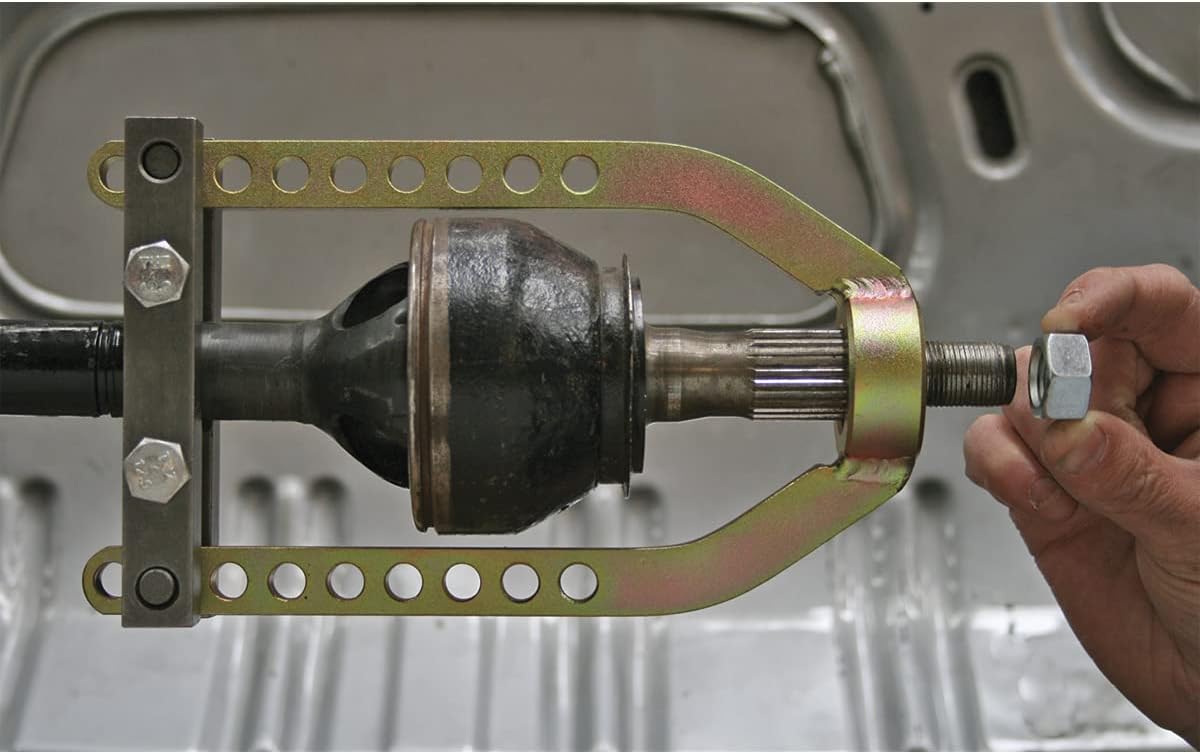
Figure 2: Initial positioning of the VS710 tool on a CV joint and drive shaft.
- Release Retaining Ring: As pressure is applied and the joint begins to separate, you may need to simultaneously release the retaining circlip or snap-ring. The tool's design keeps your hands free for this task.

Figure 3: Applying pressure with the VS710 tool to separate the CV joint.
- Remove Joint: Continue applying pressure until the CV joint fully separates from the drive shaft. Carefully remove the tool and the separated CV joint.
- Post-Removal: Always use new snap rings or circlips when refitting CV joints to ensure proper and secure reassembly.
6. Manutenzione
Proper maintenance will extend the life of your Sealey VS710 CVJ Removal Tool.
- Pulizia: After each use, wipe down the tool with a clean cloth to remove any grease, dirt, or debris.
- Lubrificazione: Periodically apply a light coat of machine oil to all moving parts and threaded sections to prevent rust and ensure smooth operation.
- Ispezione: Regularly inspect the tool for any signs of wear, damage, or deformation. Pay close attention to the bolts, arms, and contact points.
- Magazzinaggio: Store the tool in a dry, clean environment, away from moisture and corrosive materials.
- Parti danneggiate: Do not use a damaged tool. Contact Sealey customer support for replacement parts or service if any component is compromised.
7. Risoluzione Dei Problemi
This section addresses common issues that may arise during the use of the Sealey VS710 CVJ Removal Tool.
| Problema |
Possibile causa |
Soluzione |
| Tool slips off CV joint. |
Tool not properly adjusted or tightened. |
Ensure the tool arms are correctly positioned and the crossbar bolts are securely tightened. Verify the maximum joint diameter (95mm) is not exceeded. |
| CV joint does not separate. |
Retaining ring not released; insufficient force applied; joint seized. |
Confirm the retaining circlip or snap-ring is properly disengaged. Apply more force to the central bolt. For seized joints, consider applying penetrating oil and allowing time to work, or consult a professional mechanic. |
| Tool appears damaged after use. |
Over-stressing the tool; improper use. |
Ensure the tool is used within its specified limits. Do not use excessive force beyond what is necessary. If damaged, discontinue use and contact Sealey support. |
8. Specifiche
Technical specifications for the Sealey VS710 CVJ Removal Tool:
| Specificazione |
Valore |
| Modello n. |
VS710 |
| Maximum Joint Diameter |
95mm |
| Lunghezza utensile |
230mm |
| Tool Height |
308mm |
| Tool Width |
182mm |
| Peso dell'articolo |
4.26 libbre |
| Produttore |
Marea |
| Primo disponibile |
6 agosto 2012 |
| Product Shipping Dimensions |
71.65 x 31.1 x 121.26 pollici |
Note: Dimensions provided are approximate and may vary slightly. Product Shipping Dimensions refer to the packaging size.
9. Informazioni sulla garanzia
Sealey products are backed by an excellent 12-month guarantee. Hand tools, including the VS710, often benefit from a lifetime warranty, providing purchasers with added peace of mind. For specific warranty terms and conditions, please refer to the official Sealey websito o contattare il loro servizio clienti.
This warranty covers defects in materials and workmanship under normal use. It does not cover damage resulting from misuse, abuse, alteration, or unauthorized repair.
10. Assistenza clienti
For technical assistance, parts inquiries, or warranty claims, please contact Sealey customer support. Sealey maintains a comprehensive parts service with over 130,000 different parts in stock, ensuring support for all their products.
You can find detailed online instructions and parts lists on the official Sealey website. Please have your model number (VS710) ready when contacting support.
Ufficiale Websito: www.sealey.co.uk


