1. Introduzione
This manual provides essential information for the safe and efficient installation, operation, and maintenance of your Canarm SD30-G1D 30-inch Wall Exhaust Fan. Please read all instructions carefully before installation and use. Retain this manual for future reference.
2. Informazioni sulla sicurezza
AVVERTENZA: rischio di scosse elettriche. Scollegare l'alimentazione prima della manutenzione.
- Always disconnect power at the circuit breaker or fuse box before installing, servicing, or cleaning the fan.
- L'installazione deve essere eseguita da un elettricista qualificato, nel rispetto di tutti i codici elettrici locali e nazionali.
- Assicurarsi che la ventola sia correttamente collegata a terra.
- Non utilizzare il ventilatore con un cavo o una spina danneggiati.
- Keep hands, clothing, and other objects away from moving parts during operation.
- Questo ventilatore è progettato solo per uso interno.
- Non utilizzare questo ventilatore in aree in cui sono presenti materiali infiammabili o esplosivi.
3. Prodotto finitoview
The Canarm SD30-G1D is a 30-inch single-speed wall exhaust fan designed for efficient air movement. Key features include:
- Totally enclosed and thermally protected motor for durability and safety.
- Galvanized blades, well-balanced for efficient airflow.
- Heavy wire chrome-plated OSHA guards for protection.
- Rugged steel welded box housing with a durable powder-coated finish.
- Plastic louver shutters with long-life nylon bushings.
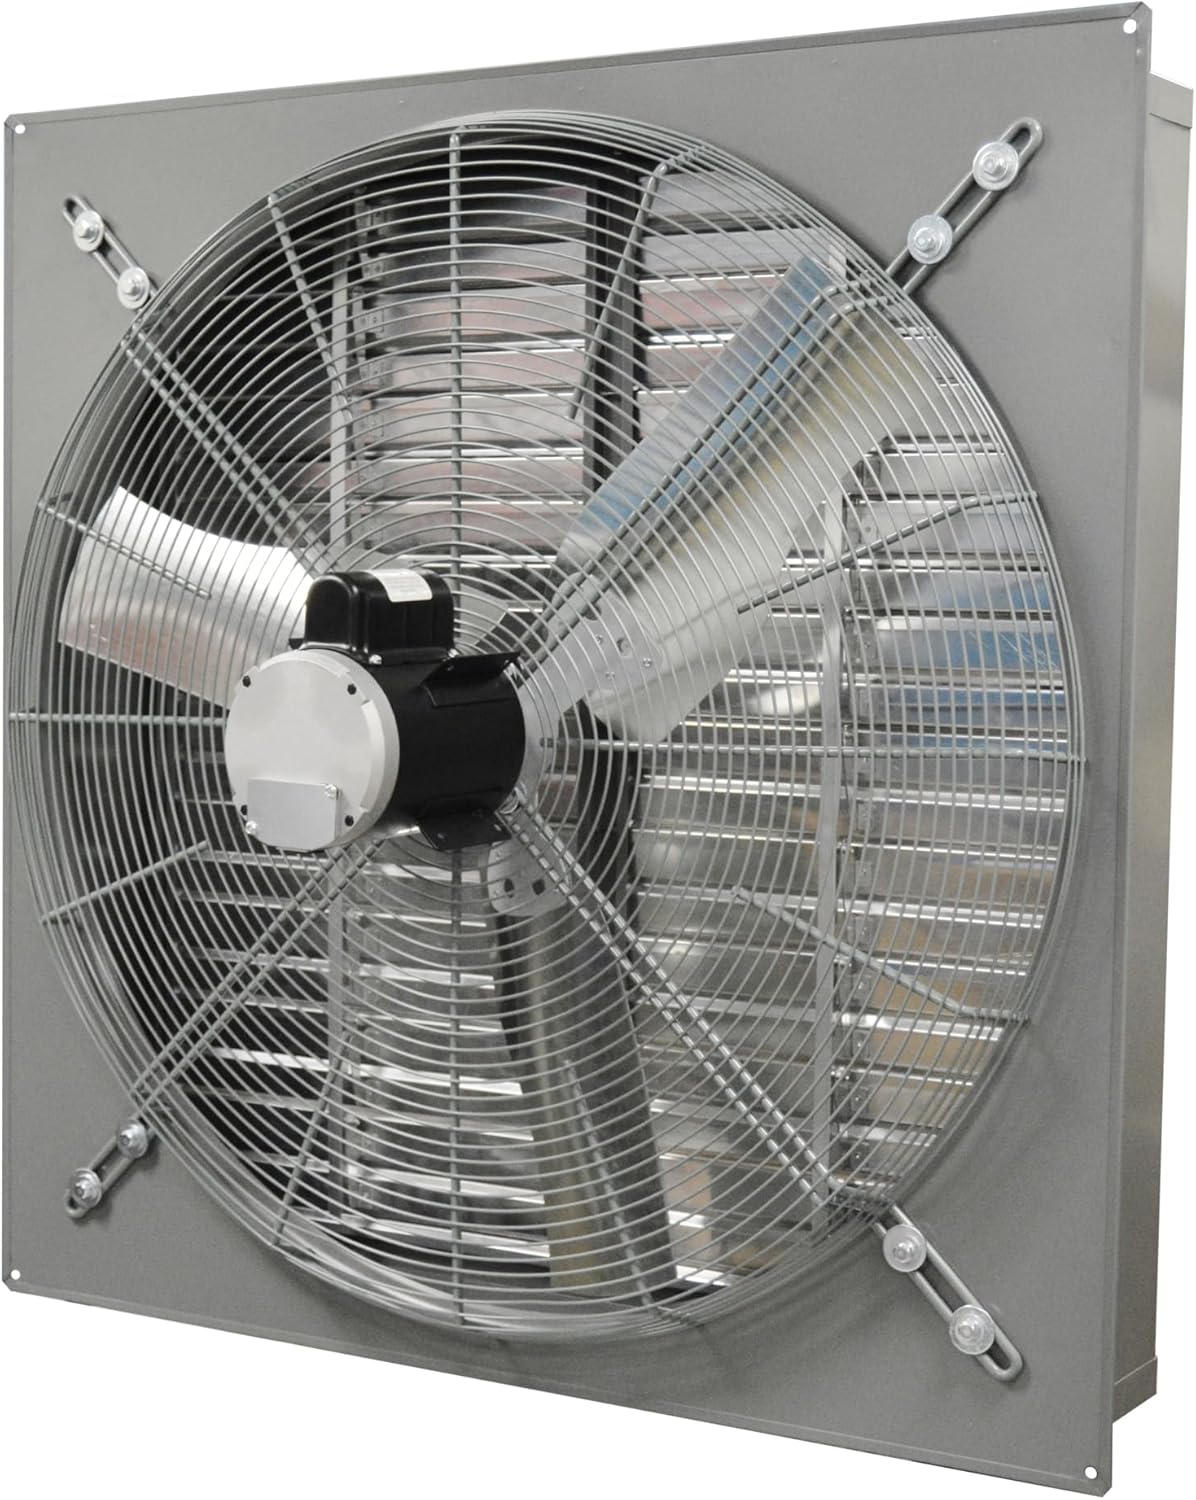
This image displays the front of the Canarm SD30-G1D Wall Exhaust Fan, featuring the galvanized blades and the heavy wire chrome-plated OSHA guard. The durable powder-coated finish on the housing is also visible.
4. Configurazione e installazione
Proper installation is crucial for the fan's performance and safety.
4.1 Controlli pre-installazione
- Verify that the mounting surface is structurally sound and can support the fan's weight (72 pounds).
- Ensure adequate clearance around the fan for proper airflow and maintenance.
- Confirm that the electrical supply matches the fan's requirements (voltage, ampera).
4.2 Istruzioni di montaggio
The fan is designed for wall-mounted installation.
- Select a suitable location on an exterior or interior wall, ensuring it is free from obstructions.
- Create an opening in the wall that accommodates the fan's dimensions (approximately 35.5"W x 35.5"H for the housing).
- Position the fan into the opening, ensuring the housing is flush with the wall surface.
- Secure the fan to the wall structure using appropriate fasteners through the mounting holes on the fan's housing. Ensure all fasteners are tightened securely.
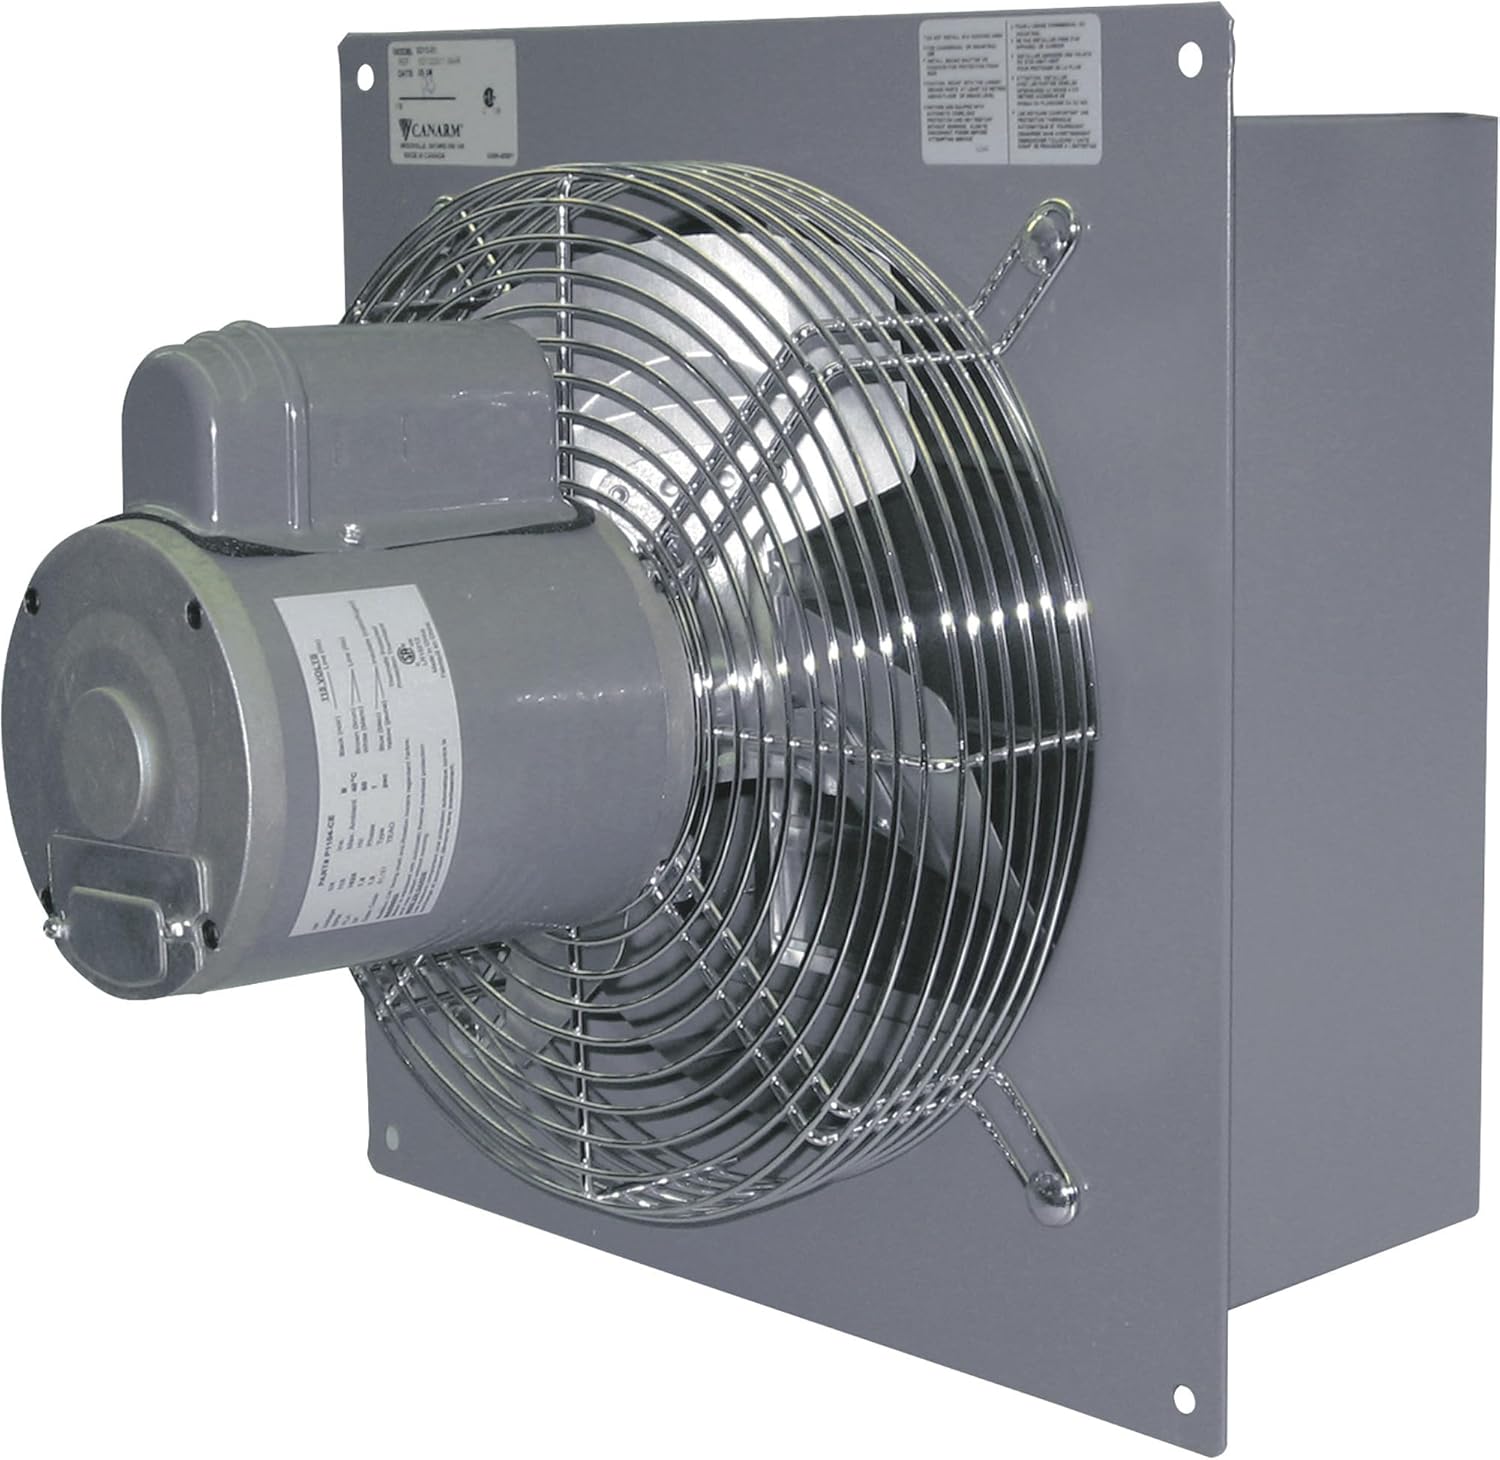
Questa immagine fornisce un lato view of the Canarm SD30-G1D Wall Exhaust Fan, detailing the motor assembly and the robust steel welded box housing. This perspective is useful for understanding how the fan integrates into a wall opening during installation.
4.3 Collegamento elettrico
- Assicurarsi che l'alimentazione sia scollegata alla fonte.
- Connect the fan's corded electric power supply to a suitable electrical circuit. Follow all wiring diagrams provided with the product and adhere to local electrical codes.
- Assicurarsi che tutti i collegamenti siano sicuri e adeguatamente isolati.
- Verificare la corretta messa a terra.
5. Istruzioni per l'uso
The Canarm SD30-G1D fan operates at a single speed and is controlled via a push button mechanism.
- Per attivare: Press the designated push button control. The fan will start operating at its single speed.
- Per spegnere: Press the push button control again. The fan will cease operation.
Ensure the fan's louvers are free from obstructions to allow for optimal airflow.
6. Manutenzione
Una manutenzione regolare garantisce prestazioni ottimali e prolunga la durata del ventilatore.
6.1 Pulizia
- Frequenza: Clean the fan blades, guards, and housing periodically, or as needed, depending on the operating environment.
- Procedura:
- Scollegare l'alimentazione della ventola dall'interruttore automatico.
- Carefully remove any accumulated dust or debris from the fan blades and protective guards using a soft cloth or brush.
- Wipe down the fan housing and plastic louver shutters with a damp stoffa. Evitare l'uso di detergenti o solventi abrasivi.
- Assicurarsi che tutte le parti siano asciutte prima di ripristinare l'alimentazione.
6.2 Manutenzione del motore
The fan features a totally enclosed and thermally protected motor, which requires minimal user maintenance. Do not attempt to lubricate the motor. If the motor exhibits unusual noise or performance issues, contact a qualified service technician.
6.3 Ispezione
Periodically inspect the fan for any signs of wear, damage, or loose connections. Check the integrity of the mounting hardware. Address any issues promptly to prevent further damage or safety hazards.
7. Risoluzione Dei Problemi
Questa sezione affronta i problemi più comuni che potresti riscontrare con il tuo ventilatore.
| Problema | Possibile causa | Soluzione |
|---|---|---|
| La ventola non si accende. | Nessuna alimentazione elettrica. Faulty push button control. Motor thermal overload activated. | Controllare l'interruttore automatico/il fusibile. Assicurarsi che il cavo di alimentazione sia collegato saldamente. Allow motor to cool down; it may reset automatically. If not, contact service. Contact a qualified electrician to inspect the control. |
| Flusso d'aria ridotto. | Dirty blades or guards. Obstruction in front of or behind the fan. Lame danneggiate. | Clean blades and guards (refer to Section 6.1). Rimuovere eventuali ostruzioni. Inspect blades for damage; replace if necessary. |
| Rumori o vibrazioni insoliti. | Hardware di montaggio allentato. Detriti nell'alloggiamento del ventilatore. Damaged or unbalanced blades. Problema motorio. | Stringere tutte le viti di montaggio. Disconnect power and remove debris. Inspect blades for damage or imbalance; replace if necessary. If motor noise persists, contact service. |
If you are unable to resolve an issue using the troubleshooting guide, contact a qualified service technician or the manufacturer for assistance.
8. Specifiche
| Specificazione | Dettaglio |
|---|---|
| Marca | canarm |
| Nome del modello | SD30-G1D |
| Progettazione di ventilatori elettrici | Ventilatore di scarico |
| Misurare | 30 pollici |
| Fonte di alimentazione | Elettrico con cavo |
| Cosatage | 45 watt |
| Numero di livelli di potenza | 1 (velocità singola) |
| Metodo di controllo | Premere il pulsante |
| Tipo di motore | Motore senza spazzole |
| Tipo di installazione | Montaggio a parete |
| Dimensioni del prodotto | 19"P x 35.5"L x 35.5"A |
| Peso dell'articolo | 72 libbre |
| Componenti inclusi | Cavo |
| Uso interno/esterno | Al chiuso |
| Specifica Met | OSHA |
9. Garanzia e supporto
For specific warranty information, please refer to the documentation provided with your purchase or contact Canarm directly. Warranty terms typically cover manufacturing defects for a specified period.
For technical support, replacement parts, or service inquiries, please contact your retailer or the manufacturer. Ensure you have your model number (SD30-G1D) and purchase date available when contacting support.


