Introduzione
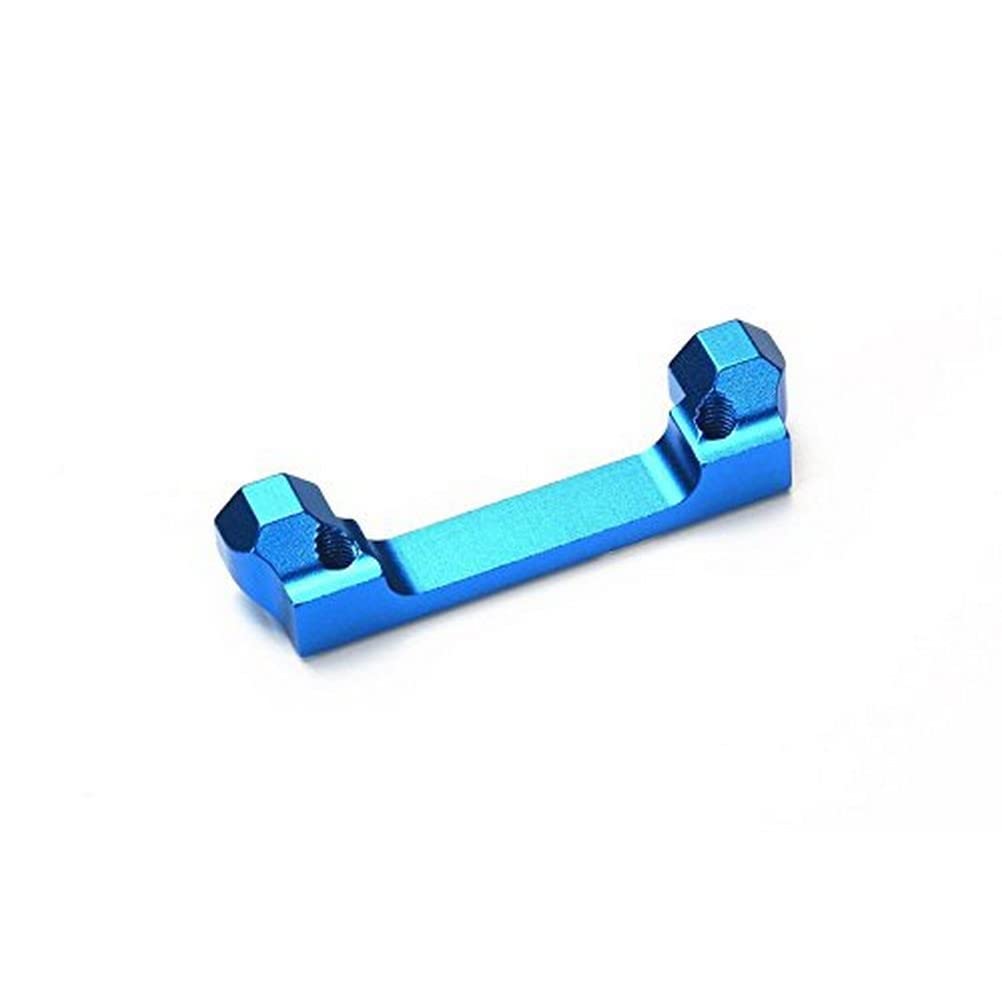
This manual provides instructions for the installation and maintenance of your TAMIYA 54379 Aluminum Suspension Mount. This high-quality aluminum component is designed to replace the standard plastic suspension mount on TAMIYA XJ/XV-01 chassis RC vehicles, enhancing durability and suspension performance. Please read this manual thoroughly before installation and use.
Informazioni sulla sicurezza
Always exercise caution when working with RC models and small parts. Keep out of reach of small children. Wear appropriate eye protection during installation. Refer to your RC vehicle's main instruction manual for general safety guidelines. This product is recommended for users aged 14 years and up.
Contenuto della confezione
Verificare che tutti i componenti siano presenti prima di iniziare l'installazione.
- 1x TAMIYA 54379 Aluminum Suspension Mount (XJ/XV-01)
Guida all'installazione (configurazione)
This section details the steps to replace your vehicle's stock plastic suspension mount with the TAMIYA 54379 Aluminum Suspension Mount.
Strumenti richiesti (non inclusi)
- Cacciavite a croce piccolo
- Small hex wrench (if applicable to your vehicle's screws)
Installazione passo dopo passo
- Preparazione: Ensure your RC vehicle is powered off and the battery is disconnected. Place the vehicle on a clean, stable surface.
- Locate Existing Mount: Identify the plastic suspension mount on your TAMIYA XJ/XV-01 chassis that you intend to replace. Refer to your vehicle's original manual for exact location if unsure.
- Rimuovere le viti: Carefully unscrew and remove the screws securing the plastic suspension mount to the chassis. Keep track of all screws and small parts.
- Remove Plastic Mount: Gently detach the plastic suspension mount from the chassis. Note its orientation for reference.
- Install Aluminum Mount: Position the TAMIYA 54379 Aluminum Suspension Mount in the same location and orientation as the removed plastic mount.
- Montaggio sicuro: Using the original screws, carefully fasten the aluminum mount to the chassis. Do not overtighten, as this can strip threads or damage components. Ensure the mount is securely seated and does not wobble.
- Verifica movimento: Check that the suspension arms connected to the mount can move freely without binding.

Product Function and Benefits (Operating)
The TAMIYA 54379 Aluminum Suspension Mount is an upgrade designed to improve the performance and durability of your RC vehicle.
- Rigidità migliorata: Constructed from aluminum, this mount provides significantly greater rigidity compared to the stock plastic part. This results in smoother and more consistent suspension movement, especially during aggressive driving or off-road conditions.
- Maggiore durata: Aluminum construction offers superior strength, reducing the risk of breakage or deformation during impacts or strenuous use, thereby extending the lifespan of your suspension components.
- Maneggevolezza migliorata: By minimizing flex in the suspension mounting points, the aluminum mount contributes to more precise handling and better control of the vehicle.
- Appello estetico: The blue anodized finish adds a premium, customized look to your RC chassis.
Manutenzione
To ensure the longevity and optimal performance of your aluminum suspension mount:
- Ispezione regolare: Periodically check the mount for any signs of wear, damage, or loose screws.
- Pulizia: Clean the mount with a soft brush or cloth to remove dirt, dust, and debris. Avoid harsh chemicals that may damage the anodized finish.
- Serraggio delle viti: Ensure all screws securing the mount are appropriately tightened. Overtightening can strip threads, while undertightening can lead to loose components.
Risoluzione dei problemi
- Issue: Suspension feels stiff or binds after installation.
- Soluzione: Check for overtightened screws. Ensure no wires or other components are interfering with suspension arm movement. Re-check the alignment of the mount.
- Issue: Mount appears loose or wobbly.
- Soluzione: Verify that all screws are securely tightened. Inspect the chassis mounting points for any damage or wear that might prevent a snug fit.
- Issue: Visible damage to the mount (e.g., bent, cracked).
- Soluzione: If the mount is significantly damaged, it should be replaced to maintain optimal suspension performance and vehicle integrity.
Specifiche
| Caratteristica | Dettaglio |
|---|---|
| Numero di modello | TAMC4379 |
| Numero di parte | 54379 |
| Materiale | Alluminio |
| Tipo di finitura | Anodizzato |
| Colore | Blu |
| Dimensioni del prodotto (L x P x A) | 3.31 x 3.19 x 0.39 pollici |
| Peso dell'articolo | 0.16 once |
| Compatibilità | TAMIYA XJ/XV-01 Chassis RC Vehicles |
Garanzia e supporto
For warranty information or technical support regarding your TAMIYA 54379 Aluminum Suspension Mount, please refer to the official TAMIYA website or contact your authorized TAMIYA dealer. Keep your purchase receipt as proof of purchase.


