1. Importanti istruzioni di sicurezza
Always observe basic safety precautions when using this circular saw to reduce the risk of fire, electric shock, and serious personal injury. Read and understand all instructions before operating the tool.

Immagine 1.1: Warning label on the Ryobi P506 circular saw, highlighting critical safety information regarding blade guarding, two-hand operation, and battery removal for adjustments.
- Sicurezza dell'area di lavoro: Mantenere l'area di lavoro pulita e ben illuminata. Aree disordinate o buie possono favorire incidenti. Non utilizzare utensili elettrici in atmosfere esplosive, ad esempio in presenza di liquidi, gas o polveri infiammabili.
- Sicurezza elettrica: Questo utensile è alimentato a batteria. Assicurarsi che la batteria sia compatibile con l'utensile. Non esporre gli utensili elettrici alla pioggia o all'umidità.
- Sicurezza personale: Indossare sempre protezioni per gli occhi. Utilizzare protezioni acustiche quando si utilizzano utensili elettrici. Vestirsi in modo appropriato; evitare abiti larghi o gioielli. Raccogliere i capelli lunghi.
- Uso e cura dello strumento: Non forzare l'utensile elettrico. Utilizzare l'utensile elettrico corretto per l'applicazione. Scollegare la batteria dall'utensile elettrico prima di effettuare qualsiasi regolazione, sostituire accessori o riporre l'utensile elettrico.
- Sicurezza specifica per la sega circolare:
- Always hold the saw firmly with both hands.
- Assicurarsi che la protezione della lama funzioni liberamente e si chiuda immediatamente.
- Avoid kickback by maintaining proper grip, body position, and using a sharp blade.
- Never reach underneath the workpiece when the blade is rotating.
2. Prodotto finitoview
The Ryobi P506 18V ONE+ Cordless 5-1/2 Inch Circular Saw is designed for efficient cutting of wood and similar materials. It features an integrated laser guide for enhanced precision and a 50-degree bevel capacity for angled cuts.

Immagine 2.1: Davanti view of the Ryobi P506 circular saw, showing the blade, handle, and motor housing.
Componenti chiave:
- Impugnatura principale: Per una presa e un controllo primari.
- Maniglia ausiliaria: For two-hand operation and stability.
- Interruttore a grilletto: Attiva la sega.
- Pulsante di blocco: Impedisce l'avviamento accidentale.
- Protezione della lama (superiore e inferiore): Protects the blade.
- Lama: 5-1/2 inch carbide-tipped blade.
- Piastra di base (scarpa): Sostiene la sega sul pezzo in lavorazione.
- Leva di regolazione della profondità: Adjusts cutting depth.
- Leva di regolazione dello smusso: Adjusts cutting angle.
- Guida laser: Projects a line for accurate cuts.
- Porta batteria: For 18V ONE+ battery pack.
3. Impostazione
3.1 Installazione della batteria
The Ryobi P506 operates with any Ryobi 18V ONE+ battery pack (sold separately).
- Assicurarsi che la sega sia spenta e che il pulsante di blocco sia inserito.
- Align the ribs on the battery pack with the grooves in the saw's battery port.
- Inserire la batteria nella porta finché non scatta in posizione.
- Per rimuoverla, premere i fermi di rilascio sul pacco batteria ed estrarla.

Immagine 3.1: Lato view of the Ryobi P506, showing the battery port where the 18V ONE+ battery pack is inserted.
3.2 Installazione e rimozione della lama
Scollegare sempre la batteria prima di installare o rimuovere la lama.
- Place the saw on a flat surface with the blade side up.
- Premere e tenere premuto il pulsante di blocco del mandrino per impedire alla lama di ruotare.
- Using the provided blade wrench, loosen the blade nut by turning it counter-clockwise.
- Remove the blade nut, outer washer, and the old blade.
- Install the new 5-1/2 inch blade with the teeth pointing in the direction of the arrow on the blade guard.
- Replace the outer washer and blade nut. Tighten the blade nut securely by turning it clockwise while holding the spindle lock button. Do not overtighten.
3.3 Regolazione della profondità
Adjust the cutting depth to be approximately 1/8 inch (3 mm) deeper than the material being cut. This ensures a clean cut and reduces kickback risk.
- Scollegare il pacco batteria.
- Allentare la leva di regolazione della profondità.
- Sollevare o abbassare la piastra di base per ottenere la profondità di taglio desiderata.
- Serrare saldamente la leva di regolazione della profondità.

Immagine 3.2: View of the depth adjustment lever on the Ryobi P506 circular saw, used to set the cutting depth.
3.4 Regolazione dello smusso
La sega può effettuare tagli obliqui fino a 50 gradi.
- Scollegare il pacco batteria.
- Allentare la leva di regolazione dello smusso.
- Inclinare la piastra di base all'angolazione desiderata, allineando l'indicatore con la scala angolare.
- Serrare saldamente la leva di regolazione dell'inclinazione.
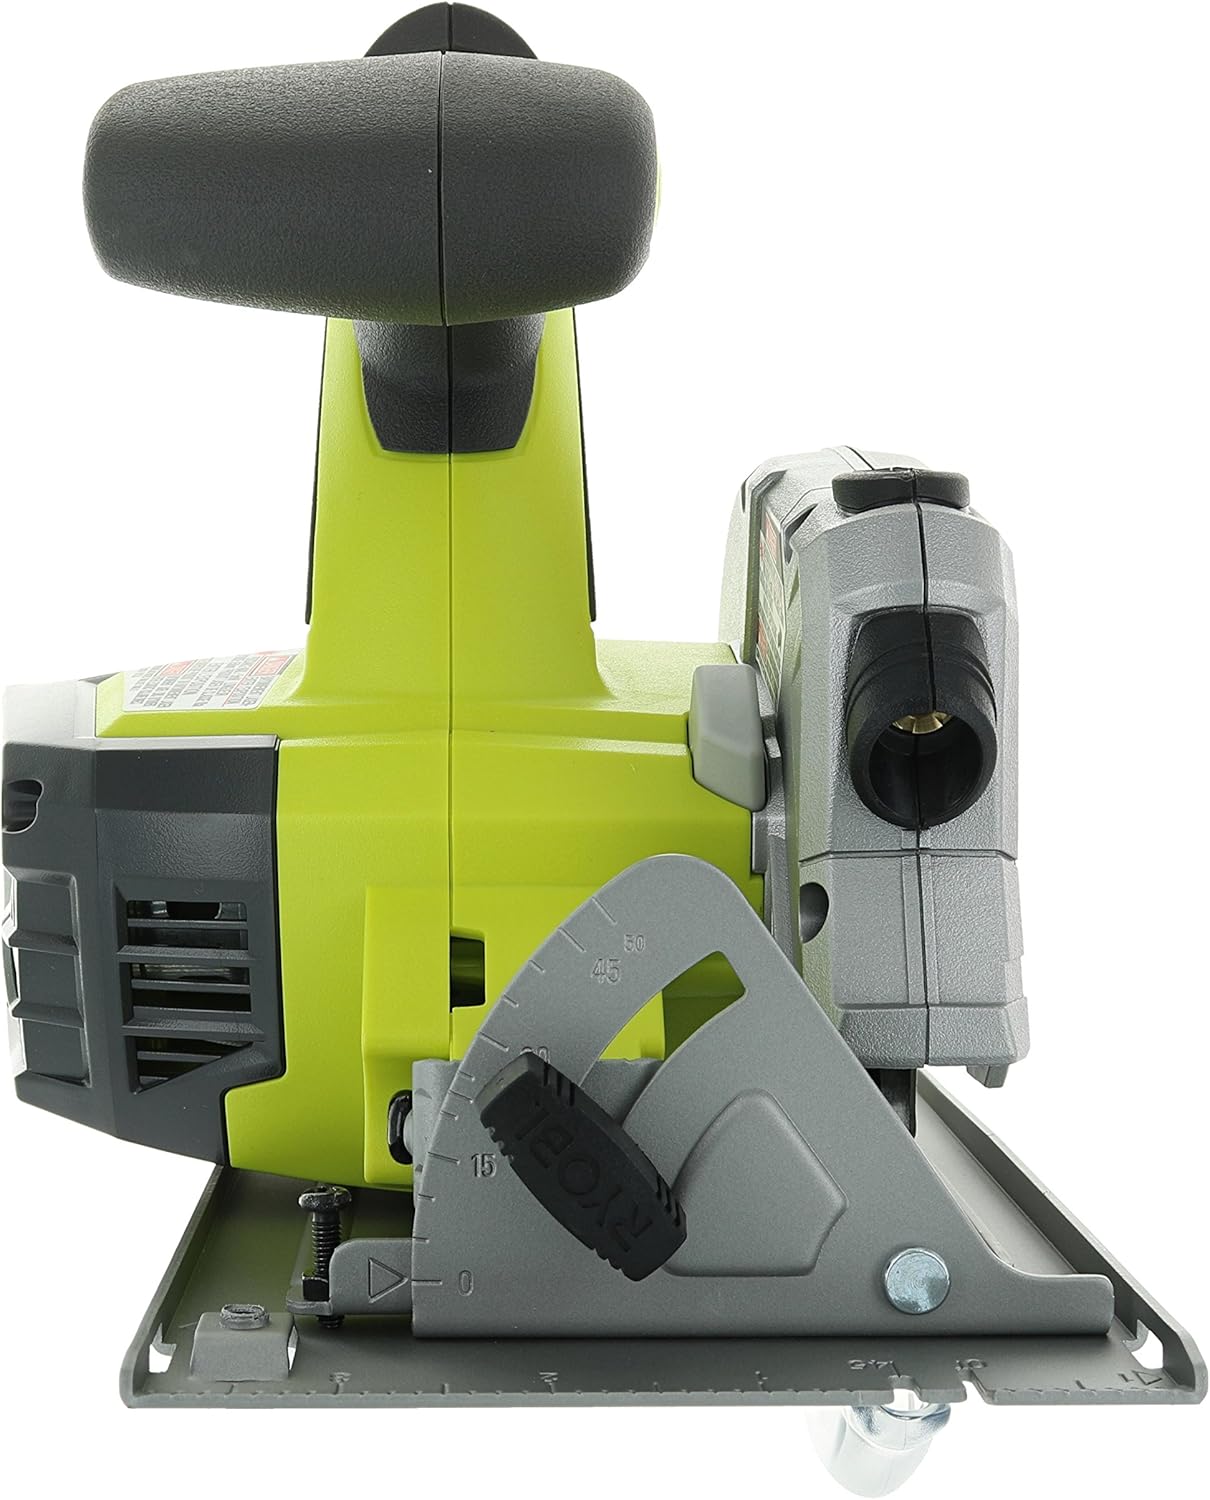
Immagine 3.3: View of the bevel adjustment mechanism on the Ryobi P506 circular saw, allowing for angled cuts.
4. Funzionamento
4.1 Avvio e arresto della sega
- To start the saw, depress the lock-off button with your thumb, then squeeze the trigger switch.
- To stop the saw, release the trigger switch. The blade will stop rotating.
4.2 Effettuare tagli
Prima di tagliare, assicurarsi che il pezzo in lavorazione sia ben fissatoamped and the cutting line is clearly marked.
- Tenere saldamente la sega con entrambe le mani, una sull'impugnatura principale e una sull'impugnatura ausiliaria.
- Posizionare il bordo anteriore della piastra di base sul pezzo in lavorazione, assicurandosi che la lama non tocchi il materiale.
- Start the saw and allow the blade to reach full speed before entering the material.
- Slowly push the saw forward along the cutting line, maintaining a steady, even pressure. Do not force the saw.
- Una volta completato il taglio, rilasciare l'interruttore a grilletto e lasciare che la lama si fermi completamente prima di sollevare la sega dal pezzo in lavorazione.
4.3 Laser Guide Use
The integrated laser guide projects a red line onto the workpiece, indicating the cutting path for improved accuracy. The laser activates automatically when the trigger is pressed.
- Allineare la linea laser proiettata con la linea di taglio contrassegnata sul pezzo in lavorazione.
- Maintain alignment throughout the cut for precise results.
- Periodically check the laser's alignment for accuracy.
5. Manutenzione
Regular maintenance ensures optimal performance and extends the life of your circular saw. Always disconnect the battery pack before performing any maintenance.
5.1 Pulizia
- Keep the tool's air vents clean and free of debris to prevent overheating.
- Pulire l'alloggiamento dell'utensile con un panno morbido eamp stoffa. Non utilizzare prodotti chimici aggressivi o detergenti abrasivi.
- Regularly clean the base plate and blade guard to ensure smooth operation.
5.2 Cura della lama
- Use only sharp, undamaged blades. Dull or damaged blades can cause kickback and reduce cutting efficiency.
- Clean resin and sawdust buildup from the blade regularly using a suitable blade cleaner.
- Replace blades when they become dull or show signs of damage.
5.3 Ispezione generale
- Controllare che tutte le viti e gli elementi di fissaggio siano ben serrati.
- Inspect the power tool for any damaged parts. If any part is damaged, have it repaired by a qualified service technician before further use.
- Ensure the lower blade guard moves freely and retracts properly.
6. Risoluzione Dei Problemi
Questa sezione affronta i problemi più comuni che potresti riscontrare con la tua sega circolare Ryobi P506.
| Problema | Possibile causa | Soluzione |
|---|---|---|
| Saw non si avvia | Battery not installed correctly or discharged; Lock-off button not depressed; Faulty switch. | Ensure battery is fully charged and properly seated. Depress lock-off button before squeezing trigger. If issue persists, seek professional service. |
| Scarse prestazioni di taglio / Lama che si inceppa | Dull or dirty blade; Incorrect cutting depth; Forcing the saw; Workpiece not properly supported. | Replace or clean blade. Adjust cutting depth. Allow saw to work at its own pace. Securely clamp pezzo. |
| Vibrazione eccessiva | Damaged blade; Loose blade nut; Damaged tool components. | Inspect and replace damaged blade. Tighten blade nut. If vibration continues, discontinue use and seek service. |
| Laser guide not visible or inaccurate | Dirty laser lens; Strong ambient light; Misalignment. | Clean laser lens. Use in appropriate lighting conditions. Refer to the full operator's manual for laser alignment procedures if necessary. |
7. Specifiche
| Caratteristica | Specificazione |
|---|---|
| Numero di modello | P506 |
| Fonte di alimentazione | Battery Powered (18V ONE+ Lithium Ion) |
| Diametro lama | 5-1/2 pollici |
| Velocità a vuoto | 4700 giri al minuto |
| Max Cutting Angle | 50 gradi |
| Peso dell'articolo | 2.2 libbre (senza batteria) |
| Dimensioni del prodotto | 12 cm L x 5.5 cm P x 12 cm A |
| Caratteristica speciale | Integrated Laser Guide, Brushless Motor |
| Componenti inclusi | 5-1/2 in. blade, blade wrench, operator's manuals (Battery not included) |
8. Garanzia e supporto
This Ryobi P506 circular saw comes with a limited warranty. For specific warranty details, including duration and coverage, please refer to the official warranty documentation included with your product or visit the official Ryobi websito.
For technical support, replacement parts, or service inquiries, please contact Ryobi customer service. Contact information can typically be found in your product's operator's manual or on the Ryobi official websito.
Always use genuine Ryobi replacement parts to ensure compatibility and maintain product safety and warranty validity.


