1. Introduzione
Grazie per l'acquistoasing the Sharp XL-HF201P Micro Hi-Fi System. This system is designed to provide high-quality audio playback from various sources, including CDs, USB devices, and iPods. This manual provides essential information for the safe and efficient operation of your new audio system. Please read it thoroughly before use and retain it for future reference.
2. Informazioni importanti sulla sicurezza
- Fonte di energia: Collegare l'unità solo a una presa CA del volumetage specificato sul pannello posteriore dell'unità.
- Ventilazione: Assicurare una ventilazione adeguata. Non ostruire le aperture di ventilazione. Evitare di posizionare l'unità su superfici morbide che potrebbero ostruire le prese d'aria.
- Acqua e umidità: Non esporre l'unità a pioggia, umidità o liquidi che gocciolano/spruzzano. Non posizionare oggetti contenenti liquidi, come vasi, sull'unità.
- Calore: Tenere l'unità lontana da fonti di calore quali radiatori, bocchette di riscaldamento, stufe o altri apparecchi (inclusi amplificatori) che producono calore.
- Pulizia: Scollegare l'unità dalla presa a muro prima di pulirla. Utilizzare solo un panno asciutto.
- Manutenzione: Non tentare di riparare questo prodotto da soli. Affidare tutte le operazioni di manutenzione a personale di assistenza qualificato.
3. Contenuto della confezione
Si prega di verificare che tutti gli articoli elencati di seguito siano inclusi nel pacchetto:
- Main Unit (CD Player/Receiver)
- Left Speaker (x1)
- Right Speaker (x1)
- Telecomando (con 2 batterie AA)
- Antenna FM
- Antenna ad anello AM
- Cavo di alimentazione
- Manuale di istruzioni (questo documento)
4. Impostazione
4.1 Disimballaggio e posizionamento
Carefully remove all components from the packaging. Place the main unit and speakers on a stable, flat surface. Ensure there is sufficient space around the unit for proper ventilation.
4.2 Collegamento degli altoparlanti
Connect the speaker wires to the corresponding terminals on the main unit and speakers. Match the positive (+) and negative (-) terminals. For optimal sound, ensure the wires are securely connected. If the speaker wires do not insert directly into the screw-knobs, wrap the bare wire ends around the terminal posts and then tighten the screw-knobs to secure them.
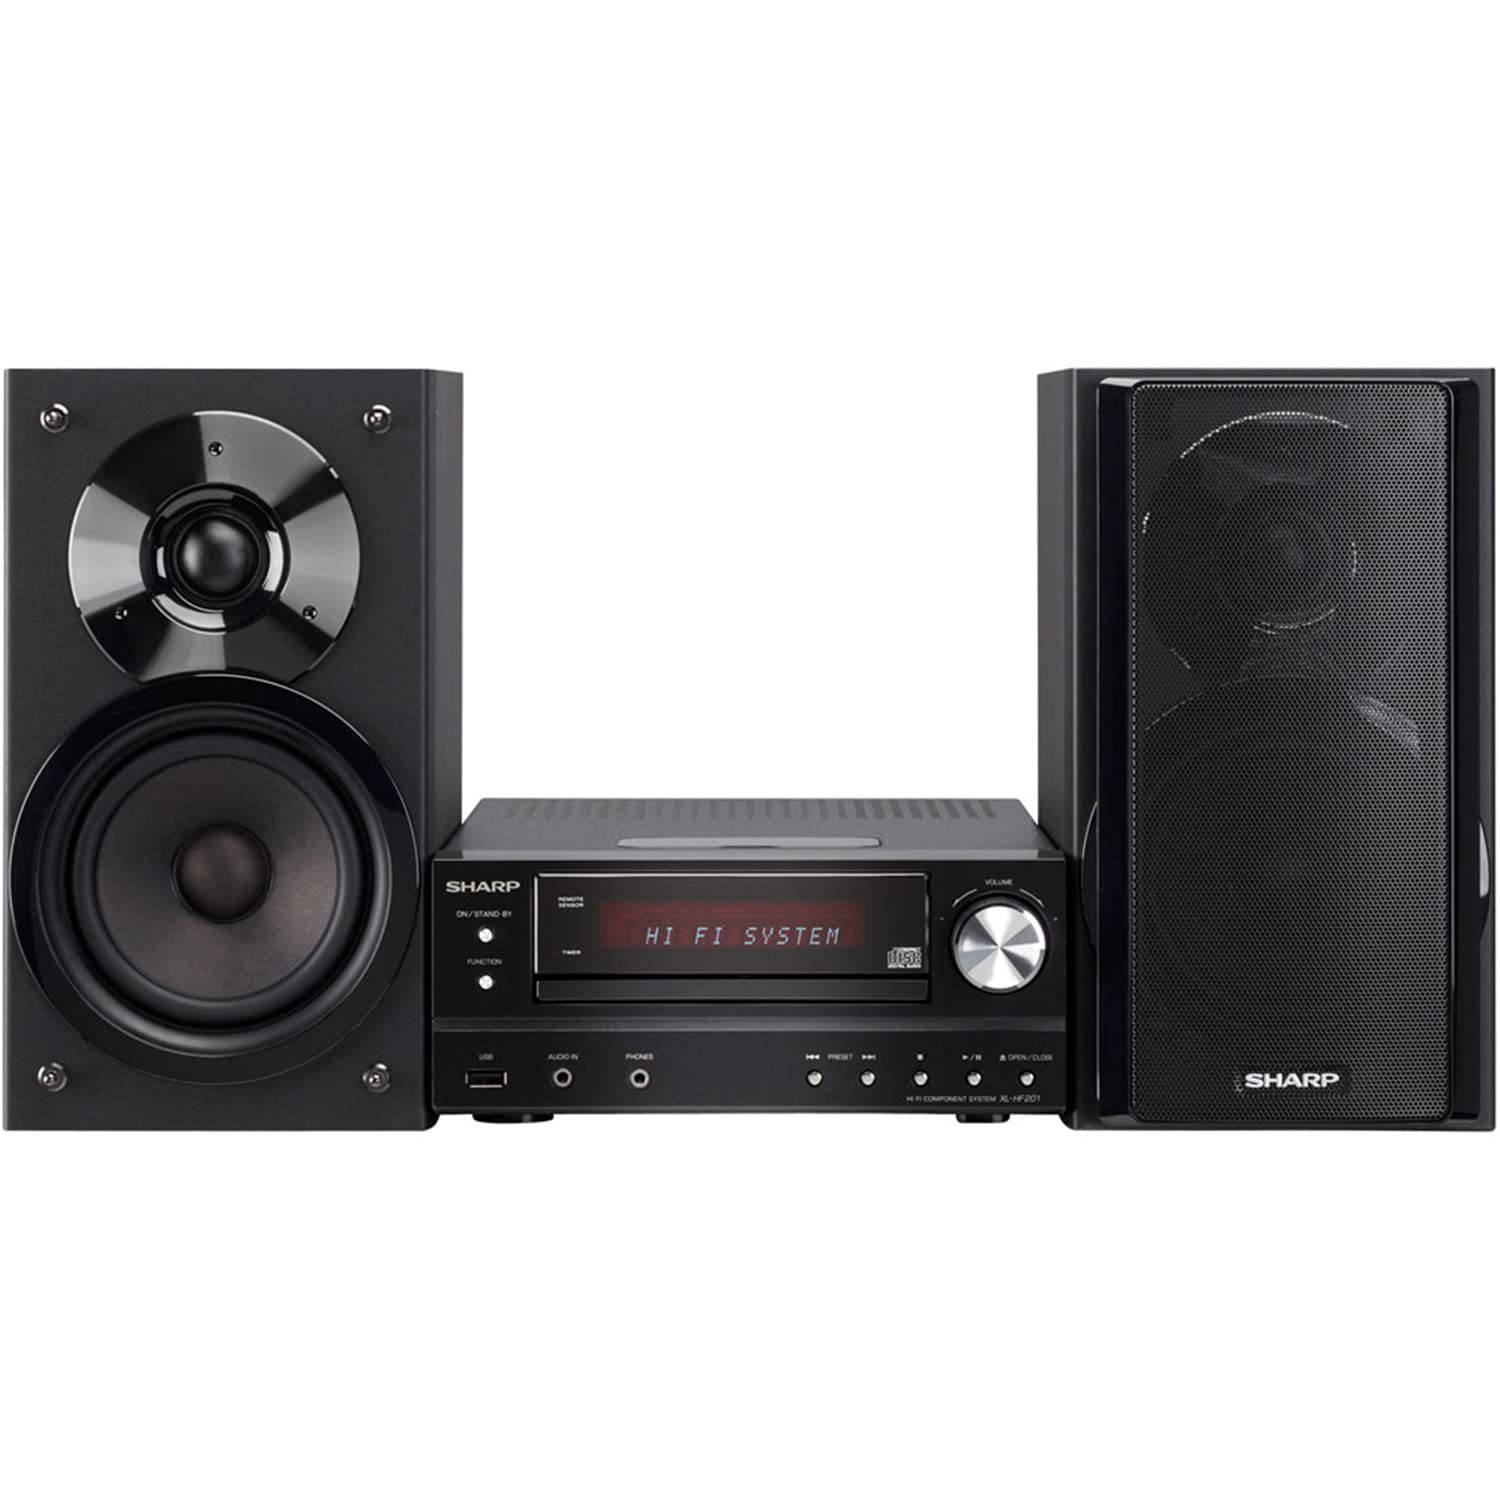
Image 4.2.1: The Sharp XL-HF201P Micro Hi-Fi System, showing the main unit and two speakers. This image illustrates the overall appearance of the system, which includes a central receiver with a CD tray and an iPod dock on top, flanked by two dark-colored speakers.
4.3 Collegamento delle antenne
- Antenna FM: Connect the supplied FM wire antenna to the FM antenna terminal on the rear of the main unit. Extend the wire for better reception.
- Antenna AM: Assemble the AM loop antenna and connect it to the AM antenna terminals. Position the antenna for optimal AM reception.
4.4 Collegamento di alimentazione
After all other connections are made, plug the power cord into the AC inlet on the rear of the main unit, then plug the other end into a wall outlet.
5. Istruzioni per l'uso
5.1 Accensione/spegnimento
Premere il tasto ENERGIA pulsante sul pannello frontale o sul telecomando per accendere o spegnere l'unità (modalità standby).
5.2 Selezione della sorgente
Premere il tasto FUNZIONE button on the front panel or the remote control repeatedly to cycle through available sources: CD, USB, iPod, FM, AM, AUX.
5.3 Riproduzione CD
- Selezionare il CD funzione.
- Premere il tasto APRI/CHIUDI pulsante per aprire il vassoio del CD.
- Place a CD (CD-DA, MP3, WMA) with the label side up on the tray.
- Premere APRI/CHIUDI di nuovo per chiudere il vassoio. La riproduzione inizierà automaticamente.
- Utilizzo RIPRODUCI/PAUSA, FERMARE, SALTARE Pulsanti (avanti/indietro) per il controllo.
5.4 Riproduzione USB
- Insert a USB device (containing MP3 or WMA files) nella porta USB sul pannello frontale.
- Selezionare il USB funzione.
- Playback will begin automatically or you may need to select a track.
- Utilizzo RIPRODUCI/PAUSA, FERMARE, SALTARE pulsanti per il controllo.
5.5 Dock per iPod/iPhone
- Carefully place your compatible iPod or iPhone onto the dock connector on top of the main unit.
- Selezionare il L'iPod funzione.
- Your device will begin charging and you can control playback using the system's remote or your device's controls.
5.6 Sintonizzazione radio
- Selezionare il FM or AM funzione.
- Utilizzare il ACCORDATURA buttons (or knob on the unit) to manually tune to a station.
- Premere e tenere premuto il tasto ACCORDATURA buttons for automatic station scanning.
- Per preimpostare le stazioni, sintonizzarsi sulla stazione desiderata, quindi premere MEMORIA seguito da un pulsante con un numero preimpostato.
5.7 Controllo del volume
Regolare il volume utilizzando il VOLUME +/- buttons on the remote control or the volume knob on the main unit.
6. Manutenzione
6.1 Pulizia dell'unità
Wipe the exterior of the unit with a soft, dry cloth. Do not use abrasive cleaners, waxes, or solvents as they may damage the finish. For stubborn stains, lightly dampen the cloth with water and mild detergent, then wipe dry.
6.2 Cura delle lenti CD
Avoid touching the CD lens. If the lens becomes dirty, use a commercially available CD lens cleaner. Do not use compressed air or liquid cleaners directly on the lens.
7. Risoluzione Dei Problemi
| Problema | Possibile causa | Soluzione |
|---|---|---|
| Nessun potere | Cavo di alimentazione non collegato saldamente. | Controllare il collegamento del cavo di alimentazione all'unità e alla presa a muro. |
| Nessun suono | Volume is too low or muted. Speaker wires are not connected correctly. | Increase volume. Check speaker wire connections, ensuring correct polarity (+/-). |
| Il CD non viene riprodotto | CD is dirty, scratched, or inserted incorrectly. Incorrect function selected. | Clean or replace CD. Insert CD with label side up. Select CD function. |
| Dispositivo USB non riconosciuto | Il dispositivo USB non è formattato correttamente o contiene dati non supportati files. | Ensure USB device is FAT16/FAT32 formatted and contains MP3/WMA files. Try another USB device. |
| Scarsa ricezione radio | Antenna not properly positioned or connected. Interference. | Adjust antenna position. Move unit away from other electronic devices. |
| Il telecomando non funziona | Le batterie sono scariche o inserite in modo errato. Ostruzione tra il telecomando e l'unità. | Replace batteries (2 AA). Ensure clear line of sight to the unit's remote sensor. |
8. Specifiche
- Marca: Affilato
- Modello: XL-HF201P
- Potenza di uscita: 100 Watt RMS
- Supporti supportati: CD-DA, MP3, WMA (CD, USB)
- Connettività: USB, iPod Dock, AUX Input, FM/AM Tuner
- Tipo di altoparlante: Subwoofers (integrated into speaker design)
- Fonte di energia: Elettrico con cavo
- Dimensioni del prodotto (unità principale): Circa 13 x 15.09 x 20.15 pollici
- Peso dell'articolo: Circa 20.3 libbre
- Batterie (telecomando): 2 batterie AA (incluse)
9. Garanzia e supporto
For warranty information and customer support, please refer to the warranty card included with your product or visit the official Sharp website. You may also contact Sharp customer service directly for assistance with product registration, technical support, or service inquiries.
Supporto online: www.sharpusa.com


