1. Introduzione
This manual provides comprehensive instructions for the installation, operation, and maintenance of the Intel D945GCNL MicroATX Motherboard. This motherboard is designed for desktop systems, featuring the Intel 945GC Chipset and an LGA775 socket, supporting DDR2 SDRAM. Please read this manual thoroughly before proceeding with installation to ensure proper setup and functionality.
2. Prodotto finitoview
The Intel D945GCNL motherboard integrates essential components for a desktop computing system. Familiarize yourself with the layout and connectors before installation.

Figura 2.1: Angolato view of the Intel D945GCNL MicroATX Motherboard. This image displays the overall layout, including the CPU socket, RAM slots, expansion slots, and the rear I/O panel connectors such as PS/2 ports, USB ports, Ethernet, and audio jacks.

Figura 2.2: Top-down view of the Intel D945GCNL Motherboard. This perspective clearly shows the LGA775 CPU socket, two DDR2 DIMM slots, the chipset heatsink, and various power connectors and headers for front panel controls.

Figura 2.3: Rear I/O Panel of the Intel D945GCNL Motherboard. This image details the available external ports, including PS/2 ports for keyboard and mouse, serial port, parallel port, VGA output, USB 2.0 ports, Ethernet port, and 3.5mm audio jacks.
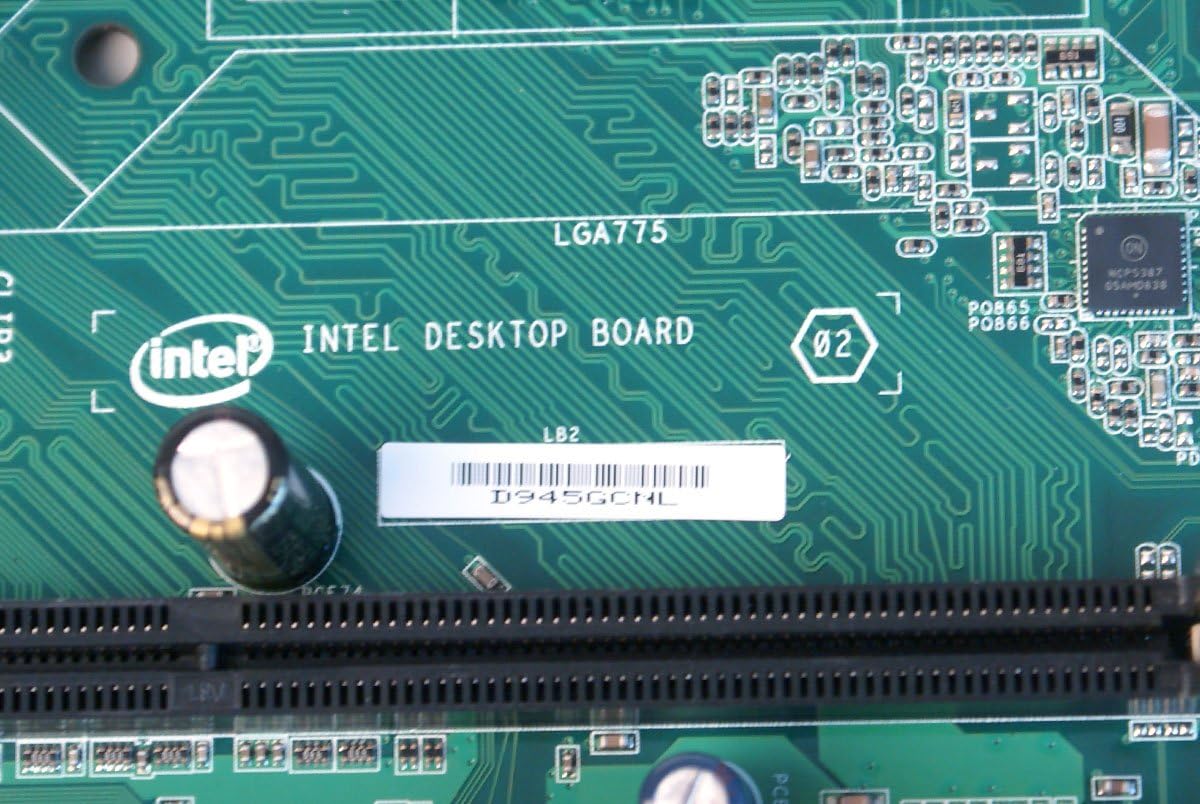
Figura 2.4: Avvicinamento view of the Intel D945GCNL model designation printed on the motherboard's PCB, confirming the specific model.
3. Configurazione e installazione
Follow these steps carefully to install your Intel D945GCNL motherboard into a compatible computer chassis.
- Preparazione: Ensure you are working in a static-free environment. Use an anti-static wrist strap or frequently touch a grounded metal object to discharge static electricity. Gather necessary tools: screwdriver, thermal paste, and your compatible components (CPU, RAM, power supply, storage).
- Installazione CPU:
- Individuare il socket della CPU LGA775 sulla scheda madre.
- Gently lift the load lever and open the CPU retention plate.
- Align the Intel Core 2 DUO processor with the socket, matching the gold triangle on the CPU to the triangle on the socket. Do not force the CPU into the socket.
- Close the retention plate and secure the load lever.
- Applicare uno strato sottile e uniforme di pasta termica sulla parte superiore della CPU.
- Installare il dissipatore della CPU seguendo le istruzioni del produttore, assicurandosi che aderisca saldamente alla CPU.
- Installazione RAM:
- Identify the two DDR2 DIMM slots.
- Aprire le clip su entrambe le estremità dello slot RAM.
- Align the notch on the DDR2 SDRAM module with the key in the slot.
- Premere con decisione su entrambe le estremità del modulo di memoria finché le clip non scattano in posizione.
- Montaggio della scheda madre:
- Install standoffs in your computer chassis that align with the screw holes on the D945GCNL motherboard.
- Carefully place the motherboard onto the standoffs, ensuring the rear I/O ports align with the chassis' I/O shield (if available).
- Secure the motherboard with screws, but do not overtighten.
- Collegamenti di alimentazione:
- Collegare il connettore di alimentazione principale ATX a 24 pin dell'alimentatore al connettore corrispondente sulla scheda madre.
- Connect the 4-pin ATX 12V power connector (CPU power) to its designated header near the CPU socket.
- Connessioni periferiche:
- Connect SATA or IDE cables for storage drives (hard drives, SSDs, optical drives).
- Connect front panel headers (power button, reset button, HDD LED, power LED, front USB, front audio) to their respective pins on the motherboard. Refer to the motherboard's silkscreen labels for correct orientation.
- Install any necessary expansion cards (e.g., graphics card) into the PCI or PCI Express slots and secure them.
4. Istruzioni per l'uso
Once the motherboard and all components are installed, you can proceed with initial system startup.
- Avvio iniziale: Connect your monitor, keyboard, and mouse. Power on the system. The system should display the BIOS splash screen.
- Accesso al BIOS/UEFI: Durante l'avvio, premere ripetutamente il tasto F2 or Eliminare key (depending on BIOS version) to enter the BIOS setup utility. Here you can configure boot order, system time, and other hardware settings.
- Installazione del sistema operativo: Insert your operating system installation media (USB drive or DVD) and configure the boot order in BIOS to boot from it. Follow the on-screen instructions to install your preferred operating system.
- Installazione del driver: After the operating system is installed, install the necessary drivers for the motherboard's chipset, audio, network, and integrated graphics. These drivers are typically available on Intel's official support websito.
5. Manutenzione
Una corretta manutenzione garantisce la longevità e le prestazioni stabili della scheda madre.
- Rimozione della polvere: Periodically clean the interior of your computer case, especially the motherboard and CPU cooler, using compressed air. Ensure the system is powered off and unplugged before cleaning.
- Aggiornamenti del BIOS: Check Intel's official website for the latest BIOS updates. BIOS updates can improve compatibility, stability, and performance. Follow Intel's instructions carefully when updating the BIOS to avoid system damage.
- Aggiornamenti driver: Keep your system drivers updated. Visit the Intel support website for the latest chipset, audio, and network drivers for the D945GCNL motherboard.
6. Risoluzione Dei Problemi
Se riscontri problemi con la scheda madre, fai riferimento ai seguenti passaggi comuni per la risoluzione dei problemi:
- Il sistema non si accende:
- Verify that the power supply is connected correctly to both the motherboard (24-pin and 4-pin connectors) and the wall outlet.
- Assicurarsi che il cavo del pulsante di accensione del pannello frontale sia collegato correttamente al connettore della scheda madre.
- Test the power supply with another system or a power supply tester if possible.
- No Display (No POST):
- Check that the monitor is properly connected to the motherboard's VGA port or a dedicated graphics card.
- Reinstallare i moduli RAM. Provare ad avviare il computer con un solo modulo RAM installato.
- Ensure the CPU and CPU cooler are correctly installed and the CPU power cable is connected.
- Listen for any beep codes from the motherboard, which can indicate specific hardware issues. Consult the Intel support website for beep code interpretations.
- Periferiche non rilevate:
- Verify that USB devices are connected to functional USB ports.
- Ensure SATA/IDE cables are securely connected to both the motherboard and the storage device.
- Check device manager in your operating system for driver issues or unrecognized hardware.
- Missing I/O Shield: Please note that some motherboard packages may not include a rear I/O shield. This component is often sold separately or may need to be sourced independently if required for your chassis.
7. Specifiche
| Marca | Intel |
| Numeri di modello | D945GCNL, D97184-107, BTNL846003AN |
| Fattore di forma | MicroATX (mATX) |
| Presa CPU | LGA775 |
| Processori compatibili | Intel Core 2 DUO |
| Tipo di chipset | Intel 945GC Express, Intel ICH7 |
| Tecnologia della memoria RAM | DDR2 SDRAM (DIMM) |
| Slot di memoria disponibili | 2 |
| Dimensione massima della memoria RAM | 2 GB |
| Interfaccia della scheda grafica | PCI, PCI Express |
| Approximate Dimensions (Board) | Derived from package dimensions: Approximately 9.6 x 9.3 inches (24.4 cm x 23.6 cm) for MicroATX standard. |
| Produttore | Intel |
| Data prima disponibilità | 18 ottobre 2012 |
8. Garanzia e supporto
For detailed warranty information, technical support, and additional resources, please visit the official Intel website. You can find drivers, BIOS updates, and further documentation specific to the D945GCNL motherboard.
Visit the Intel Store on Amazon for more Intel products and information.


