1. Introduzione
This manual provides essential information for the safe and effective use of your Leica M (Typ 240) Digital Rangefinder Camera, model 10770. The Leica M is engineered for superior image quality, precise focusing, and robust performance, featuring a 24-megapixel CMOS sensor and the Leica Maestro image processor.
Le caratteristiche principali includono:
- High-resolution 24-megapixel CMOS sensor for exceptional detail.
- Fast Leica Maestro image processor for rapid image handling.
- Vivere View with 10x magnification and Focus Peaking for precise focusing.
- Splash-proof camera body for enhanced durability.
- 3-inch TFT LCD screen with 920,000 pixels and Corning Gorilla glass protection.
- Full 1080p HD video recording capabilities.
2. Impostazione
2.1 Disimballaggio e controllo dei contenuti
Carefully unpack your camera and verify that all components are present. The standard package for model 10770 includes the camera body only. Inspect the camera for any signs of damage before proceeding.
2.2 Installazione della batteria
The Leica M (Typ 240) uses one Lithium Metal battery (included). To install the battery:
- Individuare il coperchio del vano batteria, solitamente nella parte inferiore della fotocamera.
- Aprire il coperchio ruotando il meccanismo di bloccaggio.
- Inserire la batteria rispettando la polarità indicata all'interno del vano.
- Chiudere saldamente il coperchio del vano batterie.
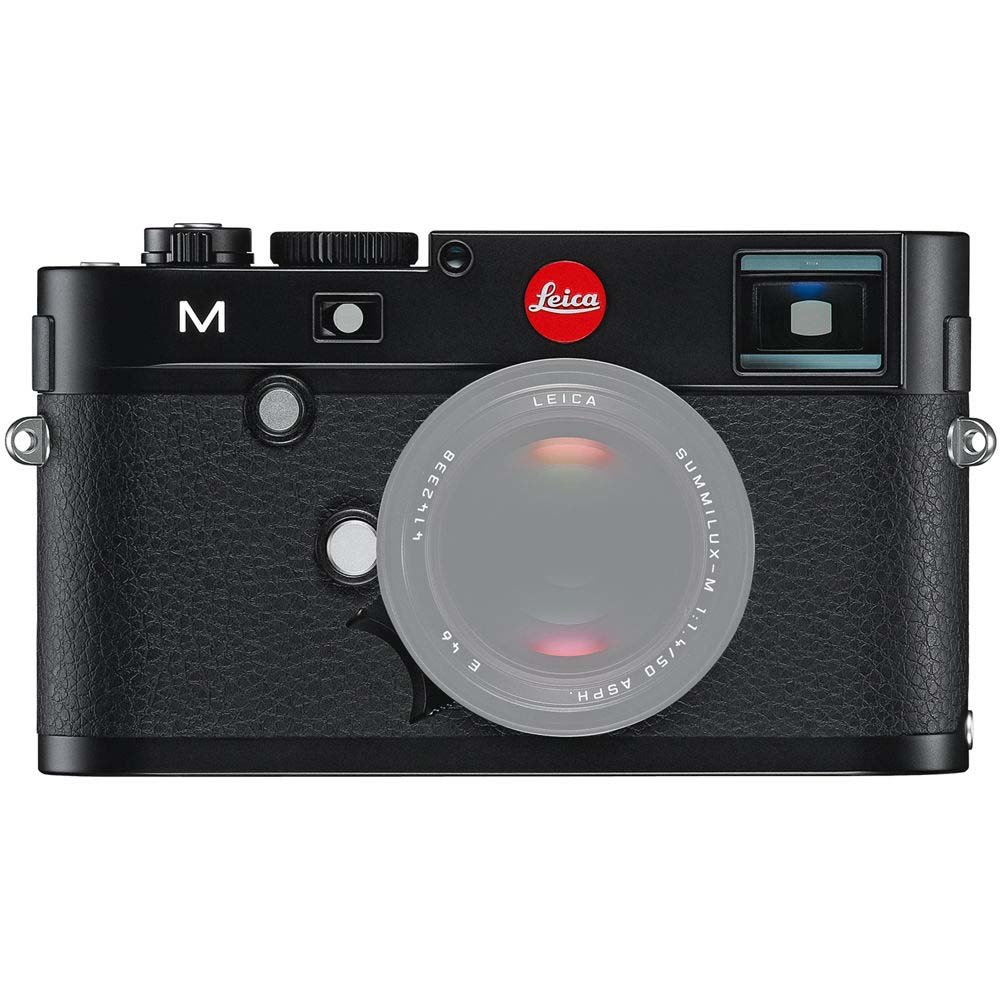
Davanti view of the Leica M (Typ 240) Digital Rangefinder Camera, showing the lens mount and body design. This image illustrates the camera's exterior, which houses the battery compartment and other controls.
2.3 Inserimento della scheda di memoria
Insert a compatible SD card into the memory card slot. Ensure the card is inserted in the correct orientation until it clicks into place. Refer to the camera's display for confirmation of card recognition.
2.4 Attacco dell'obiettivo
The Leica M (Typ 240) uses the Leica M mount. To attach a lens:
- Rimuovere il tappo del corpo macchina dalla fotocamera e il tappo posteriore dall'obiettivo.
- Allineare il punto rosso sull'obiettivo con il punto rosso sull'attacco dell'obiettivo della fotocamera.
- Gently insert the lens into the mount and turn it clockwise until it locks into place.
2.5 Accensione iniziale e impostazioni di base
After installing the battery and memory card, turn on the camera using the power switch. The first time you power on, you may be prompted to set the date, time, and language. Follow the on-screen instructions to configure these basic settings.
3. Utilizzo della fotocamera
3.1 controlli oltreview
The Leica M (Typ 240) features a classic rangefinder design with intuitive controls. Familiarize yourself with the shutter speed dial, aperture ring (on the lens), focus ring (on the lens), and the various buttons and dials on the camera body for menu navigation and function selection.
3.2 Messa a fuoco
The camera offers multiple focusing methods:
- Rangefinder System: The classic method for precise manual focusing. Align the split or superimposed images in the viewcercatore.
- Vivere View Ingrandisci: Quando si utilizza Live View on the LCD screen, you can magnify the image up to 10x for critical focus assessment.
- Vivere View Picco di messa a fuoco: This feature automatically highlights sharp contours in red on the Live View display, providing visual confirmation of focus.
3.3 Impostazioni di esposizione
The Leica M (Typ 240) provides comprehensive control over exposure. You can manually set aperture (via the lens), shutter speed (via the top dial), and ISO sensitivity. The camera also offers various metering modes, including Center Weighted, to assist in achieving correct exposure.
3.4 Shooting Still Images
Per catturare un'immagine fissa:
- Componi il tuo scatto usando il viewfinder or Live View.
- Adjust focus using one of the methods described above.
- Set your desired exposure parameters (aperture, shutter speed, ISO).
- Press the shutter button halfway to activate the meter, then fully to capture the image.
3.5 Registrazione di video
The Leica M (Typ 240) supports 1080p full-HD video recording. To record a video:
- Switch the camera to video mode (if applicable, refer to the camera's menu).
- Compose your shot and adjust focus.
- Press the dedicated video recording button or the shutter button (depending on configuration) to start and stop recording.
3.6 Riproduzione delle immagini
per riview immagini e video catturati:
- Premere il pulsante Riproduzione.
- Use the navigation controls to scroll through your media.
- The 3-inch TFT LCD screen provides a clear display for revieweseguendo i tuoi scatti.
4. Manutenzione
4.1 Pulizia della fotocamera
- Corpo macchina fotografica: Utilizzare un panno morbido e asciutto per pulire il corpo della fotocamera. Per lo sporco ostinato, un panno leggermenteamp è possibile utilizzare un panno, ma evitare un'eccessiva umidità.
- Lente: Use a lens brush or air blower to remove dust, then gently clean with a microfiber lens cloth and a specialized lens cleaning solution if necessary.
- Sensore: La pulizia del sensore deve essere eseguita con estrema cura. Se sulle immagini compaiono macchie di polvere, si consiglia di far pulire il sensore da un centro di assistenza autorizzato.
- Schermo LCD: Use a soft, lint-free cloth. Avoid harsh chemicals.
4.2 Conservazione
When not in use, store the camera in a cool, dry place away from direct sunlight, high humidity, and extreme temperatures. Use a desiccant pack if storing in humid environments. Remove the battery if the camera will not be used for an extended period.
4.3 Cura della batteria
Charge the battery fully before first use. For optimal battery life, avoid completely discharging the battery regularly. Store batteries in a cool, dry place. If storing for extended periods, charge them to approximately 50% capacity.
5. Risoluzione Dei Problemi
5.1 La fotocamera non si accende
- Assicurarsi che la batteria sia inserita correttamente e completamente carica.
- Check that the battery contacts are clean.
- Se disponibile, provare con una batteria carica diversa.
5.2 Images Are Out of Focus
- Verify that the lens is correctly attached and the focus ring is being adjusted properly.
- Ensure you are using the rangefinder or Live View focusing aids correctly.
- Check the diopter adjustment on the viewfinder if images appear blurry through it.
5.3 Image Quality Issues (e.g., Noise, Color Cast)
- Rumore: High ISO settings can introduce noise. Try lowering the ISO or using a brighter aperture/slower shutter speed.
- Dominante di colore: Check the white balance settings. Adjust to match the lighting conditions. Firmware updates may also address color rendition issues.
- Dust Spots: If dark spots appear on images, especially at smaller apertures, the sensor may require cleaning.
5.4 Memory Card Errors
- Ensure the memory card is fully inserted.
- Try formatting the card in the camera (nota: questo cancellerà tutti i dati).
- Prova con una scheda di memoria diversa e compatibile.
6. Specifiche
| Caratteristica | Dettaglio |
|---|---|
| Marca | Leica |
| Numero di modello | 10770 |
| Dimensioni del prodotto | 5.47 x 1.65 x 3.15 pollici |
| Peso dell'articolo | 1.29 libbre |
| Batterie | 1 batteria al litio metallico (inclusa) |
| Supporti compatibili | Leica M |
| Tecnologia del sensore fotografico | CMOS |
| Supportato File Formato | JPEG, GREZZO |
| Stabilizzazione dell'immagine | Digitale |
| Zoom ottico | 1x |
| Apertura massima | 3.5 Millimeters (Note: This refers to the camera body's internal specification, actual lens aperture varies.) |
| Minimo ISO espanso | 100 |
| Descrizione della misurazione | Ponderato al centro |
| Data prima disponibilità | 2 febbraio 2010 |
7. Garanzia e supporto
For detailed warranty information, please refer to the warranty card included with your product or visit the official Leica websito. Conservare la prova d'acquisto per eventuali reclami in garanzia.
For further assistance, technical support, or service, please contact Leica customer service or visit an authorized Leica service center. You can find more information and resources on the Negozio Leica su Amazon.


