Introduzione
This manual provides detailed instructions for the safe and efficient operation of your Oster Mykonos Greek Yogurt Maker. Please read all instructions carefully before first use and retain for future reference.
The Oster Mykonos Greek Yogurt Maker is designed to simplify the process of making homemade yogurt, including protein-rich Greek yogurt. It includes all necessary components to create either a large batch or individual servings.
Importanti istruzioni di sicurezza
- Leggere tutte le istruzioni prima di utilizzare l'apparecchio.
- Non toccare le superfici calde. Utilizzare maniglie o manopole.
- Per proteggersi dalle scosse elettriche, non immergere il cavo, le spine o l'apparecchio in acqua o altri liquidi.
- È necessaria un'attenta supervisione quando un elettrodomestico viene utilizzato da bambini o nelle loro vicinanze.
- Scollegare dalla presa quando non in uso e prima di pulire. Lasciare raffreddare prima di mettere o togliere parti.
- Non utilizzare alcun apparecchio con un cavo o una spina danneggiati oppure dopo che l'apparecchio stesso non funziona correttamente o è stato danneggiato in qualsiasi modo.
- L'uso di accessori non consigliati dal produttore dell'apparecchio può causare lesioni.
- Non utilizzare all'aperto.
- Non lasciare che il cavo penda dal bordo del tavolo o del bancone o che tocchi superfici calde.
- Non posizionare sopra o vicino a un fornello a gas o elettrico caldo, oppure in un forno caldo.
- Collegare sempre prima la spina all'apparecchio, quindi collegare il cavo alla presa a muro. Per scollegarlo, posizionare un qualsiasi interruttore su "off", quindi rimuovere la spina dalla presa a muro.
- Non utilizzare l'apparecchio per un uso diverso da quello domestico previsto.
Parti e caratteristiche
Familiarize yourself with the components of your Oster Mykonos Greek Yogurt Maker:
- Yogurt Maker Base with On/Off Switch
- Coperchio trasparente
- Four 7oz. Glass Jars with Lids
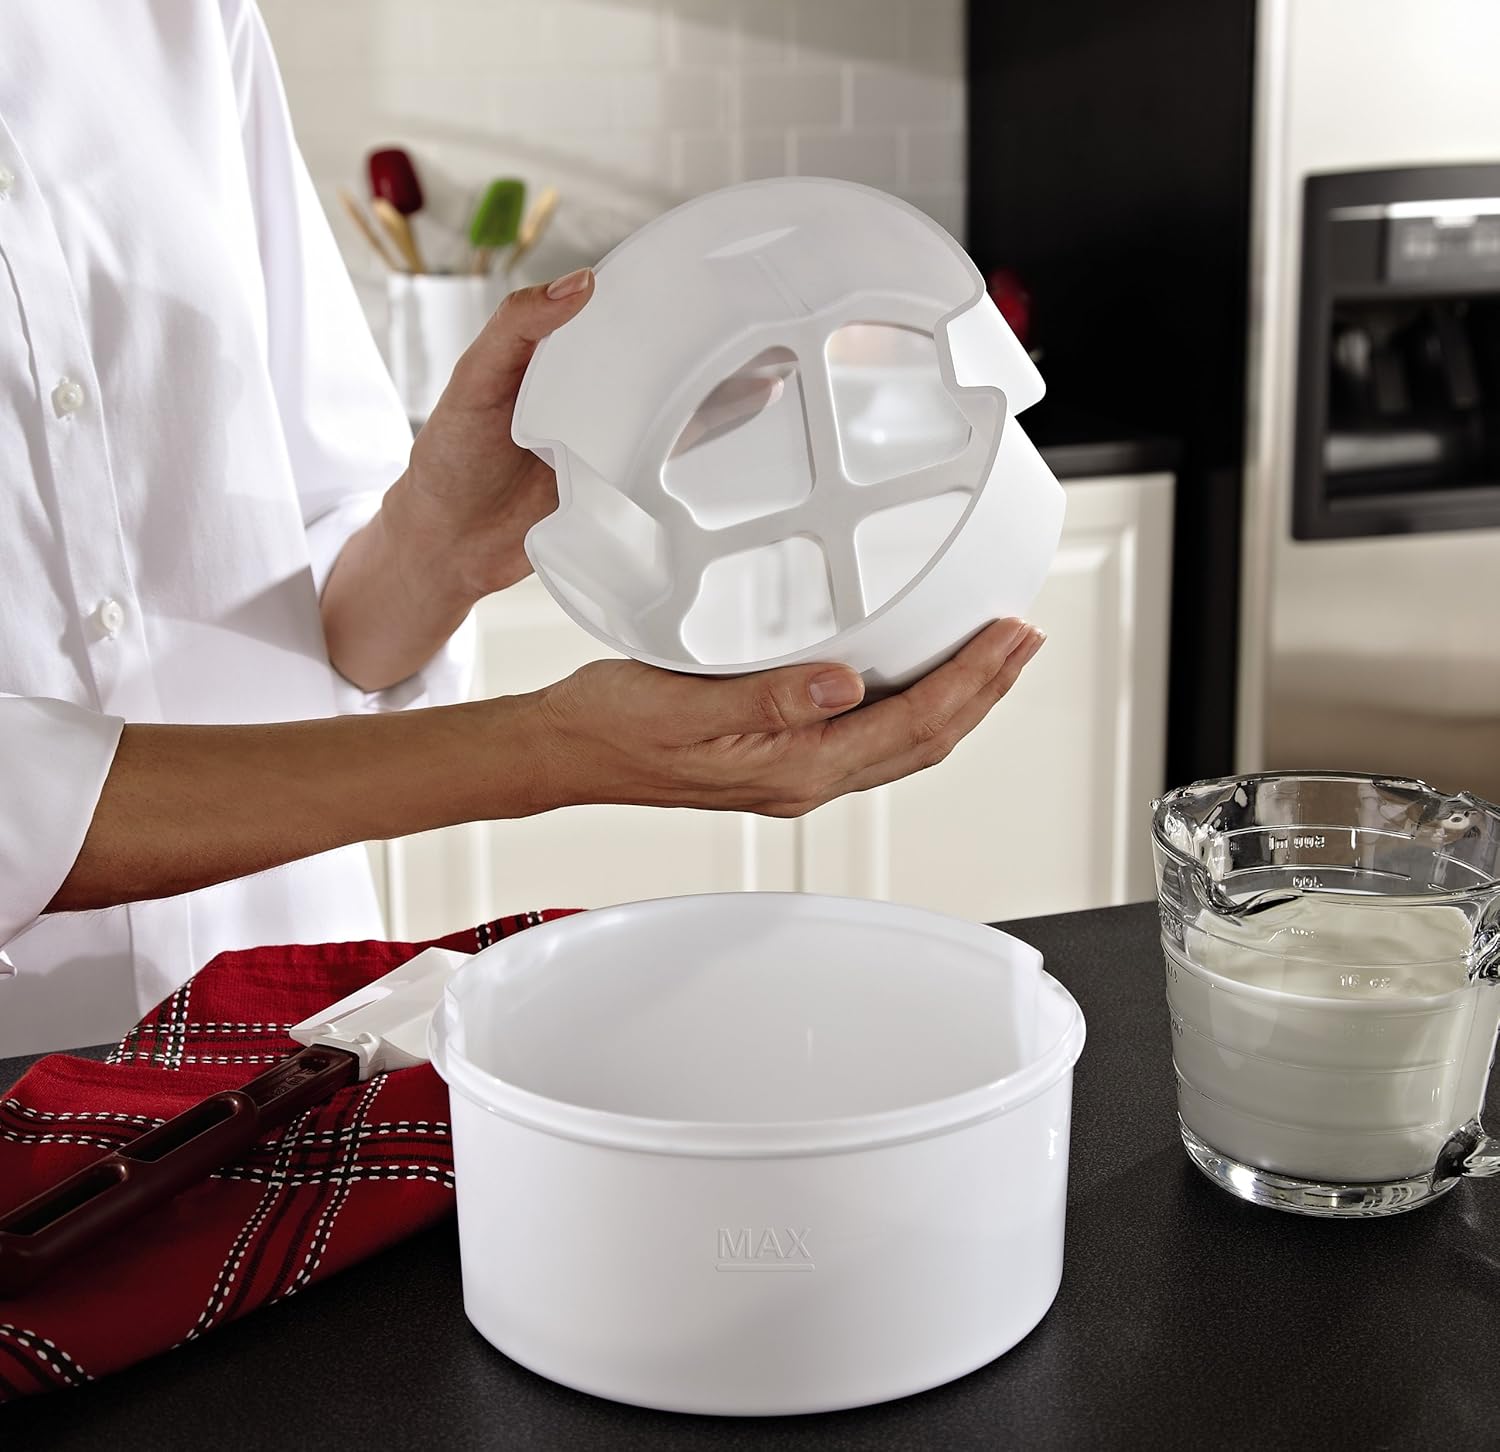
- One 1 Qt. Plastic Container with Lid
- Greek Yogurt Strainer


Impostare
- Before first use, wash all removable parts (glass jars, plastic container, lids, and strainer) in warm, soapy water. Rinse thoroughly and dry.
- Wipe the yogurt maker base with a damp stoffa. Non immergere la base in acqua.
- Place the yogurt maker base on a stable, flat, and heat-resistant surface.
- Ensure the On/Off switch is in the "Off" position before plugging into an electrical outlet.
Istruzioni per l'uso: Preparazione dello yogurt
General Yogurt Preparation
This yogurt maker can produce one large batch or individual servings. The process involves heating milk, cooling it, adding a starter culture, and then incubating it in the yogurt maker.
- Scaldare il latte: Pour the desired amount of milk (whole, reduced-fat, skim, soy, or almond milk) into a saucepan. Heat the milk slowly to 180°F (82°C). Stir frequently to prevent scorching. This step helps to denature the milk proteins, resulting in a thicker yogurt.
- Cool the Milk: Remove the milk from heat and allow it to cool to 105°F–115°F (40°C–46°C). This temperature range is ideal for the yogurt culture to thrive. You can speed up cooling by placing the saucepan in an ice bath.
- Aggiungi coltura starter: Once the milk has cooled, add your yogurt starter culture. This can be a few tablespoons of plain, unflavored yogurt with live active cultures, or a commercial yogurt starter packet. Whisk thoroughly to ensure the starter is evenly distributed.
- Fill Containers:
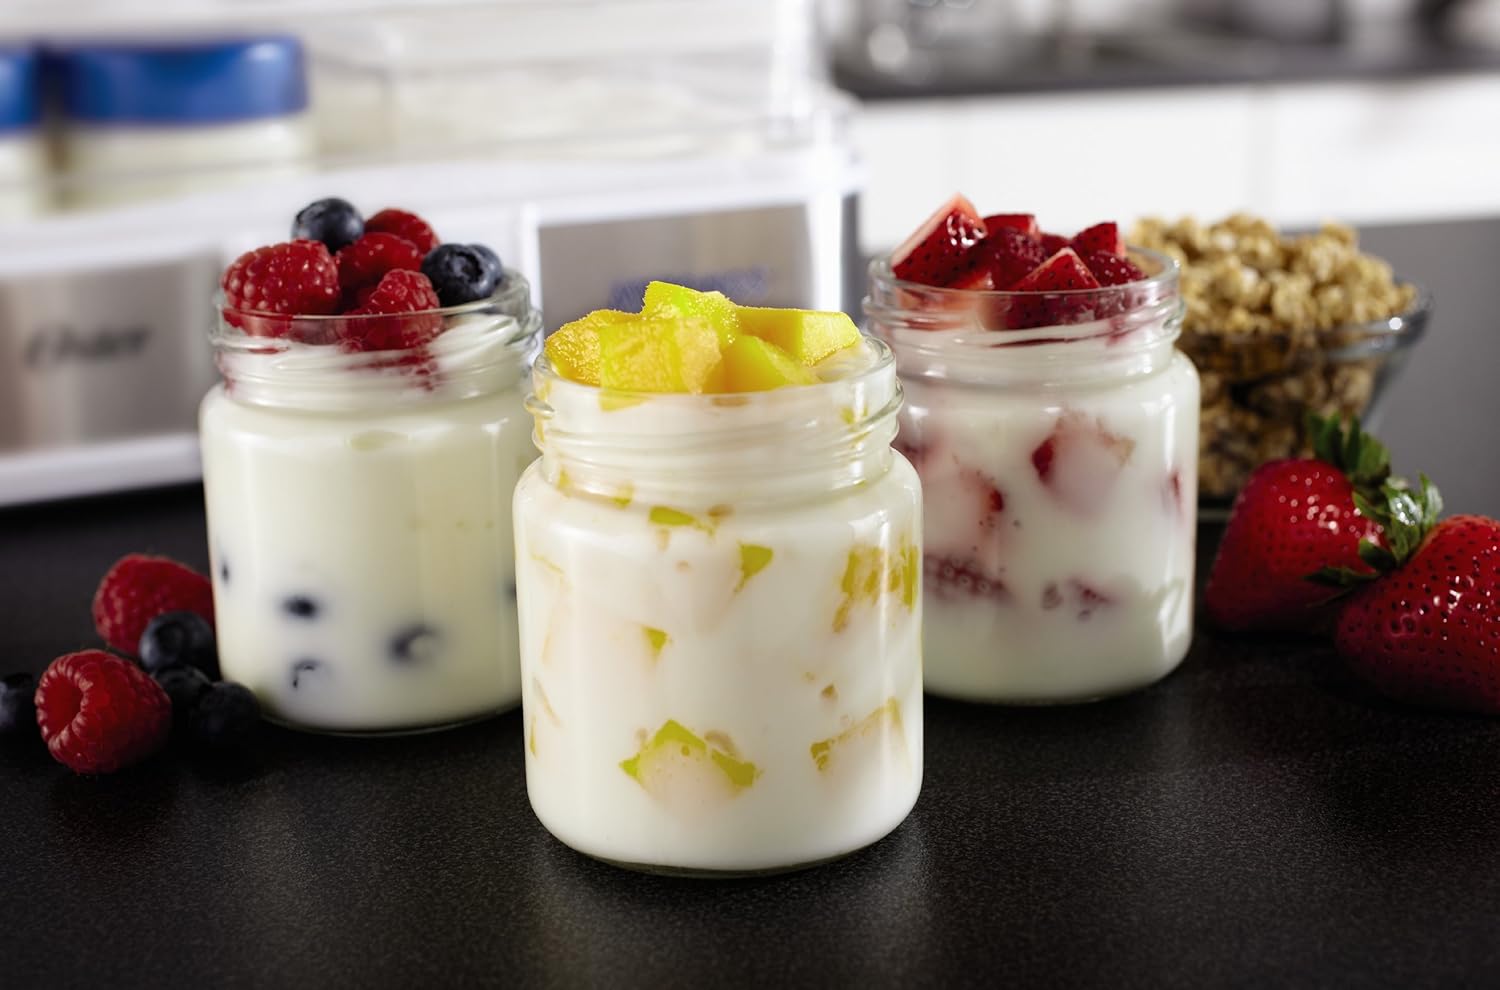
- For individual servings: Pour the milk mixture into the four 7oz. glass jars. Secure the lids.
- For a large batch: Pour the milk mixture into the 1 Qt. plastic container. Secure the lid.
- Incubare: Place the filled jars or the large container into the yogurt maker base. Cover with the clear lid. Plug in the unit and turn the On/Off switch to "On".
- Incubation Time: The incubation time typically ranges from 10 to 12 hours, depending on the type of milk used and desired thickness. Longer incubation times generally result in a tangier and thicker yogurt.
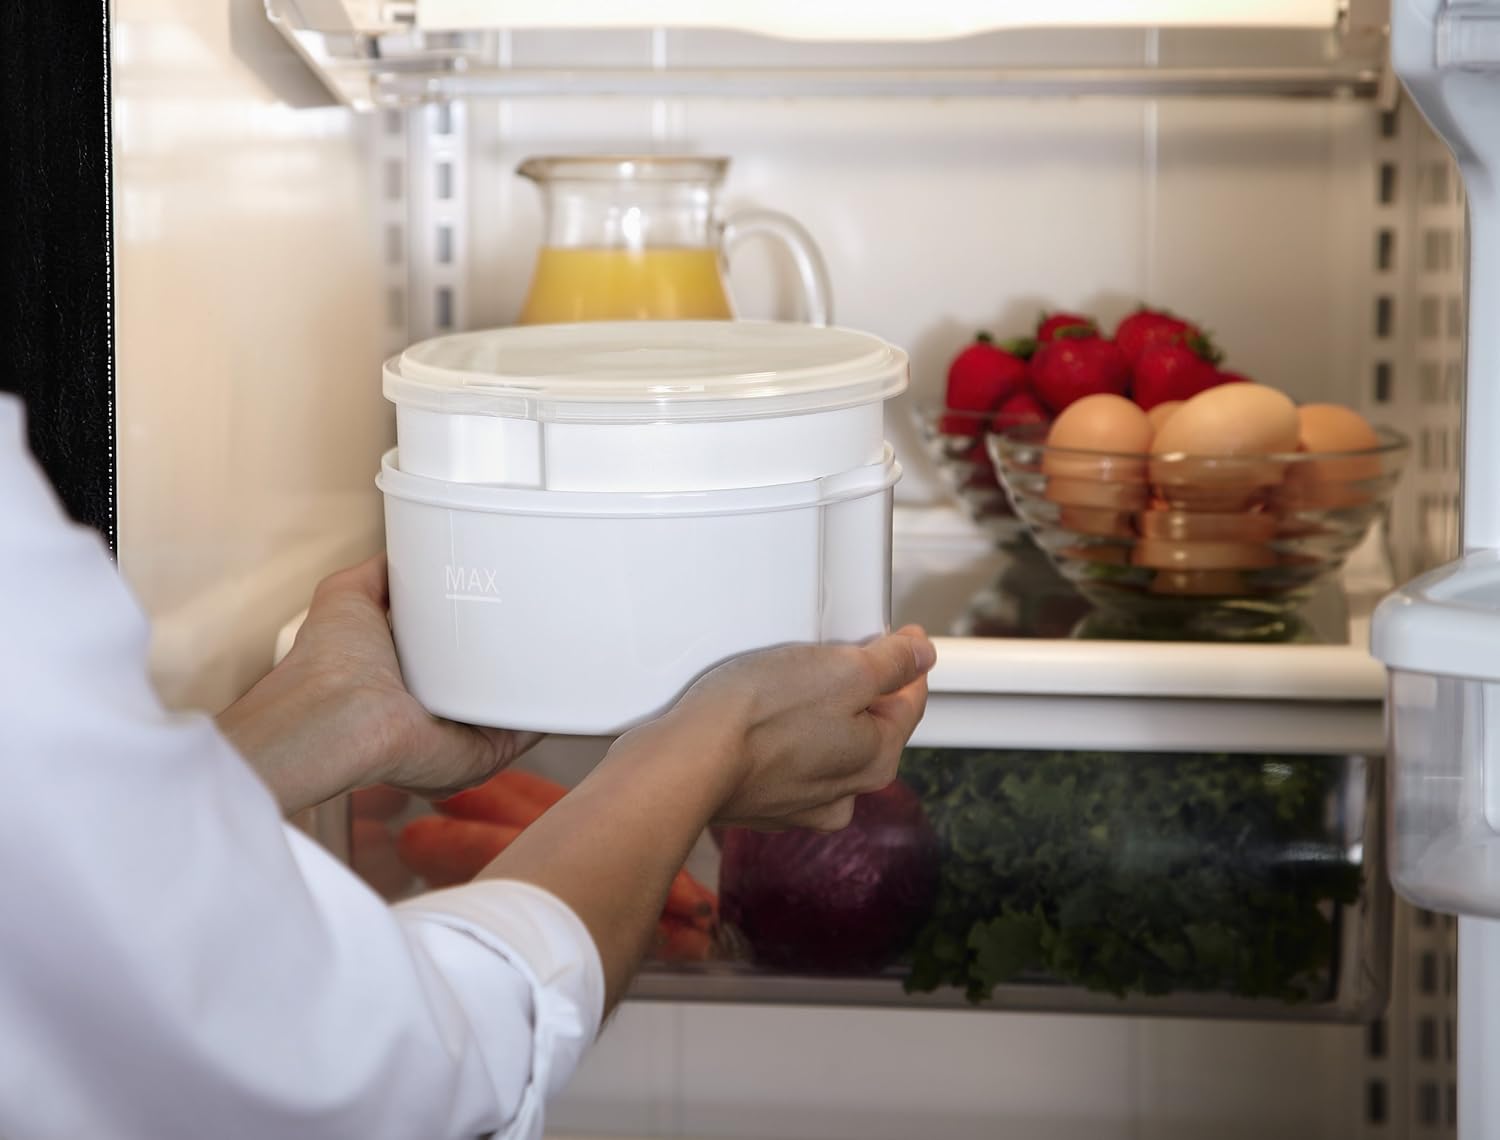
- Freddo: Once incubation is complete, turn the switch to "Off" and unplug the unit. Remove the containers from the yogurt maker and refrigerate for at least 4 hours to chill and set completely.


Making Greek Yogurt
To make Greek yogurt, you will need to strain the regular yogurt to remove excess whey, resulting in a thicker, more protein-rich product.
- Prepare Yogurt: Follow the steps above to make regular yogurt using the large 1 Qt. plastic container. Ensure the yogurt is thoroughly chilled before straining.
- Assemble Strainer: Place the Greek yogurt strainer into the large plastic container. Ensure it is seated properly.
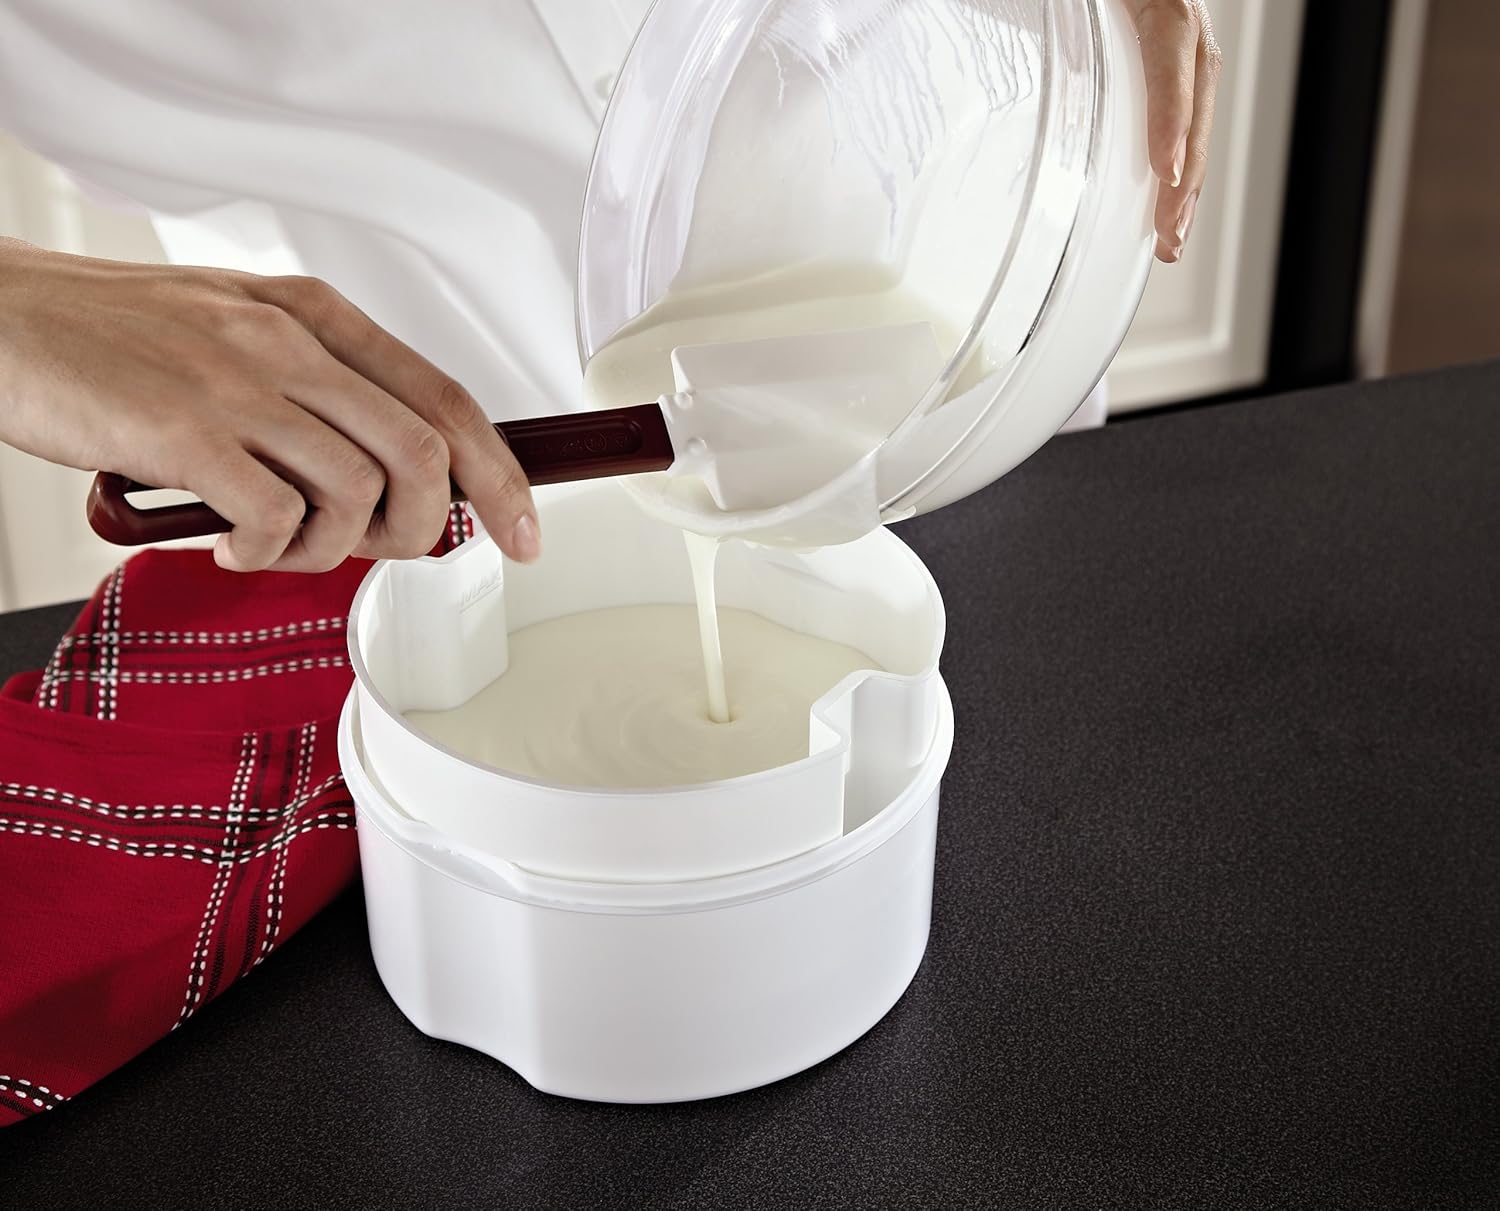
- Pour Yogurt: Gently pour the chilled regular yogurt into the strainer.
- Sottoporre a tensione: Place the lid on the large container and refrigerate. Allow the yogurt to strain for several hours, or overnight, depending on your desired thickness. The longer it strains, the thicker the Greek yogurt will be. The liquid whey will collect in the bottom of the container.
- Servire: Once strained to your preference, remove the strainer with the Greek yogurt. The strained yogurt is now ready to be served. The collected whey can be discarded or used in other recipes.


Manutenzione e pulizia
Proper cleaning and maintenance will ensure the longevity and performance of your yogurt maker.
- Always unplug the yogurt maker from the electrical outlet and allow it to cool completely before cleaning.
- Yogurt Maker Base: Wipe the exterior of the base with a soft, damp stoffa. Non immergere la base in acqua o altro liquido.
- Parti rimovibili: The glass jars, plastic container, lids, and Greek yogurt strainer are dishwasher safe (top rack recommended) or can be washed by hand in warm, soapy water. Rinse thoroughly and dry completely before storing.
- Do not use abrasive cleaners or scouring pads on any part of the yogurt maker, as this may scratch surfaces.
- Ensure all parts are dry before reassembling or storing the unit. The components store neatly within the unit for compact storage.
Risoluzione dei problemi
Se riscontri problemi con la tua yogurtiera, fai riferimento ai seguenti problemi comuni e alle relative soluzioni:
| Problema | Possibile causa | Soluzione |
|---|---|---|
| Lo yogurt è troppo liquido o non si rapprende. |
|
|
| Lo yogurt ha una consistenza granulosa. |
|
|
| Lo yogurt è troppo acido. |
|
|
| Yogurt maker not turning on. |
|
|
Specifiche
- Numero modello: 4010378
- Colore: Bianco
- Materiale: Plastica
- Dimensioni: 13.97 x 24.13 x 24.13 cm (5.5 x 9.5 x 9.5 pollici)
- Peso: 726 g (1.6 libbre)
- Capacità: Four 7oz. glass jars or one 1 Qt. plastic container
Garanzia e supporto
For warranty information or product support, please refer to the warranty card included with your purchase or visit the official Oster websito. Non tentare di riparare l'apparecchio da soli. Contattare il personale di assistenza autorizzato per assistenza.


