Introduzione
The Leviton SureSlide Dimmer Switch provides smooth, full-range dimming for various lighting types, including dimmable LED, CFL, and incandescent bulbs. This manual provides essential information for the safe installation, operation, and maintenance of your dimmer switch.

Image: Two white Leviton SureSlide Dimmer Switches, front view, mostraasing their design and controls.
Informazioni sulla sicurezza
WARNING: To avoid fire, shock, or death; turn off power at circuit breaker or fuse and test that power is off before wiring!
- Questo prodotto deve essere installato in conformità con tutti i codici elettrici nazionali e locali.
- In caso di dubbi su qualsiasi parte di queste istruzioni, consultare un elettricista qualificato.
- Non utilizzare con sorgenti luminose non dimmerabili.
- Solo per uso interno.
Contenuto della confezione
Il tuo pacco dovrebbe contenere i seguenti articoli:
- 2 x Leviton SureSlide Dimmer Switches (Model: 06674-754-2PK)
- Istruzioni per l'installazione (questo manuale)
- Viti di montaggio

Image: Retail packaging for the Leviton SureSlide Dimmer Switch, indicating a 2-pack.
Caratteristiche
- Confezione da 2: Conveniently includes two dimmer switches.
- Controllo versatile: Supports single pole or 3-way lighting control when used with a 3-way switch.
- Integrated Slide Control: Features a linear full-range slide control for precise dimming.
- Preset ON/OFF Switch: A separate ON/OFF switch preserves your selected brightness setting.
- Ampia compatibilità: Backwards compatible with incandescent lamps, and designed for dimmable LED and CFL lamps.

Immagine: Un dettaglio view of the dimmer switch highlighting its key features: the integrated slider for dimming, the separate ON/OFF switch, and the dimming range modification switch.
Specifiche
| Attributo | Valore |
|---|---|
| Dimensioni del prodotto | 7.62 x 4.39 x 10.46 cm; 45.36 g |
| Produttore | Levitone |
| Numero modello articolo | 06674-754-2PK |
| Paese di origine | Cina |
| Modalità di funzionamento | Acceso-Spento-Acceso |
| Valutazione attuale | 15 Amps |
| Volume di eserciziotage | 120 Volt (CA) |
| Tipo di contatto | Normalmente aperto |
| Tipo di connettore | Vite |
| Tipo di interruttore | Interruttore dimmer |
| Materiale | Policarbonato |

Image: Technical drawing showing the precise dimensions of the Leviton SureSlide Dimmer Switch in inches.
Guida all'installazione
Prima di iniziare
- Spegnimento dell'alimentazione: Locate the circuit breaker or fuse box that controls the light fixture you are working on. Turn off the power completely. Verify power is off using a voltagetester.
- Rimuovi il vecchio interruttore: Carefully remove the wallplate and unscrew the existing switch from the electrical box. Gently pull the switch out to expose the wiring.
- Identificare i fili: Note the wiring configuration of your existing switch. Common wires include:
- Filo di linea (caldo): Usually black, brings power from the circuit breaker.
- Cavo di carico: Usually black, goes to the light fixture.
- Filo di terra: Bare copper or green, connects to the electrical box or ground wire in the box.
- Filo neutro: Usually white (not always present in switch boxes, especially for older installations).
- Traveler Wires: (For 3-way installations) Usually red or black, connect between two 3-way switches.
Wiring Your Dimmer Switch
The Leviton SureSlide Dimmer Switch can be installed in single-pole or 3-way applications. Refer to the wiring diagram on the back of the dimmer or consult a qualified electrician if unsure.
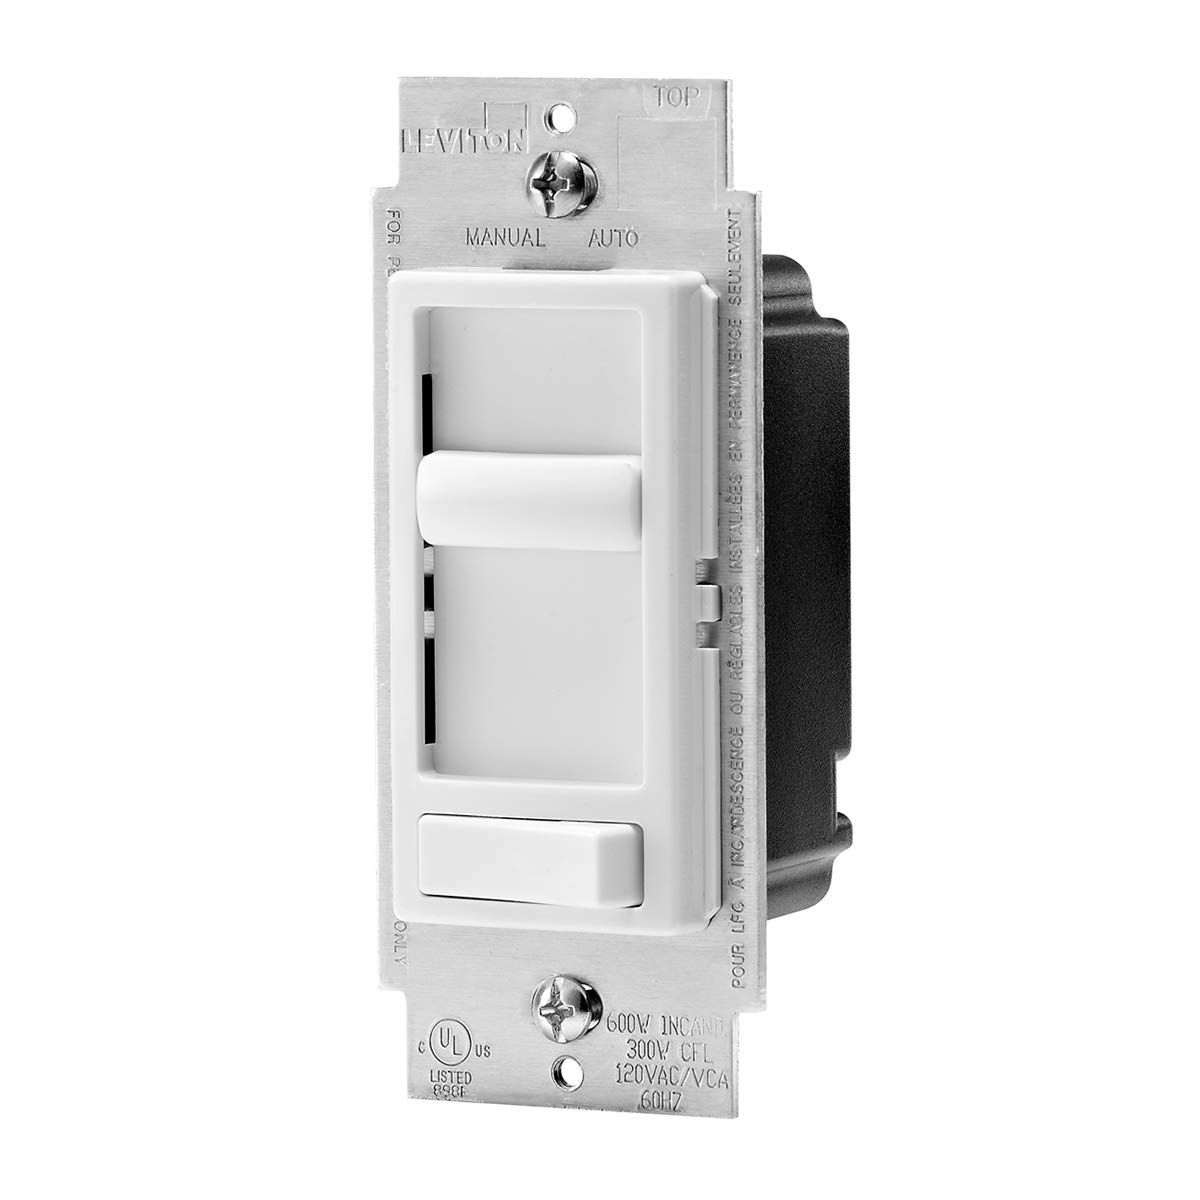
Immagine: La parte posteriore view of the dimmer switch, illustrating the screw terminals for electrical connections. This view is crucial for understanding wiring.
- Collegare il filo di terra: Connect the green or bare copper ground wire from the electrical box to the green ground screw on the dimmer switch.
- Connect Line/Load Wires:
- Unipolare: Connect the Line (hot) wire and the Load wire to the two black wires on the dimmer switch. It does not matter which black wire connects to Line or Load.
- 3 vie: Connect the common (often black) wire from the 3-way circuit to one of the black wires on the dimmer. Connect the two traveler wires to the remaining black wire and the red wire on the dimmer.
- Connessioni sicure: Assicurarsi che tutti i collegamenti dei cavi siano ben saldi utilizzando i dadi per cavi.
Mounting and Finishing
- Position Dimmer: Carefully push the wired dimmer switch into the electrical box.
- Dimmer sicuro: Utilizzare le viti fornite per fissare il dimmer alla scatola elettrica.
- Attach Wallplate: Install the decorative wallplate over the dimmer switch.
- Ripristina alimentazione: Riattivare l'alimentazione tramite l'interruttore automatico o la scatola dei fusibili.
- Test: Test the dimmer switch to ensure it functions correctly.
Operazione
The Leviton SureSlide Dimmer Switch is designed for intuitive control of your lighting.
- Controllo ON/OFF: Press the bottom button to turn the lights ON or OFF. This button acts as a preset switch, remembering your last dimming level.
- Controllo oscuramento: Use the vertical slide bar to adjust the brightness level. Slide up for brighter lights, and down for dimmer lights.
- Dimming Range Adjustment: For optimal performance with certain LED bulbs, you may need to adjust the minimum and maximum light levels. A small "MODE" selector switch is located on the side of the dimmer behind the wallplate. Refer to the image below for its location.
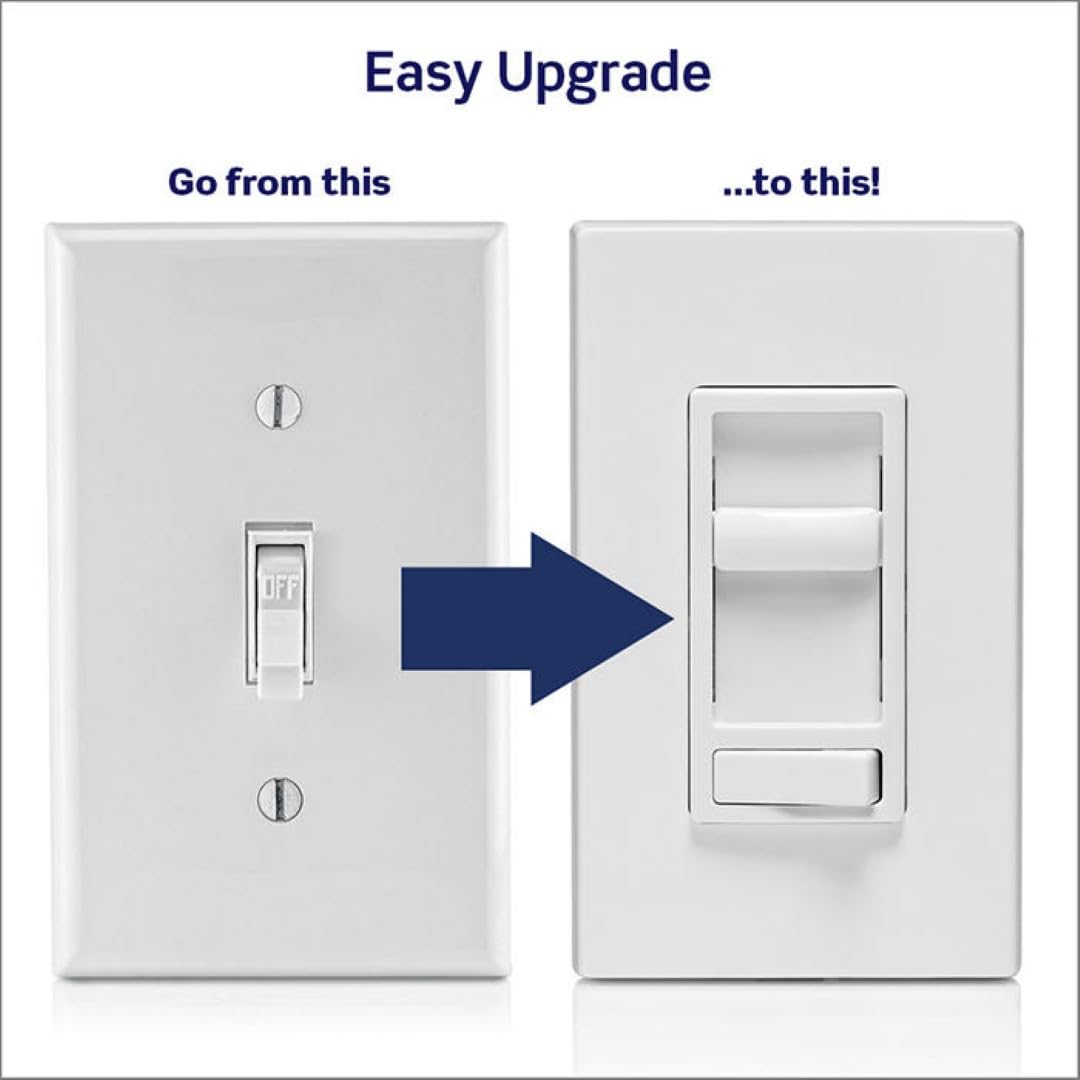
Immagine: un primo piano view of the dimmer switch, specifically showing the small 'MODE' selector switch used to fine-tune the dimming range for different bulb types.
Manutenzione
Your Leviton SureSlide Dimmer Switch requires minimal maintenance.
- Pulizia: To clean the dimmer switch and wallplate, wipe with a soft, damp panno. Non usare detergenti abrasivi o solventi.
- Nessuna parte riparabile dall'utente: All'interno del dimmer non sono presenti parti riparabili dall'utente. Non tentare di aprire o riparare l'unità.
Risoluzione dei problemi
| Problema | Possibile causa | Soluzione |
|---|---|---|
| Le luci non si accendono o si spengono. | Nessuna alimentazione al dimmer; cablaggio allentato; lampadina difettosa. | Controllare l'interruttore automatico. Assicurarsi che tutti i collegamenti dei cavi siano ben saldi. Sostituire la lampadina. |
| Le luci tremolano o non si attenuano correttamente. | Incompatible bulb type; dimming range not optimized; loose connection. | Ensure bulbs are "dimmable" type. Adjust the "MODE" selector switch. Check wiring connections. |
| Il dimmer è caldo al tatto. | Normal operation; overloaded circuit. | Slight warmth is normal. If excessively hot, reduce load or consult an electrician. Ensure proper ventilation in the electrical box. |
Garanzia e supporto
Leviton products are manufactured to the highest quality standards. For information regarding warranty coverage or technical support, please visit the official Leviton websito o contattare direttamente il servizio clienti. Conservare la ricevuta d'acquisto per eventuali reclami in garanzia.
Puoi trovare maggiori informazioni e supporto su Negozio Leviton su Amazon.


