Introduzione
This manual provides comprehensive instructions for the installation, operation, and maintenance of the Hunter 99179 Original Ceiling Fan Remote Control and Canopy Kit. This kit is specifically designed to enhance the functionality of Hunter "Original" series ceiling fans by adding remote control capabilities for fan speeds and lighting.
The kit includes a remote control unit and a canopy designed to house the receiver. It integrates with your existing two-wire fan setup, offering convenient control over three fan speeds and the fan's light fixture.
Informazioni importanti sulla sicurezza
- Sicurezza elettrica: Always disconnect power at the circuit breaker or fuse box before attempting any installation, maintenance, or repair. Failure to do so can result in serious injury or death.
- Compatibilità: This kit is designed for use SOLTANTO with Hunter "Original" series ceiling fans. It is not compatible with other fan models or brands.
- Downrod Requirement: Installation requires a downrod of 12 inches or longer (sold separately). The receiver unit is designed to fit within the canopy, which necessitates sufficient space provided by a longer downrod.
- Installazione professionale: If you are unfamiliar with electrical wiring or ceiling fan installation, it is recommended to consult a qualified electrician.
- Codici locali: Ensure all installation procedures comply with local electrical codes and ordinances.
- Integrità del prodotto: Non modificare il prodotto né utilizzarlo per scopi diversi da quello previsto.
Contenuto della confezione
Verificare che tutti i componenti siano presenti prima di iniziare l'installazione:
- Unità di controllo remoto
- Ricevitore remoto
- Canopy (for receiver housing)
- Mounting Hardware (screws, wire nuts, etc. - specific items may vary)
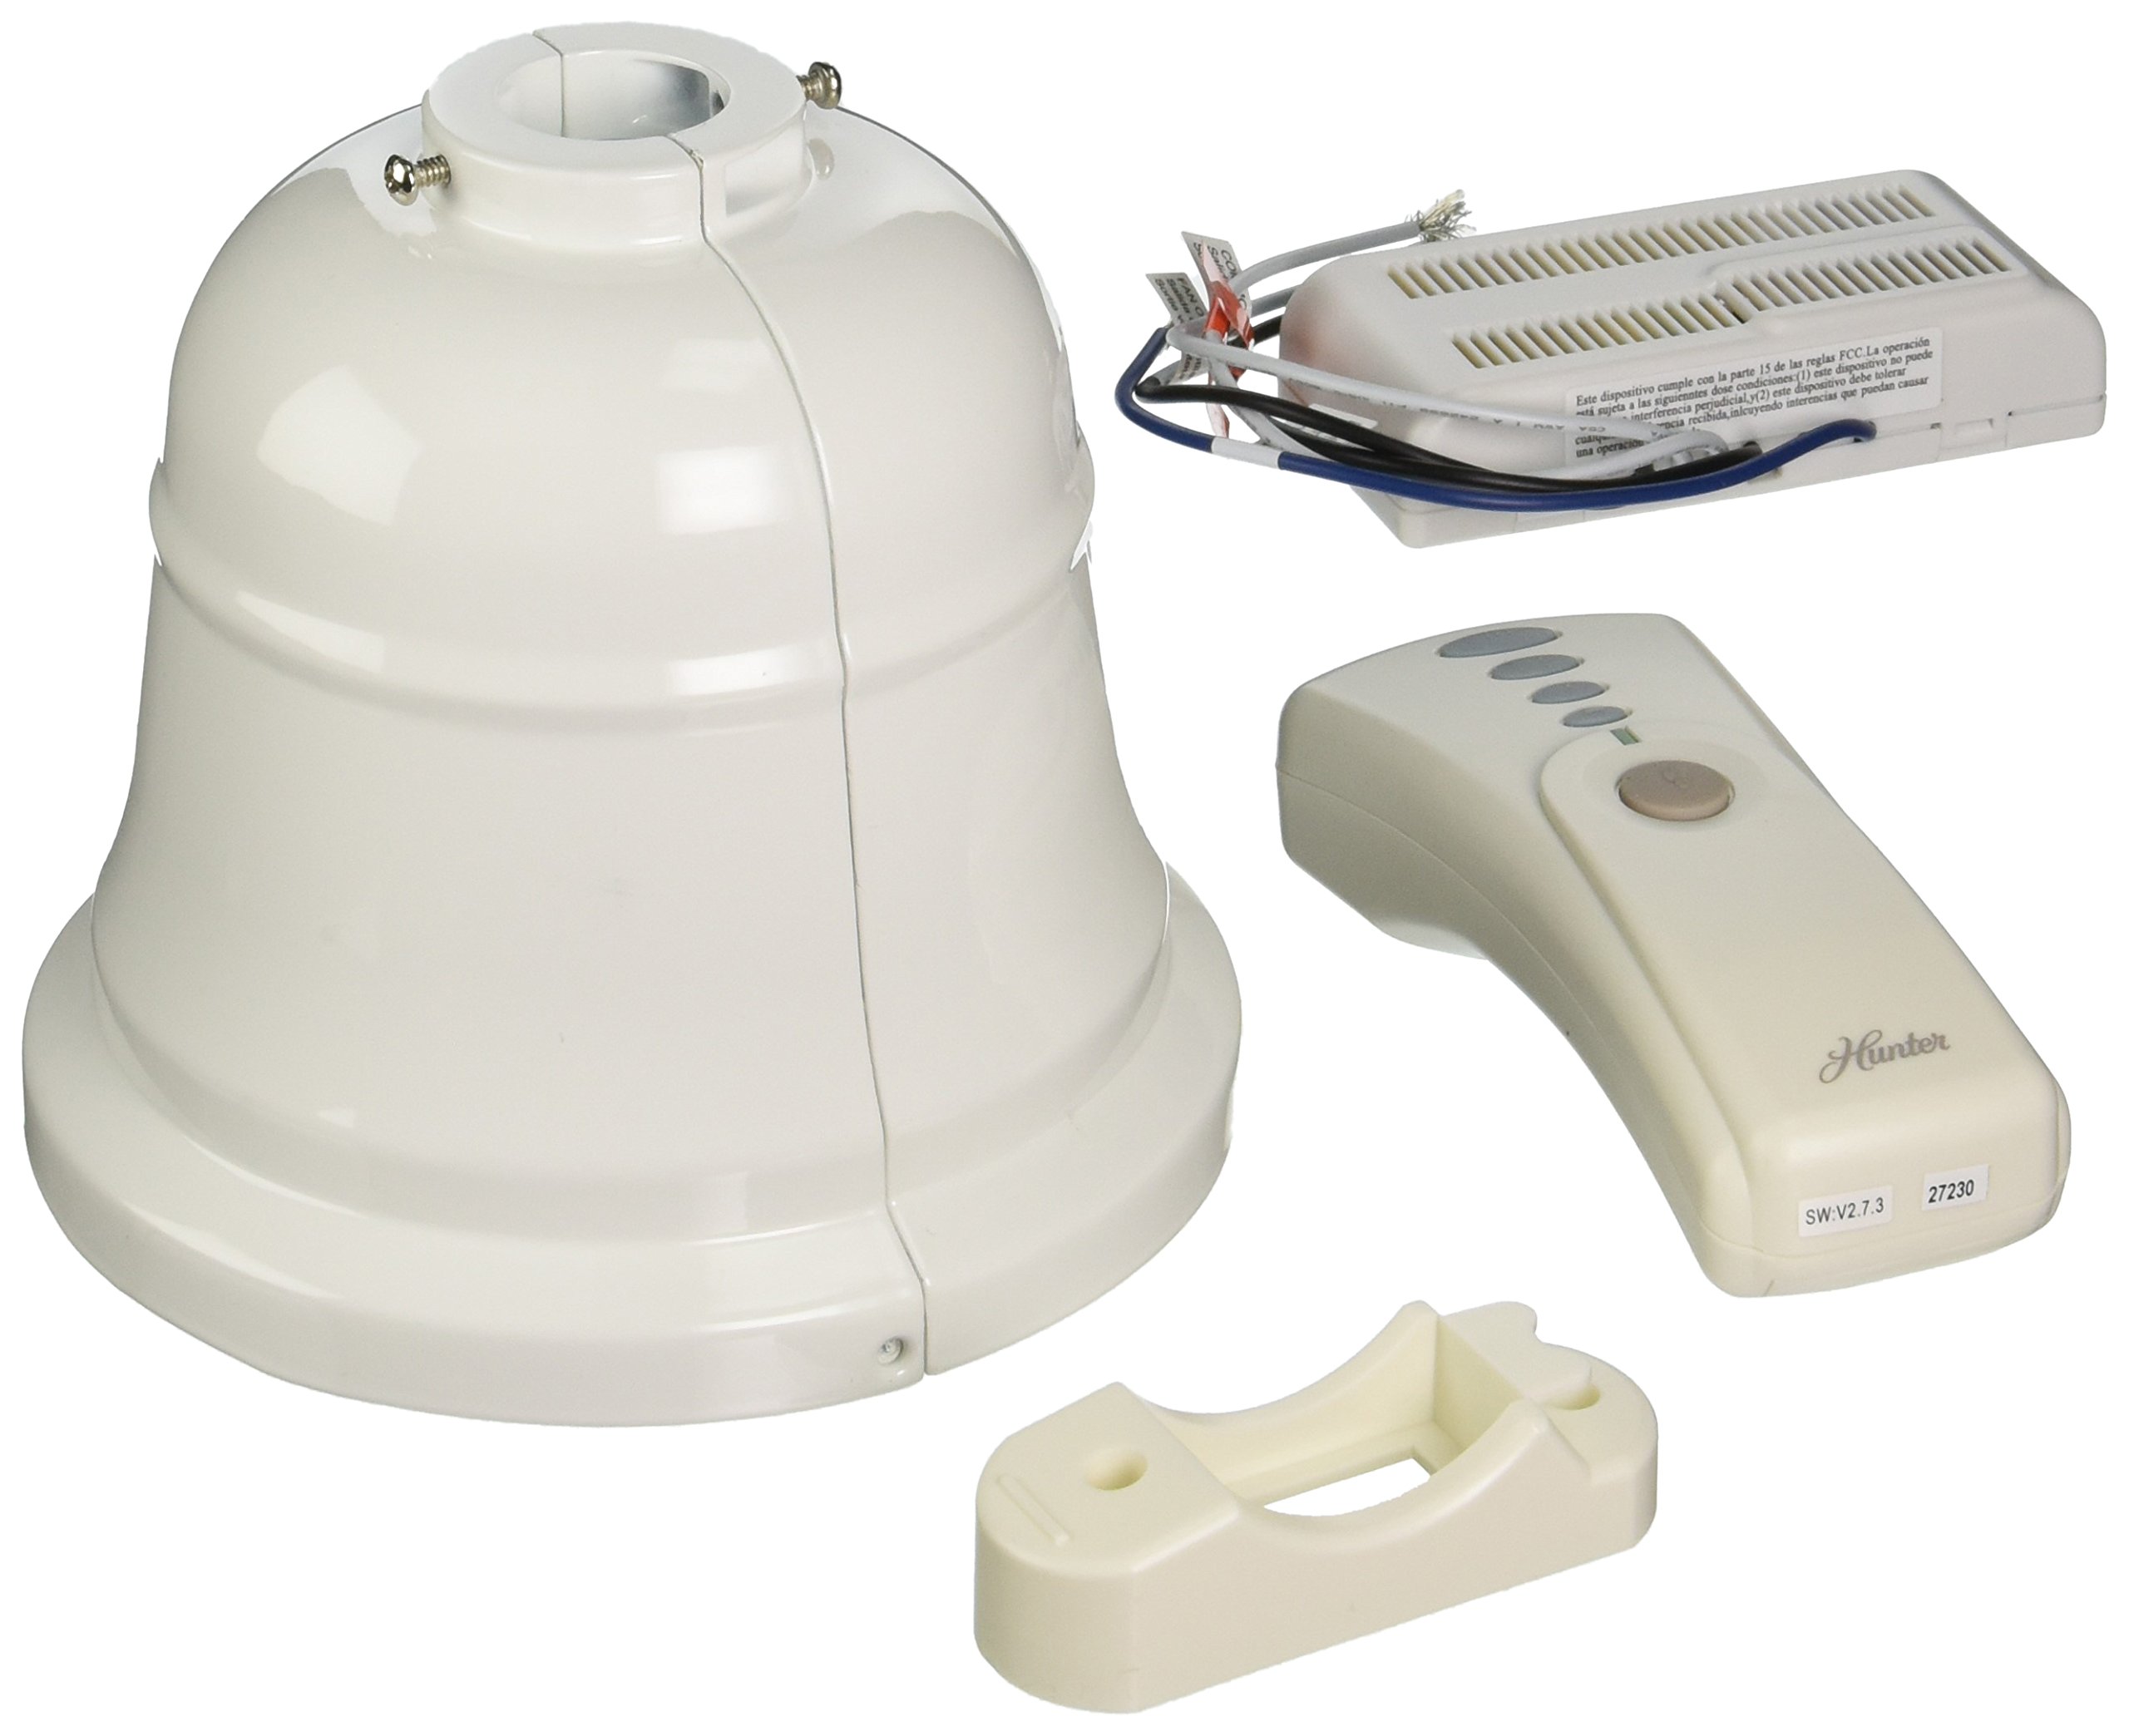
Image: A Hunter ceiling fan, representative of the type of fan compatible with the 99179 remote and canopy kit.
Configurazione e installazione
Follow these steps carefully to install your Hunter 99179 Remote Control and Canopy Kit:
- Disconnessione dell'alimentazione: Before starting, turn off the electrical power to your ceiling fan at the main circuit breaker or fuse box.
- Cablaggio di accesso: Carefully lower the existing canopy from your Hunter Original ceiling fan to expose the wiring connections.
- Rimuovere il vecchio ricevitore (se applicabile): If an old receiver is present, disconnect its wiring and remove it.
- Installare il nuovo ricevitore: Connect the new remote receiver's wires to the corresponding fan and household wires. Ensure all connections are secure using wire nuts. The receiver is designed to fit within the new canopy.
- Position Canopy: Carefully tuck the wired receiver into the new canopy. Ensure no wires are pinched.
- Tettoia sicura: Mount the new canopy securely to the fan's mounting bracket. Confirm that the downrod is at least 12 inches long to accommodate the receiver within the canopy.
- Ripristina alimentazione: Once installation is complete and all connections are secure, restore power to the ceiling fan at the circuit breaker.
- Accoppia telecomando: Follow the instructions provided with the remote control unit to pair it with the newly installed receiver. This typically involves pressing a button on the remote within a short time after restoring power.
Nota: The new canopy is designed to accommodate the receiver. Some older Hunter Original fan mounting plates or downrods may not be compatible with the new canopy's dimensions. Verify fit before final installation.
Istruzioni per l'uso
Your Hunter 99179 remote control provides convenient operation of your ceiling fan and light:
- Controllo della velocità della ventola: Use the designated buttons on the remote to cycle through three fan speeds (Low, Medium, High) or to turn the fan off.
- Controllo della luce: Use the light button to turn the fan light on or off. Some remotes may also support dimming functions if your fan and light kit are compatible.
- Sostituzione della batteria: If the remote control stops responding, replace the batteries. Refer to the remote's specific instructions for battery type and replacement procedure.
Manutenzione
To ensure optimal performance and longevity of your Hunter 99179 kit:
- Pulizia: Periodically wipe the remote control and canopy with a soft, dry cloth. Do not use abrasive cleaners or solvents.
- Controllo della batteria: Sostituire le batterie del telecomando secondo necessità per garantirne un funzionamento affidabile.
- Ispezione del cablaggio: Annually, or if issues arise, ensure all electrical connections within the canopy are secure and free from corrosion. Always disconnect power before inspection.
Risoluzione dei problemi
If you encounter issues with your remote control and canopy kit, refer to the following common solutions:
| Problema | Possibile causa | Soluzione |
|---|---|---|
| Remote not responding / Fan or light not working |
|
|
| Canopy does not fit / Receiver cannot be housed |
|
|
| Interferenza da altri dispositivi |
|
|
Specifiche
- Numero modello: 99179
- Produttore: Azienda di ventilatori Hunter
- Dimensioni del prodotto: Circa 6 x 6 x 7 pollici
- Peso dell'articolo: Circa 2.35 libbre
- Voltage: 120 Volt
- Fonte di energia: Elettrico con filo
- Materiale: Metallo
- Certificazione: ETL quotato
- Utilizzo: Ceiling fan remote control and canopy accessory
- Caratteristica speciale: Heavy Duty construction
- Dispositivi compatibili: Hunter "Original" series ceiling fans
Informazioni sulla garanzia
No specific warranty description is provided for the Hunter 99179 Remote Control and Canopy Kit in the product details. For warranty inquiries, please contact Hunter Fan Company directly or refer to the documentation included with your original Hunter "Original" ceiling fan.
Assistenza clienti
For further assistance, technical support, or to inquire about parts, please visit the official Hunter Fan Company websito o contattare il loro servizio clienti.
Azienda di ventilatori Hunter Websito: Visit the Hunter Store on Amazon


