1. Introduzione
This manual provides detailed instructions for the setup, operation, and maintenance of your EMOS E0114 Digital Thermometer and Hygrometer. This device accurately measures indoor temperature and humidity, and also functions as a quartz clock with an alarm, snooze feature, and date display. Please read this manual thoroughly before using the product to ensure correct operation and to prevent damage.
2. Informazioni sulla sicurezza
- Tenere il dispositivo lontano da temperature estreme, luce solare diretta e umidità elevata.
- Non esporre il dispositivo all'acqua o ad altri liquidi.
- Non tentare di smontare o modificare il dispositivo. Ciò invaliderà la garanzia.
- Smaltire le batterie usate in modo responsabile secondo le normative locali.
- Tenere le batterie fuori dalla portata dei bambini.
3. Contenuto della confezione
Al momento del disimballaggio, controllare il contenuto della confezione:
- EMOS E0114 Digital Thermometer and Hygrometer
- Manuale d'uso
Note: 1 AA Mignon 1.5 V battery is required and not included in the package.

Figure 3.1: EMOS E0114 device in its retail packaging.
4. Prodotto finitoview
Familiarize yourself with the components of your EMOS E0114 device.
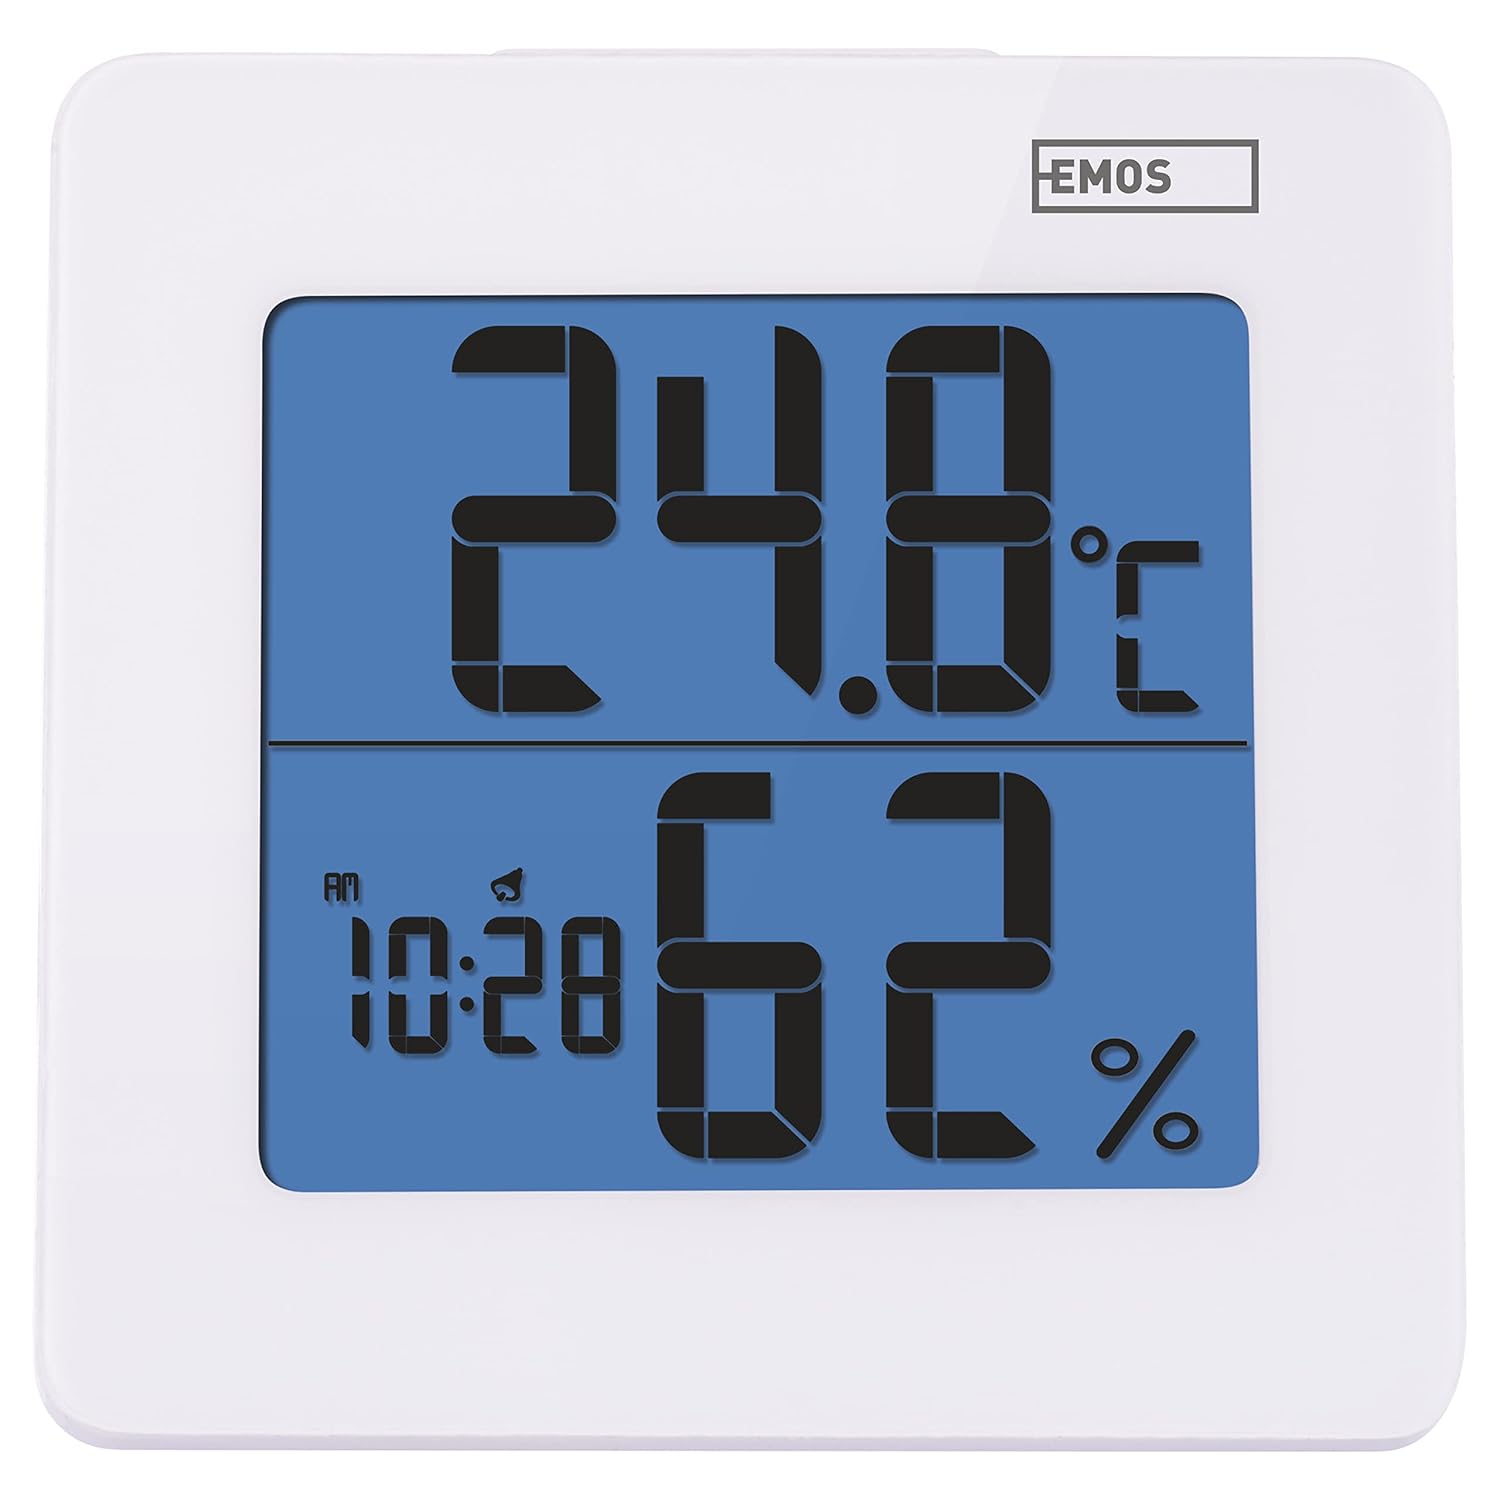
Figura 4.1: Fronte view of the EMOS E0114 display, showing temperature, humidity, and time.

Figura 4.2: Indietro view of the EMOS E0114, highlighting the control buttons and battery compartment.
Pulsanti di controllo:
- DIREZIONI: Switches between time display, alarm setting, and date setting.
- SU: Increases values during setting, activates/deactivates alarm.
- MEM: Displays maximum and minimum temperature/humidity records.
- C/F: Alterna le unità di temperatura Celsius e Fahrenheit.
- RIPRISTINA: Ripristina il dispositivo alle impostazioni di fabbrica.
- SNOOZE/LIGHT (Top Bar): Activates snooze function during alarm, illuminates the display backlight.
5. Impostazione
5.1 Installazione della batteria
- Individuare il vano batteria sul retro del dispositivo (fare riferimento alla Figura 4.2).
- Aprire il coperchio del vano batterie.
- Insert one (1) AA Mignon 1.5 V battery, ensuring correct polarity (+/-).
- Chiudere saldamente il coperchio del vano batterie.
5.2 Accensione iniziale
Upon battery installation, the device will power on automatically and display the current time (default 12:00 AM), temperature, and humidity. The backlight will briefly illuminate.
6. Istruzioni per l'uso
6.1 Impostazione di data e ora
- Nella modalità di visualizzazione dell'ora normale, premere il tasto MODALITÀ una volta il pulsante per accedere alla modalità di impostazione dell'ora. Le cifre delle ore lampeggeranno.
- Utilizzare il UP pulsante per regolare l'ora.
- Premere MODALITÀ again to set the minutes. The minute digits will flash. Use the UP pulsante per regolare i minuti.
- Premere MODALITÀ again to set the year. The year digits will flash. Use the UP pulsante per regolare l'anno.
- Continua a premere MODALITÀ to set the month and then the day, adjusting each with the UP pulsante.
- Dopo aver impostato il giorno, premere MODALITÀ to exit setting mode and return to normal time display.
6.2 Impostazione dell'allarme
- Nella modalità di visualizzazione dell'ora normale, premere il tasto MODALITÀ button twice to enter alarm setting mode. The alarm time will be displayed, and the hour digits will flash.
- Utilizzare il UP pulsante per regolare l'ora della sveglia.
- Premere MODALITÀ again to set the alarm minutes. The minute digits will flash. Use the UP pulsante per regolare i minuti della sveglia.
- Premere MODALITÀ per uscire dalla modalità di impostazione dell'allarme.
- Per attivare o disattivare l'allarme, premere il tasto UP button once in normal time display mode. An alarm icon will appear on the display when activated.
6.3 Utilizzo della funzione Snooze e della retroilluminazione
- Quando suona la sveglia, premere il tasto SNOOZE / LIGHT bar on top of the device to activate the snooze function. The alarm will pause for approximately 5 minutes and then sound again.
- To turn off the alarm completely, press any other button (MODE, UP, MEM, C/F) on the back of the device.
- Premere il tasto SNOOZE / LIGHT bar at any time to briefly illuminate the display backlight for better visibility in low light conditions.
6.4 Commutazione delle unità di temperatura (°C/°F)
Nella modalità di visualizzazione normale, premere il tasto C / F button on the back of the device to toggle between Celsius (°C) and Fahrenheit (°F) temperature readings.
6.5 Viewing Maximum and Minimum Records
The device stores the maximum and minimum temperature and humidity values recorded since the last reset or battery change.
- Premere il tasto MEM button once to display the maximum recorded temperature and humidity.
- Premere il tasto MEM button again to display the minimum recorded temperature and humidity.
- Premere MEM una terza volta per tornare alla visualizzazione della temperatura e dell'umidità correnti.
- To clear the maximum/minimum records, press and hold the MEM pulsante per circa 3 secondi mentre viewing i record.
7. Manutenzione
7.1 Pulizia
- Pulisci il dispositivo con un panno morbido e asciutto.
- Do not use abrasive cleaners, solvents, or chemical agents, as these may damage the display or casing.
7.2 Sostituzione della batteria
When the display becomes dim or the device stops functioning, it is time to replace the battery.
- Aprire il coperchio del vano batteria sul retro del dispositivo.
- Rimuovere la vecchia batteria AA.
- Insert a new AA Mignon 1.5 V battery, observing correct polarity.
- Chiudere il coperchio del vano batterie.
- You may need to reset the time and date after battery replacement.
8. Risoluzione Dei Problemi
| Problema | Possibile causa | Soluzione |
|---|---|---|
| Nessun display o display poco luminoso | Batteria scarica o scarica; installazione errata della batteria. | Replace the battery with a new AA 1.5V battery. Ensure correct polarity. |
| Ora/data errate | Time/date not set correctly after battery installation or reset. | Per impostare l'ora e la data, seguire le istruzioni nella Sezione 6.1. |
| Temperature/humidity readings seem inaccurate | Device placed in an unsuitable location (e.g., near heat source, vent, direct sunlight). | Relocate the device to a stable indoor environment away from direct influences. Allow 30 minutes for readings to stabilize. |
| L'allarme non suona | L'allarme non è attivato. | Ensure the alarm icon is visible on the display (refer to Section 6.2). |
| Dispositivo non responsivo | Problema elettronico temporaneo. | Premere il tasto RESET button on the back of the device using a thin object (e.g., paperclip). Note: This will clear all settings. |
9. Specifiche
- Modello: E0114
- Marca: EMO
- Gamma di misurazione della temperatura: Da 0 °C a +50 °C (da 32 °F a 122 °F)
- Risoluzione della temperatura: 0.1 °C / 0.1 °F
- Campo di misurazione dell'umidità: Dal 20% al 90% di umidità relativa (UR)
- Risoluzione dell'umidità: 1% UR
- Orologio: Quartz with 12/24 hour format
- Allarme: Sì, con funzione Snooze
- Display: LCD retroilluminato
- Funzione di memoria: Max/Min temperatura e umidità
- Alimentazione elettrica: 1 x AA Mignon 1.5 V battery (not included)
- Dimensioni (L x P x A): 3.7 x 9.3 x 9.3 cm (circa 1.46 x 3.66 x 3.66 pollici)
- Dimensioni dello schermo: 60 x 65 mm (circa 2.36 x 2.56 pollici)
- Peso: 109 grammi (circa 3.84 once)
- Tipo di montaggio: Wall mountable (integrated stand)
- Colore: White (with blue display backlight)

Figure 9.1: Dimensions of the EMOS E0114 device.
10. Garanzia e supporto
EMOS products are designed for reliability and performance. For warranty information or technical support, please refer to the warranty card included with your purchase or visit the official EMOS websito. Conservare la prova d'acquisto per eventuali reclami in garanzia.


