1. Prodotto finitoview
The Norlake NOR140512 is a genuine OEM Dixell Control Sensor designed for use with Norlake refrigeration units, specifically compatible with Model 18NB-NTC. This sensor plays a critical role in accurately monitoring temperatures within the refrigeration system, providing essential data to the Dixell control unit for precise temperature regulation and efficient operation. It features a 15-foot grey cable, allowing for flexible placement within the unit.
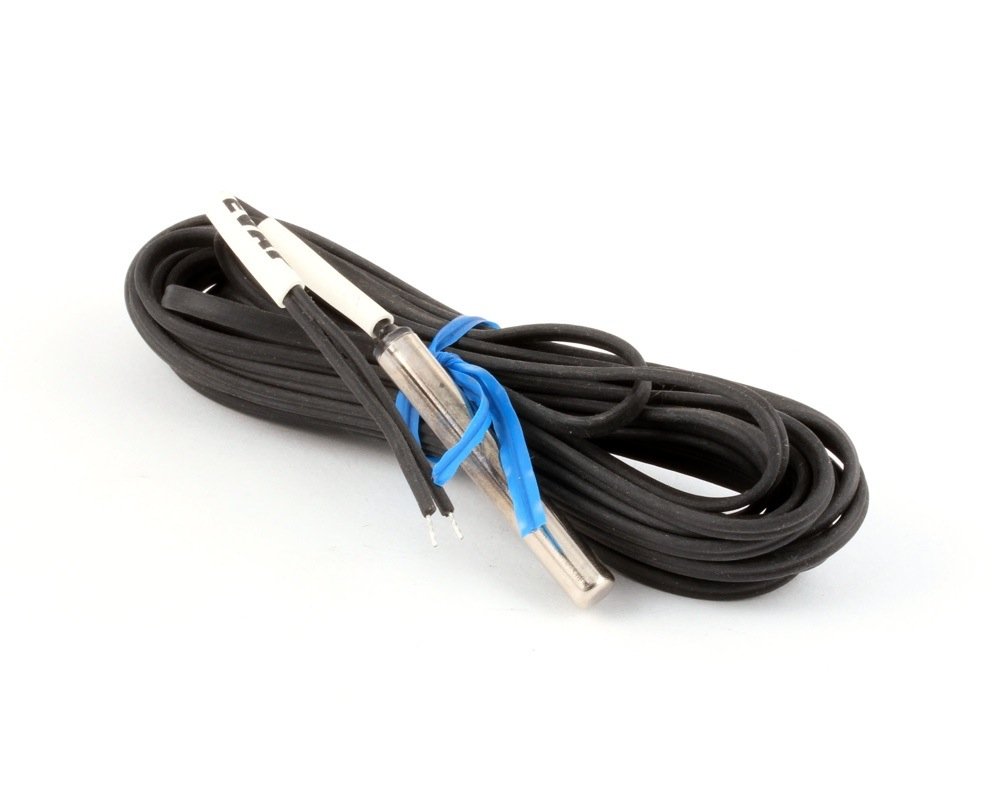
Image 1.1: Norlake NOR140512 Dixell Control Sensor. This image displays the sensor with its grey cable, illustrating its physical appearance.
2. Informazioni sulla sicurezza
Please read and understand all safety instructions before installing or servicing this product. Failure to follow these instructions may result in electric shock, fire, serious injury, or death.
- Scollegare l'alimentazione: Always disconnect power to the refrigeration unit before performing any installation, maintenance, or troubleshooting.
- Personale qualificato: L'installazione e la manutenzione devono essere eseguite esclusivamente da personale qualificato e autorizzato.
- Ricambi originali: Utilizzare solo ricambi OEM originali per garantire sicurezza, affidabilità e prestazioni.
- Pericoli elettrici: Be aware of electrical hazards. Do not touch live electrical components.
- Integrità del cavo: Ensure the sensor cable is not pinched, cut, or damaged during installation or operation.
3. Contenuto della confezione
Al momento dell'apertura del pacco, verificare che tutti gli articoli siano presenti e integri.
- One (1) Norlake NOR140512 Dixell Control Sensor (15 Feet Grey)
4. Configurazione e installazione
This sensor is an integral component of a refrigeration system. Professional installation is highly recommended to ensure proper function and safety.
- Disconnessione dell'alimentazione: Ensure the refrigeration unit is completely disconnected from its power source. Verify with a voltage meter if necessary.
- Pannello di controllo degli accessi: Locate and open the control panel or access point where the Dixell control unit is housed.
- Rimuovere il vecchio sensore (se applicabile): If replacing an existing sensor, carefully disconnect it from the Dixell control unit and remove it from its mounting location. Note the routing of the old sensor cable.
- Installare il nuovo sensore: Mount the new Norlake NOR140512 sensor in the designated temperature sensing location within the refrigeration unit. Ensure the sensor bulb is positioned correctly to accurately measure the desired temperature.
- Cavo di percorso: Carefully route the 15-foot grey sensor cable to the Dixell control unit, avoiding sharp edges, moving parts, or areas of excessive heat. Secure the cable as needed to prevent damage.
- Connect to Dixell Control: Connect the sensor wires to the appropriate terminals on the Dixell control unit. Refer to the specific Dixell control unit's manual for exact wiring diagrams and terminal assignments. Ensure connections are secure and correct polarity is observed if applicable.
- Sicuro e vicino: Secure any covers or panels that were removed.
- Ripristina alimentazione: Reconnect power to the refrigeration unit.
- Verifica operazione: Monitor the Dixell control unit's display to confirm that the new sensor is providing accurate temperature readings.
5. Istruzioni per l'uso
The Norlake NOR140512 Dixell Control Sensor is a passive component that provides temperature data to the Dixell control unit. It does not have user-adjustable settings or operational controls.
- Monitoraggio della temperatura: The sensor continuously measures the temperature in its installed location and transmits this information to the Dixell control unit.
- Controllo del sistema: The Dixell control unit uses the sensor's input to regulate the refrigeration system's operation, such as compressor cycles and defrost functions, to maintain the desired temperature set points.
- Letture del display: Temperature readings from the sensor are typically displayed on the Dixell control unit's interface. Refer to your Dixell control unit's manual for instructions on how to view current temperatures and system status.
6. Manutenzione
Regular inspection and basic maintenance can help ensure the longevity and accuracy of your sensor.
- Ispezione visiva: Periodically inspect the sensor and its cable for any signs of physical damage, wear, or corrosion. Ensure the cable is securely routed and not exposed to excessive stress.
- Pulizia: If the sensor bulb becomes dirty or covered with debris, gently clean it with a soft, damp cloth. Avoid using harsh chemicals or abrasive materials that could damage the sensor. Ensure the unit is powered off before cleaning.
- Verifica della connessione: During routine system maintenance, verify that the sensor's electrical connections to the Dixell control unit are tight and free from corrosion.
- Controllo della calibrazione: If temperature readings appear inaccurate, consult the Dixell control unit's manual for instructions on how to check sensor calibration or perform diagnostic tests.
7. Risoluzione Dei Problemi
If you experience issues with your refrigeration unit's temperature sensing, consider the following troubleshooting steps. Always disconnect power before inspecting internal components.
- Letture di temperatura errate:
- Verify the sensor's placement. Is it in the correct location to measure the desired temperature?
- Check for obstructions around the sensor that might be affecting its ability to read ambient temperature accurately.
- Inspect the sensor cable for damage (cuts, pinches).
- Ensure connections to the Dixell control unit are secure.
- Compare the sensor reading with an independent, calibrated thermometer placed near the sensor.
- Sensor Not Detected / Error Codes:
- Confirm that the sensor is correctly wired to the Dixell control unit according to its manual.
- Check for loose or corroded connections at both the sensor and the control unit.
- If the Dixell control unit displays a specific error code related to the sensor, consult the Dixell control unit's manual for the meaning of the code and recommended actions.
- A faulty sensor may need replacement.
- Letture intermittenti:
- This can often indicate a loose connection or a damaged cable. Inspect all wiring and connections thoroughly.
If troubleshooting steps do not resolve the issue, contact a qualified refrigeration technician or Norlake customer support.
8. Specifiche
| Attributo | Specificazione |
|---|---|
| Numero di modello | NOR140512 |
| Tipo di parte | Dixell Control Sensor |
| Lunghezza del cavo | 15 piedi |
| Colore del cavo | Grigio |
| Compatibilità | Norlake refrigeration units, Model 18NB-NTC |
| Dimensioni del prodotto | 7 x 7 x 7 pollici (confezione) |
| Peso dell'articolo | 6.4 once |
| Produttore | Norlake |
9. Garanzia e supporto
Norlake products are manufactured to high standards and are backed by a manufacturer's warranty. For specific warranty terms and conditions, please refer to the documentation provided with your original refrigeration unit or visit the official Norlake websito.
For technical support, replacement parts, or warranty claims, please contact Norlake customer service directly. When contacting support, have your product model number (NOR140512) and the serial number of your refrigeration unit available.
Norlake Official Websito: www.norlake.com


