Prodotto finitoview
This manual provides essential information for the safe operation, installation, and maintenance of your Bestway Flowclear Sand Filter Pump. This pump is designed to filter water for pools with capacities ranging from 1,100 to 16,000 liters, ensuring clean and clear water.
Le caratteristiche principali includono:
- Filter performance: Approximately 2,006 liters per hour
- Power: 220-240 V~/50 Hz, 85 W
- Required filter sand: Approximately 8.5 kg of No. 20 (0.45-0.85mm) filter sand (not included)

Importanti istruzioni di sicurezza
Read and follow all instructions carefully before installing and using this product. Failure to do so can result in serious injury or death.
- Always disconnect the pump from the power supply before performing any maintenance or assembly.
- Non interrare il cavo elettrico. Posizionare il cavo in modo da ridurre al minimo l'uso improprio di tosaerba, tagliasiepi o altre attrezzature.
- Questo apparecchio può essere utilizzato da bambini di età pari o superiore a 8 anni e da persone con ridotte capacità fisiche, sensoriali o mentali o prive di esperienza e conoscenza, solo se sorvegliati o istruiti sull'uso sicuro dell'apparecchio e se comprendono i pericoli connessi.
- I bambini non devono giocare con l'apparecchio. La pulizia e la manutenzione da parte dell'utente non devono essere eseguite da bambini senza supervisione.
- The pump must be supplied by an isolating transformer or supplied through a residual current device (RCD) having a rated residual operating current not exceeding 30 mA.
Configurazione e installazione
Disimballaggio e controllo dei componenti
Rimuovere con attenzione tutti i componenti dall'imballaggio. Assicurarsi che siano presenti tutti i pezzi:
- Sand Filter Pump unit
- Tubi e clamps
- Multi-port valve
- Manometro
Fasi di assemblaggio
- Posizionamento della pompa: Place the pump on a solid, level surface, at least 2 meters (6.5 feet) away from the pool edge. Ensure it is lower than the pool's water level for optimal priming.
- Aggiunta di sabbia filtrante: Unscrew the top multi-port valve. Carefully pour the recommended 8.5 kg of No. 20 (0.45-0.85mm) filter sand into the filter tank. Do not overfill.
- Attaching the Multi-port Valve: Reattach the multi-port valve to the top of the filter tank, ensuring a secure and watertight seal.
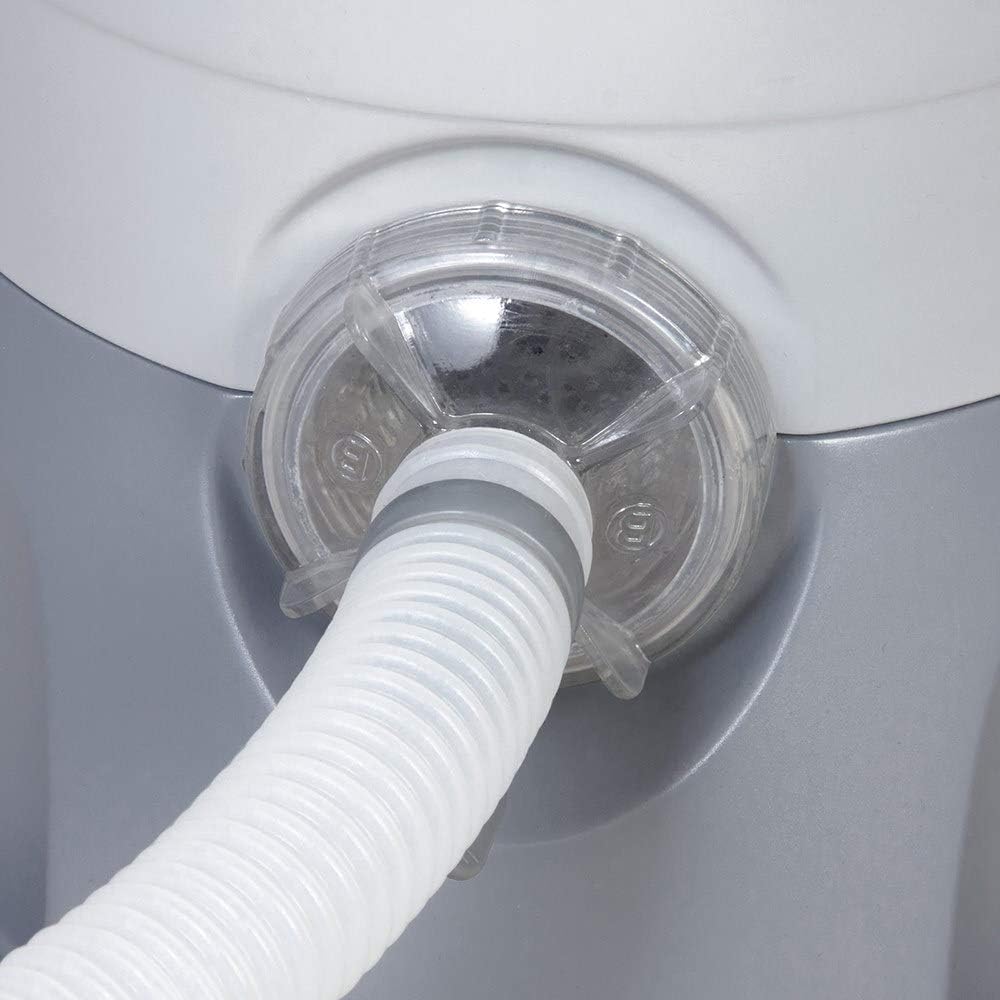
- Tubi di collegamento: Connect the hoses from the pool's skimmer/outlet to the pump's inlet ("PUMP" port) and from the pump's outlet ("RETURN" port) back to the pool's return jet. Secure all connections with clamps.
- Connecting Waste Hose: Connect a waste hose to the "WASTE" port on the multi-port valve. This hose will direct water away from the pool during backwashing or draining.
- Preparazione iniziale: Before starting the pump, ensure the pool is filled with water and all air is purged from the system.


Funzionamento della pompa filtro a sabbia
Multi-port Valve Functions
The multi-port valve has several settings to control the water flow:
- FILTRO: Normal filtering mode. Water flows through the sand, is filtered, and returned to the pool.
- CONTROLAVAGGIO: Cleans the filter sand. Water flows in reverse through the sand and out the waste port.
- RISCIACQUO: Used after backwashing to settle the sand and flush out any remaining dirty water to waste.
- RICIRCOLO: Fa circolare l'acqua senza filtrarla (ad esempio, per la distribuzione di prodotti chimici).
- CHIUSO: Shuts off all flow to the filter. Do not operate the pump in this position.
- DRENARE: Drains water directly from the pool through the waste port, bypassing the filter.
Avviamento della pompa
- Ensure all hoses are securely connected and the pool is filled.
- Impostare la valvola multiporta sulla posizione "FILTER".
- Plug in the pump and turn on the power switch.
- Monitor the pressure gauge. A rising pressure indicates the filter is becoming dirty and requires backwashing.


Manutenzione
Controlavaggio del filtro
Backwash the filter when the pressure gauge reading is 0.2-0.3 bar (3-5 PSI) above the initial clean filter pressure, or when water flow to the pool significantly decreases.
- Spegnere la pompa e staccarla dalla presa.
- Impostare la valvola multiporta su "CONTROLAVAGGIO".
- Plug in and turn on the pump. Run until the water flowing out of the waste port is clear (typically 1-2 minutes).
- Spegnere la pompa e staccarla dalla presa.
- Impostare la valvola multiporta su "RISCIACQUO".
- Collegare la spina e accendere la pompa. Farla funzionare per 30-60 secondi per far depositare la sabbia.
- Spegnere la pompa e staccarla dalla presa.
- Riportare la valvola multiporta su "FILTER".
- Collegare e accendere la pompa per il normale funzionamento.
Sostituzione della sabbia
Filter sand typically needs to be replaced every 3-5 years, depending on usage and water quality. Refer to the "Adding Filter Sand" section in Setup for replacement instructions.
svernamento
Before winter, drain all water from the pump and hoses. Store the pump in a dry, frost-free location.
Risoluzione dei problemi
| Problema | Possibile causa | Soluzione |
|---|---|---|
| La pompa non si avvia | Nessuna alimentazione; interruttore scattato; problema al motore | Check power connection, circuit breaker, or contact support. |
| Basso flusso d'acqua | Clogged skimmer/strainer; dirty filter sand; air in system | Clean skimmer basket, backwash filter, check for air leaks. |
| L'acqua non si schiarisce | Insufficient filtration time; chemical imbalance; old sand | Increase filtration time, test pool chemistry, consider replacing sand. |
| Connessioni che perdono | cl allentatoamps; O-ring usurati | Stringere clamps, inspect and replace O-rings if necessary. |
Specifiche del prodotto
| Caratteristica | Dettaglio |
|---|---|
| Marca | Il migliore modo |
| Numero di modello | 58397_04 |
| Prestazioni del filtro | 2,006 litri all'ora |
| Voltage | 220-240V~ |
| Frequenza | Frequenza 50 Hz |
| Energia | 85 L |
| Suitable Pool Capacity | 1,100 - 16,000 litri |
| Required Filter Sand | Approx. 8.5 kg No. 20 (0.45-0.85mm) |
| Materiale | Plastica |
| Colore | Grigio |
| Peso dell'articolo | 7.5 chilogrammi (16.5 libbre) |
| Dimensioni del prodotto | 17.72 x 25.59 x 19.69 pollici |

Garanzia e assistenza clienti
For warranty information, technical support, or replacement parts, please contact Bestway customer service. Keep your purchase receipt as proof of purchase.
Visita il sito ufficiale Bestway website for the most up-to-date contact information and FAQs.