1. Introduzione
The FlashForge Finder is a user-friendly, home-friendly, and wallet-friendly 3D printer designed for novices and educators. It features easy-to-use functionalities such as a slide-in build plate, assisted bed-leveling, and an intuitive color touchscreen. The printer operates quietly and safely, using only non-toxic PLA filament with safely encased heated components. This manual provides essential information for setting up, operating, and maintaining your FlashForge Finder 3D printer.
2. Cosa c'è nella scatola
Upon unboxing your FlashForge Finder 3D Printer, please verify that all the following components are included:
- FlashForge Finder 3D Printer
- Guida rapida
- Carta dei servizi post-vendita
- Cavo di alimentazione
- Tubo guida del filamento
- Borsa degli attrezzi
- Start-up PLA Filament
- Adattatore di alimentazione
- Cavo USB
- Solid Glue
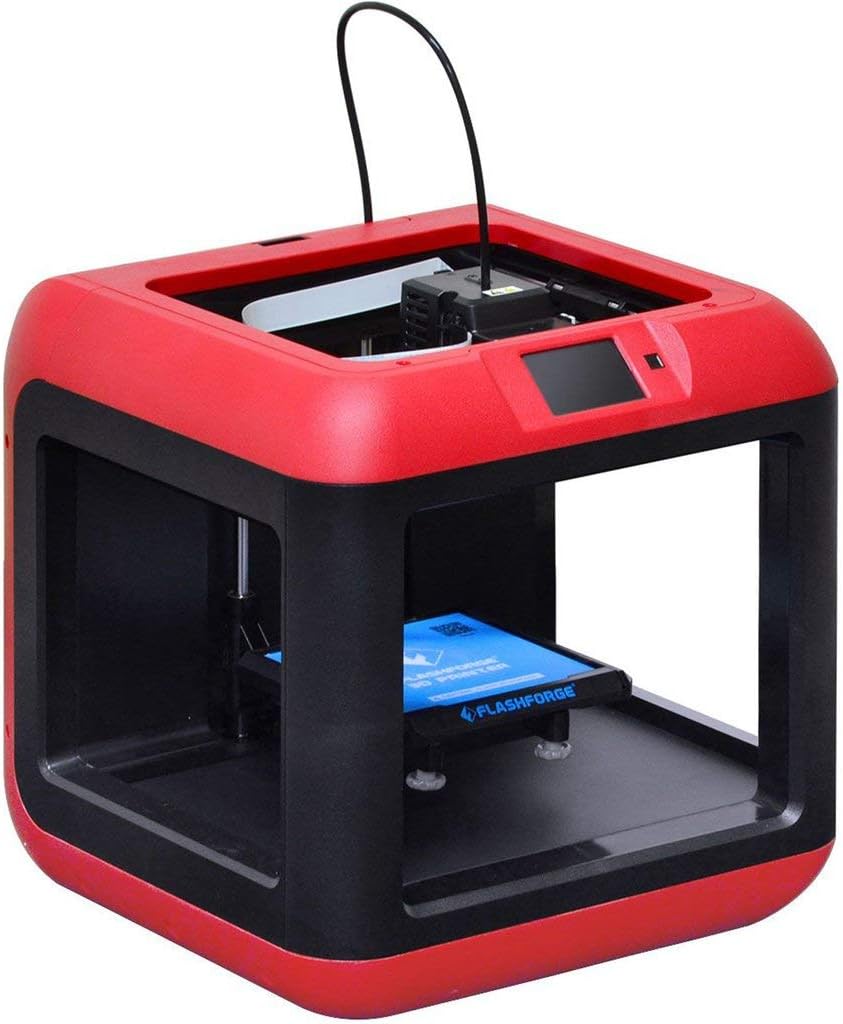
Figura 2.1: Fronte view of the FlashForge Finder 3D Printer.
3. Caratteristiche principali
The FlashForge Finder 3D Printer is equipped with several features designed for ease of use and reliable performance:
- Slide-in Build Plate: Allows for easy removal of printed objects.
- 3.5-Inch Full Color Touchscreen: Provides intuitive icons for straightforward operation.
- Sturdy, Plastic Alloy Construction: Ensures stable and consistent prints.
- Safe, Non-Heated Build Plate: Enhances safety, especially in educational or home environments.
- Molteplici opzioni di connettività: Supports printing via Wi-Fi, USB cable, USB stick, and Cloud.
- High Positioning Precision: Achieves 0.0001 inch on the Z-axis and 0.0004 inch on the XY plane, with a resolution of 0.004 inch.
- PLA Filament Compatibility: Designed to use PLA material.

Figure 3.1: Close-up of the intuitive color touchscreen display.
4. Impostazione
Follow these steps to set up your FlashForge Finder 3D Printer for first use:
- Disimballaggio: Estrarre con cautela la stampante e tutti gli accessori dall'imballaggio. Conservare l'imballaggio per eventuali trasporti o rimessaggio futuri.
- Posizionamento: Posizionare la stampante su una superficie stabile e piana, in un'area ben ventilata, lontano dalla luce solare diretta e da fonti di calore.
- Collegamento elettrico: Connect the power adapter to the printer and then plug it into a suitable power outlet. Turn on the printer using the power switch.
- Caricamento del filamento:
- Insert the filament guide tube into the designated port on the extruder.
- Posizionare la bobina del filamento sul portafilamento.
- Feed the filament through the guide tube and into the extruder until it is properly seated.

Figure 4.1: Close-up of the extruder and filament path.
- Livellamento del letto: The FlashForge Finder features assisted bed-leveling.
- Navigate to the leveling option on the touchscreen.
- Follow the on-screen prompts to adjust the build plate at the indicated points until the correct gap is achieved between the nozzle and the build plate.
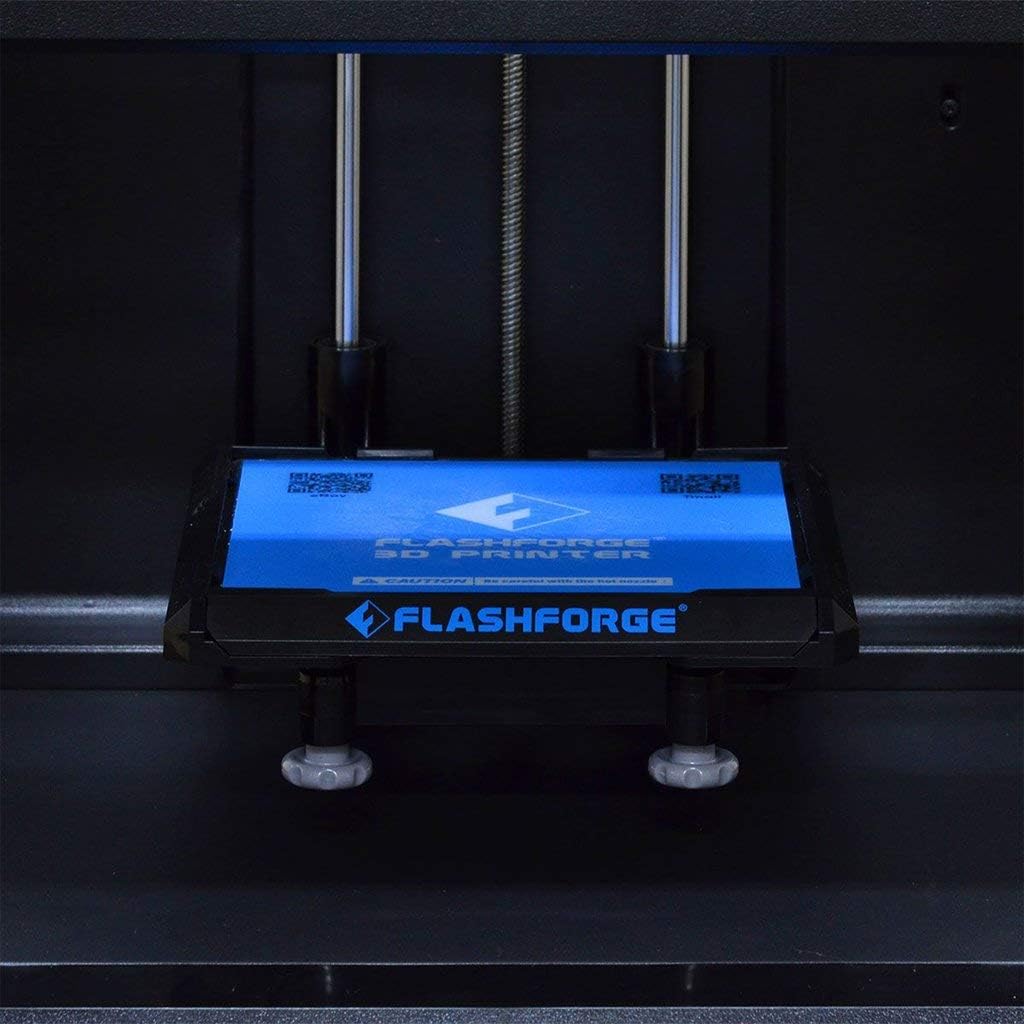
Figure 4.2: The removable build plate for easy print removal.
5. Funzionamento
Operating your FlashForge Finder is designed to be straightforward. Here are the basic steps:
- Installazione del software: Install the FlashPrint software from the included USB stick or download the latest version from the official FlashForge websito.
- Preparazione del modello:
- Open your 3D model file (e.g., .STL, .OBJ) in FlashPrint.
- Adjust print settings such as layer height, infill density, and support structures as needed.
- Tagliare il modello per generare il codice G file da stampare.
- Trasferimento Files: Transfer the generated G-code file to the printer using one of the following methods:
- Chiavetta USB: Save the G-code to a USB stick and insert it into the printer's USB port.
- Cavo USB: Connect the printer to your computer via USB cable and transfer the file direttamente.
- Wi-Fi/Cloud: Use the FlashPrint software to send the file wirelessly to the printer or via Cloud connectivity.
- Starting a Print:
- On the printer's touchscreen, select the desired G-code file.
- Confirm the print settings and initiate the print job. The printer will begin heating the extruder and then start printing.
- Monitoring the Print: Observe the initial layers to ensure proper adhesion to the build plate. Monitor the print progress via the touchscreen.
6. Manutenzione
Regular maintenance ensures the longevity and optimal performance of your FlashForge Finder 3D Printer:
- Pulisci la piastra di stampa: After each print, clean the build plate to remove any residue. Use a soft cloth and isopropyl alcohol if necessary.
- Pulizia degli ugelli: Periodically check the nozzle for clogs. Use the provided tools to clear any blockages.
- Lubricate Guide Rods: Apply a small amount of lubricant to the guide rods every few months to ensure smooth movement of the print head.
- Aggiornamenti del firmware: Check the FlashForge websito per verificare la disponibilità di eventuali aggiornamenti del firmware, per garantire che la stampante disponga delle funzionalità e delle correzioni di bug più recenti.
7. Risoluzione Dei Problemi
This section addresses common issues you might encounter with your FlashForge Finder 3D Printer:
| Problema | Possibile causa | Soluzione |
|---|---|---|
| La stampa non aderisce alla piastra di stampa | Improper bed leveling, dirty build plate, insufficient adhesion. | Re-level the build plate using the assisted leveling function. Clean the build plate thoroughly. Apply a thin layer of solid glue (included) or painter's tape to the build plate for better adhesion. |
| Filamento non estruso | Ugello intasato, filamento aggrovigliato, temperatura errata. | Clear the nozzle using the provided cleaning needle. Ensure filament is not tangled and feeds smoothly. Verify extruder temperature settings in FlashPrint match PLA requirements (typically 190-220°C). |
| Poor print quality (e.g., layer shifting, rough surfaces) | Loose belts, incorrect print speed, filament quality, model issues. | Check and tighten any loose belts. Reduce print speed. Try a different brand of PLA filament. Ensure the 3D model is not corrupted. |
| Printer not connecting via Wi-Fi | Incorrect Wi-Fi settings, network interference. | Double-check Wi-Fi password and network name on the printer's touchscreen. Ensure the printer is within range of your Wi-Fi router. Restart both the printer and your router. |
8. Specifiche
Detailed technical specifications for the FlashForge Finder 3D Printer:
| Specificazione | Valore |
|---|---|
| Tecnologia di stampa | FFF (Fabbricazione di filamenti fusi) |
| Build Volume (L x W x H) | 140 x 140 x 140 mm (5.5 x 5.5 x 5.5 pollici) |
| Risoluzione del livello | 100-400 microns, adjustable |
| Positioning Precision (X and Y) | 11 microns (0.0004 inch) |
| Positioning Precision (Z) | 2.5 microns (0.0001 inch) |
| Diametro del filamento | 1.75 millimetri |
| Diametro ugello | 0.4 millimetri |
| Frame and Body Material | Plastic and Alloy |
| Quantità di estrusore | Uno |
| Dimensioni del prodotto | 420 x 420 x 420 mm (16.54 x 16.54 x 16.54 pollici) |
| Peso del prodotto | 13.5 kg (24.2 libbre) |
| Software | Flash Print |
| Connettività | Wi-Fi, USB cable, USB stick, Cloud |
| Materiale di stampa | PLA |
| Colore | Nero |
| Produttore | ZHEJIANG FLASHFORGE 3D TECHNOLOGY CO.,LTD |
| Data prima disponibilità | 6 novembre 2015 |

Figure 8.1: Dimensions of the FlashForge Finder 3D Printer.
9. Garanzia e supporto
For warranty information and additional support, please refer to the following resources:
- Garanzia del produttore: The product comes with a 90-day manufacturer warranty from a US authorized distributor.
- Guide utente:
- Supporto online: Visit the official FLASHFORGE Store on Amazon for more information and support: FLASHFORGE Store


