1. Introduzione
The Meer YG300 Classic Mini Projector is a compact and portable LED LCD video projector designed for various entertainment purposes, including watching movies, playing games, and enjoying sports. Its small size makes it ideal for travel, outdoor activities, and creating a private theater experience anywhere. This manual provides essential information for setting up, operating, maintaining, and troubleshooting your projector.

The Meer YG300 Classic Mini Projector is designed for ultimate portability, easily fitting into a bag for on-the-go entertainment.
2. Informazioni sulla sicurezza
Please read all safety instructions carefully before using the projector. Improper use can result in fire, electric shock, or other hazards. Keep this manual for future reference.
- Non esporre il proiettore alla pioggia o all'umidità per evitare incendi o scosse elettriche.
- Non aprire il casing. Affidare tutti gli interventi di assistenza a personale qualificato.
- Assicurare una ventilazione adeguata. Non ostruire le aperture di ventilazione.
- Utilizzare solo l'adattatore di alimentazione fornito con il proiettore.
- Evitare l'esposizione diretta degli occhi alla lente del proiettore quando lamp è acceso.
- Tenere il proiettore lontano da fonti di calore e dalla luce solare diretta.
3. Contenuto della confezione
Verifica che tutti gli articoli siano presenti nel tuo pacco:
- Meer YG300 Classic Mini Projector
- Cavo HDMI
- Telecomando
- Adattatore di alimentazione
- cavo AV

The complete package contents of the Meer YG300 Classic Mini Projector, including the projector unit and all necessary cables and accessories.
4. Prodotto finitoview
Familiarize yourself with the various parts and interfaces of your Meer YG300 Classic Mini Projector.
4.1. Fronte e lato View

Detailed diagram illustrating the various buttons and input/output ports on the Meer YG300 Classic Mini Projector.
- Interruttore di alimentazione: Accende/spegne il proiettore.
- Navigation Buttons (Left, Right, Up, Down): Utilizzato per navigare nei menu.
- Pulsante OK: Conferma le selezioni.
- Pulsante di ingresso: Seleziona la sorgente di input.
- Pulsante di ritorno: Torna al menu precedente.
- Slot per scheda microSD: Per riprodurre contenuti multimediali direttamente da una scheda Micro SD.
- Ingresso AV: Connects to devices using the AV cable.
- Micro USB (5V/2A): Ingresso di alimentazione per il proiettore.
- Earphone Slot: Per collegare cuffie o altoparlanti esterni.
4.2. Posteriore View

Rear panel of the projector, highlighting the USB, DC power, and HDMI ports.
- USB Input Slot: Per riprodurre contenuti multimediali direttamente da un'unità USB.
- Ingresso alimentazione CC: Collegamento all'alimentazione principale.
- Switch of Battery's Power: (Note: This model does not have a built-in battery. This switch may be for internal components or a feature present in other variants.)
- HDMI Input Slot: Si collega ai dispositivi tramite cavo HDMI.
5. Impostazione
5.1. Accensione del proiettore
The Meer YG300 Classic Mini Projector does not have its own internal battery. It requires a 5V/2A power source to operate. You can use the included wall charger or a compatible power bank, making it versatile for both indoor and outdoor use.

The projector can be powered by a standard wall adapter or a portable power bank (5V/2A minimum) for flexible usage.
5.2. Posizionamento iniziale
Posizionare il proiettore su una superficie stabile e piana. Assicurarsi che non vi siano ostruzioni davanti all'obiettivo o attorno alle aperture di ventilazione. Per una visione ottimale viewing, use the projector in a dark environment.
6. Funzionamento del proiettore
6.1. Collegamento dei dispositivi
Il proiettore supporta più sorgenti di ingresso:
- HDMI: Connect to laptops, TV sticks, gaming consoles (PS4, PS5, X-Box ONE), or tablets.
- USB: Insert a USB flash drive to play videos, photos, or music directly.
- AV: Use the included AV cable to connect to older devices like DVD players.
- Scheda SD: Inserisci una scheda Micro SD per riprodurre contenuti multimediali files.
To connect directly to a smartphone or tablet, you will need a specific adapter (e.g., Lightning to HDMI, Micro USB to HDMI, or Type-C to HDMI), which is not included. For wireless connection, a Wi-Fi display adapter is required for screen mirroring or casting. For streaming services, it is recommended to use devices like Fire Stick, Google Chromecast, or Roku.

The projector offers broad multimedia support, connecting to a wide range of devices for diverse entertainment options.
6.2. Adjusting Focus and Projection Size
The projector features a manual focus adjustment. Rotate the focus ring on the lens until the image appears clear. The optimal projection distance is between 1 to 3 meters, yielding a projection size of up to 60 inches.

Guide to projection distances and screen sizes for the Meer YG300 Classic Mini Projector.
6.3. Uscita audio
The projector has a built-in speaker for audio playback. For a more immersive experience or louder sound, you can connect external speakers or headphones via the earphone slot.
6.4. Scenari di utilizzo

Enjoy movies indoors with family.
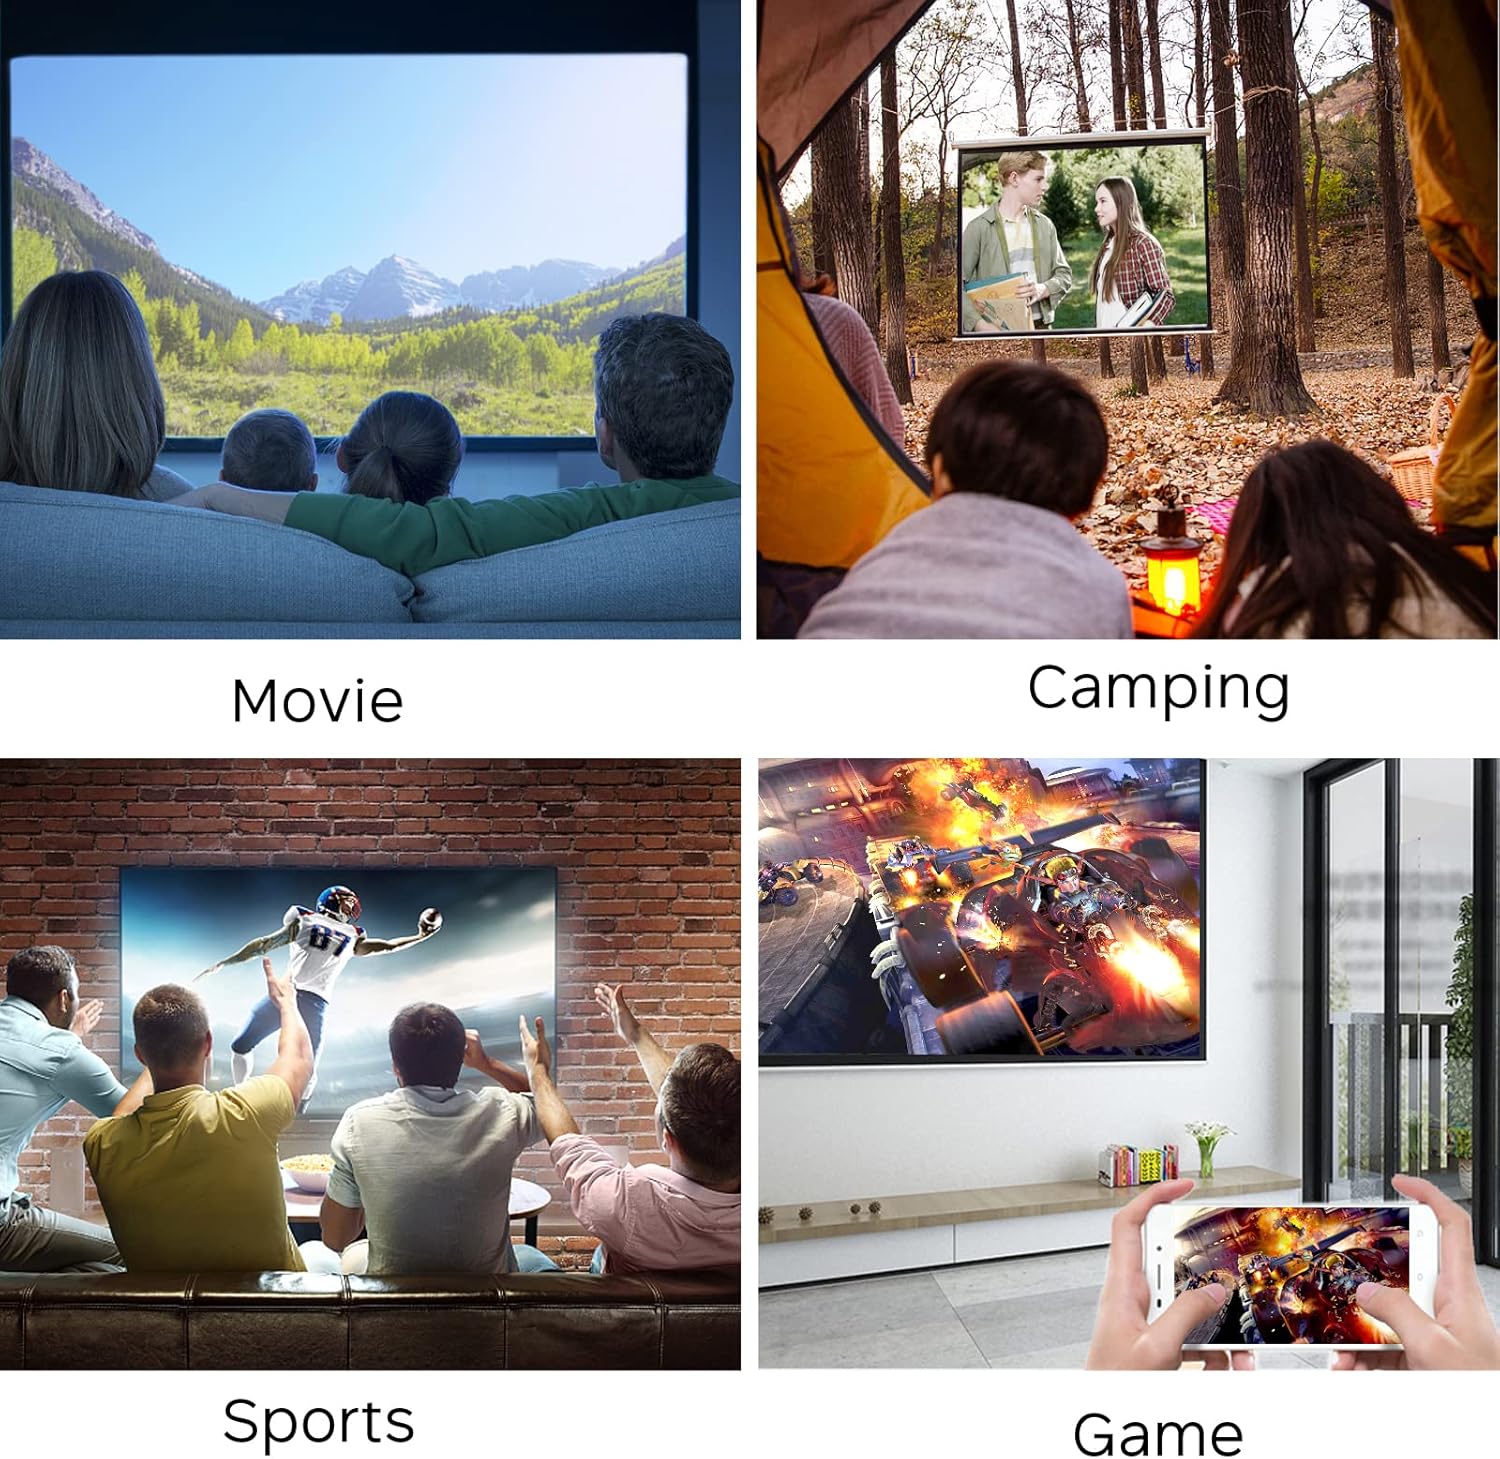
Perfect for outdoor entertainment and camping.
7. Manutenzione
Per garantire la longevità e le prestazioni ottimali del proiettore, seguire queste linee guida per la manutenzione:
- Pulizia della lente: Utilizzare un panno morbido e privo di lanugine, specificamente progettato per lenti ottiche. Non utilizzare detergenti abrasivi o panni che potrebbero graffiare le lenti.
- Pulizia del Casing: Pulire l'esterno del proiettore con un panno morbido e asciutto. Per lo sporco ostinato, utilizzare un panno leggermenteamp È possibile utilizzare un panno, ma assicurarsi che non penetri umidità nel dispositivo.
- Ventilazione: Regularly check that the ventilation openings are clear of dust and debris to prevent overheating. Do not place the projector on soft surfaces that might block airflow.
- Magazzinaggio: Quando non viene utilizzato per lunghi periodi, conservare il proiettore in un luogo fresco e asciutto, lontano dalla luce solare diretta e da temperature estreme.
8. Risoluzione Dei Problemi
Se riscontri problemi con il proiettore, fai riferimento ai seguenti problemi comuni e alle relative soluzioni:
| Problema | Possibile causa | Soluzione |
|---|---|---|
| Nessuna immagine sullo schermo | Nessuna alimentazione; Sorgente di ingresso errata; Collegamento del cavo allentato | Ensure power adapter is connected and power source is active. Select the correct input source (HDMI, USB, AV, SD). Check all cable connections. |
| Immagine sfocata | Sfocato; Distanza di proiezione errata | Adjust the focus ring on the lens. Ensure the projector is within the recommended projection distance (1-3 meters). |
| Nessun suono | Volume troppo basso; Disattivato; Dispositivo audio esterno non collegato correttamente | Increase the volume. Check if the projector or source device is muted. Ensure external speakers/headphones are correctly plugged into the earphone slot. |
| Il proiettore si surriscalda | Ventilazione bloccata; uso prolungato in ambiente caldo | Ensure ventilation openings are clear. Operate in a well-ventilated area. Allow the projector to cool down if it feels excessively hot. |
| Il telecomando non funziona | Batterie scariche; Ostruzione tra telecomando e proiettore | Replace batteries in the remote control. Ensure there is a clear line of sight between the remote and the projector's IR receiver. |
9. Specifiche
| Caratteristica | Dettaglio |
|---|---|
| Nome del marchio | Di più |
| Numero modello articolo | YG300 |
| Dimensioni del prodotto | 4.98 x 3.37 x 1.88 pollici |
| Peso dell'articolo | 10.2 once |
| Nome del colore | Giallo |
| Risoluzione dello schermo | 640x480 |
| Supporto alla risoluzione | 1080P (Input) |
| Luminosità | 400 lumen |
| Proporzioni | 4:3 o 16:9 |
| Distanza di proiezione | 1-3 metri |
| Dimensioni della proiezione | Fino a 60 pollici |
| Tecnologia di connettività | HDMI, USB, AV, SD |
| Caratteristiche speciali | Altoparlanti incorporati |
| Fonte di alimentazione | 5V/2A (via wall charger or power bank) |
| Paese di origine | Cina |
10. Garanzia e supporto
For any product inquiries, technical support, or warranty information, please refer to the official Meer website or contact their customer service directly. You may also find additional resources and FAQs on the product's Amazon listing page.
È possibile scaricare la versione digitale di questa guida utente: Guida per l'utente (PDF)


