
Image: The Mastercool 72485-PRC Universal Hydraulic Flaring Tool kit, presented in its custom-molded storage case.
1. Introduzione
The Mastercool 72485-PRC Universal Hydraulic Flaring Tool is designed for creating precise flares on various types of tubing, including brake lines, fuel lines, and transmission cooling lines. This tool utilizes a hydraulic ram system to ensure consistent and effortless flaring. It supports multiple flare types and tubing sizes, making it a versatile solution for automotive and hydraulic applications.
This manual provides detailed instructions for the safe and effective operation, maintenance, and troubleshooting of your Mastercool 72485-PRC flaring tool.
2. Informazioni sulla sicurezza
- Quando si utilizza l'utensile, indossare sempre dispositivi di protezione individuale adeguati, compresi occhiali di sicurezza.
- Assicurarsi che l'area di lavoro sia pulita, ben illuminata e libera da ostacoli.
- Leggere e comprendere tutte le istruzioni prima di utilizzare lo strumento.
- Non utilizzare l'utensile se è danneggiato o non funziona correttamente.
- Durante il funzionamento, tenere mani e dita lontane dalle parti in movimento.
- Use only Mastercool approved dies and adapters with this tool.
- Store the tool and its components in the provided case when not in use to prevent damage and loss.
3. Components and Kit Contents
The Mastercool 72485-PRC kit includes the following components:
- Hydra-Flare Yoke & Pump Assembly
- 45° Flaring Cone
- Push Connect Adapters and Die Sets
- GM Fuel Line Adapters and Die Sets
- 45° & Double Flaring Adapters & Die Sets
- Metric Bubble Flaring Adapters & Die Sets
- GM Transmission Cooling Line Die & Adapter Sets
- Mini Tube Cutter (Mastercool 70027)
- Custom-molded Storage Case

Image: The Mastercool 72485-PRC Universal Hydraulic Flaring Tool kit, showing the main hydraulic unit, various dies, adapters, and the mini tube cutter organized within its custom-molded storage case.

Image: A detailed diagram illustrating the main components of the Mastercool hydraulic flaring tool, including the hydraulic ram, yoke, die set compression area, and magnetic adapter holder.
4. Impostazione
- Preparare il tubo: Cut the tubing to the desired length using the included Mastercool 70027 Mini Tube Cutter. Ensure the cut is clean and square. Deburr the inside and outside edges of the tubing to remove any sharp edges or burrs that could interfere with flaring or cause leaks.
- Seleziona matrici e adattatori: Identify the correct die set and adapter for the desired flare type and tubing size. The magnetic adapter holder helps secure the chosen adapter.
- Inserire il tubo: Place the tubing into the appropriate die set opening. Ensure the tubing extends beyond the die face by the recommended amount for the specific flare type (refer to the operating instructions for each flare type).
- Secure the Die Set: Tighten the die set stabilizing arm to firmly hold the tubing in place.
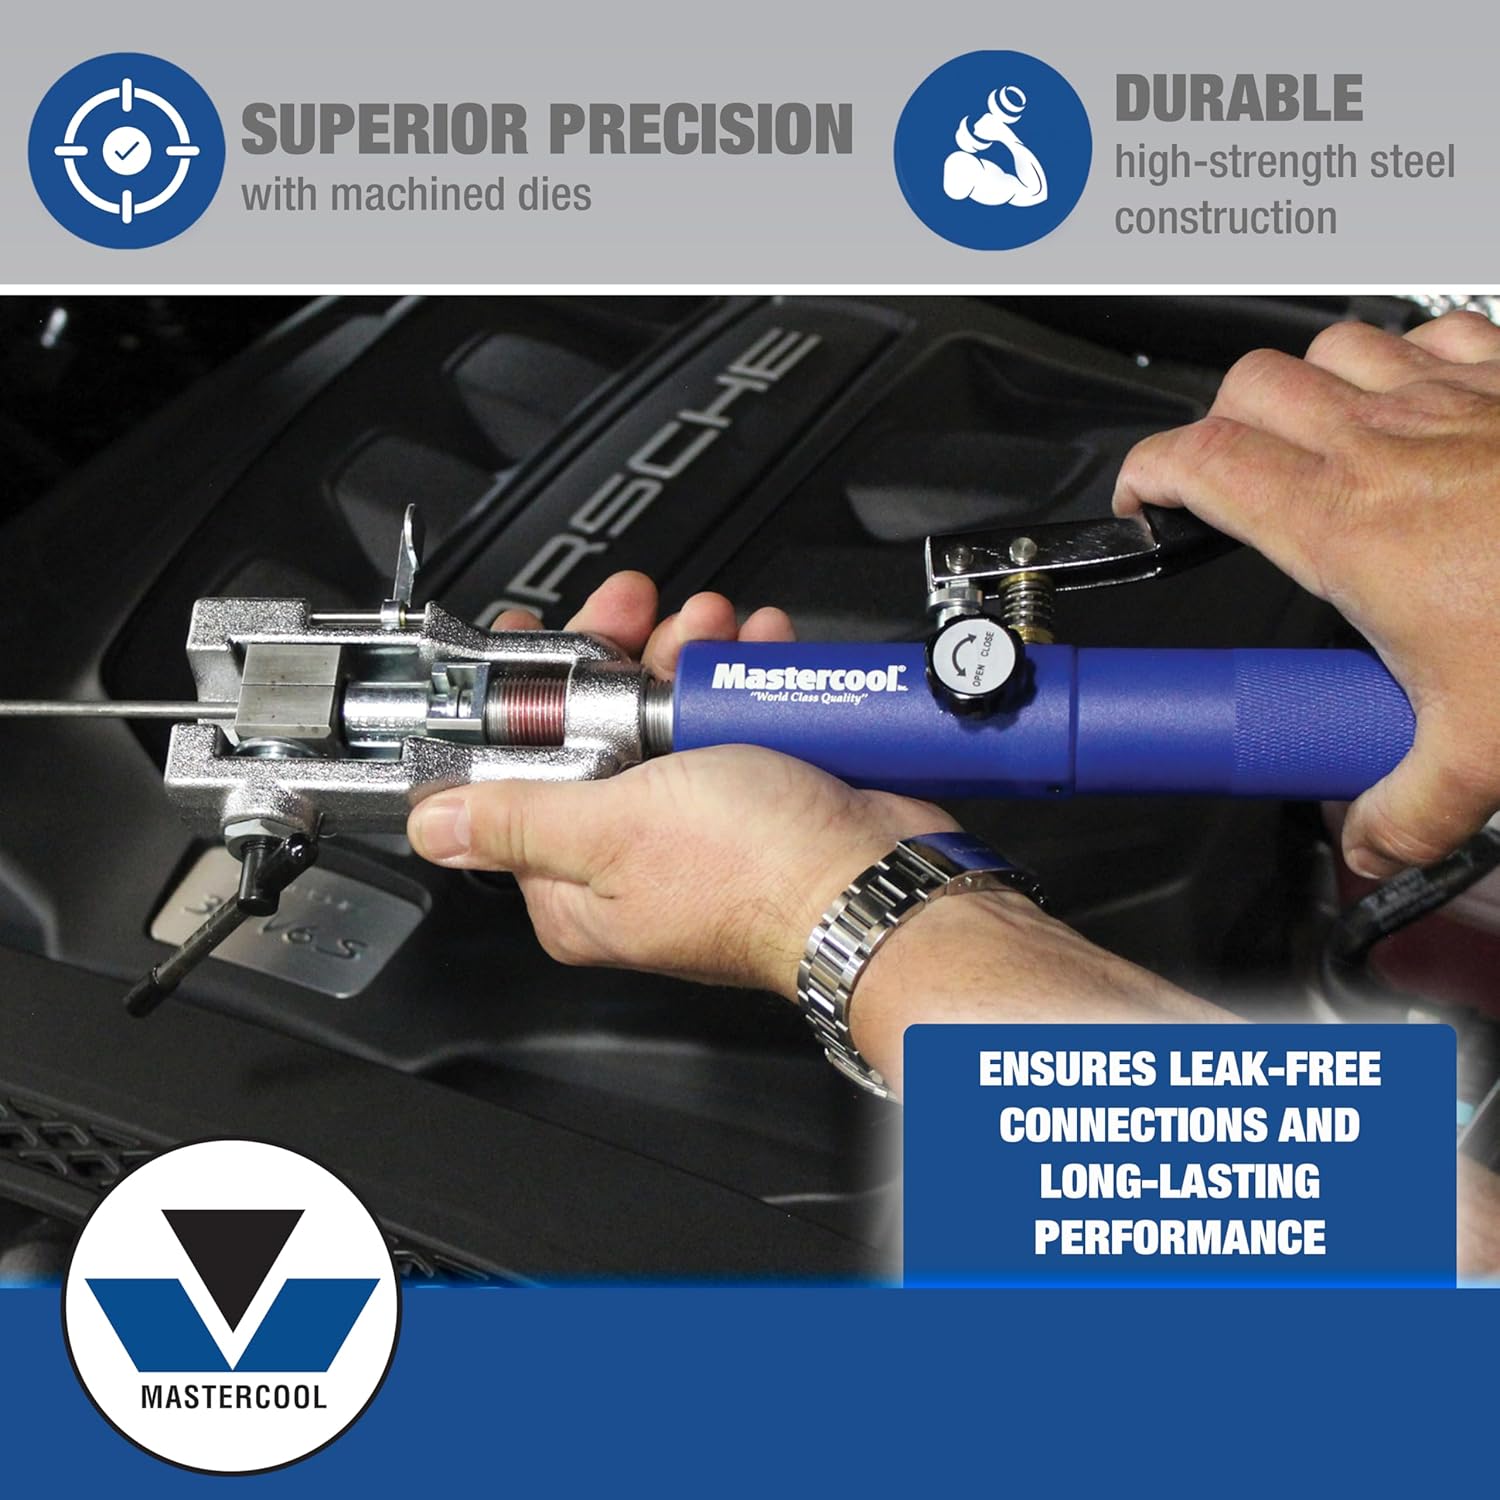
Immagine: un primo piano view of the Mastercool hydraulic flaring tool in operation, demonstrating how tubing is secured within the die set for precise flaring.
5. Istruzioni per l'uso
This section outlines the general flaring procedure and specific considerations for different flare types.
5.1 General Flaring Procedure
- After preparing the tubing and selecting the correct die/adapter (as per Setup), ensure the flaring cone is clean.
- Position the hydraulic ram assembly so the flaring cone aligns with the center of the tubing opening.
- Slowly pump the hydraulic handle. The flaring cone will advance into the tubing, forming the flare.
- Continue pumping until the hydraulic ram reaches its stop or the desired flare shape is achieved. Do not over-flare.
- To release the pressure, turn the release knob on the hydraulic ram counter-clockwise. The flaring cone will retract.
- Remove the flared tubing from the die set. Inspect the flare for uniformity and absence of cracks or imperfections.

Image: The Mastercool hydraulic flaring tool being operated, highlighting the hydraulic pump assembly and the process of forming a flare.
5.2 Specific Flare Types
The Mastercool 72485-PRC can create the following flare types:
- 45° Double & Single Flares: Used primarily for brake lines and other automotive applications. Requires specific dies and adapters for single or double flare formation.
- Push Connect Flares: Essential for modern fuel and transmission lines. Use the designated push connect dies and adapters.
- GM Fuel Line Flares: Specific flare type for General Motors fuel lines. Utilize the GM fuel line dies and adapters.
- ISO Bubble Flares: Common in European automotive applications. Requires metric bubble flaring dies and adapters.
- GM Transmission Cooling Line Flares: Specialized flares for GM transmission cooling lines. Use the dedicated GM transmission cooling line dies and adapters.

Image: A visual representation of different flare types achievable with the Mastercool 72485-PRC tool, including ISO bubble flare, 45° double flare, GM fuel line flare, push connect flare, and GM transmission cooling line flare.
6. Manutenzione
- Pulizia: After each use, clean the flaring cone, dies, and adapters to remove any metal shavings or debris. Use a clean cloth.
- Lubrificazione: Periodically apply a light coat of machine oil to the moving parts of the hydraulic ram and the flaring cone to ensure smooth operation and prevent corrosion.
- Magazzinaggio: Always store the tool and all its components in the provided custom-molded case. This protects the precision dies and the hydraulic unit from damage and keeps all parts organized.
- Ispezione: Regularly inspect the tool for any signs of wear, damage, or leaks in the hydraulic system. Do not use if damage is observed.
7. Risoluzione Dei Problemi
| Problema | Possibile causa | Soluzione |
|---|---|---|
| Flare is uneven or cracked. | Tubing not deburred; incorrect tubing extension; wrong die/adapter; tubing material too hard. | Ensure tubing is properly deburred. Verify correct tubing extension. Use appropriate die/adapter for tubing size and type. Consider annealing harder tubing materials if applicable. |
| Hydraulic ram does not advance or retract smoothly. | Low hydraulic fluid; air in system; lack of lubrication; debris. | Check hydraulic fluid level (if serviceable, refer to manufacturer for details). Bleed air from system (if applicable). Lubricate moving parts. Clean tool thoroughly. |
| Tubing slips during flaring. | Die set not tightened sufficiently; incorrect die size; oily tubing. | Ensure die set stabilizing arm is fully tightened. Use the correct die size for the tubing. Clean any oil or grease from the tubing and dies. |
8. Specifiche
- Modello: Set di utensili per svasatura idraulica universale Mastercool 72485-PRC
- Produttore: Maestro freddo
- Peso dell'articolo: 12 libbre
- Dimensioni del prodotto: 14 x 12 x 4 pollici
- Tubing Sizes Supported: 3/16", 1/4", 5/16", 3/8", 1/2" O.D.
- Flare Types: 45° Double & Single, Push Connect, GM Fuel Line, ISO Bubble, GM Transmission Cooling Line
- Included Tube Cutter: Mastercool 70027 (for 1/8" to 5/8" O.D. tubing)
9. Garanzia e supporto
Mastercool products are manufactured to high standards. For specific warranty information, please refer to the documentation included with your purchase or contact Mastercool directly. Keep your proof of purchase for warranty claims.
For technical support, replacement parts, or service inquiries, please contact Mastercool customer service. Contact details can typically be found on the manufacturer's official websito o nella confezione del prodotto.
Potrebbero essere disponibili piani di protezione opzionali per una copertura estesa. Per maggiori dettagli, contatta il tuo rivenditore.