1. Introduzione
Welcome to the user manual for your Brother KE14S Little Angel Sewing Machine. This machine is designed to be user-friendly, making it ideal for beginners and those looking to explore creative sewing projects. It features 14 built-in stitches, a finger guard for safety, and an LED light for optimal illumination of the sewing area. Please read this manual thoroughly before operating your machine to ensure safe and efficient use.
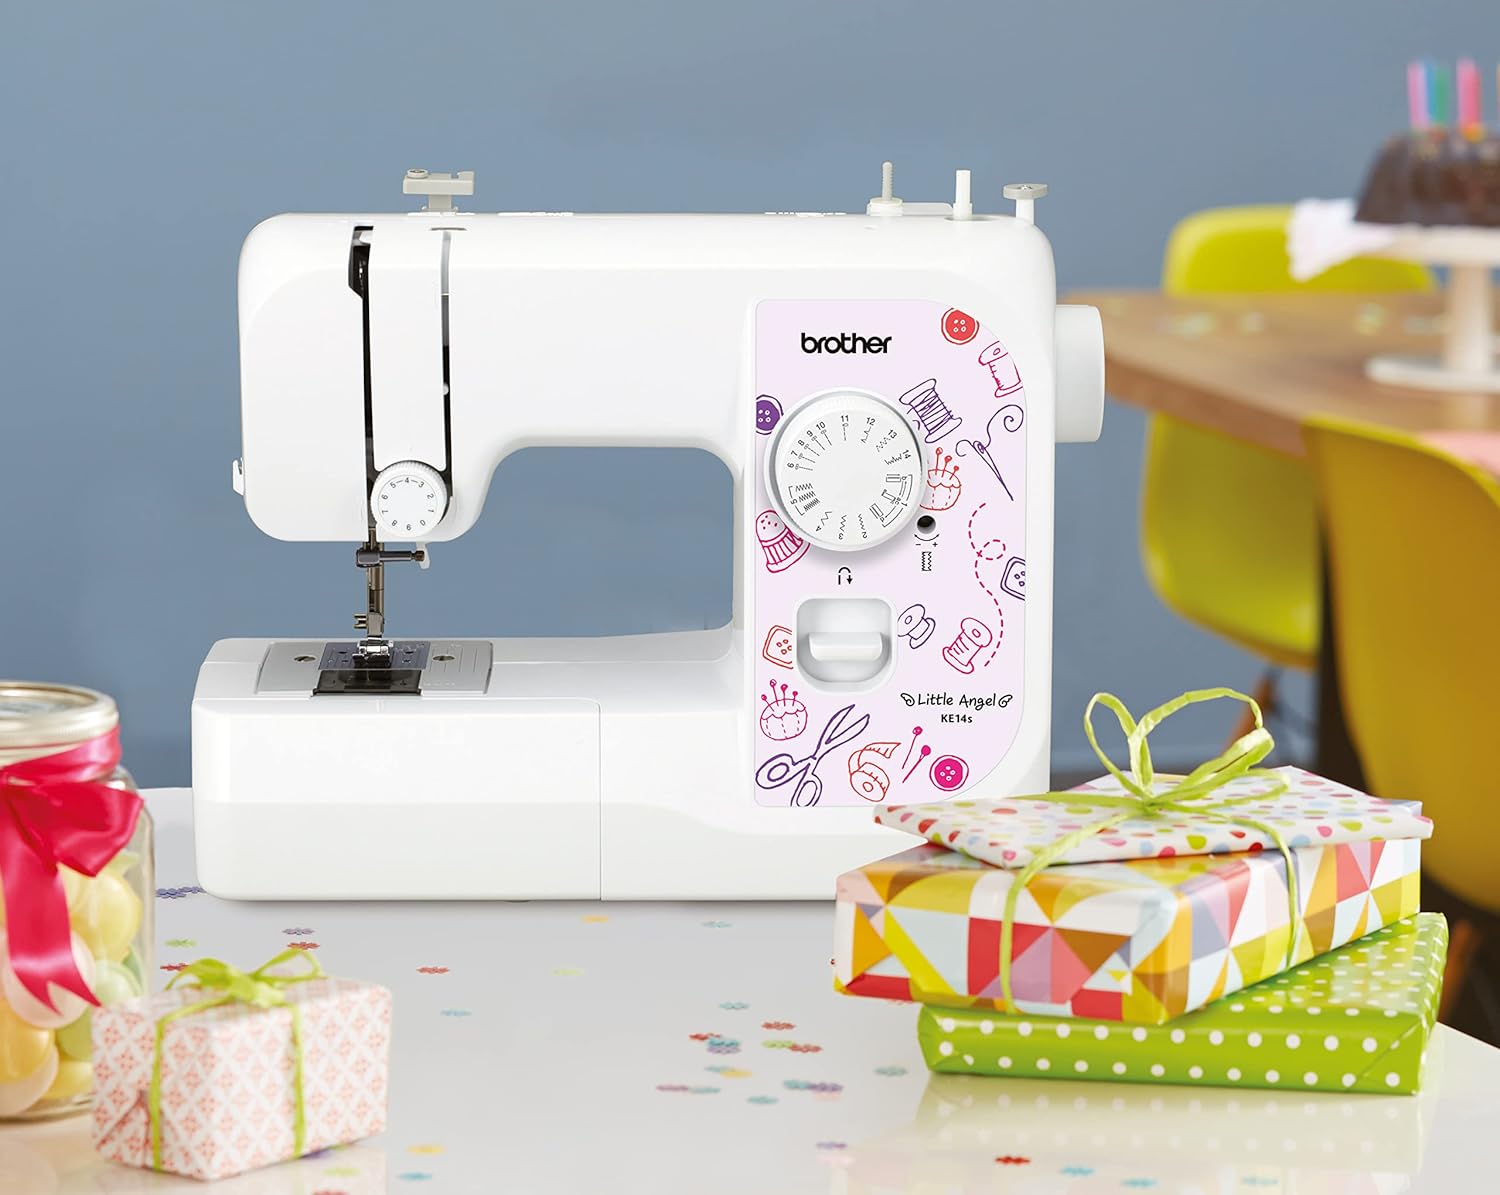
The Brother KE14S sewing machine is shown on a table with crafting supplies, illustrating its suitability for home use and its compact size.
2. Informazioni sulla sicurezza
AVVERTIMENTO:
- The sewing machine must only be used for the purposes described in this manual.
- Questa macchina è destinata esclusivamente all'uso domestico.
- Utilizzare solo gli accessori specificati dal produttore.
- Always disconnect the machine from the power supply before cleaning, servicing, or when not in use.
- Durante il funzionamento, tenere le dita lontane dall'ago, dal piedino premistoffa e dal volantino.
- Ensure the finger guard is properly installed when operating the machine, especially for new users.
3. Prodotto finitoview
3.1 Caratteristiche principali
- 14 punti incorporati: A selection of utility and decorative stitches for various sewing needs.
- Protezione per le dita: Provides protection by preventing accidental contact with the needle.
- 4-Step Automatic Buttonhole: Simplifies the process of creating precise buttonholes.
- Free Arm Sewing: Easily convert the machine to free arm mode for sewing tubular items like sleeves and pant hems.
- Illuminazione a LED: Bright and eye-friendly illumination of the entire sewing area.
- 6-Point Feed Dog: Ensures smooth fabric feeding for various material types, from light silk to thick cotton.
- Funzione di cucitura inversa: Secures the beginning and end of seams.
- Adjustable Thread Tension: Allows for uniform stitching across different fabrics.
- Stitch Display and Functional Wheel: Clear display and easy adjustment of desired stitches.
- Velocità di cucito: Up to 750 stitches per minute.
3.2 Componenti
Familiarizza con i componenti principali della tua macchina da cucire:

This image displays the Brother KE14S Little Angel Sewing Machine from the front, highlighting its compact design and the stitch selection dial.

Un dettagliato view of the needle plate, presser foot, and the transparent bobbin cover, showing the lower thread mechanism.

This image shows the stitch selection dial with 14 different stitch patterns, including utility and decorative stitches, and the 4-step buttonhole.

A close-up of the reverse sewing lever, used to secure the beginning and end of seams.
4. Impostazione
4.1 Disimballaggio e posizionamento
- Estrarre con cautela la macchina dall'imballaggio.
- Posizionare la macchina su una superficie stabile e piana.
- Ensure adequate lighting and space for comfortable operation.
4.2 Collegamento di alimentazione
- Collegare il cavo di alimentazione alla macchina e poi a una presa elettrica idonea.
- Turn on the power switch, usually located on the side of the machine. The LED light will illuminate the sewing area.
4.3 Avvolgimento della bobina
- Posizionare un rocchetto di filo sul portarocchetto.
- Follow the winding path indicated on the machine to guide the thread to the bobbin winder.
- Posizionare una bobina vuota sul perno dell'avvolgitore e spingerla verso destra.
- Start the machine; the bobbin will wind automatically. Stop when the bobbin is full.
- Tagliare il filo e rimuovere la bobina.
4.4 Infilatura della macchina
- Sollevare la leva del piedino premistoffa.
- Posizionare la bobina di filo sul perno della bobina.
- Follow the numbered threading path marked on the machine, ensuring the thread passes through all guides and the take-up lever.
- Infilare l'ago da davanti a dietro.
- Insert the wound bobbin into the bobbin case under the needle plate, ensuring the thread feeds correctly.
- Bring the bobbin thread up through the needle plate opening using the upper thread.
5. Istruzioni per l'uso
5.1 Selezione del punto
Turn the stitch selection dial to choose one of the 14 available stitches. The selected stitch will be displayed clearly on the dial.
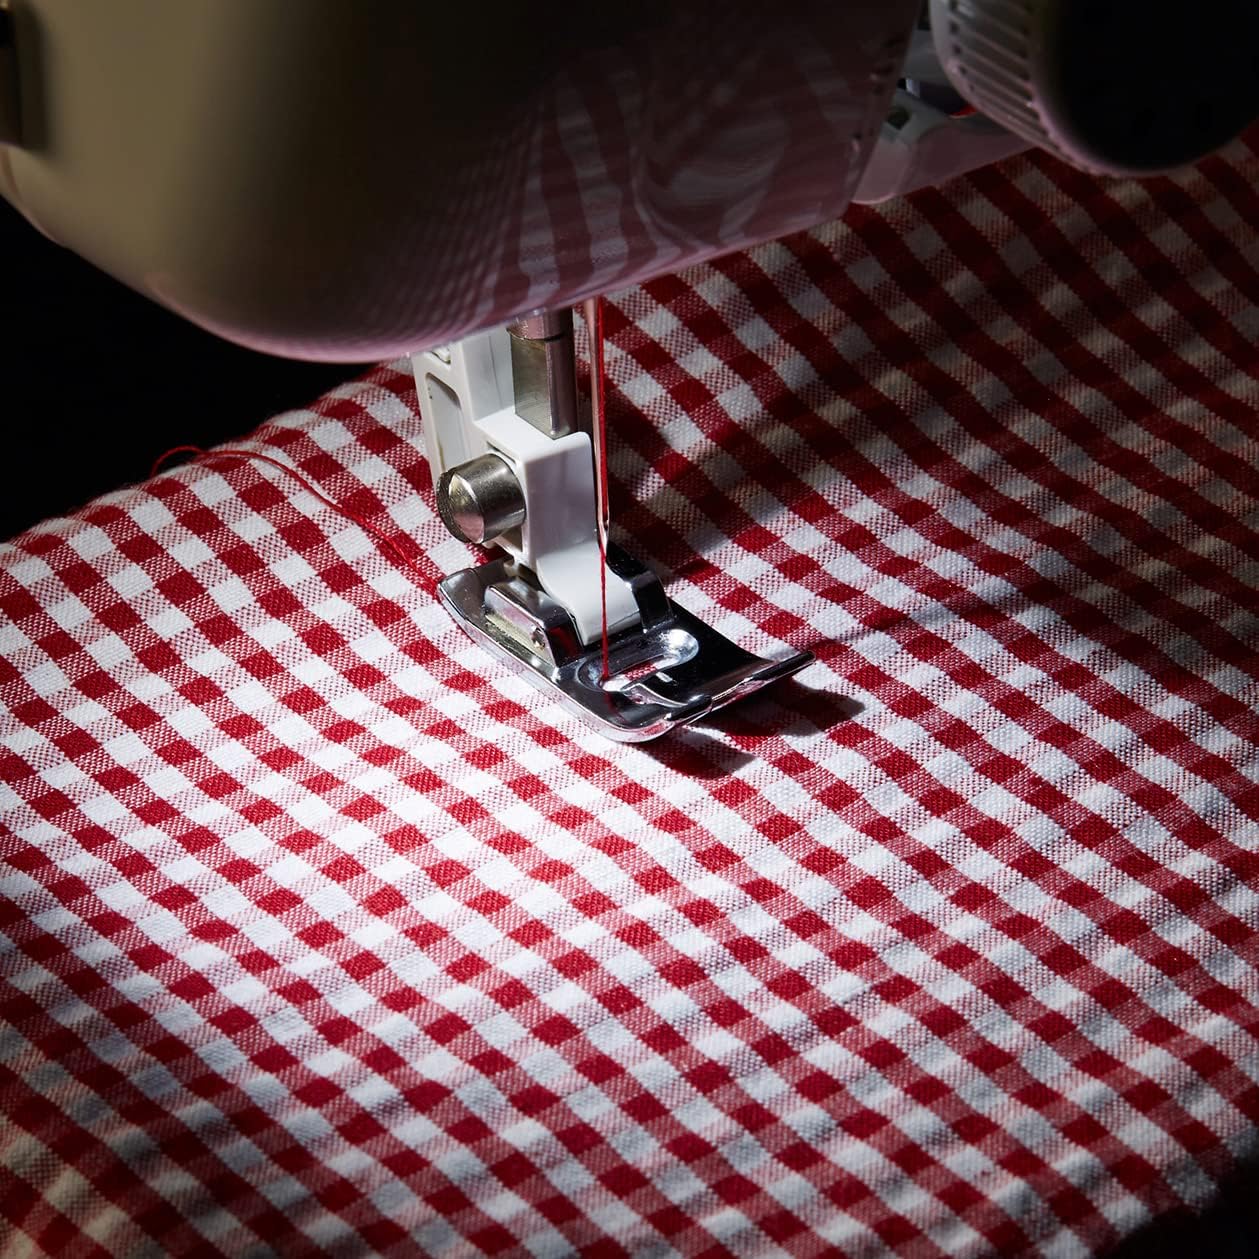
The sewing machine is actively stitching red and white checkered fabric, demonstrating the finger guard in place for user safety.
5.2 Starting and Stopping Sewing
- Posiziona il tessuto sotto il piedino.
- Abbassare la leva del piedino premistoffa.
- Gently press the foot controller to start sewing. The sewing speed is controlled by the pressure applied to the foot controller.
- Per fermarsi, rilasciare il pedale.
5.3 Cucitura inversa
To secure the beginning and end of a seam, press and hold the reverse sewing lever while sewing. The machine will sew backward. Release the lever to resume forward sewing.
5.4 Cucitura a braccio libero
To convert the machine to free arm mode, simply slide off the accessory compartment. This allows for easy sewing of cylindrical items such as cuffs, sleeves, and pant legs.

Un primo piano view of the metal finger guard accessory, designed to prevent accidental contact with the needle during operation.
5.5 Creazione di asole
The Brother KE14S features a 4-step automatic buttonhole function. Attach the specialized buttonhole foot and follow the markings on the dial for each step to create precise buttonholes.

The machine is shown with the specialized buttonhole foot attached, demonstrating the process of creating a precise 4-step buttonhole on fabric.
6. Manutenzione
6.1 Pulizia
- Scollegare sempre la macchina prima della pulizia.
- Utilizzare una spazzola morbida per rimuovere lanugine e polvere dalla zona della bobina e dalle griffe di trasporto.
- Wipe the exterior of the machine with a soft, dry cloth. Do not use liquid cleaners or harsh chemicals.
6.2 Sostituzione dell'ago
- Spegnere la macchina e staccare la spina.
- Allentare l'ago clamp avvitare e rimuovere il vecchio ago.
- Inserire un nuovo ago con il lato piatto rivolto verso il retro della macchina, spingendolo verso l'alto il più possibile.
- Stringere l'ago clamp avvitare saldamente.
7. Risoluzione Dei Problemi
Questa sezione affronta i problemi più comuni che potresti incontrare. Per problemi più complessi, consulta un tecnico qualificato.
7.1 Punti saltati
- Possibile causa: Incorrectly inserted needle.
- Soluzione: Reinsert the needle correctly, ensuring the flat side faces the back and it is pushed up completely.
- Possibile causa: Bent or dull needle.
- Soluzione: Replace the needle with a new, sharp one.
- Possibile causa: Incorrect needle type for fabric.
- Soluzione: Use the appropriate needle type and size for your fabric.
7.2 Thread Breakage
- Possibile causa: Incorrect upper threading.
- Soluzione: Re-thread the machine carefully, following all guides.
- Possibile causa: Tensione del filo troppo forte.
- Soluzione: Adjust the upper thread tension to a lower setting.
- Possibile causa: Filo di scarsa qualità.
- Soluzione: Use good quality sewing thread.
7.3 La macchina non si avvia
- Possibile causa: Cavo di alimentazione non collegato correttamente.
- Soluzione: Controllare tutti i collegamenti di alimentazione.
- Possibile causa: Bobbin winder spindle is engaged.
- Soluzione: Push the bobbin winder spindle to the left (sewing position).
8. Specifiche
| Caratteristica | Specificazione |
|---|---|
| Marca | Fratello |
| Numero di modello | Modello KE14S |
| Colore | Bianco/Rosa |
| Dimensioni del prodotto (L x P x A) | 40 x 15 x 31 cm (15.7 x 5.9 x 12.2 pollici) |
| Peso dell'articolo | 5.5 chilogrammi (12.1 libbre) |
| Materiale | Plastica, Metallo |
| Fonte di alimentazione | Elettrico con cavo |
| Number of Stitches | 14 |
| Tipo di asola | 4-Step Automatic |
| Illuminazione | GUIDATO |
| Paese di origine | Cina |
9. Garanzia e supporto
For information regarding warranty coverage, terms, and conditions, please refer to the warranty card included with your product or contact your retailer. For technical support or service inquiries, please visit the official Brother websito o contattare il loro servizio clienti.


