1. Introduzione
Thank you for choosing the DIGOO DG-TH8380 Wireless Weather Station. This device provides accurate indoor and outdoor temperature and humidity readings, weather forecasts, time, and an alarm function. Please read this manual carefully to ensure proper setup and operation of your weather station.
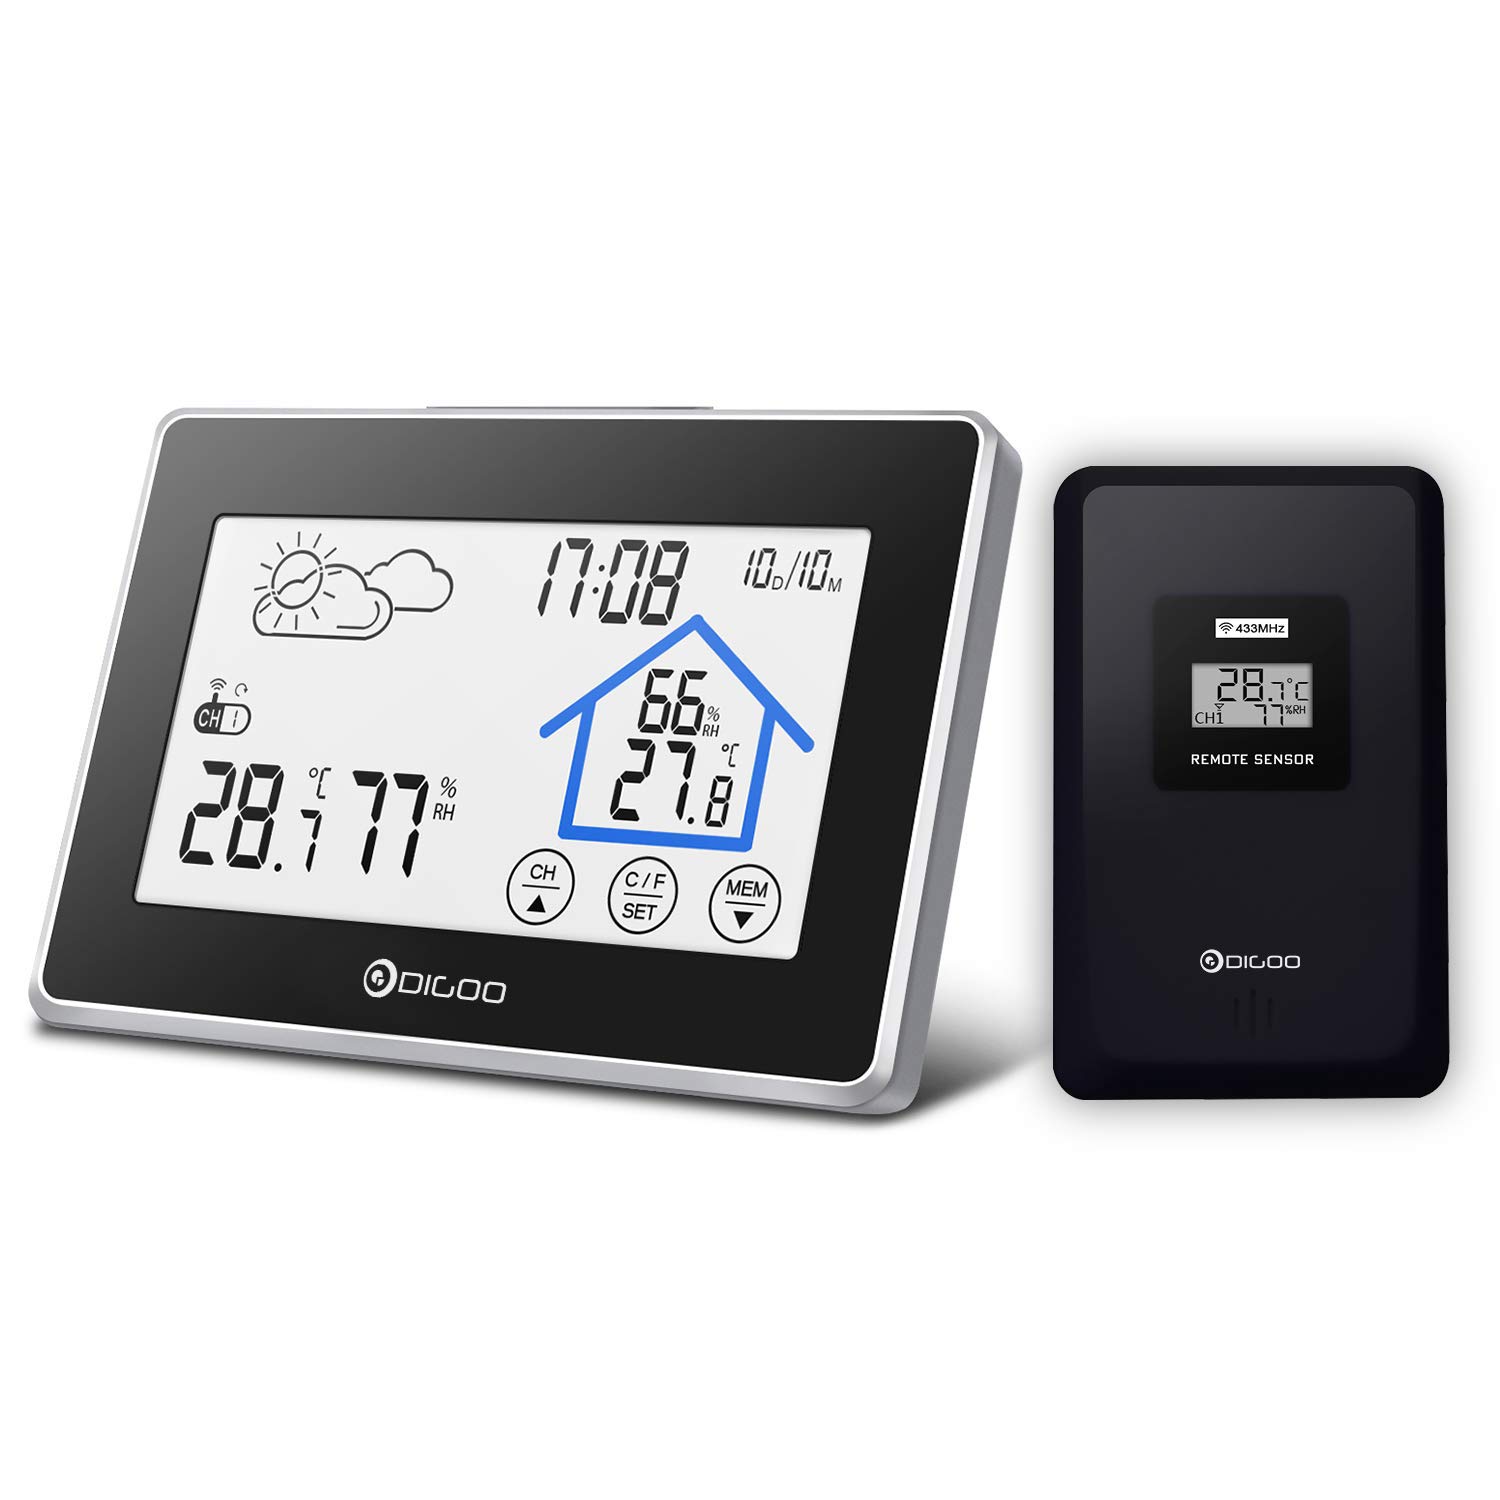
Immagine 1.1: The DIGOO DG-TH8380 Wireless Weather Station main unit and its remote outdoor sensor.
2. Prodotto finitoview
2.1 Caratteristiche principali
- Multifunction Weather Station Clock with easy-to-use touch screen.
- Displays weather forecasts, temperature, and humidity.
- Time and calendar display.
- Soft, eye-care white backlight for visibility in low light, automatically turns off after 20 seconds.
- Records maximum and minimum temperature/humidity data.
- Low battery indicator for both main unit and remote sensor.
- Supports up to 3 remote outdoor sensors (one included).
2.2 Componenti inclusi
- 1 x DIGOO DG-TH8380 Wireless Touch Screen Weather Station (Main Unit)
- 1 x DIGOO DG-TH8380 Wireless Outdoor Sensor
- 1 x Manuale utente in inglese
2.3 Display e pulsanti dell'unità principale

Immagine 2.1: Dettagliato view of the weather station's display and controls, indicating areas for weather icons, time/date, indoor/outdoor temperature and humidity, channel display, backlight button, and touch buttons (CH, C/F SET, MEM).
The main unit features a clear LCD display with various indicators:
- Icona meteo: Displays current weather forecast (Sunny, Partly Cloudy, Cloudy, Rainy).
- Ora dell'appuntamento: Mostra l'ora e la data correnti.
- Temperatura e umidità interna: Readings from the main unit's internal sensor.
- Temperatura e umidità esterne: Letture dal sensore remoto.
- Visualizzazione del canale: Indicates which remote sensor channel is currently displayed (CH1, CH2, CH3).
- Pulsante retroilluminazione: Activates the soft backlight.
- Touch Buttons (CH, C/F SET, MEM): Utilizzato per varie impostazioni e funzioni.
3. Impostazione
3.1 Installazione della batteria
The weather station main unit and remote sensor are battery-powered. Batteries are not included.
- Unità principale: Open the battery compartment cover on the back of the main unit. Insert 3 x AAA batteries, ensuring correct polarity (+/-). Close the cover.
- Sensore remoto: Open the battery compartment cover on the back of the remote sensor. Insert 2 x AAA batteries, ensuring correct polarity (+/-). Close the cover.
Nota: It is recommended to insert batteries into the remote sensor first, then the main unit, to ensure proper synchronization.

Immagine 3.1: Sopraview of the weather station's physical features, including dimensions, wall-mount option, table stand, battery compartment, and the remote sensor.
3.2 Sincronizzazione del sensore
After installing batteries, the main unit will automatically search for the remote sensor signal. This process may take a few minutes. Ensure the remote sensor is within range (up to 328ft / 100m in open air) of the main unit.
If synchronization fails, remove batteries from both units, wait a few seconds, and then reinsert batteries into the remote sensor first, followed by the main unit.
3.3 Sensori multipli (opzionale)
The weather station supports up to three remote sensors. If you have additional sensors, they will automatically be assigned to channels CH2 and CH3 upon synchronization.

Immagine 3.2: Illustration of how the weather station can connect to up to three remote sensors (CH1, CH2, CH3) and how to switch between their displays on the main unit.
3.4 Posizionamento
- Unità principale: Place the main unit indoors on a flat surface using its integrated stand, or mount it on a wall. Avoid direct sunlight or heat sources.
- Sensore remoto: Place the remote sensor outdoors in a shaded, dry location, protected from direct rain and sunlight, for accurate readings. Ensure it is within the wireless range of the main unit.
4. Istruzioni per l'uso
4.1 Informazioni di base sullo schermo
Once set up, the main unit will display:
- Ora e data attuali.
- Temperatura e umidità interna.
- Outdoor temperature and humidity (from the currently selected channel).
- Weather forecast icon.

Immagine 4.1: Icons representing the various features of the weather station: Weather, Temperature, Humidity, Alarm, Calendar, Touch Switch, and Night Light (backlight).
4.2 Impostazione di data e ora
- Premere e tenere premuto il tasto C/F SET touch button for 3 seconds to enter time setting mode.
- The setting value will flash. Use the CH or MEM touch buttons to adjust the value.
- Premere C/F SET di nuovo per confermare e passare all'impostazione successiva (ad esempio, formato 12/24 ore, ora, minuto, anno, mese, giorno).
- After setting the last item, press C/F SET per uscire dalla modalità di impostazione.
4.3 Selezione dell'unità di temperatura (°C/°F)
Premere brevemente il tasto C/F SET touch button to switch between Celsius (°C) and Fahrenheit (°F) temperature units.
4.4 Funzionamento della retroilluminazione
Press the backlight button located on the top of the main unit to activate the soft white backlight. The backlight will remain on for approximately 20 seconds and then automatically turn off to conserve battery power.

Immagine 4.2: The weather station displaying its soft, eye-care backlight, designed for easy viewin ambienti bui.
4.5 Registrazioni di temperatura e umidità massima/minima
Premere brevemente il tasto MEM touch button to view the maximum temperature and humidity records. Press it again to view the minimum records. Press a third time to return to current readings. The records are reset daily or when batteries are replaced.
4.6 Switching Remote Sensor Channels
If you have multiple remote sensors, briefly press the CH touch button to cycle through the outdoor temperature and humidity readings from CH1, CH2, and CH3.
4.7 Funzione sveglia e snooze
The weather station includes an alarm clock with a snooze function. Refer to the detailed instructions below for setting and activating the alarm:
- Impostazione dell'ora della sveglia: Nella modalità di visualizzazione normale dell'ora, premere brevemente il tasto MEM button until the alarm icon appears. Then, press and hold the C/F SET button for 3 seconds. The alarm hour will flash. Use CH or MEM per regolare, e C/F SET per confermare e passare ai minuti.
- Attivazione/disattivazione dell'allarme: In alarm display mode, briefly press the CH button to turn the alarm ON or OFF. An alarm bell icon will appear when activated.
- Funzione snooze: When the alarm sounds, press the backlight button (on top) to activate the snooze function. The alarm will sound again after approximately 5 minutes. To stop the alarm completely, press any other touch button.
5. Manutenzione
5.1 Sostituzione della batteria
When the low battery indicator appears on the display for either the main unit or the remote sensor, replace the batteries promptly. Use new AAA batteries, ensuring correct polarity. After replacing batteries, the units may need to re-synchronize.
5.2 Pulizia
Clean the weather station and remote sensor with a soft, damp panno. Non utilizzare detergenti abrasivi o solventi, poiché potrebbero danneggiare il display o casing.
5.3 Considerazioni ambientali
To ensure longevity and accurate readings, avoid exposing the main unit to extreme temperatures, direct sunlight, or high humidity. The remote sensor should be placed in a location protected from direct weather elements but with good air circulation.
6. Risoluzione Dei Problemi
| Problema | Possibile causa | Soluzione |
|---|---|---|
| Nessun display sull'unità principale o sul sensore. | Le batterie sono scariche o inserite in modo errato. | Sostituire le batterie con batterie nuove, assicurandosi che la polarità sia corretta. |
| Temperatura/umidità esterna non visualizzata o errata. | Sensor out of range, interference, or synchronization issue. | Move sensor closer to the main unit. Remove batteries from both units, wait 1 minute, then reinsert into sensor first, then main unit. Avoid placing near large metal objects or electronics. |
| Weather forecast icon does not match actual weather. | The weather station forecasts based on atmospheric pressure changes over 12-24 hours, not real-time conditions. | This is normal operation. The forecast is a prediction, not a current observation. Allow time for the station to learn local pressure patterns. |
| La retroilluminazione non funziona. | Low batteries or backlight button not pressed correctly. | Replace main unit batteries. Ensure a firm press on the backlight button. |
7. Specifiche
- Modello: DG-TH8380
- Potenza dell'unità principale: 3 batterie AAA (non incluse)
- Potenza del sensore remoto: 2 batterie AAA (non incluse)
- Frequenza wireless: 433 MHz
- Portata wireless: Fino a 100 metri (328 piedi) all'aria aperta
- Intervallo di temperatura interna: da 0°C a 50°C (da 32°F a 122°F)
- Intervallo di temperatura esterna: -20°C a 60°C (-4°F a 140°F)
- Gamma di umidità: 20% al 95% di umidità relativa
- Dimensioni (unità principale): Circa 141 mm x 95 mm x 24 mm (5.55 pollici x 3.74 pollici x 0.87 pollici)
- Colore: Nero
8. Garanzia e supporto
Information regarding specific warranty terms for the DIGOO DG-TH8380 Wireless Weather Station is not available in this manual. For warranty claims, technical support, or replacement parts, please refer to the retailer where the product was purchased or visit the official DIGOO websito per informazioni di contatto del servizio clienti.


