1. Introduzione
This manual provides detailed instructions for the installation, operation, and maintenance of your Hikvision DS-7732NI-K4/16P 32-Channel PoE Network Video Recorder (NVR). This NVR supports up to 32 channels, with 16 Power over Ethernet (PoE) ports, 4K (8-Megapixel) resolution recording, USB backup, and ONVIF compatibility. Please read this manual thoroughly before use to ensure proper functionality and safety.
2. Informazioni sulla sicurezza
- Ensure the NVR is placed on a stable, level surface to prevent accidental falls.
- Non esporre il dispositivo all'acqua o all'umidità.
- Utilizzare solo l'alimentatore fornito con il dispositivo.
- Evitare di bloccare le aperture di ventilazione per evitare il surriscaldamento.
- Affidare qualsiasi intervento di manutenzione a personale qualificato.
3. Contenuto della confezione
Verificare che tutti gli articoli siano presenti nel pacco:
- Hikvision DS-7732NI-K4/16P NVR Unit
- Adattatore di alimentazione e cavo di alimentazione
- Mouse USB
- Cavo HDMI
- Cavo Ethernet
- Controllo remoto
- Guida rapida / Manuale di istruzioni
- HDD Mounting Screws (if applicable)
1 video: Unboxing the 16-Channel POE NVR Network Video Recorder. This video demonstrates the contents of the product package, including the NVR unit, power supply, USB mouse, Ethernet cable, HDMI cable, remote controller, and instruction manual.
4. Impostazione
4.1 Connessioni fisiche
- Connetti il monitor: Collegare un monitor all'NVR tramite la porta HDMI o VGA.
- Connetti il mouse: Collegare il mouse USB a una delle porte USB dell'NVR.
- Connessione di rete: Connect the NVR to your network router using an Ethernet cable.
- Connessione telecamera: Connect your PoE IP cameras to the available PoE ports on the NVR. For third-party cameras, ensure they are ONVIF compatible.
- Accensione: Collegare l'adattatore di alimentazione all'NVR e quindi collegarlo a una presa di corrente. L'NVR si accenderà automaticamente.
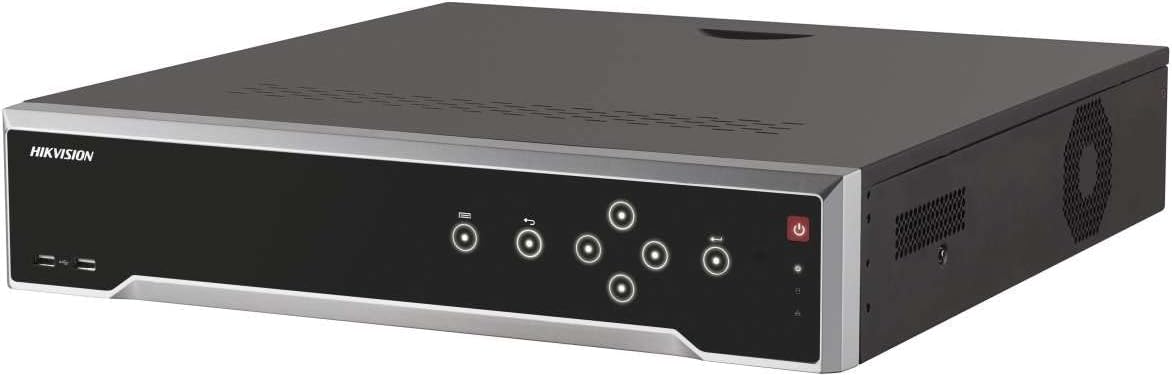
Immagine 1: Davanti view of the Hikvision DS-7732NI-K4/16P NVR unit, showing the power button, status indicators, and USB ports.
4.2 Initial Configuration (Adding a Third-Party Camera)
- Ensure the camera is physically connected to the NVR via an Ethernet cable and the connection is secure.
- On the NVR's display screen, once an image is shown, click the "Add Camera" icon (small circle with a plus sign) on the bottom bar.
- In the Protocol section at the top left, select "ONVIF."
- Click "Search." Once the connected device appears on the screen, select it and click "Add all."
- After completing the setup, click "Go back." You should now see the newly added camera's live feed on the display.
2 video: Guide on connecting a third-party single camera to the NVR's new user interface. This video illustrates the steps for physical connection and software configuration to integrate an ONVIF-compatible camera.
5. Istruzioni per l'uso
5.1 Registrazione
The NVR automatically records footage from connected cameras to the installed hard drive. It supports 4K (8-Megapixel) resolution for high-quality video capture. Ensure a compatible hard drive (up to 24TB) is installed for continuous recording.
5.2 Riproduzione
Accedi a foo registratotage through the NVR's user interface. Use the mouse to navigate the timeline and select specific dates and times for playback. The system allows for fast-forward, rewind, and frame-by-frame review.
5.3 USB Backup
To back up important footage, insert a USB storage device into one of the NVR's USB ports. Navigate to the backup menu in the system settings, select the desired footage, and initiate the backup process. Ensure the USB device has sufficient storage capacity.
5.4 Compatibilità ONVIF
The NVR is compatible with ONVIF (Open Network Video Interface Forum) standard cameras, allowing for integration with a wide range of third-party IP cameras. This ensures flexibility in expanding your surveillance system.
6. Manutenzione
- Controlla regolarmente la disponibilità di aggiornamenti del firmware per garantire prestazioni e sicurezza ottimali.
- Keep the NVR and cameras clean, free from dust and debris.
- Ensure adequate ventilation around the NVR to prevent overheating.
- Periodicamente riview registrato footage and system logs for any anomalies.
7. Risoluzione Dei Problemi
7.1 No Video Signal from Camera
- Check all cable connections (Ethernet, power) to the camera and NVR.
- Verify the camera is powered on and its status indicator is active.
- Ensure the camera's IP address and network settings are correctly configured and compatible with the NVR.
- If it's a third-party camera, confirm ONVIF compatibility and proper integration steps (refer to Section 4.2).
7.2 NVR Not Recording
- Check if a hard drive is installed and properly recognized by the NVR.
- Verify recording schedules and settings in the NVR's configuration menu.
- Ensure the hard drive has sufficient free space.
8. Specifiche
| Caratteristica | Dettaglio |
|---|---|
| Numero di modello | DS-7732NI-K4/16P |
| Canali | 32-Channel (16-Channel PoE) |
| Risoluzione massima | 4K (8-Megapixels) |
| Capacità massima dell'HDD | Up to 24TB (HDD Not Included) |
| Connettività | Ethernet, HDMI, USB, VGA |
| Dispositivi compatibili | IP Cameras (ONVIF compatible) |
| Dimensioni del prodotto | 19.69 x 19.69 x 11.02 pollici |
| Peso dell'articolo | 11.02 libbre |
9. Garanzia e supporto
This Hikvision product comes with a two-year warranty against factory defects. For technical support or warranty claims, please contact your authorized Hikvision dealer or visit the official Hikvision support websito.


