1. Introduzione
Thank you for choosing the DEWALT DCE571N-XJ 18V Cordless Caulking Gun. This tool is designed for professional applications requiring precise and controlled material dispensing. Please read this manual carefully before operating the tool to ensure safe and efficient use. Keep this manual for future reference.
Istruzioni generali di sicurezza
- Indossare sempre dispositivi di protezione individuale (DPI) adeguati, come occhiali di sicurezza.
- Assicurarsi che l'area di lavoro sia ben illuminata e libera da ostacoli.
- Non utilizzare lo strumento in atmosfere esplosive, ad esempio in presenza di liquidi, gas o polvere infiammabili.
- Tenere lontani i bambini e gli astanti mentre si utilizza l'utensile.
- Scollegare la batteria prima di effettuare qualsiasi regolazione, cambiare accessori o riporre l'utensile.
- Use only DEWALT recommended accessories and battery packs.
2. Prodotto finitoview
The DEWALT DCE571N-XJ is an 18V cordless caulking gun designed for efficient and precise application of sealants and adhesives. Key features include:
- Composizione a velocità variabile: Allows for precise control over material flow rate.
- Impugnatura ergonomica: Contoured handle with rubber overmold for enhanced comfort and maneuverability.
- Funzione antigoccia: Durable piston rod with an automatic retraction mechanism to prevent dripping.
- Luce LED integrata: Illuminates the work area for improved visibility during application.
- Porta cartuccia: Compatible with 300-400ml cartridges.
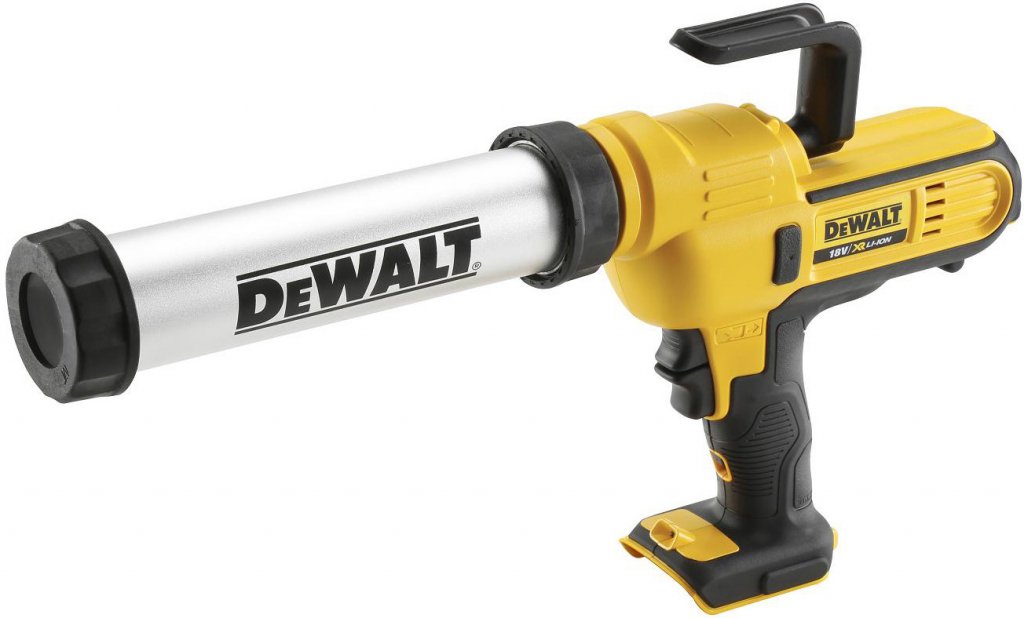
Figure 1: DEWALT DCE571N-XJ 18V Cordless Caulking Gun. This image shows the tool's main body, handle, trigger, and cartridge holder.
3. Impostazione
3.1 Installazione della batteria (batteria e caricabatterie venduti separatamente)
- Assicurarsi che lo strumento sia spento.
- Allineare il pacco batteria con la porta della batteria sulla base dell'utensile.
- Inserire la batteria nella porta finché non scatta in posizione.
- Per rimuoverla, premere il pulsante di rilascio della batteria e far scorrere il pacco batteria verso l'esterno.
3.2 Loading a Cartridge (300-400ml)
- Per motivi di sicurezza, assicurarsi che la batteria sia stata rimossa.
- Press the plunger release lever (if applicable) to retract the plunger rod fully.
- Remove the front cap of the cartridge holder.
- Insert the sealant or adhesive cartridge into the holder, nozzle end first.
- Replace the front cap, ensuring it is securely fastened.
- Cut the tip of the cartridge nozzle to the desired bead size at a 45-degree angle.
- Puncture the inner seal of the cartridge using a long nail or wire, if necessary.
4. Istruzioni per l'uso
4.1 Accensione/Spegnimento
- To turn on the tool, depress the trigger switch. The LED light will activate.
- Per spegnere, rilasciare l'interruttore a grilletto.
4.2 Adjusting Material Flow (Variable Speed Dial)
- Locate the variable speed dial, typically near the trigger.
- Rotate the dial to select the desired speed setting. Lower numbers indicate slower flow, higher numbers indicate faster flow.
- Start with a lower setting and gradually increase as needed for optimal control and bead consistency.
4.3 Applying Sealant/Adhesive
- Position the nozzle at the starting point of your application.
- Depress the trigger to begin dispensing material.
- Maintain a consistent speed and angle as you move the tool along the desired path.
- Release the trigger to stop the flow. The anti-drip feature will retract the plunger slightly to prevent excess material from oozing out.
- Use the integrated LED light for enhanced visibility in dimly lit areas.
5. Manutenzione
5.1 Pulizia
- After each use, remove the cartridge and clean any excess material from the plunger rod and cartridge holder.
- Usa l'annuncioamp cloth to wipe down the exterior of the tool. Do not use harsh solvents or abrasive cleaners.
- Ensure no material dries inside the cartridge holder or on the plunger rod, as this can impede future operation.
5.2 Conservazione
- Conservare l'utensile in un luogo pulito e asciutto, fuori dalla portata dei bambini.
- Rimuovere la batteria prima di riporre il prodotto per periodi prolungati.
- Evitare di conservare alla luce solare diretta o a temperature estreme.
6. Risoluzione Dei Problemi
| Problema | Possibile causa | Soluzione |
|---|---|---|
| Lo strumento non funziona. | Batteria non installata correttamente o scarica. | Assicurarsi che la batteria sia completamente carica e correttamente inserita. |
| Material flow is inconsistent or stops. | Cartridge empty, nozzle clogged, or inner seal not punctured. | Replace cartridge, clear nozzle, or puncture inner seal. |
| Excessive dripping after releasingrilletto g. | Anti-drip mechanism obstructed or material too thin. | Clean plunger rod and mechanism. Allow more time for retraction. |
| Plunger rod does not retract fully. | Material buildup on rod or mechanism. | Clean the plunger rod and surrounding area thoroughly. |
7. Specifiche
| Caratteristica | Specificazione |
|---|---|
| Numero di modello | DCE571N-XJ |
| Voltage | 18 Volt |
| Dimensioni del prodotto (L x P x A) | Dimensioni: 53 x 29.2 x 8.5 cm |
| Peso | 2.76 kg |
| Capacità della cartuccia | 300-400ml (holder included) |
| Batteria inclusa | No (venduto separatamente) |
| Caricabatterie incluso | No (venduto separatamente) |
8. Garanzia e supporto
DEWALT products are engineered to the highest standards. For detailed warranty information, please refer to the warranty card included with your product or visit the official DEWALT website. For technical support, spare parts, or service inquiries, please contact your local DEWALT service center or authorized dealer.
Note: Availability of spare parts information is not provided in the product data.


