Introduzione
This manual provides essential instructions for the proper installation, operation, and maintenance of your CAMRY Head and Needle 1113 and Cr 1114 phono cartridge and stylus. Designed for optimal audio reproduction, this product is easy to handle and features a modern design. Please read this manual thoroughly before use to ensure correct setup and to maximize the lifespan and performance of your audio component.
Caratteristiche principali:
- Facile da maneggiare
- Design moderno
- Facile da usare
Contenuto della confezione
Verificare che tutti i componenti siano presenti nella confezione:
- 1 x CAMRY Head and Needle 1113 and Cr 1114 Phono Cartridge Assembly
- 1 x Stylus (needle)
- (Optional: Mounting hardware, if included with your specific purchase)

Immagine 1: The CAMRY Head and Needle 1113 and Cr 1114 phono cartridge assembly. This image displays the complete unit, including the cartridge body (black and red sections) and the stylus assembly (white translucent cover with the cantilever and needle visible). The four pins for electrical connection are visible at the back.
Configurazione e installazione
Proper installation is crucial for optimal sound quality and to prevent damage to your records or equipment.
- Spegni: Prima di iniziare l'installazione, assicurarsi che il giradischi sia spento e scollegato dalla rete elettrica.
- Rimuovere la vecchia cartuccia (se applicabile): Carefully disconnect the wires from your old cartridge. Note the color coding (typically Red for Right+, Green for Right-, White for Left+, Blue for Left-). Unscrew and remove the old cartridge from the headshell.
- Collegare la nuova cartuccia:
- Align the CAMRY cartridge with the mounting holes on your turntable's headshell.
- Secure the cartridge using the provided screws and nuts (if applicable). Do not overtighten.
- Collegare i fili: Connect the tonearm wires to the corresponding pins on the back of the CAMRY cartridge. Match the colors:
- Red wire to R+ (Right Channel Positive)
- Green wire to R- (Right Channel Ground)
- White wire to L+ (Left Channel Positive)
- Blue wire to L- (Left Channel Ground)
- Stylus Installation: If the stylus is separate, gently slide it onto the cartridge body until it clicks securely into place. Avoid touching the needle tip.
- Forza di allineamento e tracciamento:
- Refer to your turntable's manual for specific instructions on cartridge alignment (e.g., using a protractor) and setting the tracking force.
- The recommended tracking force for this cartridge is typically between 1.5 to 2.5 grams. Start with the manufacturer's recommended setting for your turntable or cartridge.
- Adjust anti-skate according to your turntable's instructions, usually matching the tracking force.
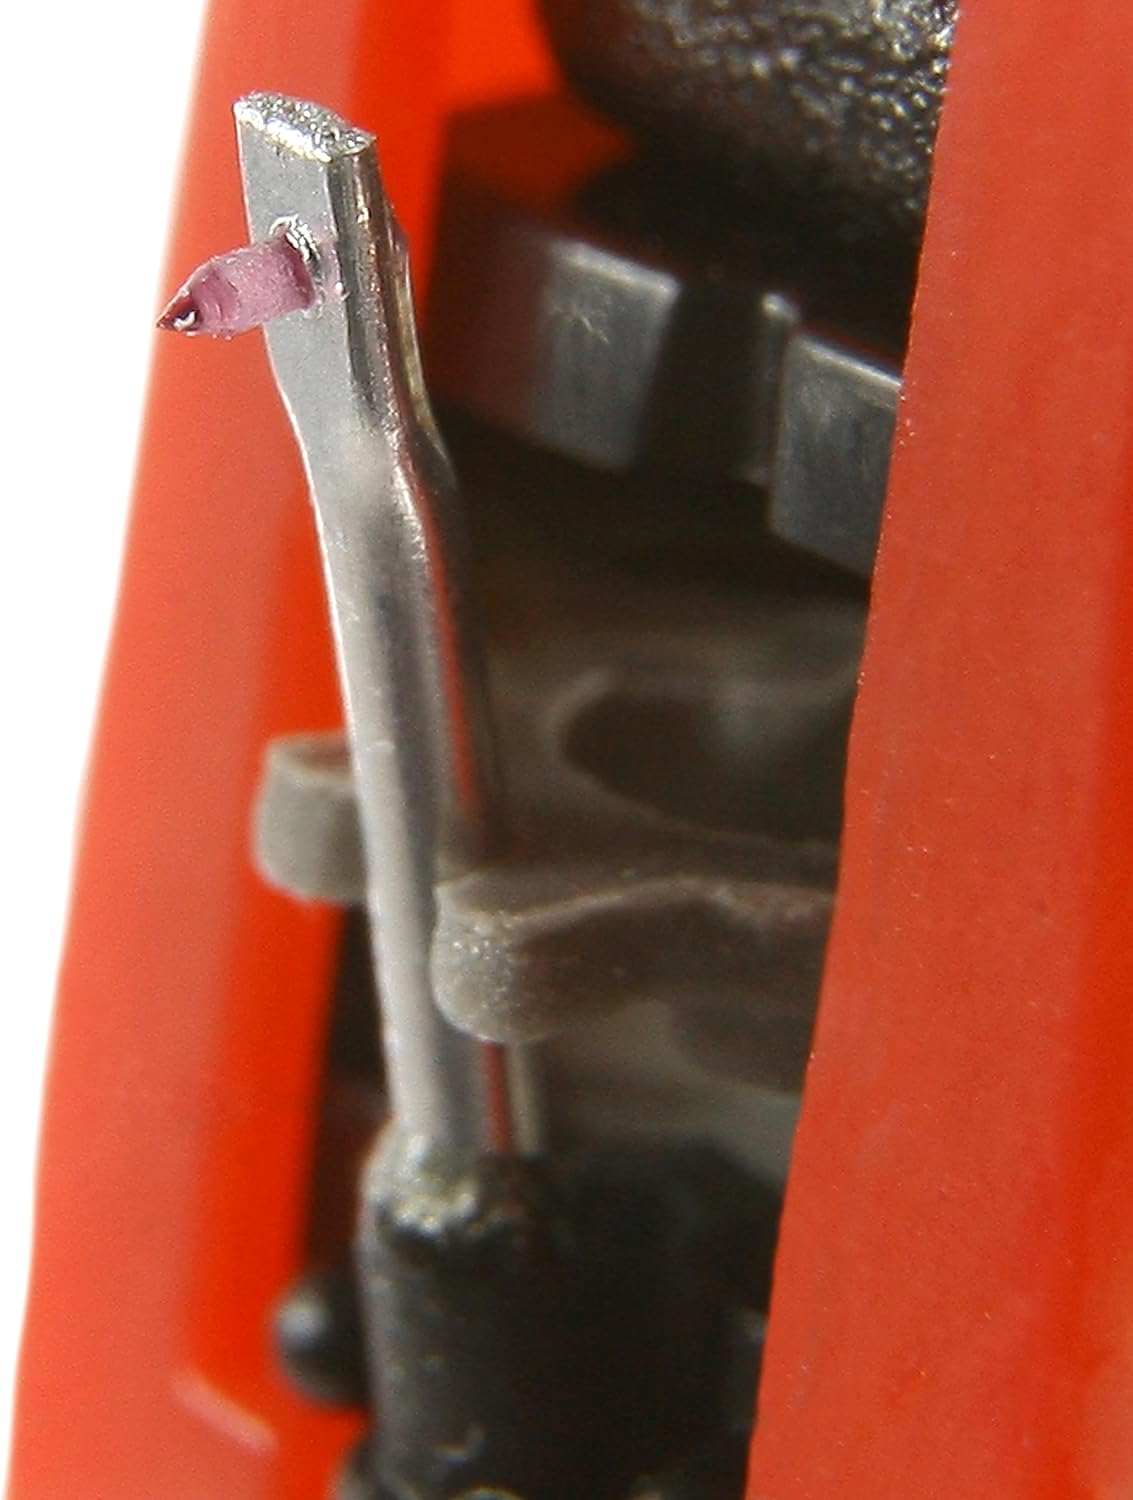
Immagine 2: Un primo piano view of the CAMRY stylus (needle) tip. This image highlights the delicate cantilever and the small, conical or elliptical diamond tip responsible for tracking the record grooves. Handle with extreme care.
Istruzioni per l'uso
Once installed and aligned, your CAMRY cartridge is ready for use.
- Record puliti: Always ensure your records are clean and free of dust before playing to prevent damage to both the record and the stylus.
- Lower Tonearm Gently: Use the tonearm lift mechanism on your turntable to gently lower the stylus onto the record's lead-in groove. Avoid dropping the tonearm manually, as this can damage the stylus or record.
- Riproduzione: Allow the record to play through.
- Sollevamento del braccio: Alla fine del disco, utilizzare il sollevatore del braccio per sollevare la puntina dalla superficie del disco. Riposizionare il braccio nella sua posizione di riposo.
Nota: For optimal sound quality and to extend stylus life, avoid back-cueing or scratching with the stylus.
Manutenzione
Regular maintenance ensures consistent performance and extends the life of your stylus and records.
- Pulizia dello stilo:
- Gently clean the stylus tip before or after each play using a dedicated stylus cleaning brush. Brush from back to front (from the pivot point towards the tip) only.
- For stubborn dirt, use a specialized stylus cleaning fluid sparingly, applied to the brush, not directly to the stylus.
- Never use your fingers to clean the stylus.
- Corpo della cartuccia: Wipe the cartridge body with a soft, dry, lint-free cloth if it becomes dusty.
- Ispezione dello stilo: Periodically inspect the stylus tip for wear or damage using a magnifying glass. A worn stylus can damage your records and degrade sound quality. Replace the stylus if it appears worn or bent.
- Magazzinaggio: When not in use, ensure the tonearm is secured in its rest and, if available, use the stylus guard to protect the needle.
Risoluzione dei problemi
In caso di problemi, fare riferimento ai seguenti problemi comuni e alle relative soluzioni:
| Problema | Possibile causa | Soluzione |
|---|---|---|
| Nessun suono o suono debole da un canale | Loose or incorrect wire connection; damaged stylus/cartridge | Check all wire connections to the cartridge and tonearm. Ensure they are secure and correctly matched (L+/L-, R+/R-). Inspect stylus for damage. |
| Suono distorto o saltellante | Incorrect tracking force; dirty or worn stylus; dirty record; incorrect anti-skate | Verify tracking force setting. Clean stylus. Clean record. Adjust anti-skate. Inspect stylus for wear. |
| Rumore di ronzio o ronzio | Grounding issue; interference; loose connections | Assicurarsi che il giradischi sia correttamente collegato a terra al amplifier/receiver. Check all audio cable connections. Move turntable away from other electronic devices. |
| Lo stilo non segue il solco | Incorrect tracking force; damaged stylus; tonearm balance issue | Re-balance tonearm and reset tracking force. Inspect stylus for damage. |
If problems persist after attempting these solutions, consult a qualified audio technician or contact CAMRY customer support.
Specifiche
| Caratteristica | Dettaglio |
|---|---|
| Marca | macchina fotografica |
| Nome del modello | 1113 and Cr 1114 |
| Numero modello articolo | camry_CR 1113.1 |
| Colore | Multicolore |
| Materiale | Bicchiere (Note: This likely refers to the stylus tip material, e.g., sapphire or diamond, often described as 'glass' in general terms.) |
| Dimensioni del prodotto (L x P x A) | 11.81 x 11.81 x 3.94 pollici (Note: This dimension seems unusually large for a cartridge and may refer to packaging. Actual cartridge dimensions are much smaller.) |
| Peso dell'articolo | 0.704 once (circa 20 grammi) |
| Produttore | Adler Itd |
| Data prima disponibilità | 22 ottobre 2018 |
Garanzia e supporto
Specific warranty information for the CAMRY Head and Needle 1113 and Cr 1114 is not provided in this manual. Please refer to your purchase documentation or the retailer's websito per i dettagli riguardanti la copertura della garanzia.
For technical support, inquiries, or to report issues, please contact the retailer from whom you purchased the product or visit the official CAMRY brand websito per informazioni di contatto del servizio clienti.


